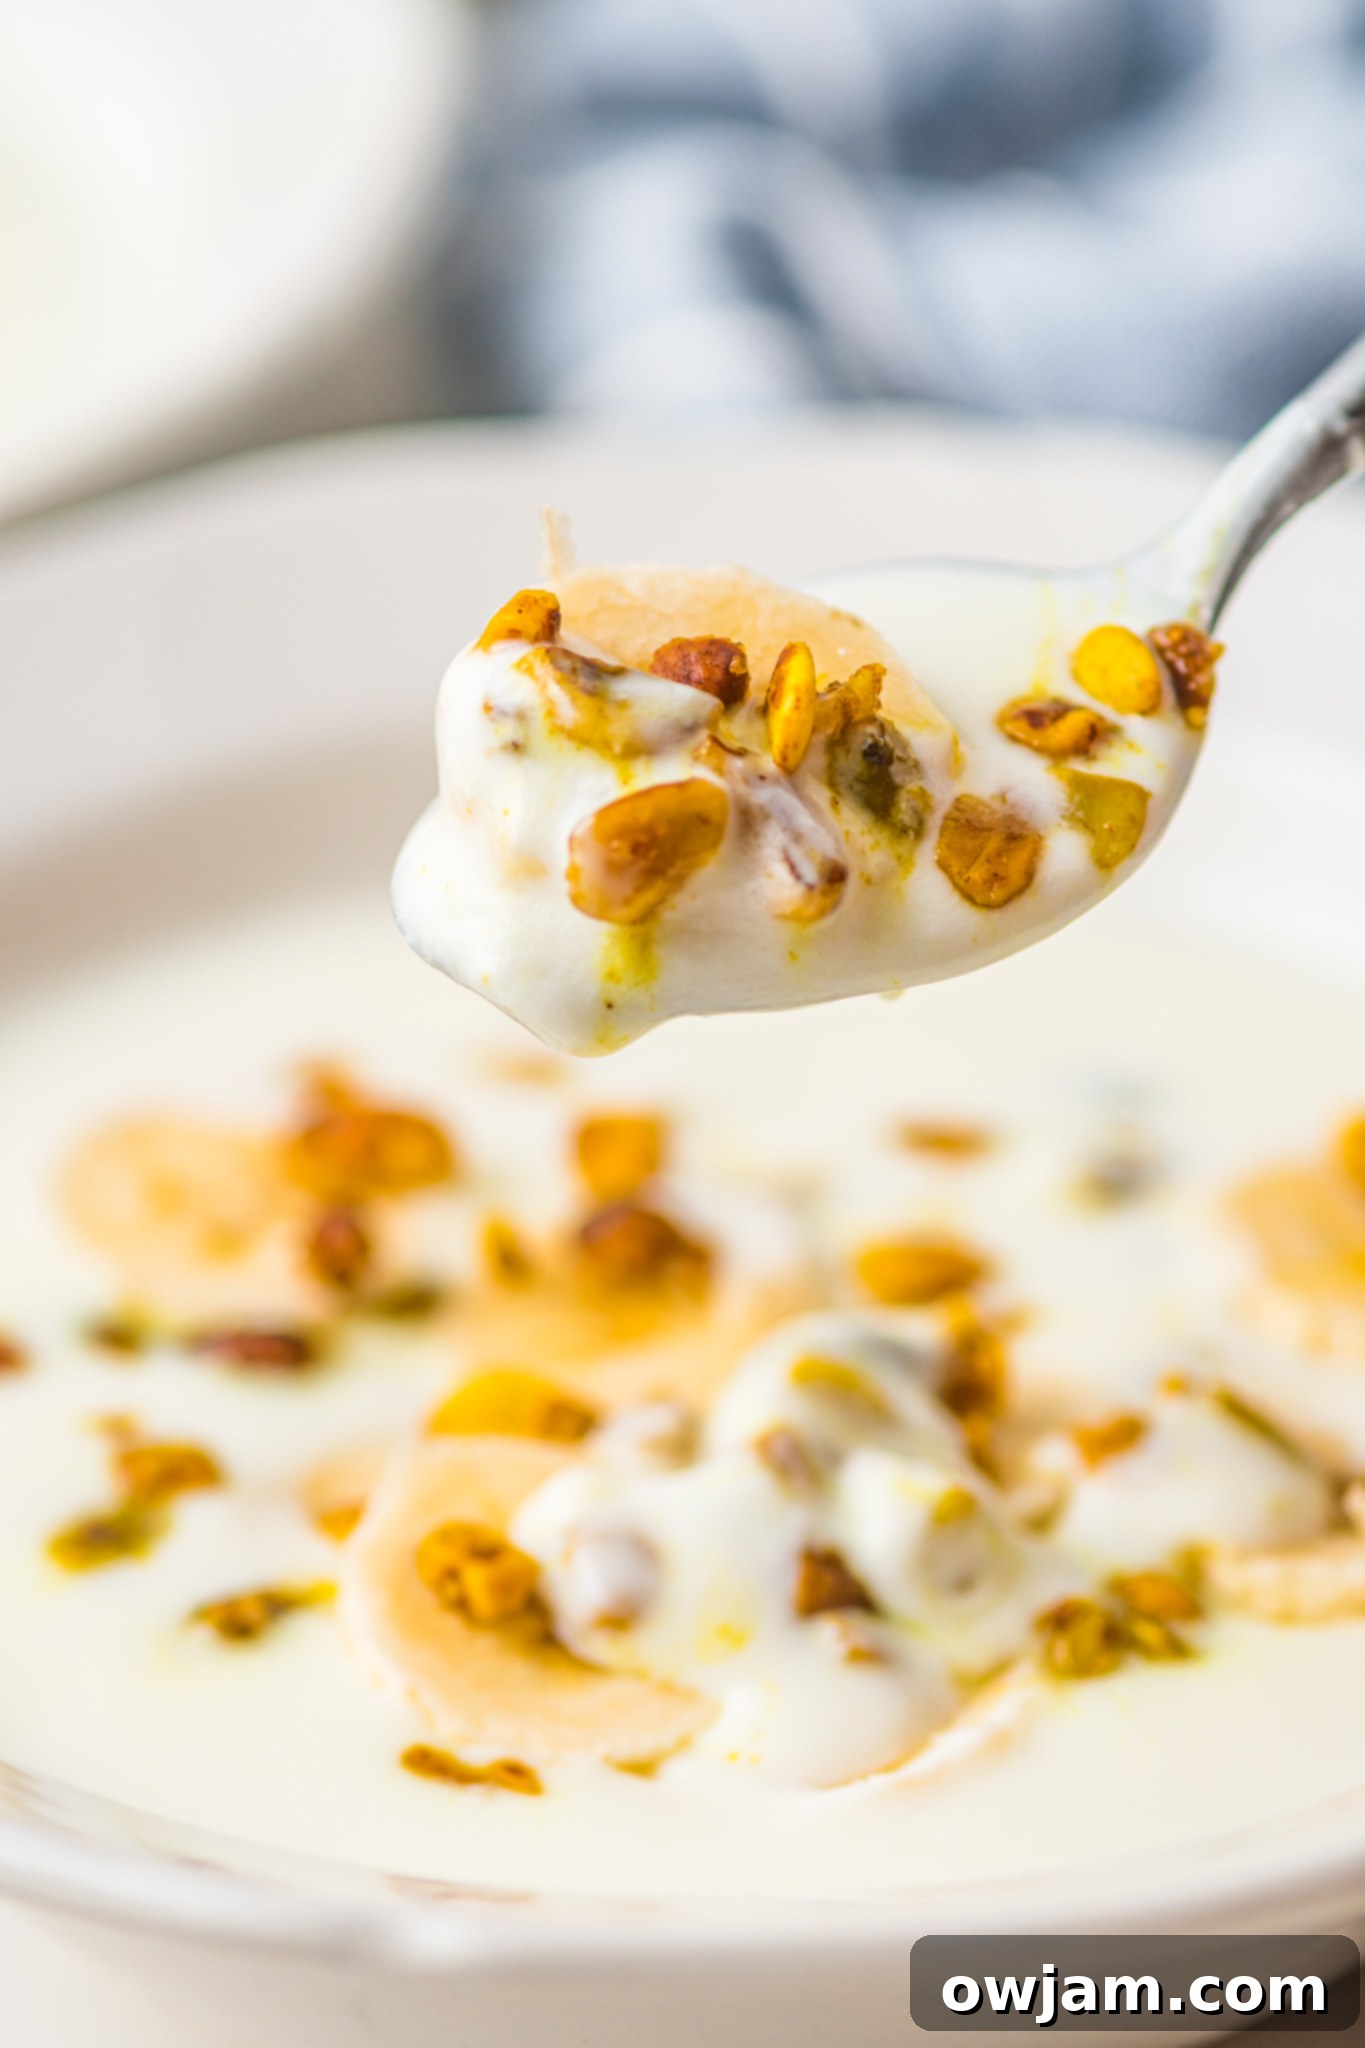
Easy & Creamy Instant Pot Yogurt: Your Go-To Homemade Recipe
Elevate your kitchen skills with this incredibly easy and creamy homemade Instant Pot Yogurt Recipe. It requires minimal clean-up and consistently yields a silky-smooth, probiotic-rich yogurt that rivals anything you can buy at the store. Perfect as a wholesome base for your morning meals, a delightful addition to smoothies, a tangy complement to savory Middle Eastern dishes like kafta, or as a healthy foundation for various dressings. Once you experience the freshness and simplicity of making your own yogurt, you’ll never go back!
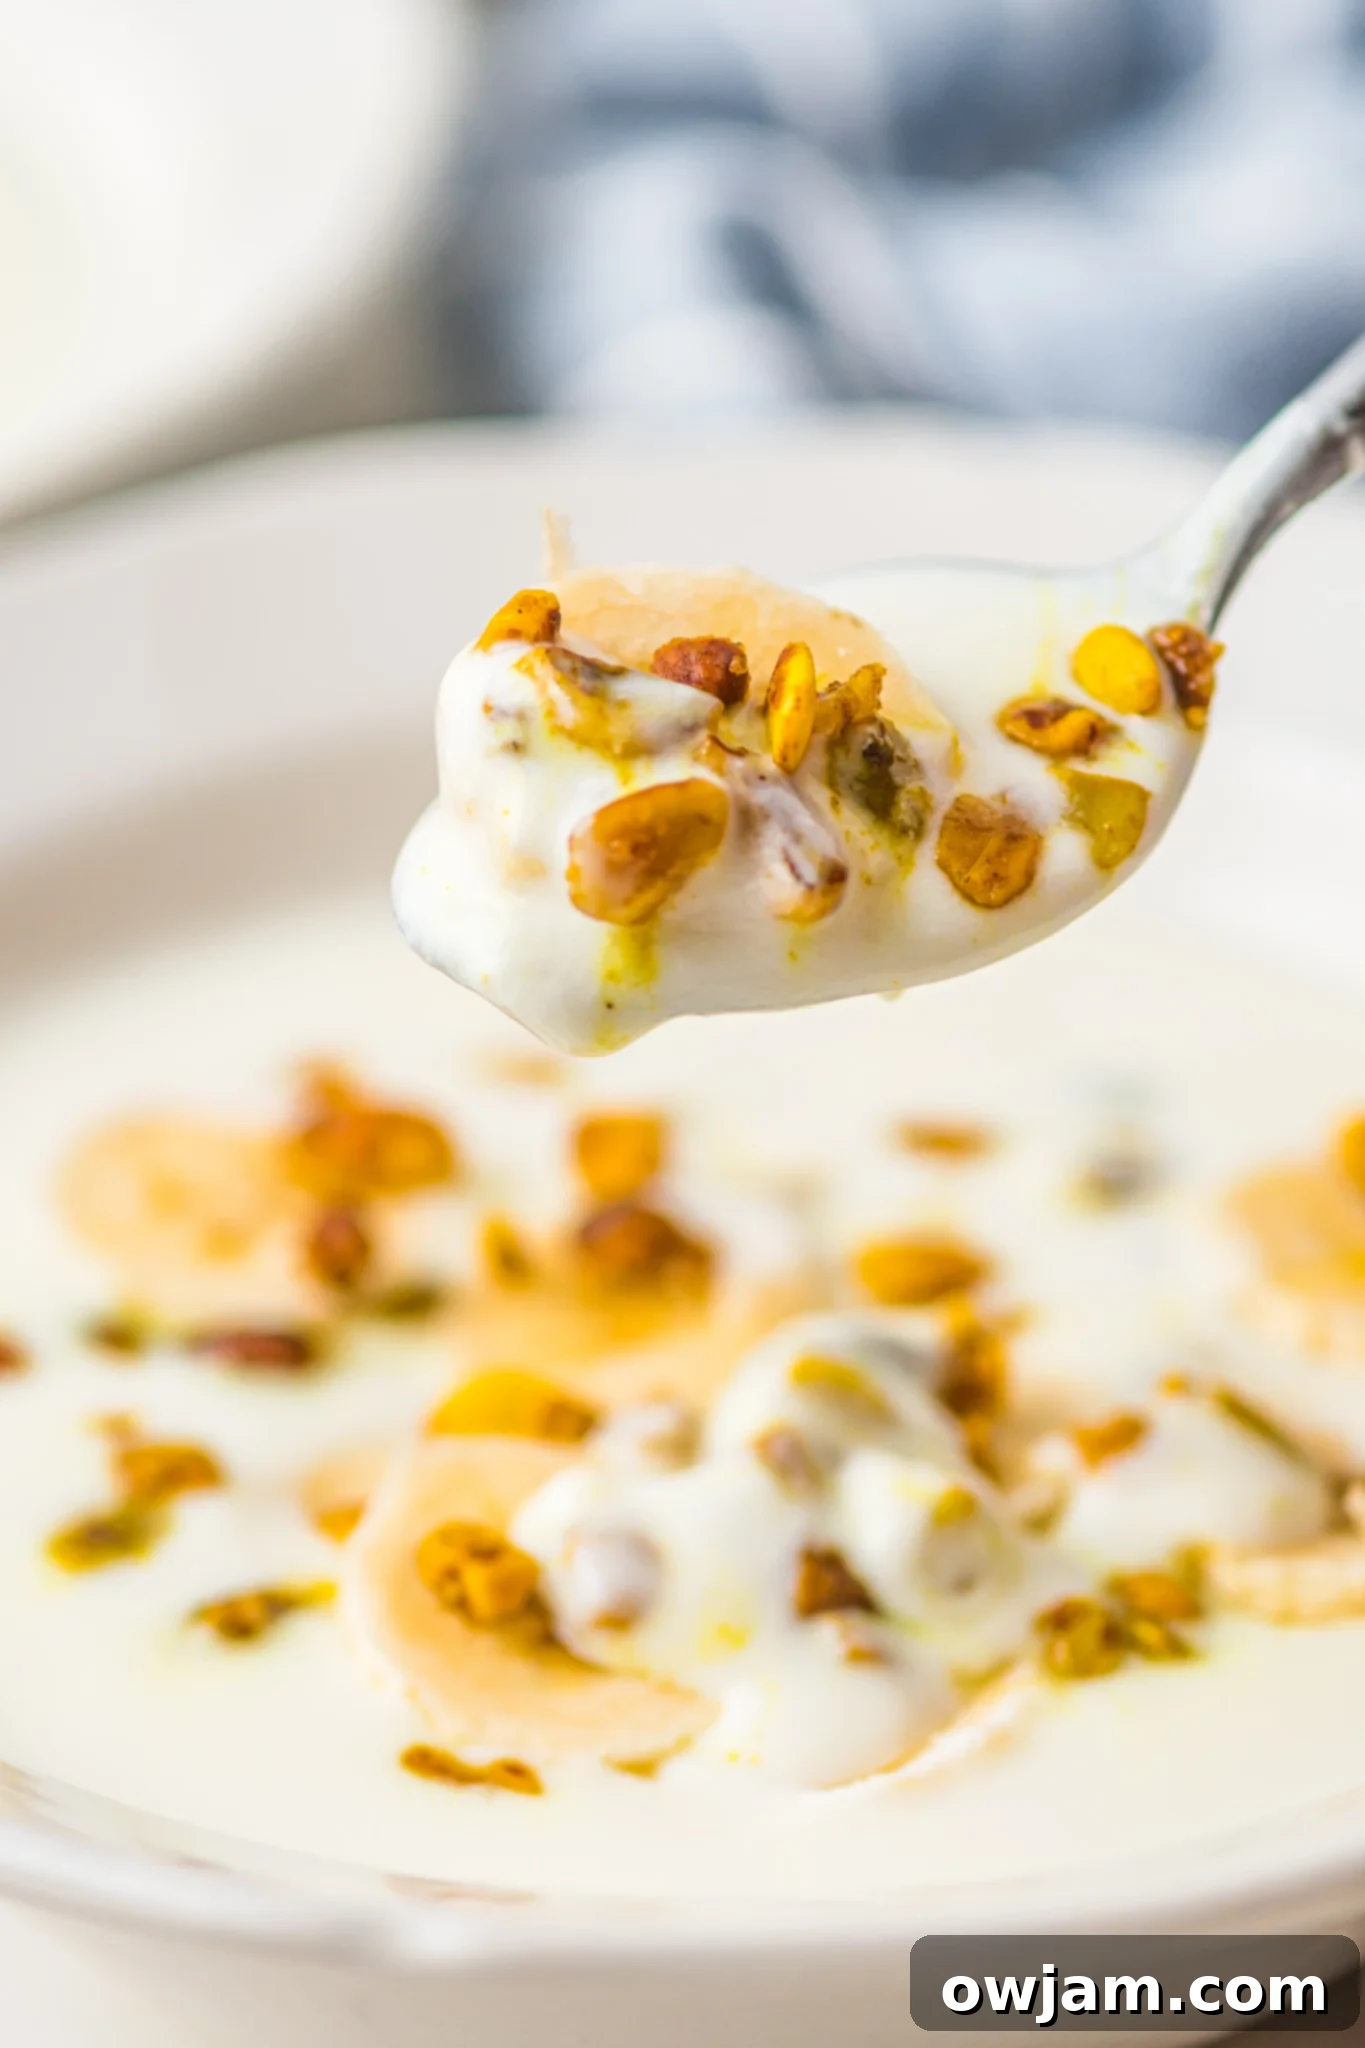
Why Make Homemade Instant Pot Yogurt?
Making yogurt at home is a time-honored tradition, and modern kitchen appliances like the Instant Pot have made it incredibly accessible. While there are many ways to craft homemade yogurt – from a simple pot on the counter, as my great-grandma did in Lebanon with her Homemade Yogurt {Laban} recipe, to a Slow Cooker Yogurt recipe – the Instant Pot truly stands out. Its “yogurt” function simplifies the process, making it virtually hands-off and ensuring consistent results every time.
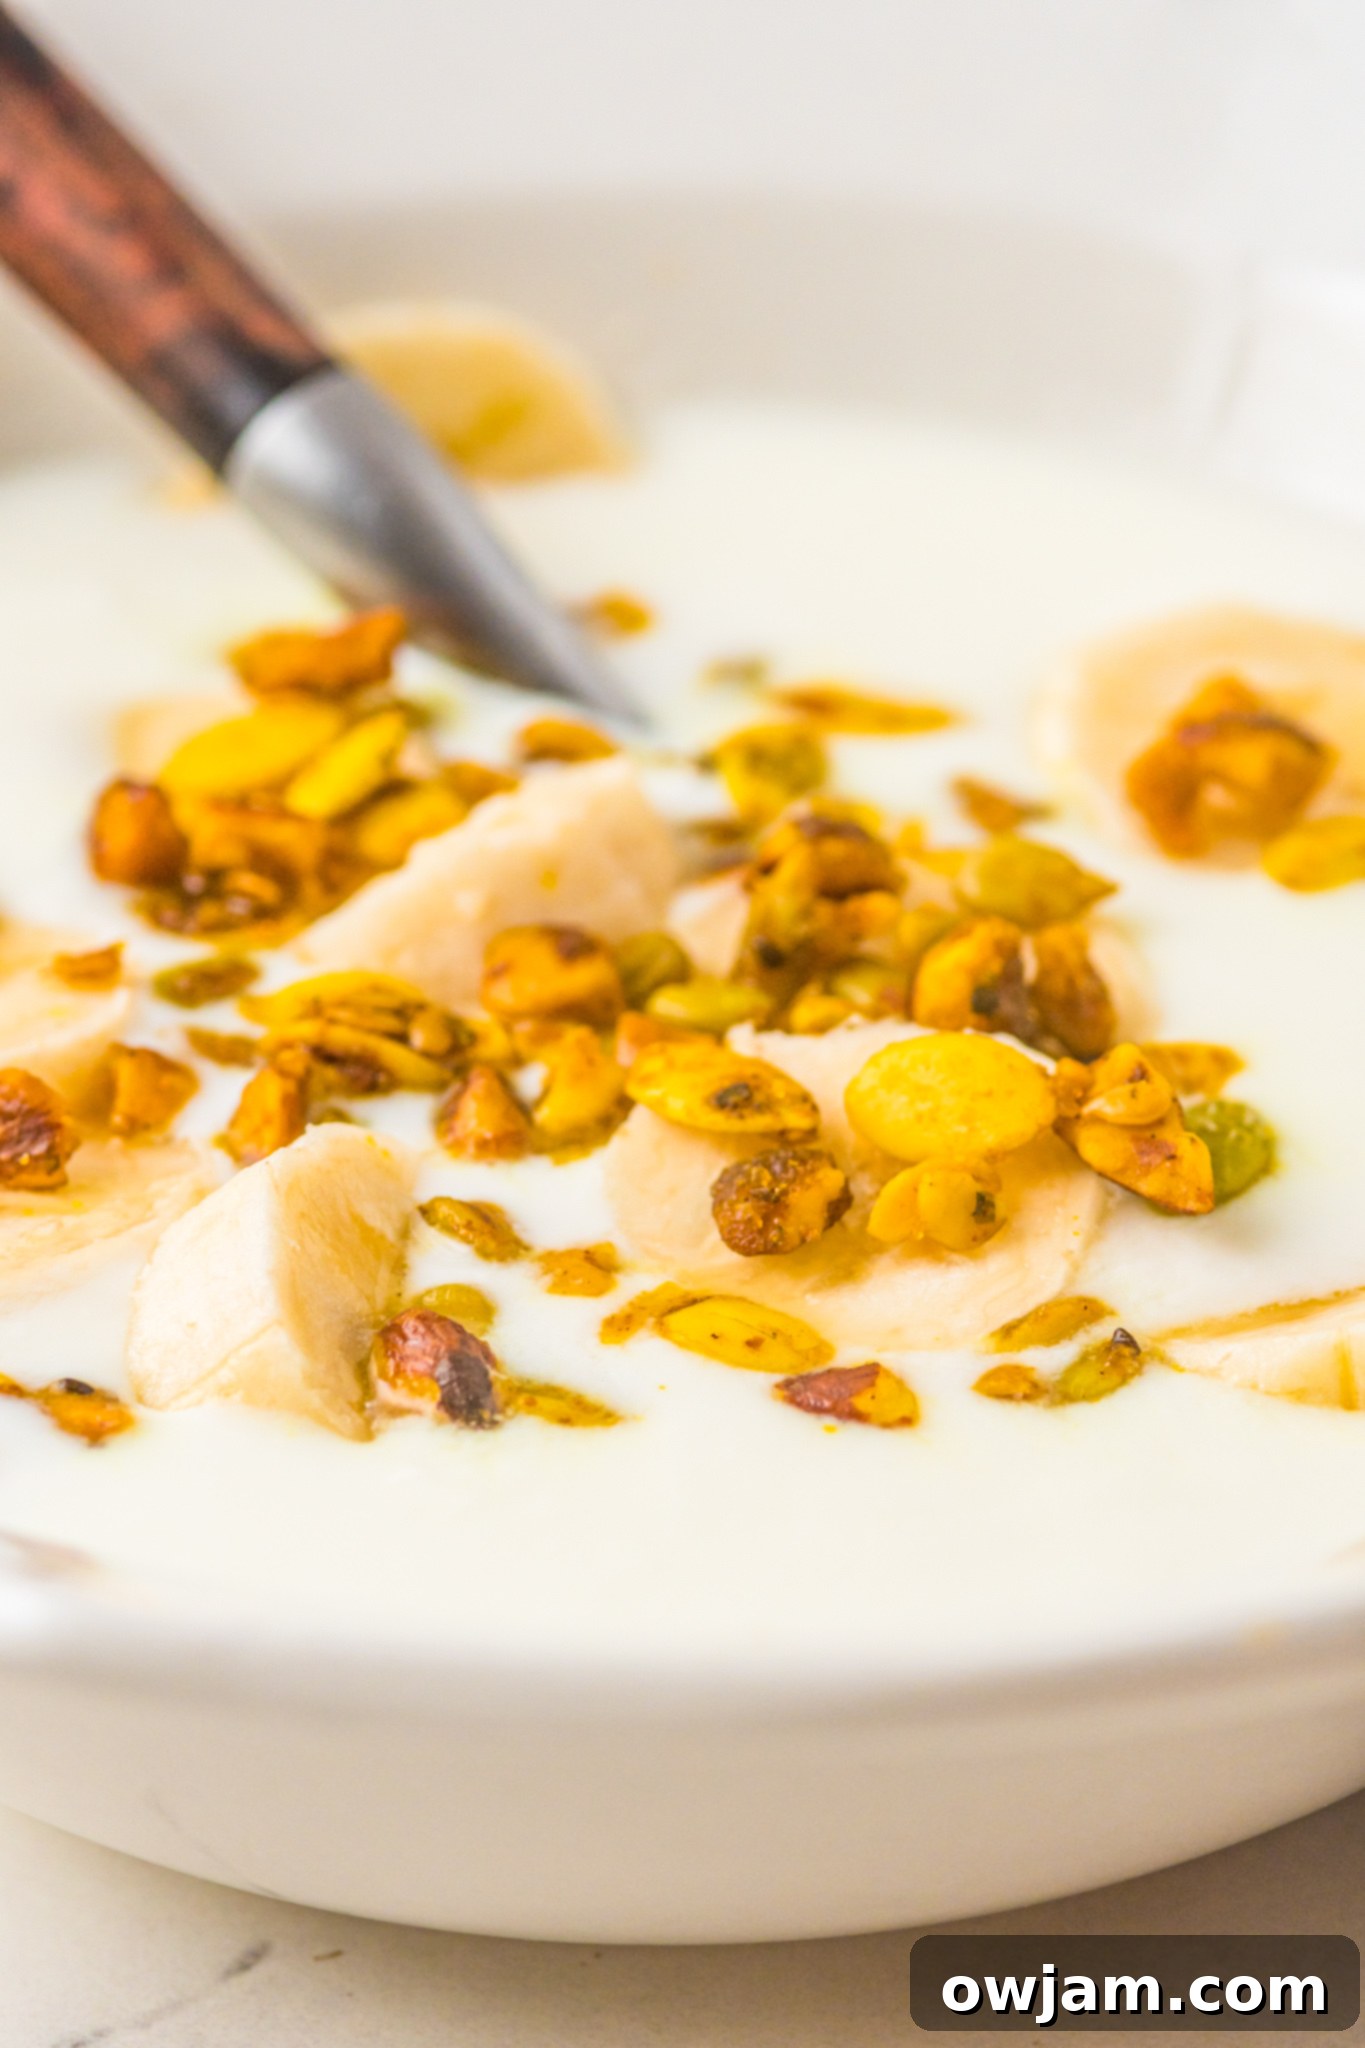
The beauty of homemade yogurt isn’t just in its cost-effectiveness, but also in the control it gives you over the ingredients. You can avoid added sugars, artificial flavors, and thickeners often found in store-bought varieties. Plus, knowing exactly what goes into your food brings a unique satisfaction. For those who prefer a specific flavor, plain homemade yogurt is a blank canvas! A simple addition of 1 teaspoon of vanilla per quart, for example, transforms it into a delightful vanilla yogurt, without any unnecessary additives.
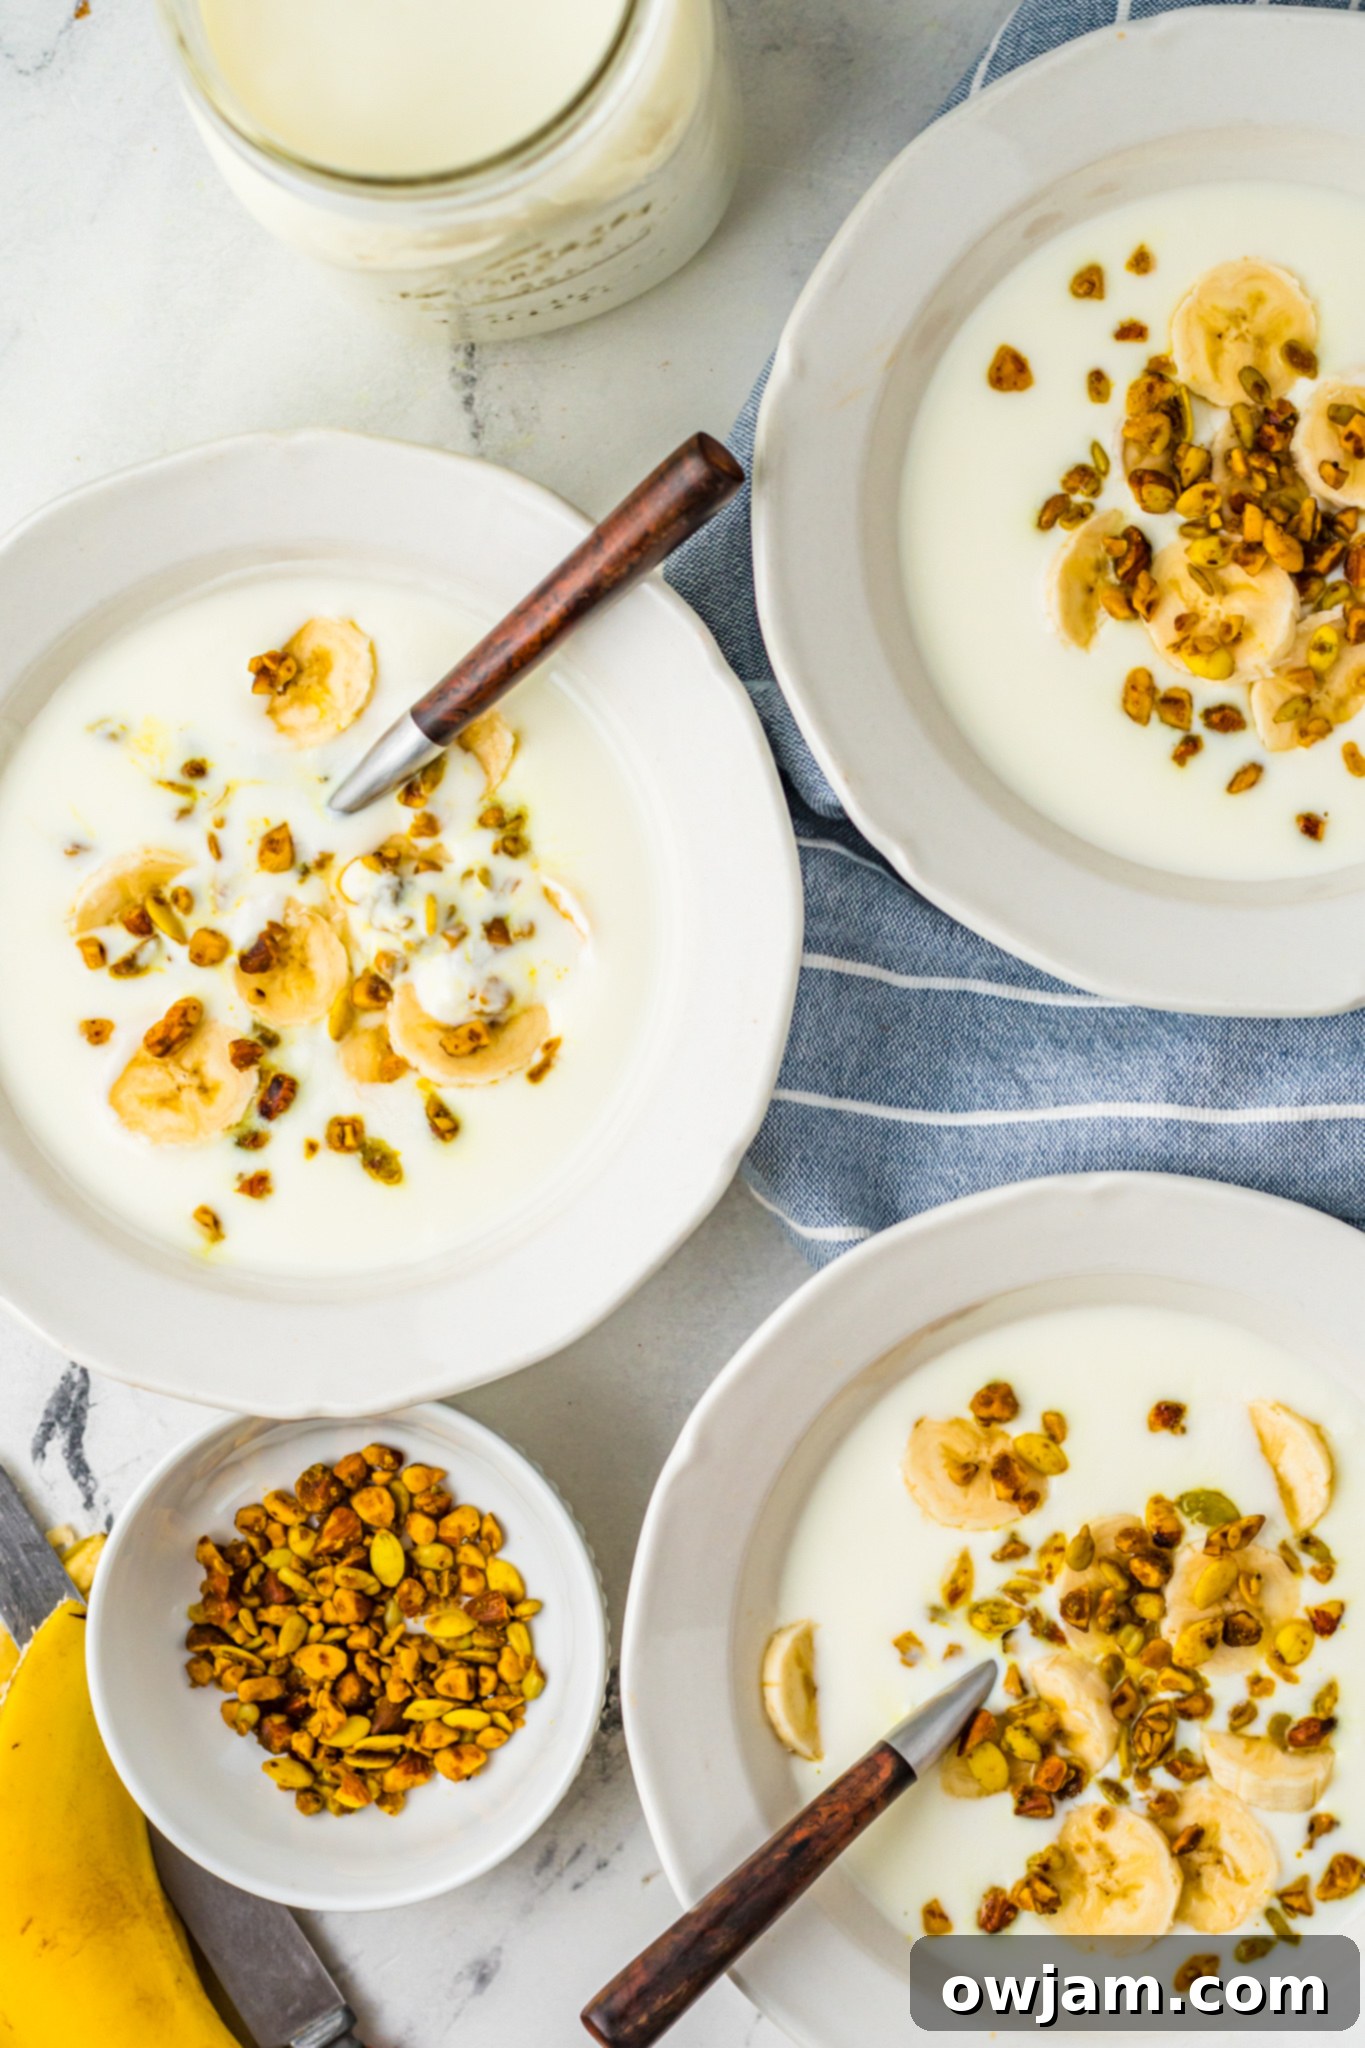
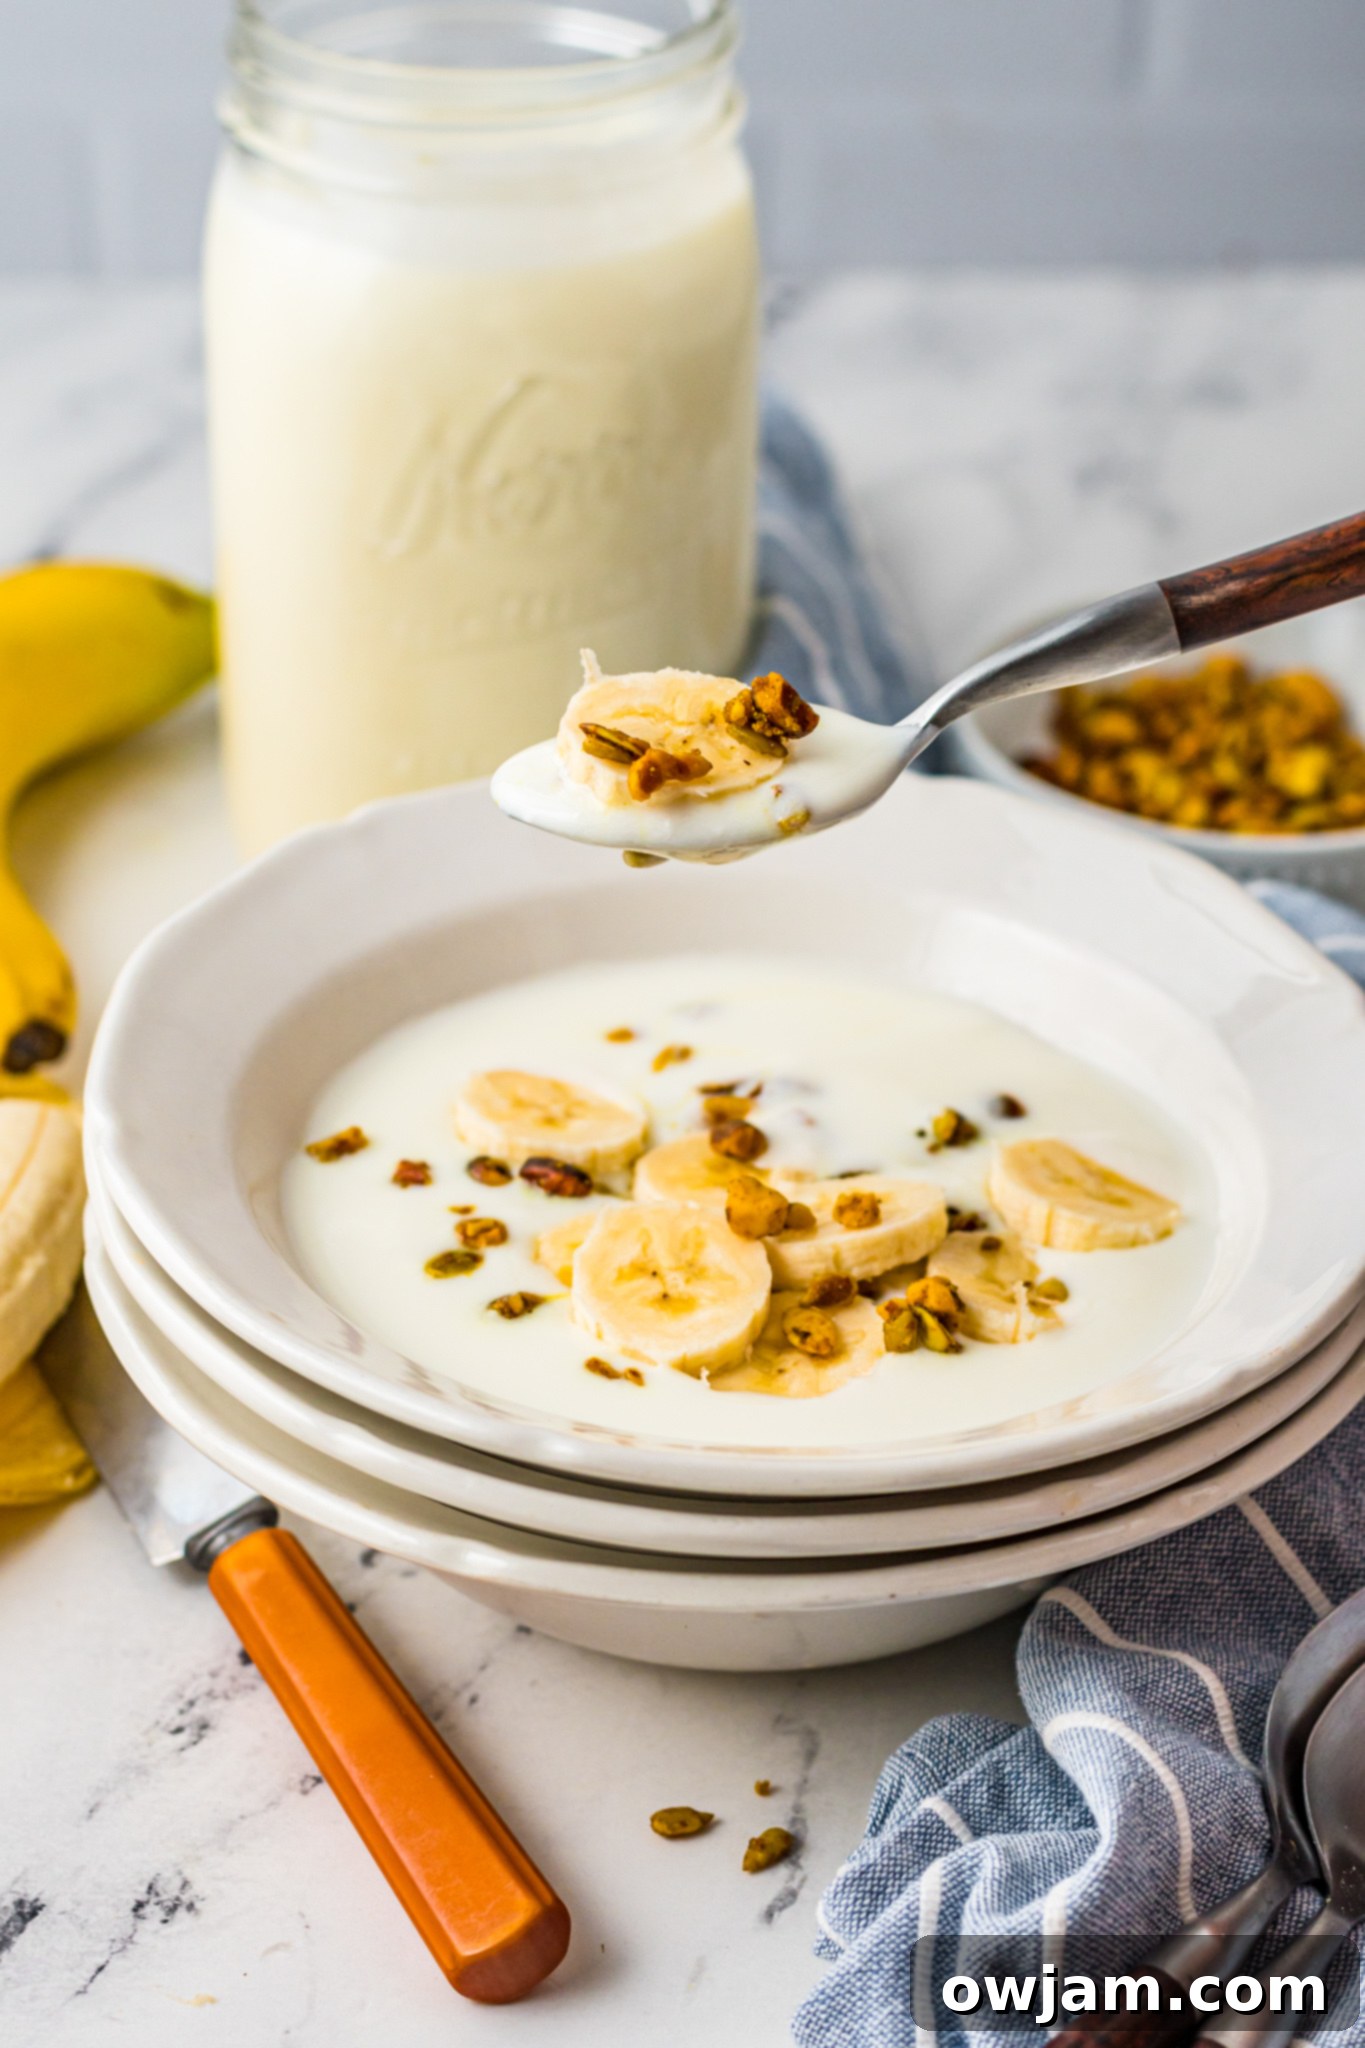
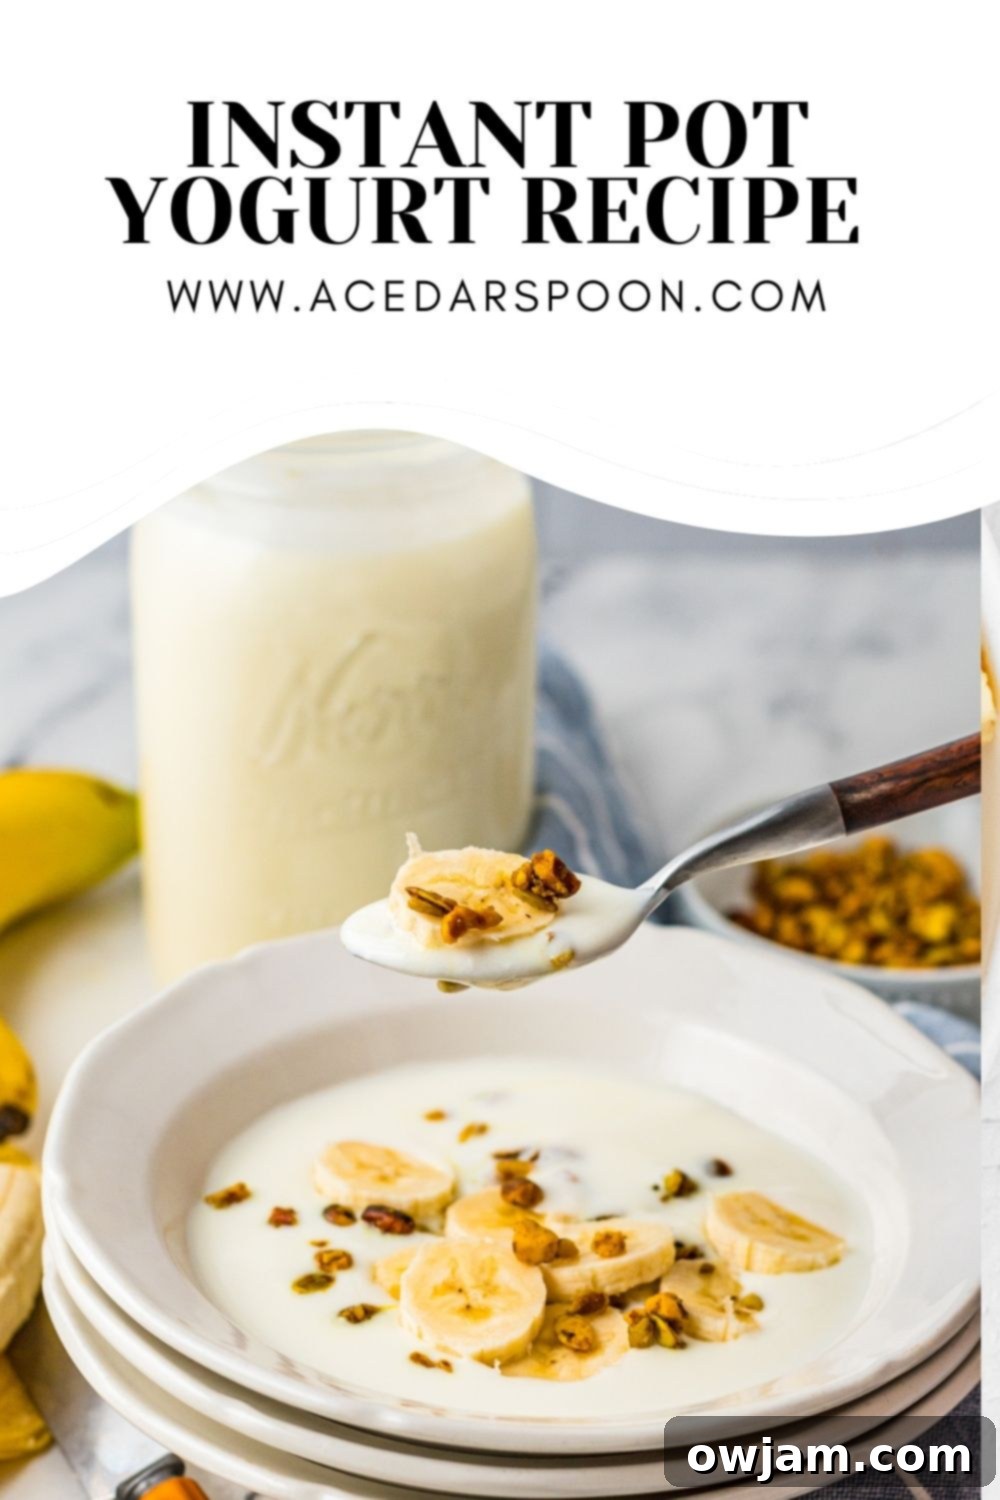
Our family absolutely loves starting the day with a bowl of this fresh Instant Pot Yogurt. It pairs wonderfully with crunchy Coconut Cranberry Chia Seed Granola and a vibrant Fruit Salad with Lemon Poppy Seed Dressing. But its versatility extends far beyond breakfast, making it a staple in our kitchen.
What Do You Need to Make Instant Pot Yogurt?
Making yogurt in your Instant Pot is a straightforward process, but having the right ingredients and tools makes all the difference for a consistently delicious batch. Here’s what you’ll need:
- MILK: The type of milk you choose significantly impacts the final texture of your yogurt.
- Whole Milk: For the creamiest, thickest yogurt, whole milk is highly recommended. The higher fat content contributes to a rich, luscious texture that many find irresistible.
- 2% Milk: If you prefer a lighter yogurt, 2% milk works well, but be aware that the resulting yogurt will be thinner. If using 2%, you might consider adding an extra tablespoon of your yogurt starter to help achieve a slightly thicker consistency. You can also strain it for a thicker result, similar to Greek yogurt.
- Skim Milk: Skim milk will produce the thinnest yogurt, often with a more tart flavor. It will definitely require straining if you desire any semblance of thickness.
- Ultra-Pasteurized (UHT) Milk: Some sources recommend avoiding ultra-pasteurized milk as it can sometimes lead to a slightly grainy texture due to the intense heating process. However, many people use it successfully. If you have a choice, regular pasteurized milk is often preferred.
- YOGURT WITH LIVE ACTIVE CULTURES (Starter): This is the secret ingredient that kickstarts the fermentation process, transforming milk into yogurt.
- Importance of Cultures: You *must* use yogurt that explicitly states “contains live and active cultures” on the label. These beneficial bacteria are what convert lactose into lactic acid, giving yogurt its characteristic tangy flavor and thick texture.
- Avoid Flavored or Sweetened Yogurt: Do NOT use flavored or sweetened yogurt as your starter. The added sugars and artificial ingredients can interfere with the fermentation process and may prevent your yogurt from setting properly or developing the desired flavor. Stick to plain, unsweetened yogurt.
- Using Homemade Yogurt as a Starter: Once you’ve made your first batch, you can reserve a few tablespoons to use as a starter for future batches, creating a continuous cycle of fresh, homemade yogurt. This is both economical and ensures a consistent culture.
- INSTANT POT WITH YOGURT SETTING: Not all Instant Pot models come equipped with a dedicated “Yogurt” function. This setting is crucial as it maintains the precise, low temperature needed for the bacterial cultures to thrive and ferment the milk. Ensure your specific Instant Pot or pressure cooker model includes this essential feature.
- THERMOMETER: Accurate temperature control is key in yogurt making.
- Digital Thermometer: A high-quality digital thermometer provides the most accurate and easy-to-read measurements, which is vital for both heating and cooling stages.
- Candy or Meat Thermometer: These also work well. The goal is to precisely monitor the milk’s temperature to ensure the cultures are activated at the right warmth and not killed by excessive heat.
- OPTIONAL TOOLS:
- Whisk: For thoroughly mixing the starter into the cooled milk.
- Fine-Mesh Strainer & Cheesecloth: Essential if you plan to make Greek yogurt (see tips below).
- Glass Jars: For storing your finished yogurt in the refrigerator.
How Do I Make Instant Pot Yogurt: A Step-by-Step Guide
Follow these detailed steps to achieve perfect, creamy homemade yogurt in your Instant Pot.
STEP 1: Clean and Sanitize Your Instant Pot
Before you begin, it’s crucial to ensure your Instant Pot inner pot is meticulously clean. Any lingering food particles or soap residue can introduce unwanted bacteria, potentially affecting the taste and texture of your yogurt. To “sterilize” the pot, rinse it thoroughly with boiling water or run it through a sanitizing cycle if your dishwasher has one. This extra step helps create an optimal environment for the beneficial yogurt cultures to flourish, resulting in a cleaner, better-tasting yogurt.
STEP 2: Heat the Milk (Boiling Phase)
This step is essential for two main reasons: it denatures the milk proteins, which helps create a thicker yogurt, and it kills any undesirable bacteria.
- Instant Pot Method: Pour the milk directly into the Instant Pot’s inner pot. Secure the lid (ensure the sealing ring is in place and the vent is sealed). Select the “Yogurt” function, then press “Adjust” until the display shows “Boil.” The Instant Pot will automatically heat the milk to approximately 180°F (82°C). This process can take anywhere from 30 minutes to over an hour, depending on the volume of milk and its starting temperature. Once the pot beeps, signaling it has reached temperature, open the lid carefully. Double-check the milk temperature with your digital thermometer to ensure it has reached at least 180°F (82°C). Allow the milk to sit in the Instant Pot for an additional 5 minutes to ensure thorough heating.
- Stovetop Method (Alternative): If you prefer, you can heat the milk in a large pot on your stove. Heat it over medium-low heat, stirring frequently to prevent scorching at the bottom. Bring the milk to 180°F (82°C), using your thermometer to monitor the temperature. Remove from heat immediately once it reaches the target temperature.
STEP 3: Cool the Milk
This is a critical temperature window. The milk needs to cool to a specific range before adding the starter. If it’s too hot, it will kill the delicate yogurt cultures. If it’s too cold, the cultures won’t activate effectively.
- Cooling Process: Carefully remove the hot pot from the Instant Pot (or from the stove). Allow the milk to cool naturally until its temperature drops to between 105°-115°F (40°-46°C). This usually takes about an hour if left at room temperature.
- Accelerated Cooling (Ice Bath): To speed up the cooling process, plug your kitchen sink and fill it with a few inches of cold water and plenty of ice. Carefully place the pot of hot milk into the ice bath, ensuring no water gets into the milk. Stir the milk occasionally for even cooling. Monitor the temperature closely with your thermometer. Once it reaches 105°-115°F (40°-46°C), remove the pot from the ice bath. It’s essential not to let the temperature drop below 105°F (40°C).
- Remove Skim: As the milk cools, a thin layer of “skim” or skin might form on the surface. Use a spoon or whisk to gently remove this layer. While not strictly necessary for taste, removing it contributes to a smoother, creamier final product.
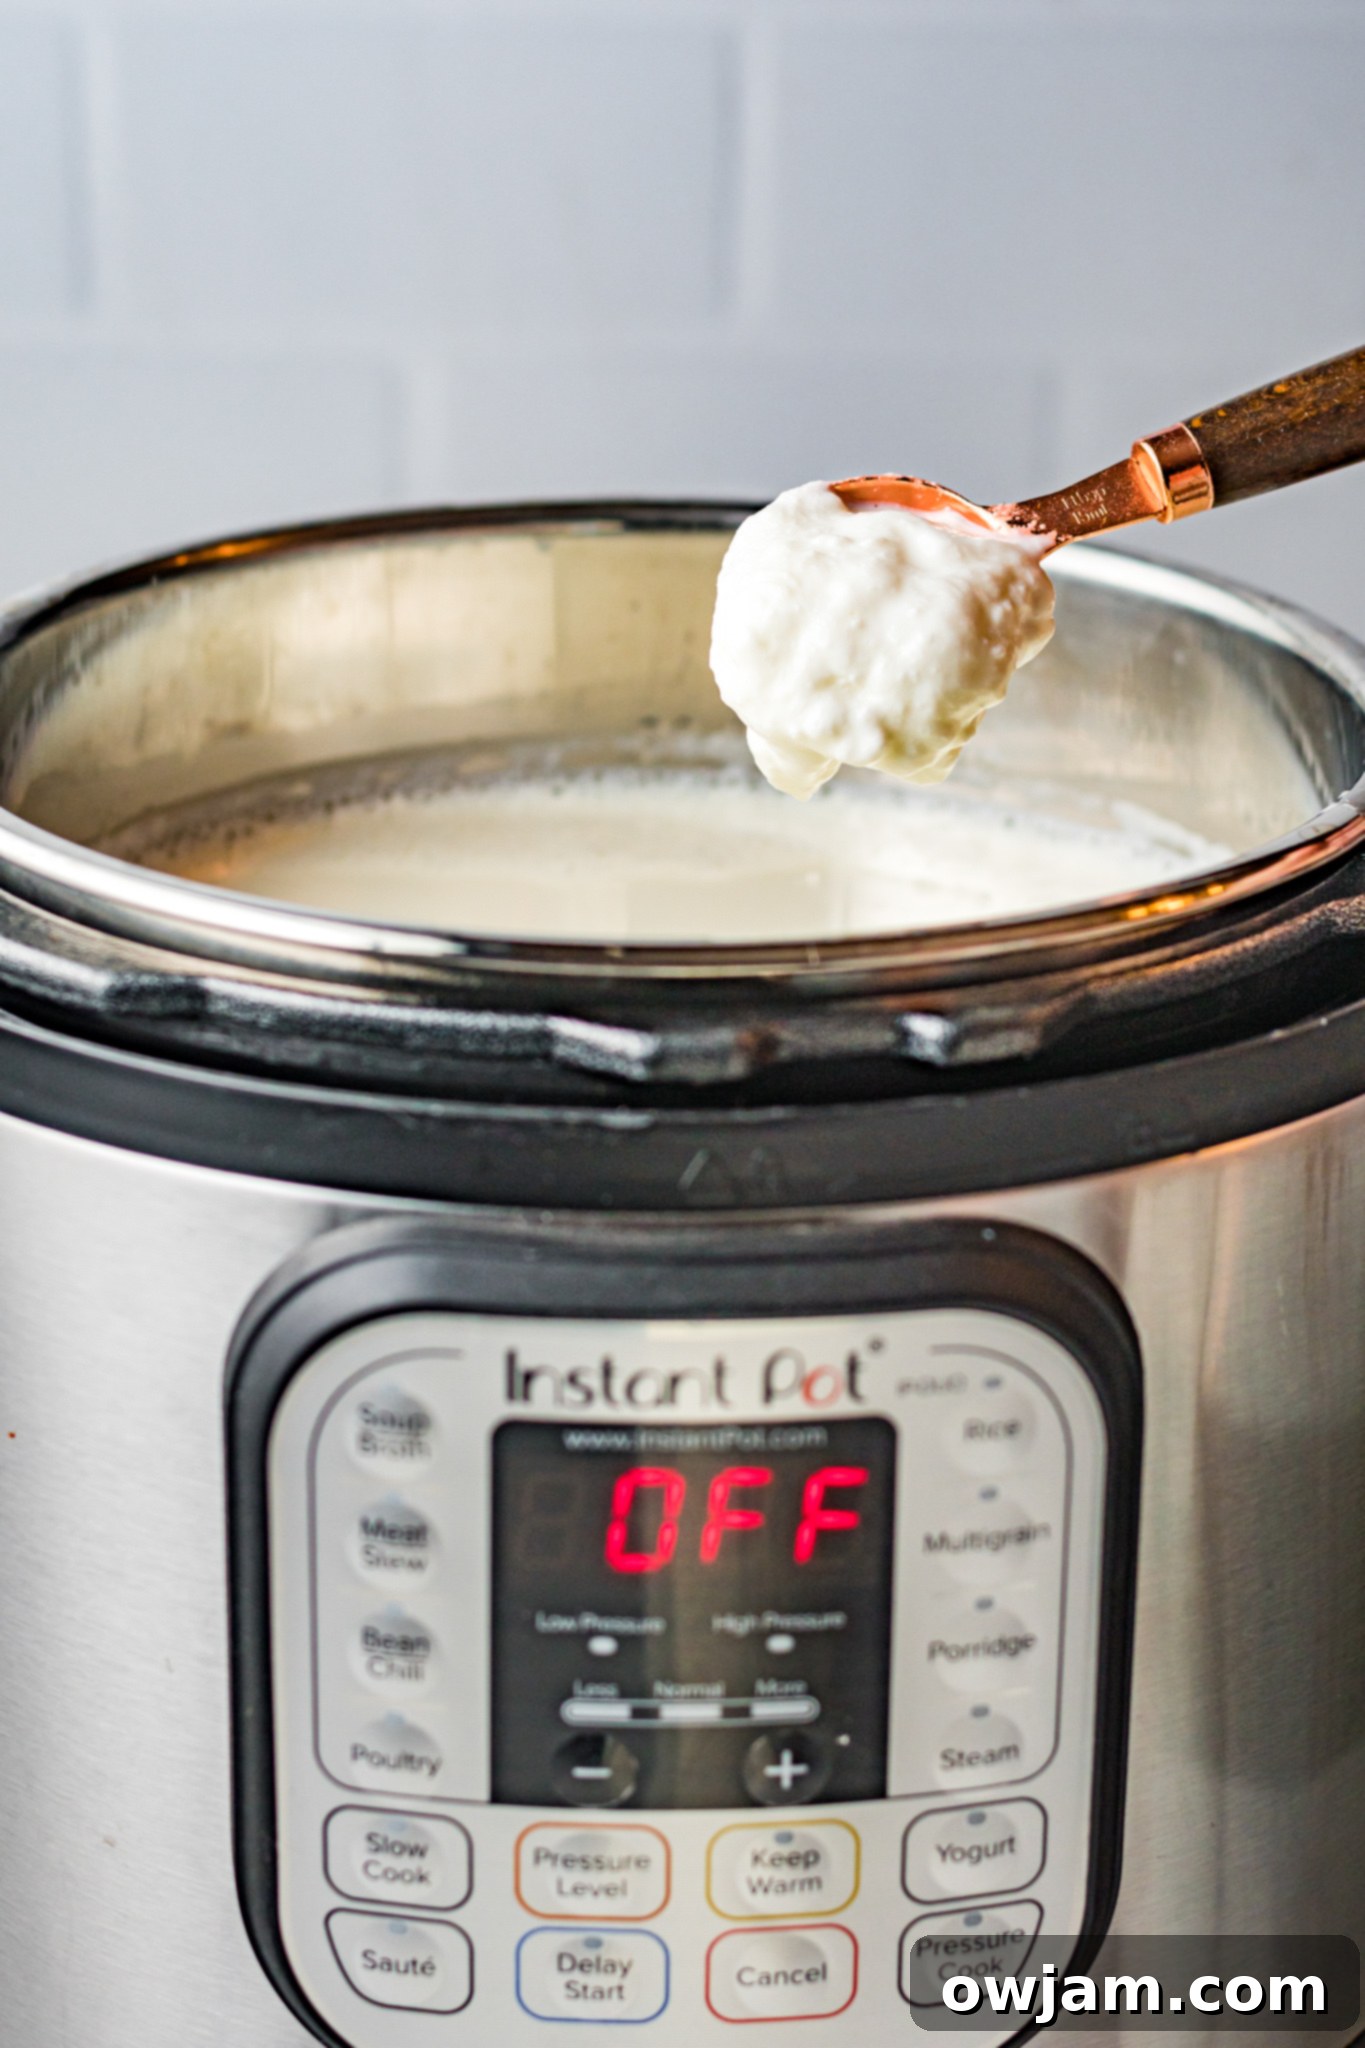
STEP 4: Stir in the Yogurt Starter
Once your milk is within the ideal temperature range (105°-115°F), it’s time to introduce the live active cultures. Add the recommended amount of cultured yogurt (usually 1 tablespoon per quart of milk) to the cooled milk. Whisk it thoroughly until the starter is completely dissolved and evenly distributed. This ensures the cultures are spread throughout the milk to begin their work. Make sure there are no clumps of starter visible.
STEP 5: Incubate the Yogurt
This is where the magic happens! The Instant Pot maintains the perfect environment for the cultures to grow and thicken the milk.
- Setting the Instant Pot: Place the inner pot back into the Instant Pot. Close the lid (no need to seal the vent, as pressure isn’t used for yogurt making). Select the “Yogurt” function again, but this time, set the incubation time.
- Incubation Time:
- For a mild-flavored, less tangy yogurt: Incubate for 8 hours.
- For a tangier yogurt with a higher concentration of beneficial cultures: Allow it to incubate for 10 to 18 hours. The longer the incubation, the thicker and more tart your yogurt will be. Experiment with different times to find your preferred taste and texture.
- Post-Incubation: Once the incubation cycle is complete, the yogurt will still be warm and appear quite loose. This is normal. Carefully remove the inner pot from the Instant Pot and place it in the refrigerator. Do NOT stir it yet. Refrigerate for at least 6-8 hours, or ideally overnight, to allow the yogurt to firm up and fully set.
Store your finished Instant Pot Yogurt in airtight glass jars or containers in the refrigerator.
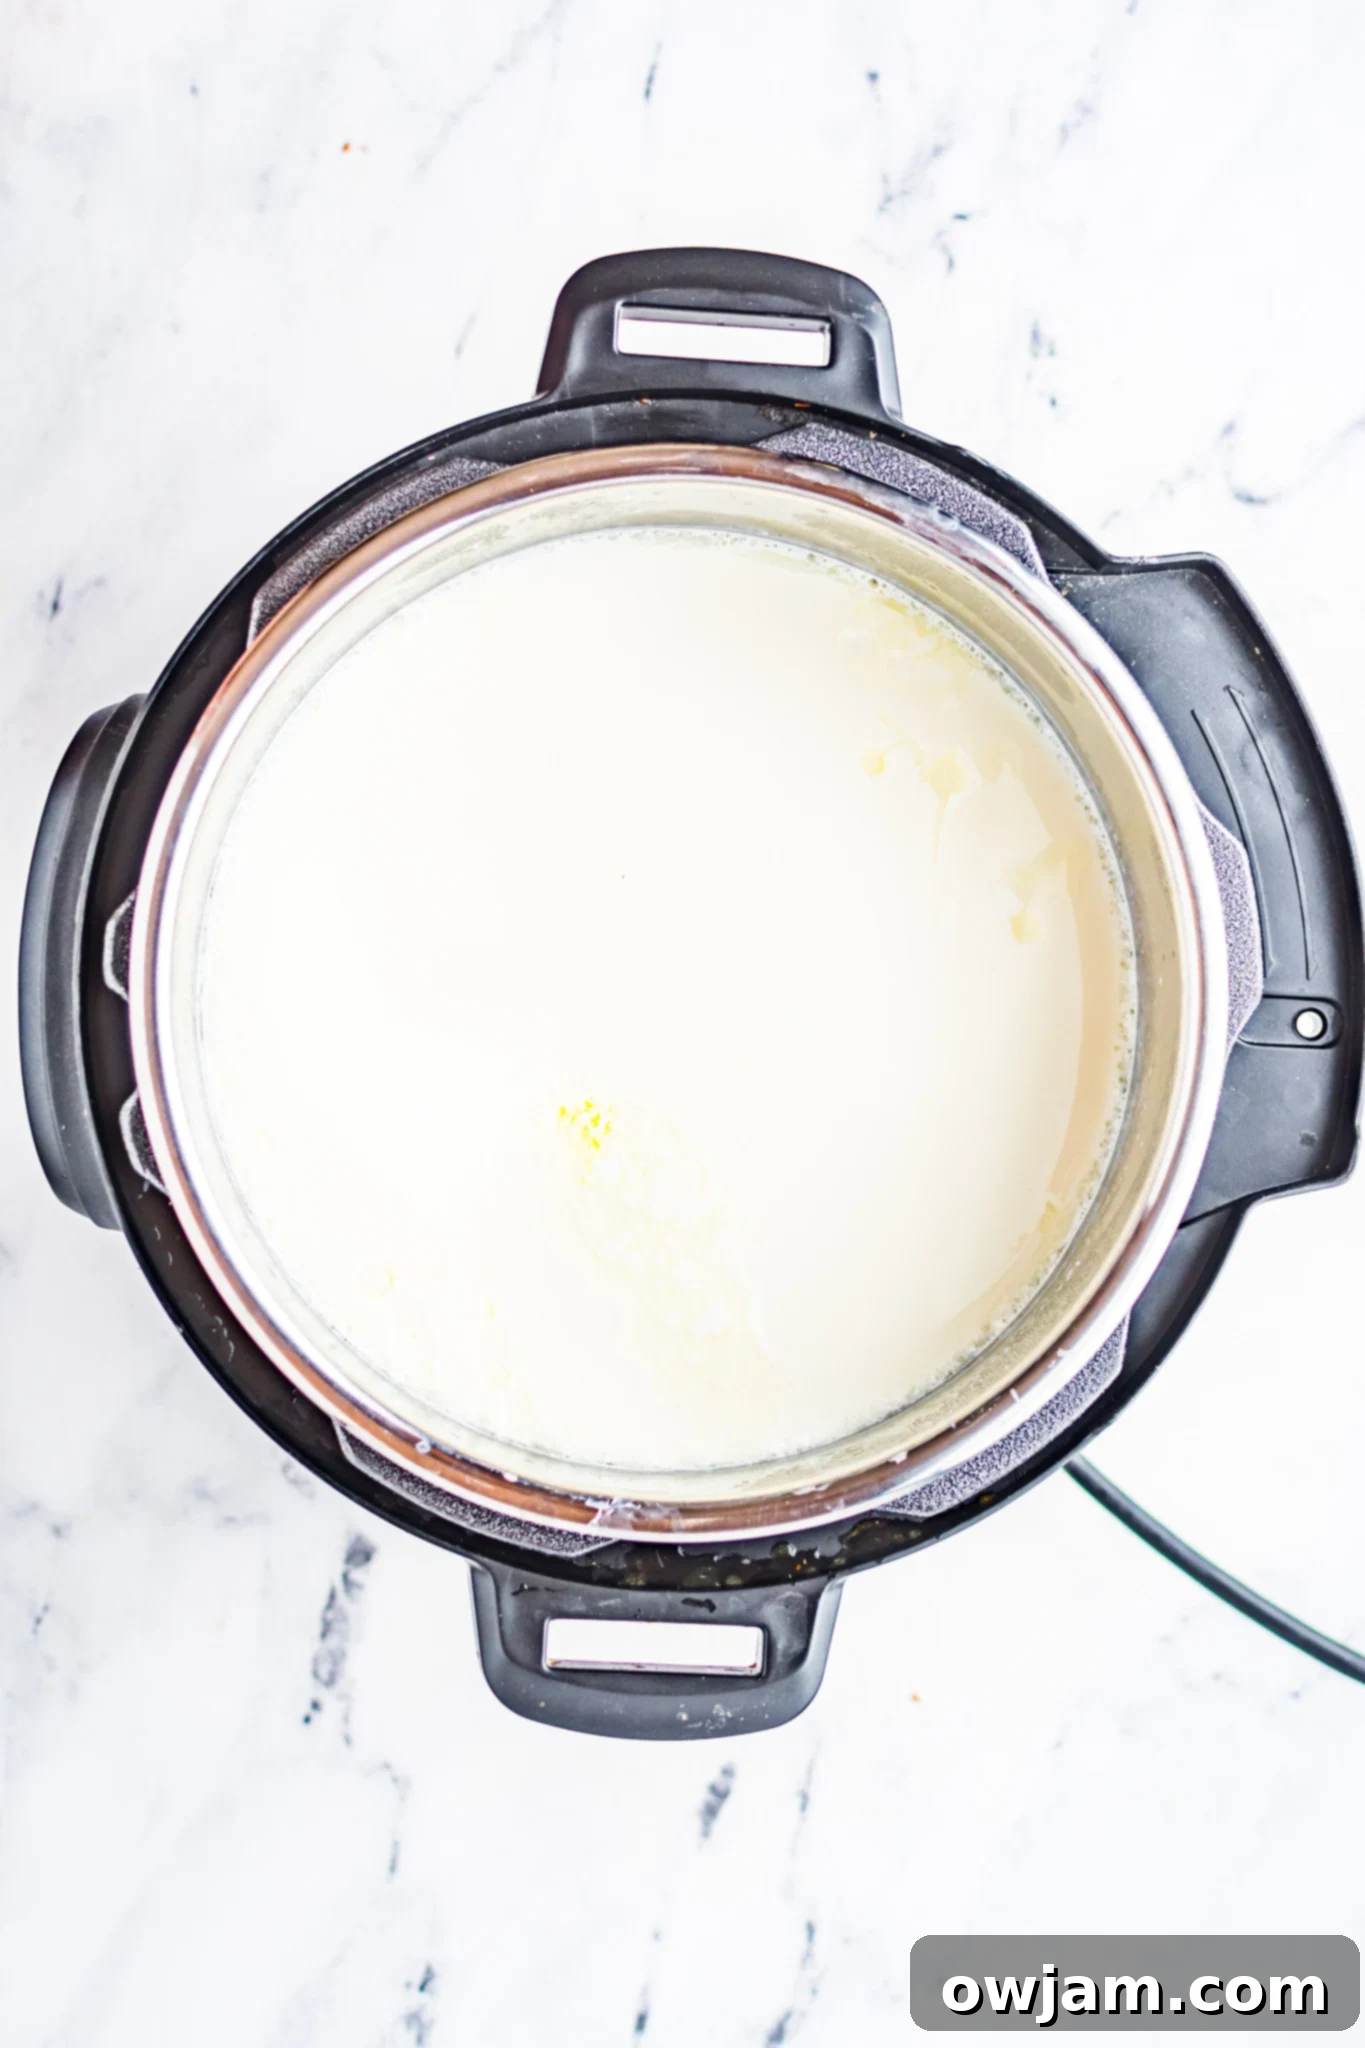
Expert Tips for Making the Best Instant Pot Yogurt
Achieving consistently perfect homemade yogurt is easy with these helpful tips and tricks:
- Choose Your Starter Wisely: The success of your yogurt hinges on a good starter. If your yogurt starter is sweetened, flavored, or does not contain live active cultures, it will NOT work. Always opt for plain, unsweetened yogurt that clearly states “live and active cultures” on the label. For best results, use a fresh starter, or a portion of a previous batch of your homemade yogurt.
- Understanding Milk Fat Content:
- For Creamier Results: Whole milk will naturally produce the thickest, creamiest yogurt.
- For Lighter Yogurt: If you are using 2% milk, the yogurt will be runnier. To help offset this, you might want to use an extra tablespoon of yogurt starter. Also, after it’s first made and chilled, you may wish to pour off the thin liquid (whey) that collects on top. If more liquid separates later, simply stir it back in.
- Making Greek Yogurt: To transform your regular Instant Pot yogurt into thick, luscious Greek yogurt, follow these simple steps:
- Make the yogurt according to the directions above and chill it thoroughly.
- Layer a few large pieces of cheesecloth or paper towels in a fine-mesh strainer. Place the strainer over a deep bowl or pan to collect the whey.
- Gently pour the chilled yogurt into the cheesecloth-lined strainer.
- Cover the top loosely and allow it to drain in the refrigerator overnight (or for at least 4-8 hours). The longer it drains, the thicker it will become.
- Scoop the rich Greek yogurt into a clean jar and store it in the refrigerator. You can save the drained whey for other uses (see below).
- Don’t Waste the Whey: Whey is the yellowish liquid that separates from the yogurt during cooling or straining. This liquid is packed with protein and nutrients! Don’t discard it. It’s wonderful in protein shakes and smoothies, can be used in baking (replacing water or milk), or even to feed plants.
- Storage and Shelf Life: Homemade yogurt stores well in an airtight container in the refrigerator for 10 to 14 days. It can often last even longer, but its flavor may become progressively more sour or tangy over time. Always perform a smell and visual check before consuming older yogurt.
- Sweeten and Flavor to Your Liking: The beauty of plain homemade yogurt is its adaptability.
- Sweeteners: You can sweeten it with granulated sugar, honey, maple syrup, or agave nectar. Add about ½ cup of your chosen sweetener per gallon of yogurt, then taste and adjust. For smaller quantities, start with a couple of tablespoons per quart and add more one spoon at a time until it reaches your desired sweetness. Always sweeten *after* the yogurt has incubated and chilled.
- Flavorings: Add extracts like vanilla, almond, or lemon for different flavor profiles. A teaspoon of flavoring per quart is a good starting point. Fresh fruit, fruit purees, or fruit preserves can also be stirred in just before serving.
- Save Your Starter: To save money and ensure a consistent culture, freeze some of your freshly made yogurt to use as a starter for your next batch. Spoon about 1 tablespoon of plain, unsweetened yogurt into each compartment of an ice cube tray and freeze until solid. Once frozen, transfer the yogurt cubes to a freezer-safe bag. Use one frozen tablespoon of starter per quart of milk for your next batch.
- Batch Size Flexibility: You can make as little as 1 quart or as many quarts as your Instant Pot will safely accommodate, typically up to the “Max Fill” line. The ratio of milk to starter (1 tablespoon of cultured yogurt per quart of milk) remains constant.
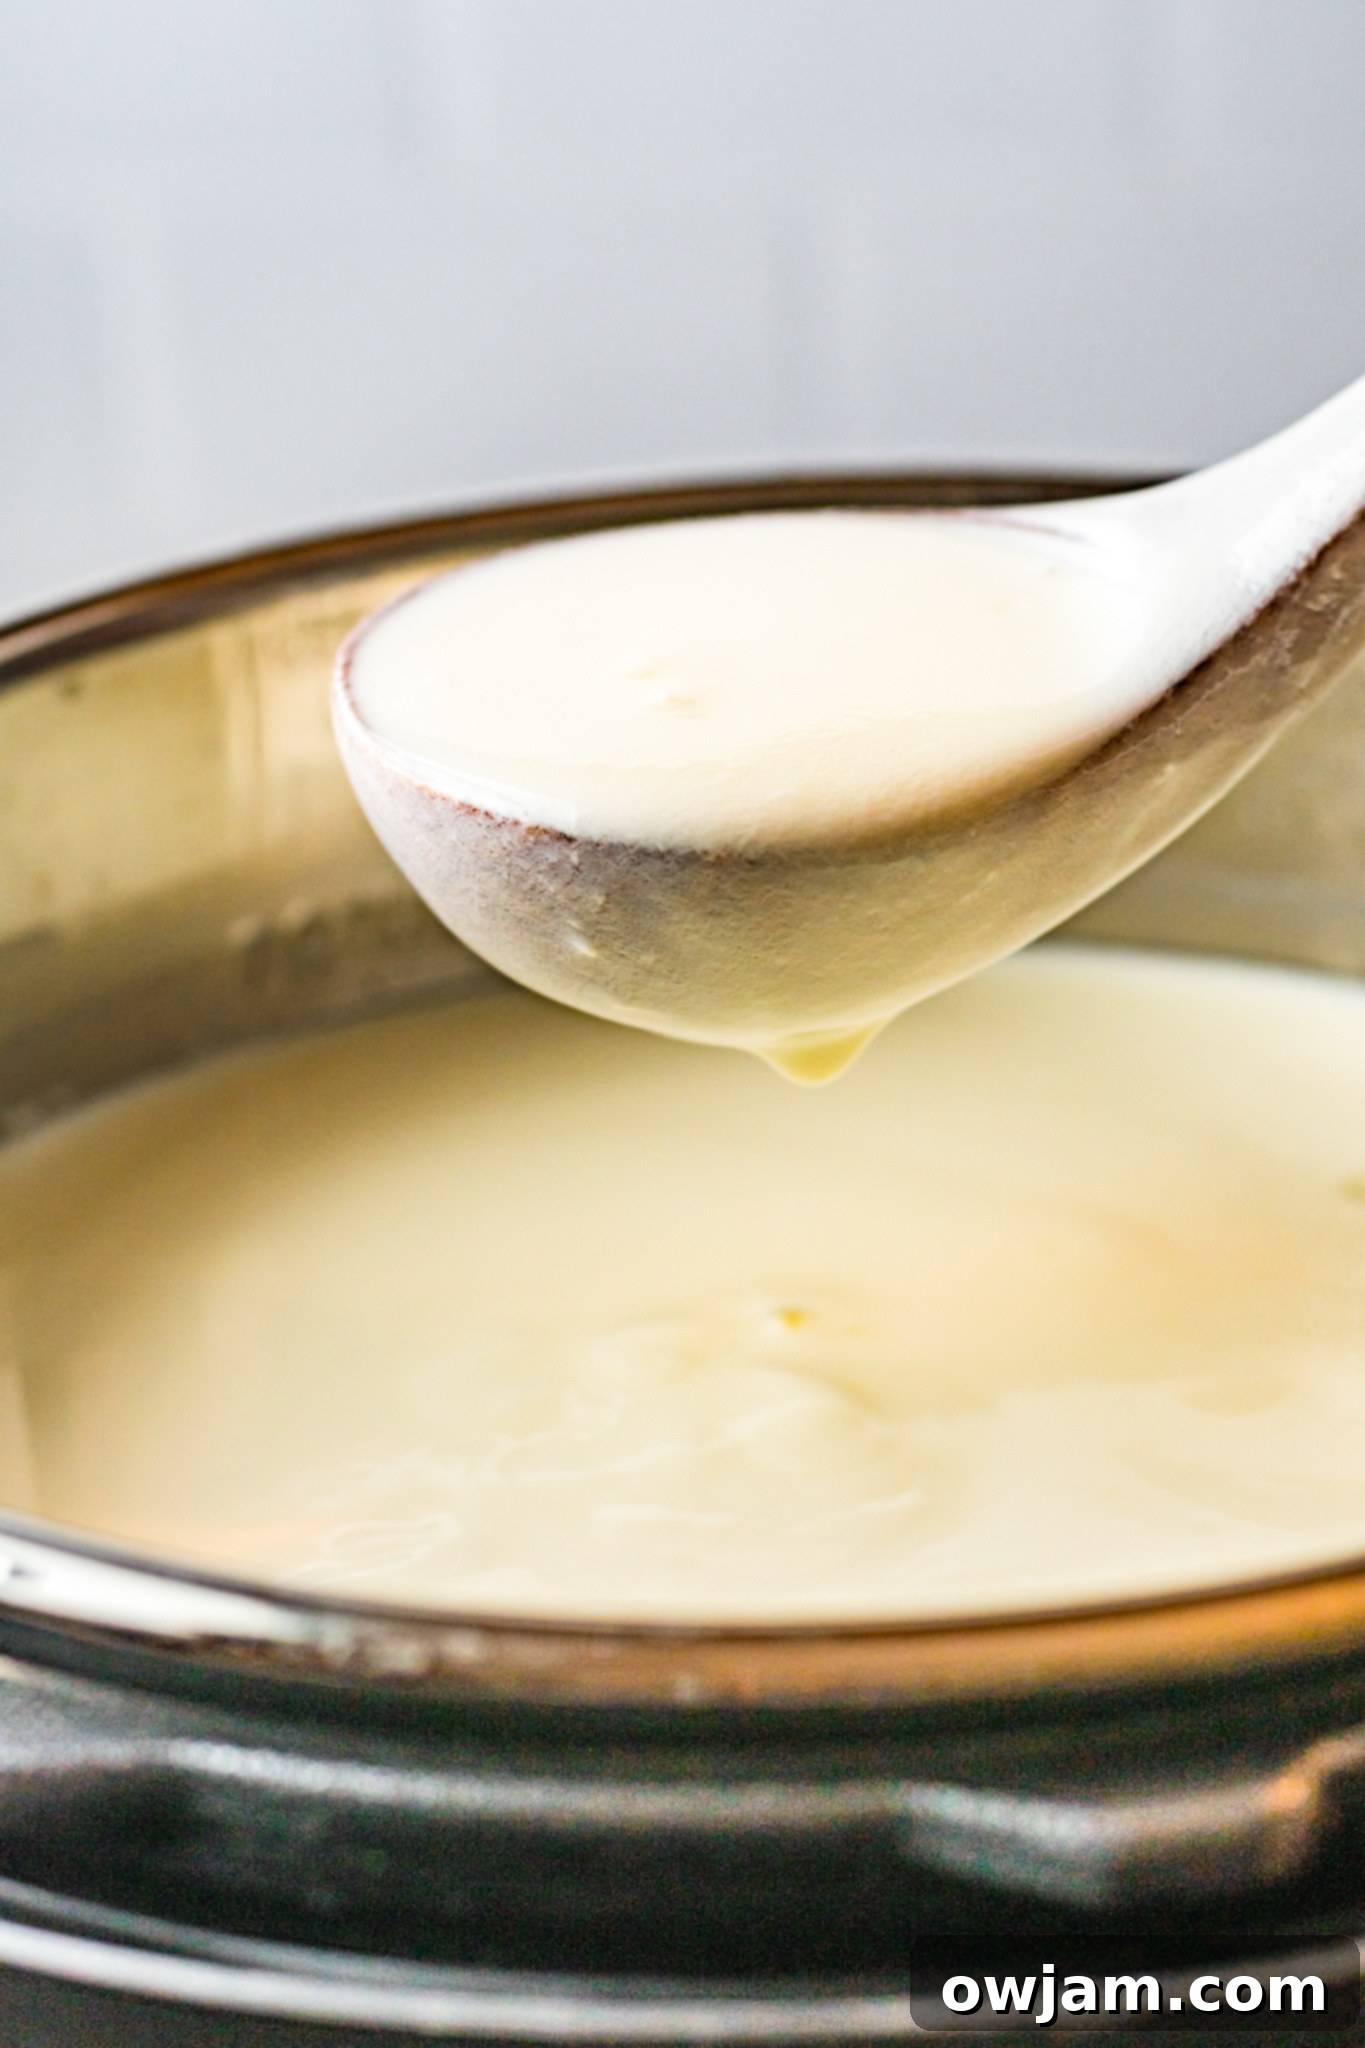
Common Instant Pot Yogurt Troubleshooting Tips
While making Instant Pot yogurt is generally straightforward, sometimes things don’t go exactly as planned. Here are some common issues and how to troubleshoot them:
- Yogurt is too thin/not setting:
- Starter Issues: Did your starter contain live and active cultures? Was it fresh? Old or inactive cultures won’t ferment the milk.
- Temperature Problems: Was the milk too hot when you added the starter (killing the cultures)? Or too cold (cultures couldn’t activate)? A reliable thermometer is key.
- Incubation Time: Did you incubate long enough? A longer incubation (10-18 hours) generally yields a thicker product.
- Milk Type: Lower fat milk (2% or skim) will naturally produce a thinner yogurt. Straining is often necessary for thickness.
- Did you stir after incubation? Resist the urge to stir the yogurt immediately after incubation. It needs to chill undisturbed to properly set.
- Yogurt is grainy or lumpy:
- Overheating: The milk might have heated too quickly or scorched on the bottom if done on the stove.
- Starter Not Mixed Well: Ensure the starter is thoroughly whisked into the cooled milk to prevent clumps.
- Yogurt is slimy:
- This can sometimes happen with ultra-pasteurized milk or if the cultures are struggling. Ensure your starter is fresh and your Instant Pot is well-sterilized.
- Yogurt is too tangy:
- Over-incubation: The longer the yogurt incubates, the more lactic acid is produced, leading to a tangier flavor. Reduce incubation time for a milder taste.
Health Benefits of Homemade Instant Pot Yogurt
Beyond the delicious taste and customizable flavors, making your own Instant Pot yogurt offers a wealth of health benefits:
- Rich in Probiotics: Homemade yogurt is teeming with live active cultures, which are beneficial bacteria (probiotics) known to support gut health, aid digestion, and boost the immune system.
- Controlled Ingredients: You have complete control over what goes into your yogurt, allowing you to avoid artificial sweeteners, colors, thickeners, and excessive added sugars often found in commercial yogurts.
- Excellent Source of Protein and Calcium: Yogurt is a fantastic source of protein, helping you feel full and supporting muscle health, as well as calcium, essential for strong bones and teeth.
- Digestibility: For individuals with lactose sensitivity, yogurt can sometimes be easier to digest than milk because the bacteria break down some of the lactose during fermentation.
Creative Ways to Enjoy Your Homemade Instant Pot Yogurt
Your freshly made Instant Pot yogurt is incredibly versatile. Here are even more ideas to incorporate it into your diet:
- Breakfast Bowls: Layer with fresh berries, nuts, granola, a drizzle of honey, or a sprinkle of cinnamon.
- Smoothies: Add a dollop to your favorite fruit and vegetable smoothies for a creamy texture and probiotic boost.
- Savory Dishes: Use it as a cooling counterpoint to spicy dishes, a topping for grilled meats like beef kafta, or a base for creamy sauces.
- Dressings and Dips: Replace mayonnaise or sour cream in recipes to create lighter, healthier dressings and dips. It’s fantastic in a Cucumber Tomato Salad with Yogurt Dressing or as a Tahini Yogurt Dressing.
- Baking: Incorporate it into muffins, pancakes (Greek Yogurt Waffles are a hit!), or quick breads for added moisture and a tender crumb.
- Snacks: Freeze it into delicious Frozen Yogurt Granola Bites or Strawberry Banana Yogurt Popsicles.
- Creative Appetizers: Try it in unexpected ways, like these Southwestern Greek Yogurt Deviled Eggs or alongside Za’atar Roasted Cauliflower with Yogurt Tahini Sauce.
Tried this recipe? Leave a star rating and comment below! Subscribe to my newsletter or follow me on
Facebook,
Instagram, or
Pinterest for the latest.
Instant Pot Yogurt Recipe
Pin
Ingredients
- 1 gallon whole milk
- 4 Tablespoons cultured yogurt , {make sure it is not sweetened or flavored yogurt}
Instructions
-
Clean your instant pot. Make sure it is very clean and rinse it out with boiling water to “sterilize” the pot. This will help the yogurt taste better.
-
Heat your milk. You can do this in the instant pot or in a pan on the stove. To heat on the stove, heat on medium low so the milk doesn’t scorch. If you heat in the instant pot, place the milk in the pan and seal the lid. Use the yogurt button and set to boil. This will take awhile. When the pot beeps, check the temperature of the milk. It needs to be 180°. Allow to sit in the instant pot for 5 minutes.
-
Allow the milk to cool to 105°-115°. Remove the pot from the instant pot. It will take about an hour to cool. If you want it to be quicker, plug the sink and add a couple inches of water and plenty of ice. Set the pan in the ice water. Don’t allow it to cool less than 105°.
-
Stir the milk and remove any skim from the top.
-
Stir in the yogurt starter.
-
Incubate your yogurt. Set the yogurt button for 8 hours. For a tangier yogurt with more cultures, allow it to incubate for 10 to 18 hours.
Notes
- Add ½ cup sweetener of choice per gallon. If more is needed, add a tablespoon at a time.
- Add 1 teaspoon of flavoring per quart for example 1 teaspoon of vanilla per quart for vanilla yogurt.
- A serving size is 1 cup and this recipe makes 1 gallon or 16 cups. We have made half the recipe as well and it works just the same.
Nutrition
Nutrition information is automatically calculated, so should only be used as an approximation.
