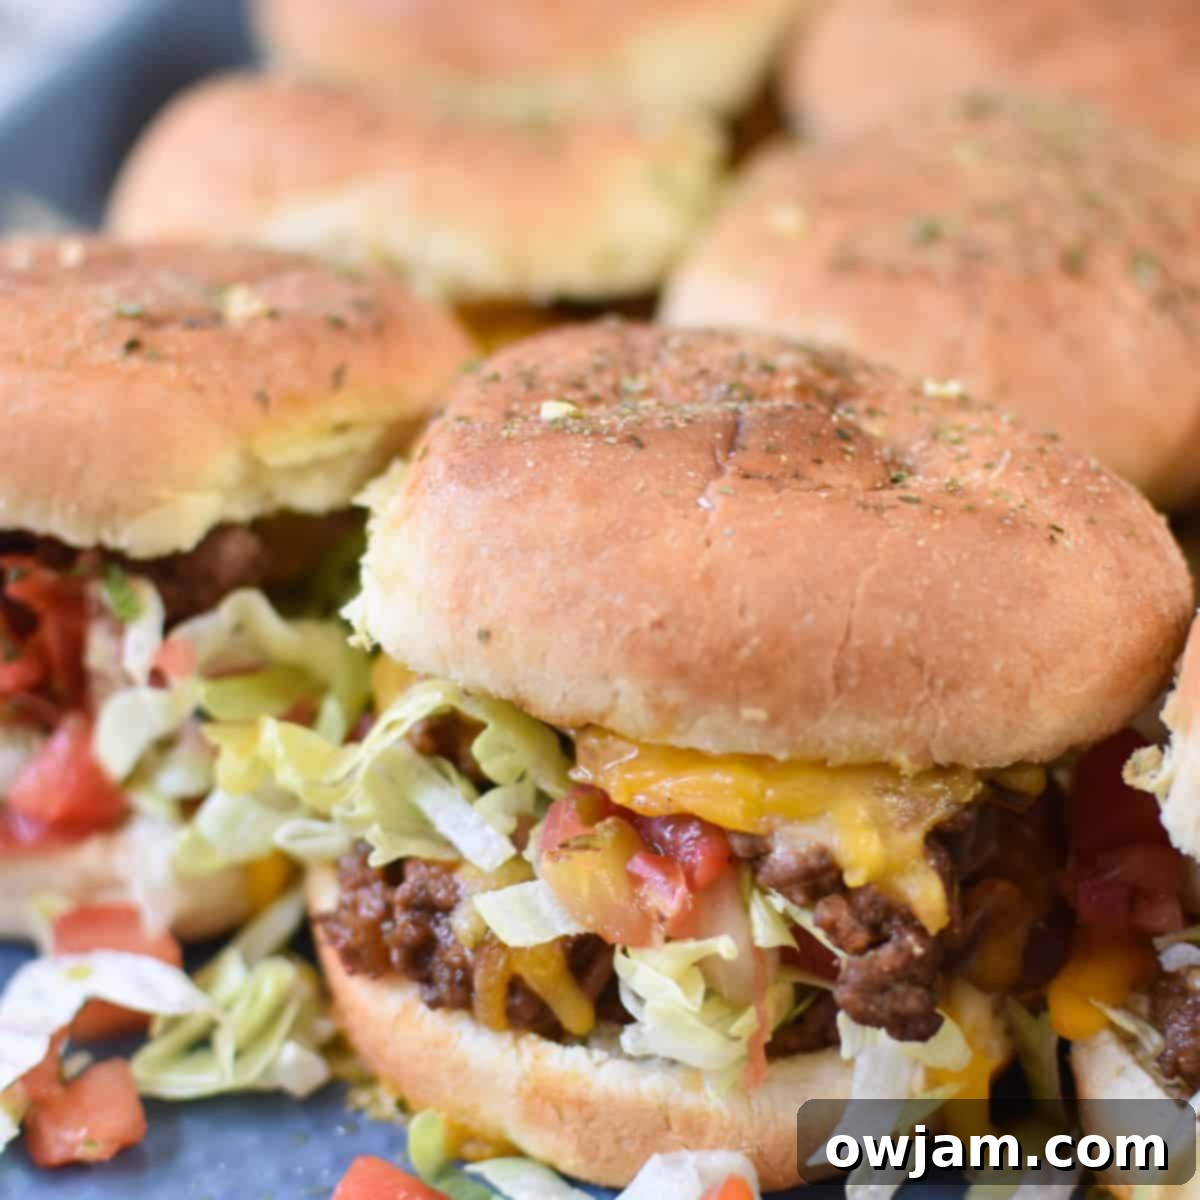
Irresistible Taco Beef Sliders: Your Ultimate Guide to Easy Game Day & Weeknight Flavor!
Get ready to elevate your culinary game with these incredibly delicious and easy-to-make Taco Beef Sliders! Whether you’re hosting a lively game day gathering, planning a casual party, or simply seeking a quick and flavorful weeknight meal, these mini sandwiches are an absolute winner. Featuring perfectly seasoned ground beef, vibrant red bell peppers, and savory red onion, all infused with classic taco spices, this recipe transforms simple ingredients into an unforgettable bite. The flavorful beef mixture is nestled into soft slider buns, generously topped with cheese, and baked until gooey and golden. Finish them off with your favorite fresh taco toppings for an explosion of taste in every bite.
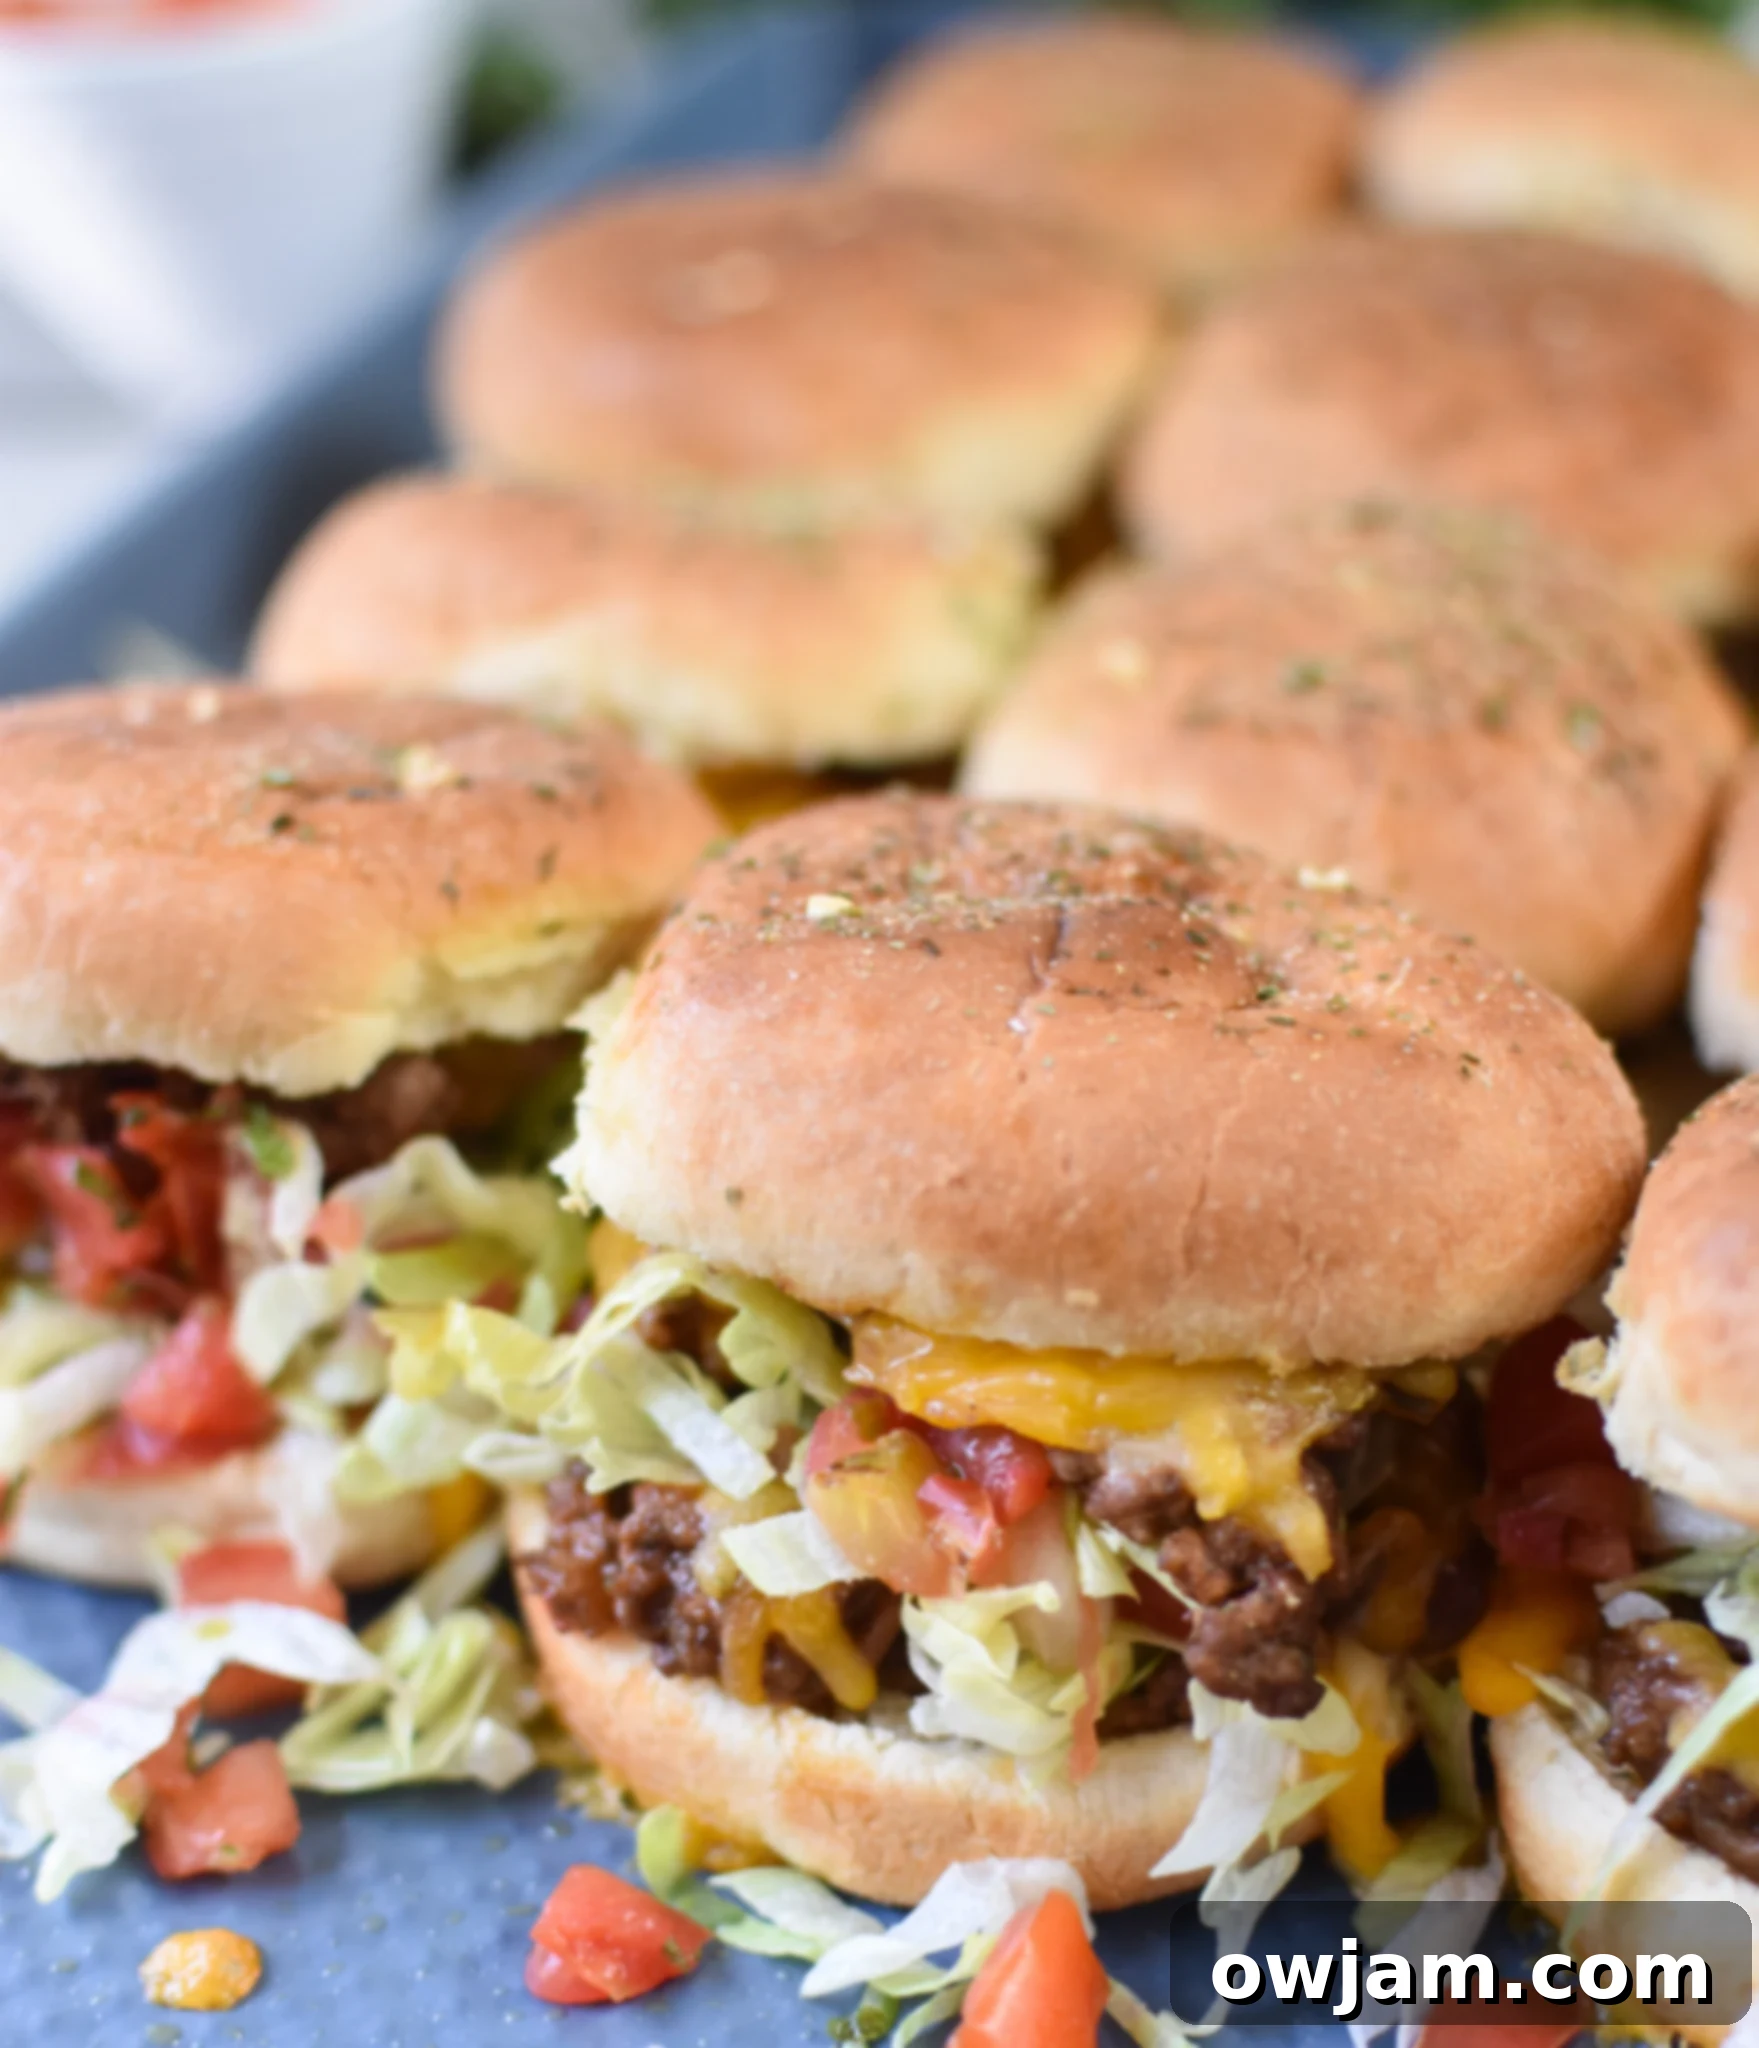
While the roar of the crowd might not always capture my full attention during a football game, the allure of fantastic game-day food certainly does! There’s something undeniably special about gathering with friends and family, enjoying good company, and indulging in delicious bites. These Taco Beef Sliders are designed to be at the heart of such memorable occasions, offering a handheld, flavor-packed experience that everyone will love.
I’m thrilled to partner with the Ohio Beef Council to celebrate tailgating season with these incredible Taco Beef Sliders. They are truly a crowd favorite, combining the beloved flavors of tacos with the convenience and fun of sliders. They’re not just ideal for tailgating; they’re also the perfect party food you can whip up for any social gathering, big or small.
One of the best aspects of this recipe is its versatility. I often find myself doubling or even tripling the batch, using a portion for immediate enjoyment and saving the rest for easy meals throughout the week. The ground beef taco mixture is incredibly flavorful and perfectly suited for slider buns. The rich blend of taco seasoning and a hint of salsa creates a depth of flavor that’s both comforting and exciting. Without the taco seasoning, these sliders easily transform into a delicious version of classic cheeseburger sliders, demonstrating just how adaptable this recipe truly is.
Once the seasoned meat is prepared, it’s generously spread onto toasted slider buns and topped with a blanket of shredded cheese. The sliders then take a short trip to the oven, where the cheese melts into bubbly perfection and the buns become lightly golden. The final touch? Your choice of fresh taco toppings! I personally love to add crisp shredded lettuce, a sprinkle of fresh cilantro, and a dollop of my favorite salsa, bringing a burst of freshness and texture to each slider.
When assembling a full tailgating spread, these beef sliders are always a star. I love pairing them with other crowd-pleasing appetizers like crispy Jalapeño Poppers with Bacon, Cowboy Caviar, Buffalo Chicken Dip, and savory Roasted Buffalo Cauliflower. These combinations create a vibrant and satisfying menu that caters to all tastes.
If you’re a fan of sliders as much as I am, you absolutely must explore my other fantastic recipes. Dive into my Easy Chicken Sliders, Easy Chicken Parmesan Sliders, Roast Beef Sliders or these incredibly flavorful Chicken Enchilada Sliders. Each recipe offers a unique twist on the beloved mini sandwich, perfect for any occasion.
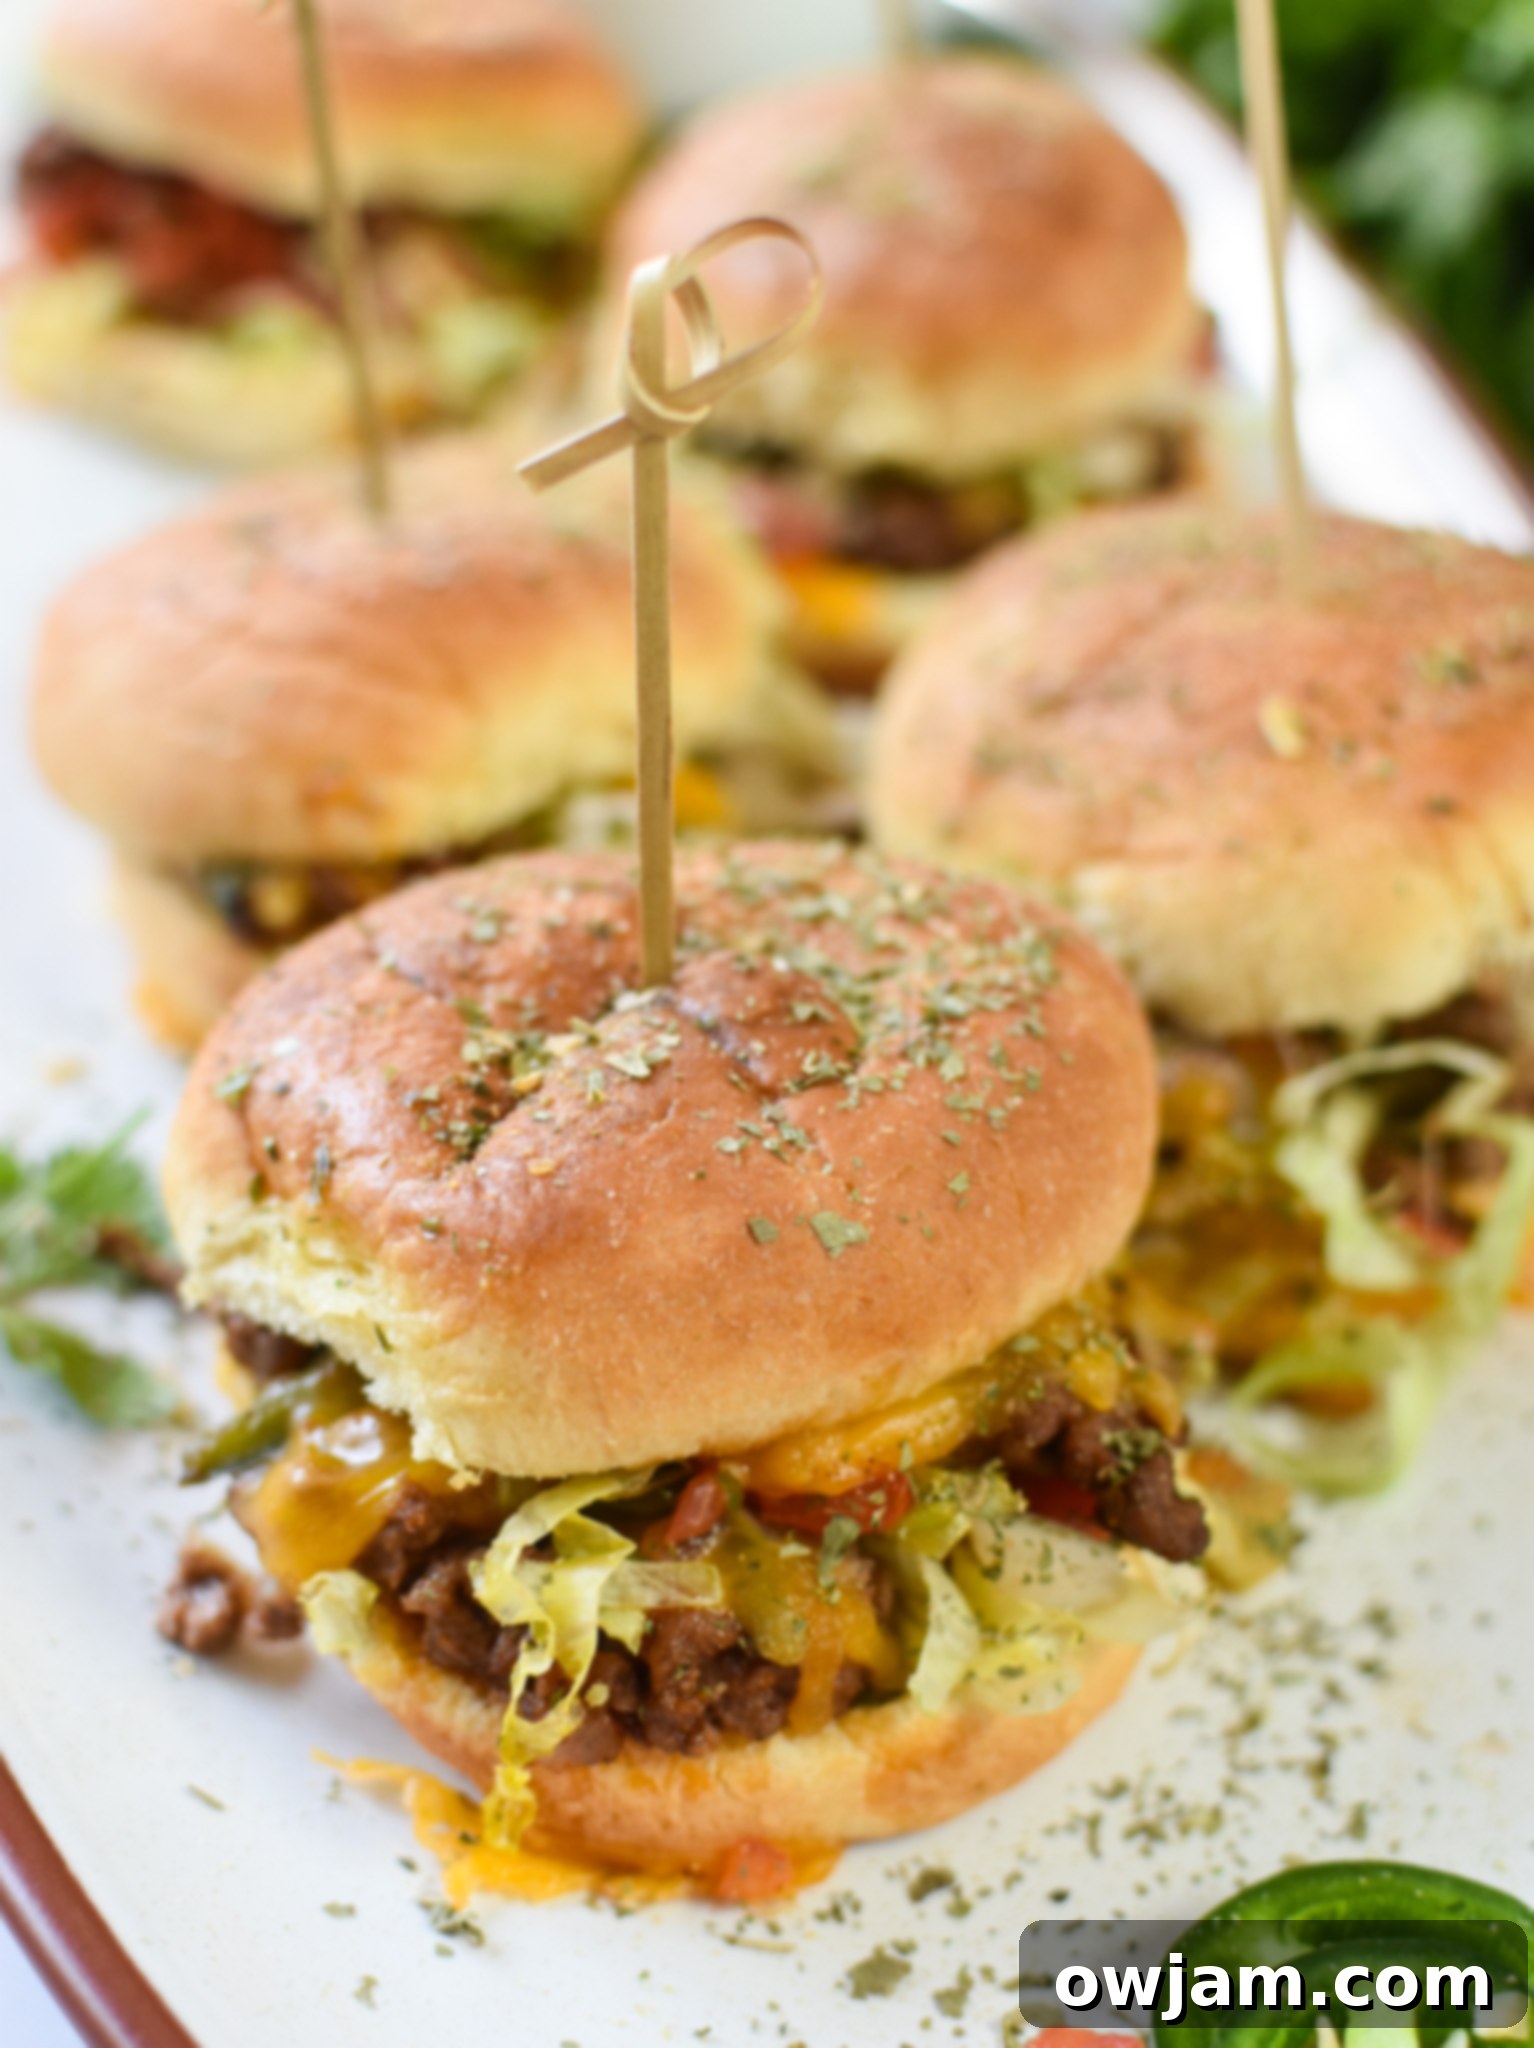
Why You Will Love These Taco Beef Sliders:
These Taco Beef Sliders aren’t just another recipe; they’re a solution for delicious, stress-free entertaining and convenient weeknight meals. Here’s why they’re sure to become a staple in your kitchen:
- Great for a Crowd: If you’re looking for a fuss-free appetizer or main dish that can easily scale up, these sliders are your answer. They’re a fantastic choice for game day parties, holiday gatherings, family reunions, or any event where you need to feed a large group without spending hours in the kitchen. Preparing a large batch is simple – just double or triple the recipe, assemble them on baking sheets, and pop them into the oven. Their individual serving size makes them easy to grab and enjoy, minimizing mess and maximizing enjoyment for everyone from kids to adults.
- Easy to Make: Simplicity is key, especially on busy days. These taco beef sliders truly shine in their ease of preparation. The steps are straightforward, utilizing common kitchen ingredients and techniques. You can even prepare the flavorful taco beef mixture ahead of time, storing it in the fridge until you’re ready to assemble. This make-ahead option is a lifesaver for frantic weeknights, allowing you to quickly combine the seasoned beef with buns and cheese before baking. Serve them alongside a simple green salad, some crispy french fries, or a bowl of easy black bean salad for a complete and satisfying meal.
- Use Leftovers Efficiently: This recipe is a brilliant way to make the most of leftover ground beef or even leftover taco meat from a previous dinner. Instead of letting that delicious beef go to waste, transform it into these mouthwatering sliders. It’s an excellent way to reinvent meals, saving you time and reducing food waste. You can easily adjust the recipe quantity, cutting it in half or scaling it up, depending on how much leftover meat you have available. It’s smart cooking that tastes incredible!
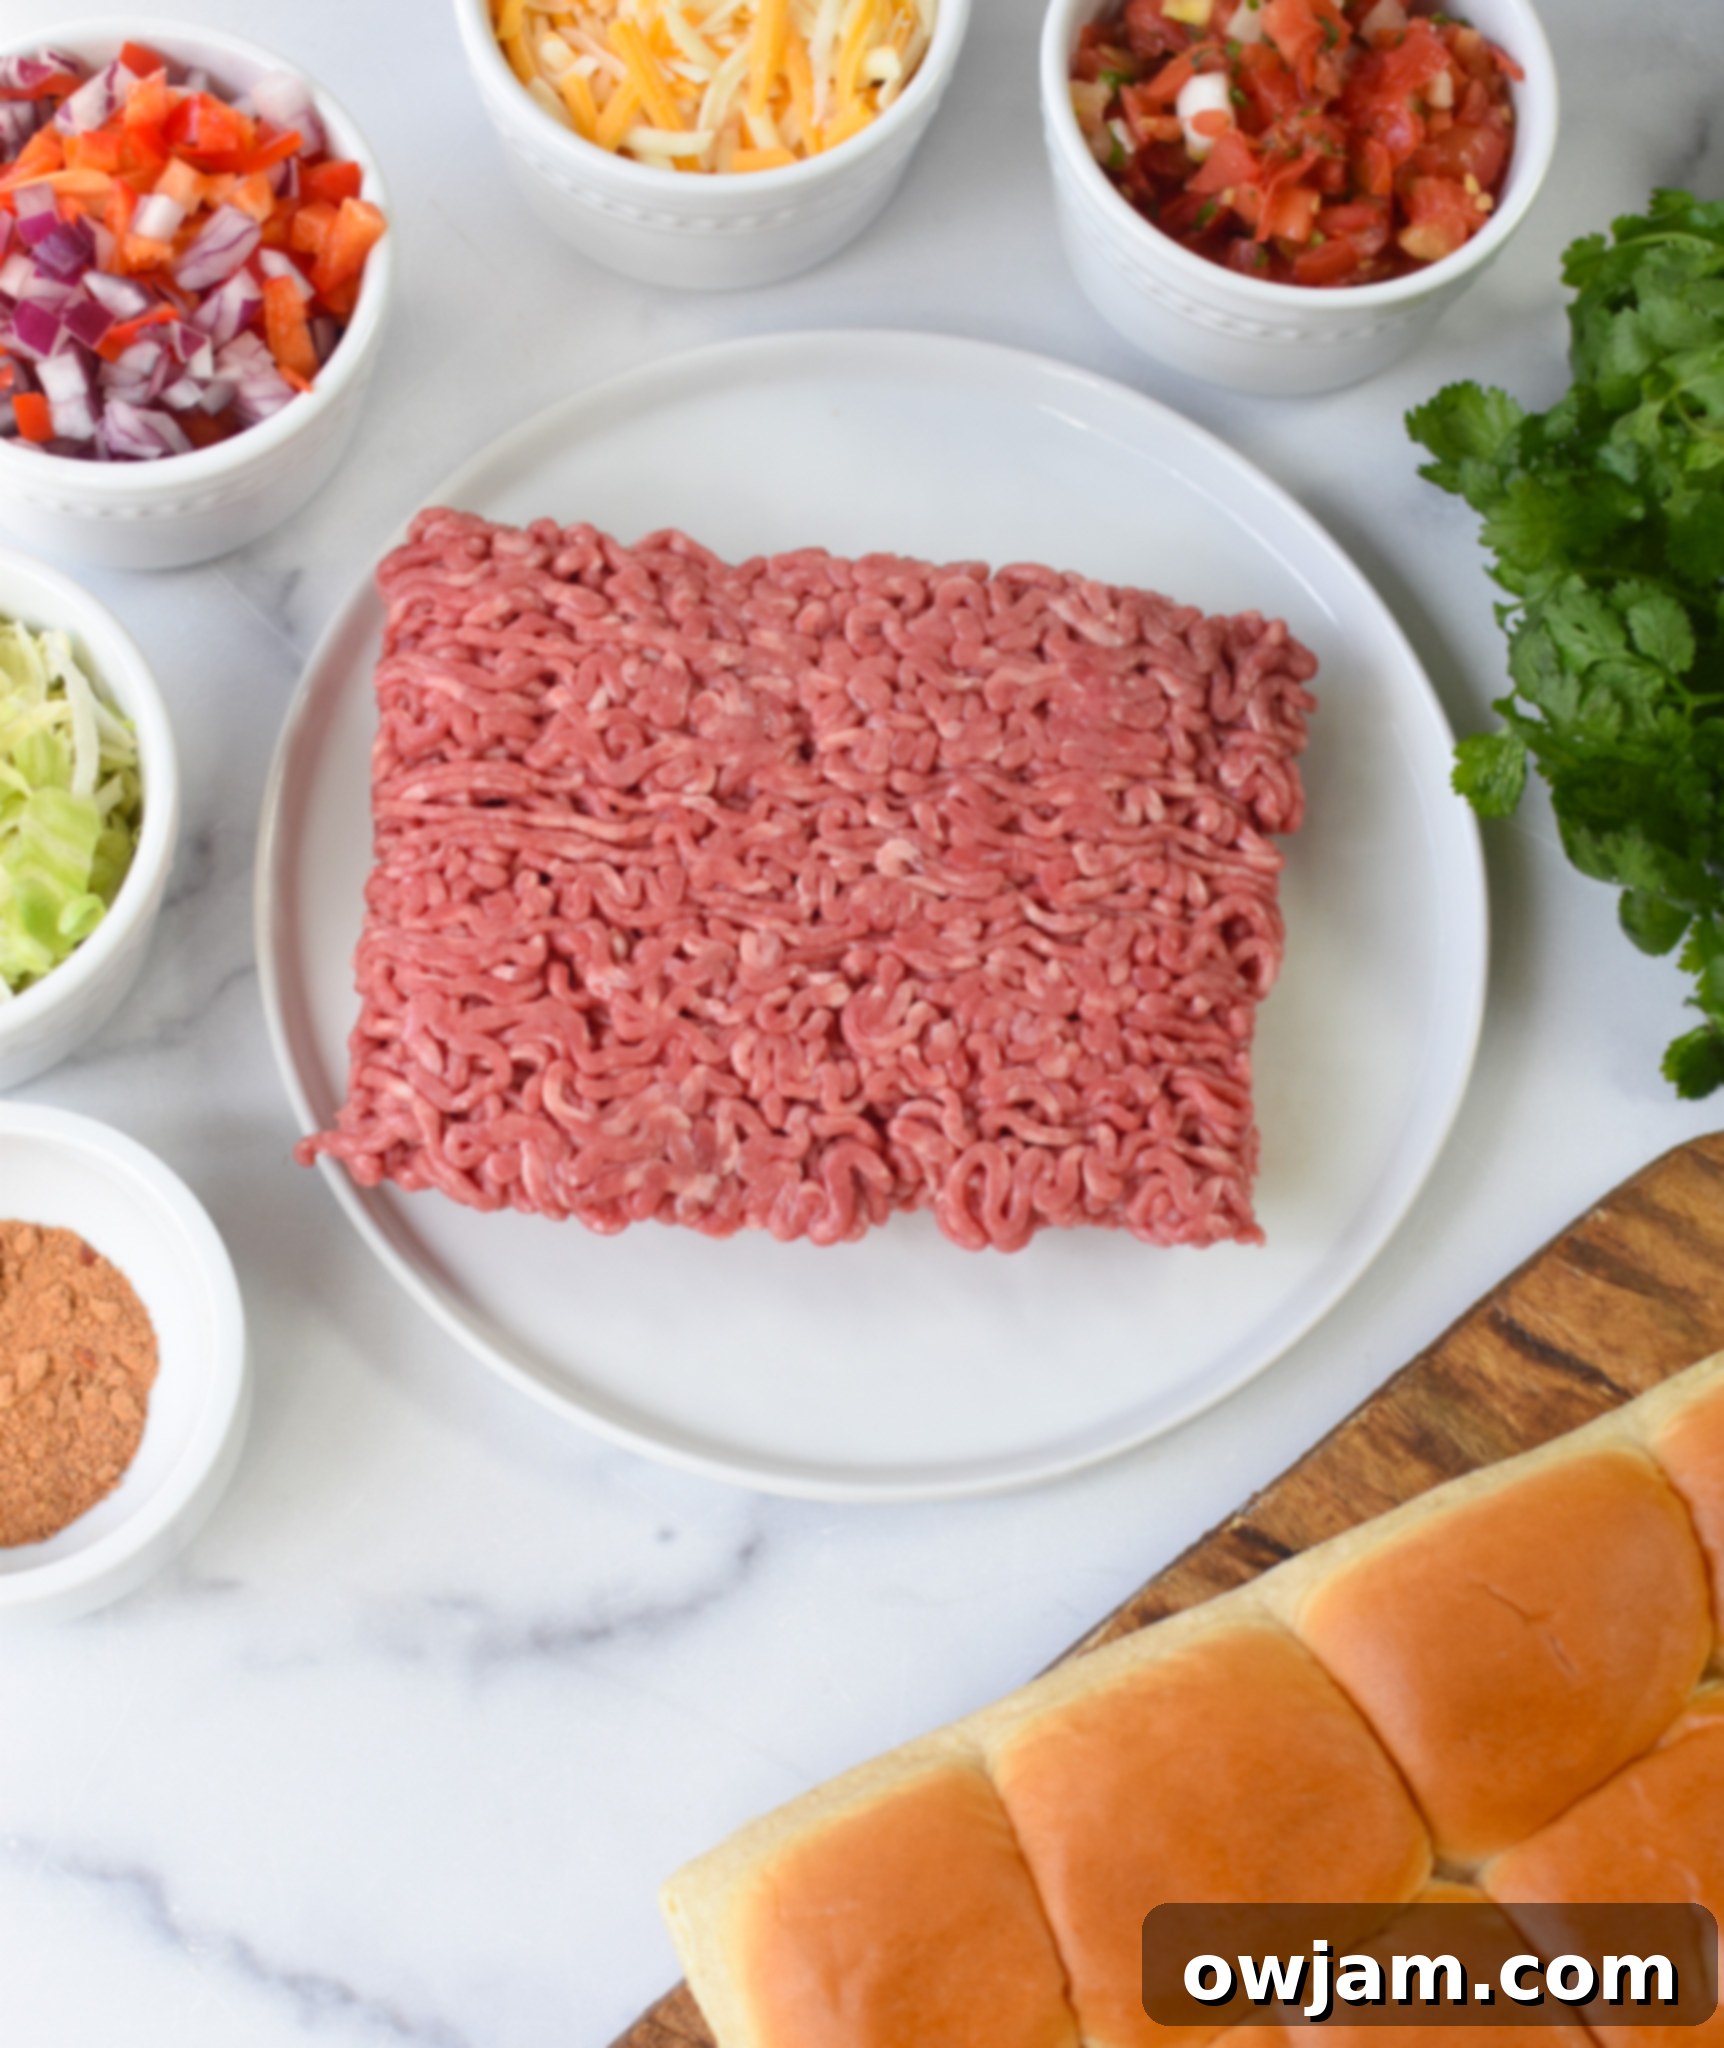
Essential Recipe Ingredients You’ll Need:
Crafting the perfect Taco Beef Sliders begins with selecting quality ingredients. Here’s a breakdown of what you’ll need and why each component is important:
- Beef: The star of our sliders is ground beef. I highly recommend using 80/20 ground beef. The 80% lean, 20% fat ratio provides a rich flavor and keeps the meat juicy and tender, preventing it from drying out during cooking. While leaner beef can be used, you might find it less flavorful. Remember, it’s crucial to thoroughly drain any excess fat after cooking to prevent the sliders from becoming soggy and greasy.
- Fresh Vegetables: To enhance the beef mixture with texture and aromatic flavors, this recipe calls for minced garlic, finely diced sweet onion, and colorful bell peppers. Finely dicing these vegetables ensures they blend seamlessly into the beef, providing flavor without overpowering the bite. Consider using red, yellow, or orange bell peppers for a touch of sweetness and visual appeal.
- Taco Spices: The distinctive taste of these sliders comes from taco seasoning. This blend typically includes chili powder, cumin, paprika, oregano, and garlic powder, delivering that classic Tex-Mex flavor. You can opt for a convenient store-bought packet, or if you prefer to control the ingredients and sodium, try making your own! I have a fantastic recipe for Homemade Taco Seasoning Mix here that’s easy to prepare and keeps well.
- Salsa or Taco Sauce: Adding salsa or taco sauce to the beef mixture introduces moisture, tang, and another layer of delicious flavor. Choose your favorite variety – whether it’s mild, medium, or hot, chunky or smooth. A good quality store-bought salsa works wonders, or for an extra fresh taste, consider using my Homemade Salsa recipe.
- Slider Assembly Components: To bring these sliders to life, you’ll need soft slider buns (King’s Hawaiian rolls are a popular choice for their subtle sweetness and soft texture), your chosen shredded cheese, melted butter for brushing, and a blend of garlic powder, onion powder, taco seasoning, salt, and pepper to sprinkle over the tops of the buns. This savory butter topping not only adds flavor but also helps the buns crisp up beautifully in the oven.
For precise ingredient quantities and detailed step-by-step instructions, please refer to the comprehensive recipe card located below.
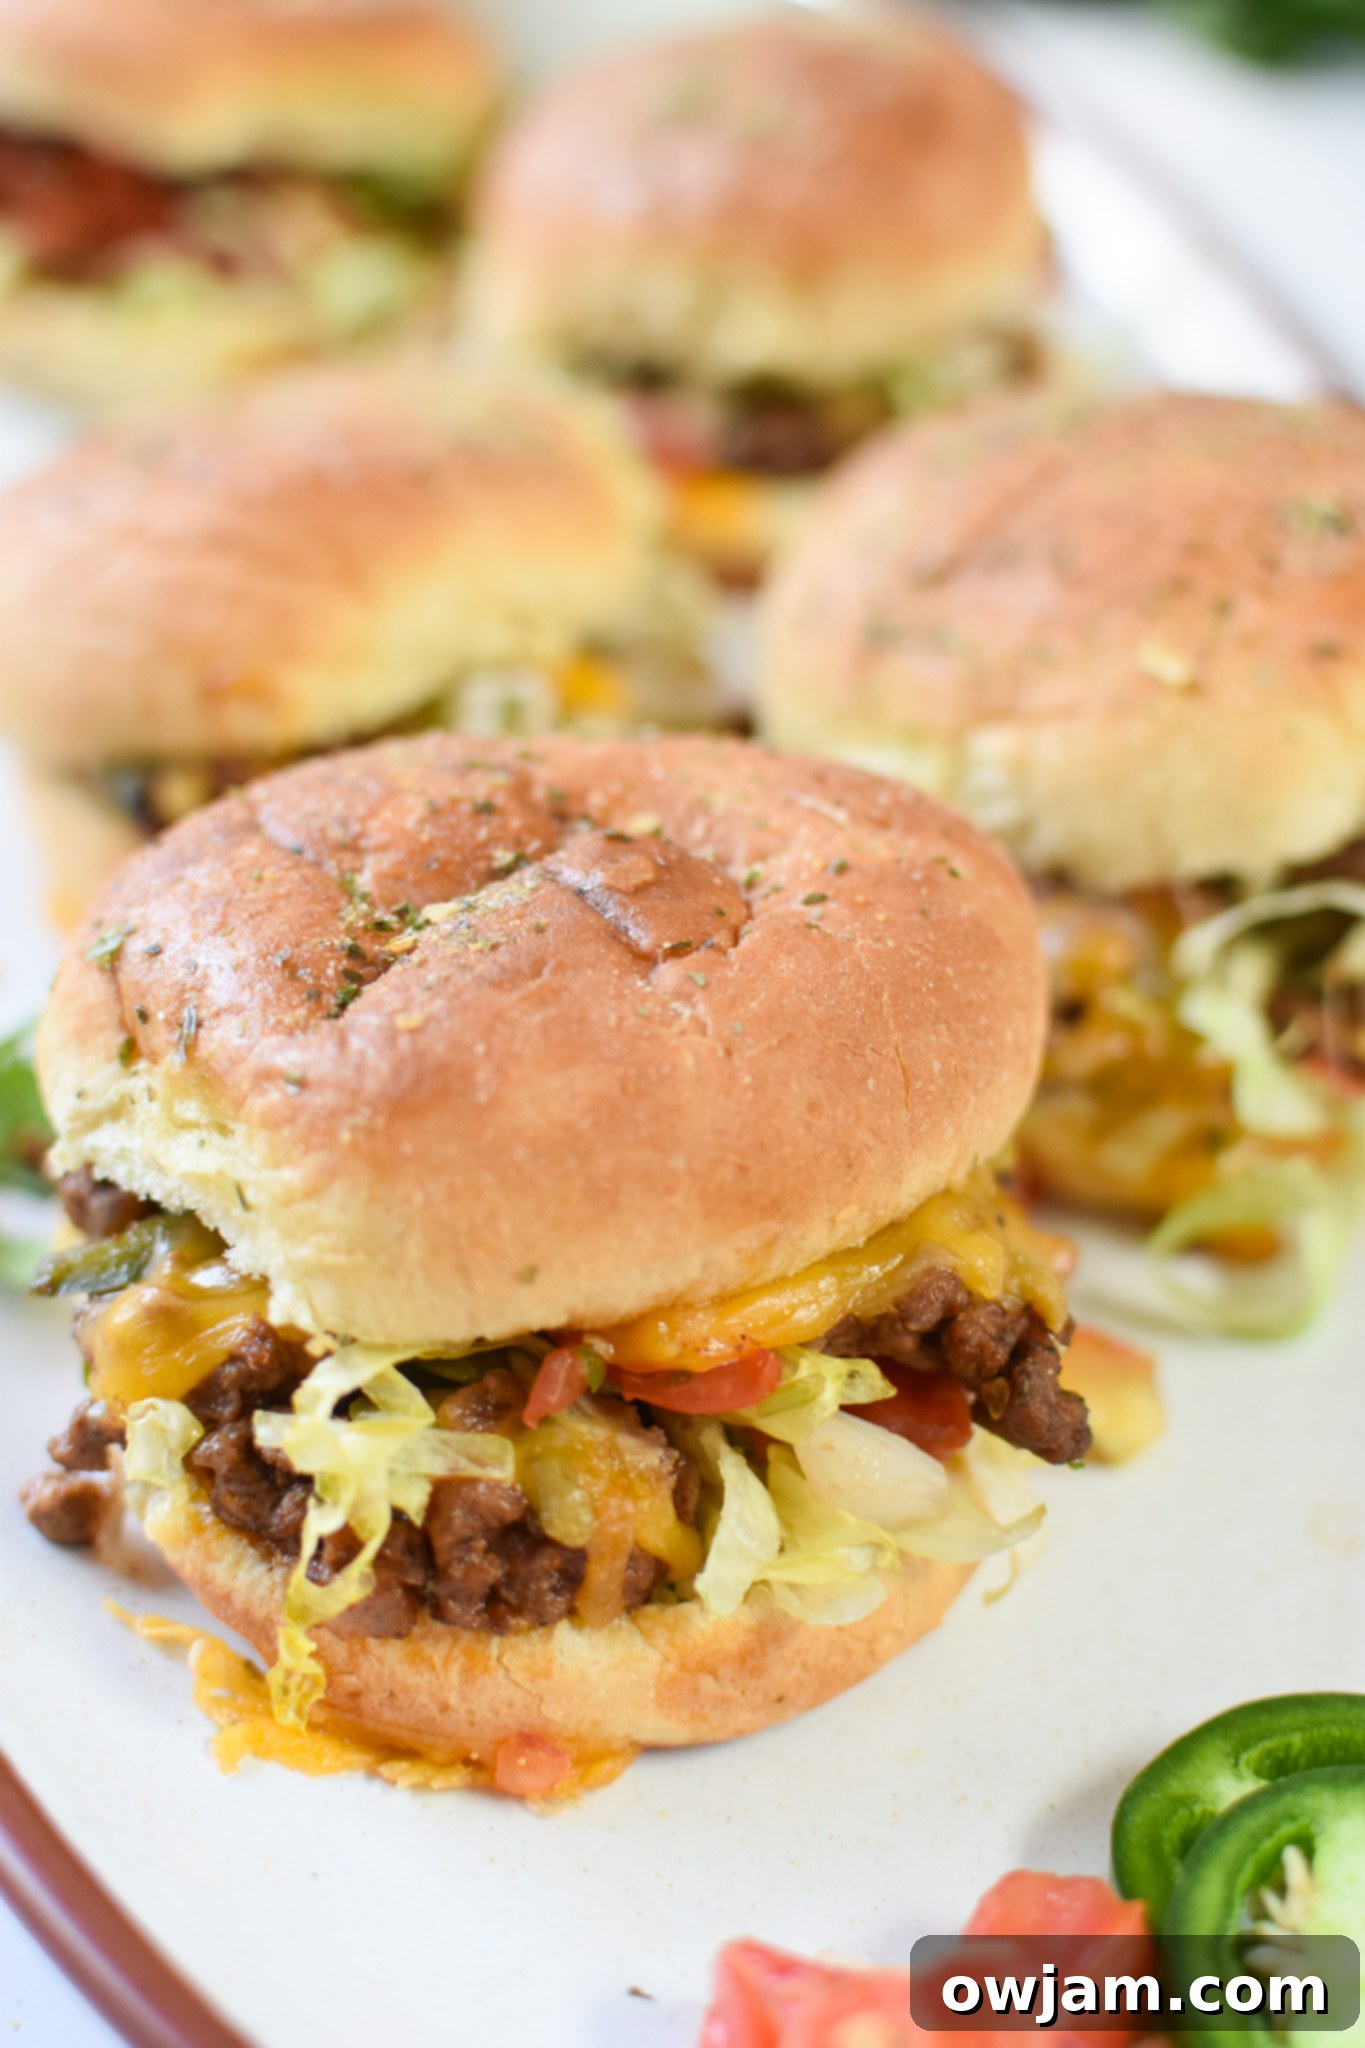
Exciting Recipe Variations & Customization Ideas:
One of the best things about these Taco Beef Sliders is how easily they can be customized to suit your taste preferences or what you have on hand. Don’t be afraid to get creative!
- Add Beans for Extra Heartiness: Boost the fiber and texture of your sliders by incorporating beans into the beef mixture. Black beans offer a creamy, earthy flavor, while red beans or pinto beans provide a slightly different, robust taste. White beans could also work for a milder addition. Make sure to rinse and drain canned beans thoroughly before adding them to the cooked beef mixture.
- Spice It Up (or Down!): Beyond the standard taco seasoning, there are many ways to adjust the spice profile. Consider adding a pinch of smoked paprika for depth, a dash of cayenne pepper for extra heat, or even a small amount of chipotle powder for a smoky kick. For a unique twist, a hint of Italian seasoning might surprise you with a savory herb note, reminiscent of a meatball sub.
- Cheese, Please! While sharp cheddar offers a classic tangy flavor, don’t limit yourself! Colby jack cheese provides a milder, creamier melt. For a spicier option, pepper jack cheese adds a pleasant heat. Provolone cheese gives a smoother, more delicate flavor, while cotija cheese crumbled on top after baking offers a salty, crumbly texture. Mozzarella cheese is perfect for an extra gooey, stretchy melt. Sometimes I’ll even use a blend of two or three cheeses for a more complex flavor profile. You can also use slices of cheese instead of shredded for convenience.
- Veggie Boost: The red onion and bell peppers provide a great base, but feel free to load up on more vegetables. Sweet corn adds a burst of sweetness, sliced banana peppers offer a tangy kick, and finely grated carrots or zucchini can be sneaked in for extra nutrients. Roasted poblano peppers would also add a smoky, mild chile flavor.
- Caramelized Onions: For a gourmet touch, try adding caramelized onions. Their deep, sweet, and savory flavor pairs exceptionally well with the rich beef and melted cheese. To caramelize onions, simply slice them thinly and sauté them slowly over low heat with a little butter or olive oil until deeply browned and soft. If you go this route, mozzarella or provolone cheese would complement the onions beautifully.
- Salsa Variations: The salsa you choose can significantly change the flavor of your sliders. My Salsa Verde offers a bright, tangy, and slightly spicy profile. For a fresher, chunkier texture, Pico de Gallo is excellent. And of course, the classic Homemade Salsa or a creamy Avocado Tomatillo Salsa would all be fantastic additions stirred into the beef or served as a topping.
- Additional Toppings: Don’t forget the garnishes! Beyond the classic lettuce and cilantro, consider a dollop of sour cream or Greek yogurt, a scoop of creamy guacamole, sliced black olives, pickled jalapeños for extra heat, or a drizzle of your favorite hot sauce. A sprinkle of chopped green onions also adds a fresh, mild onion flavor.
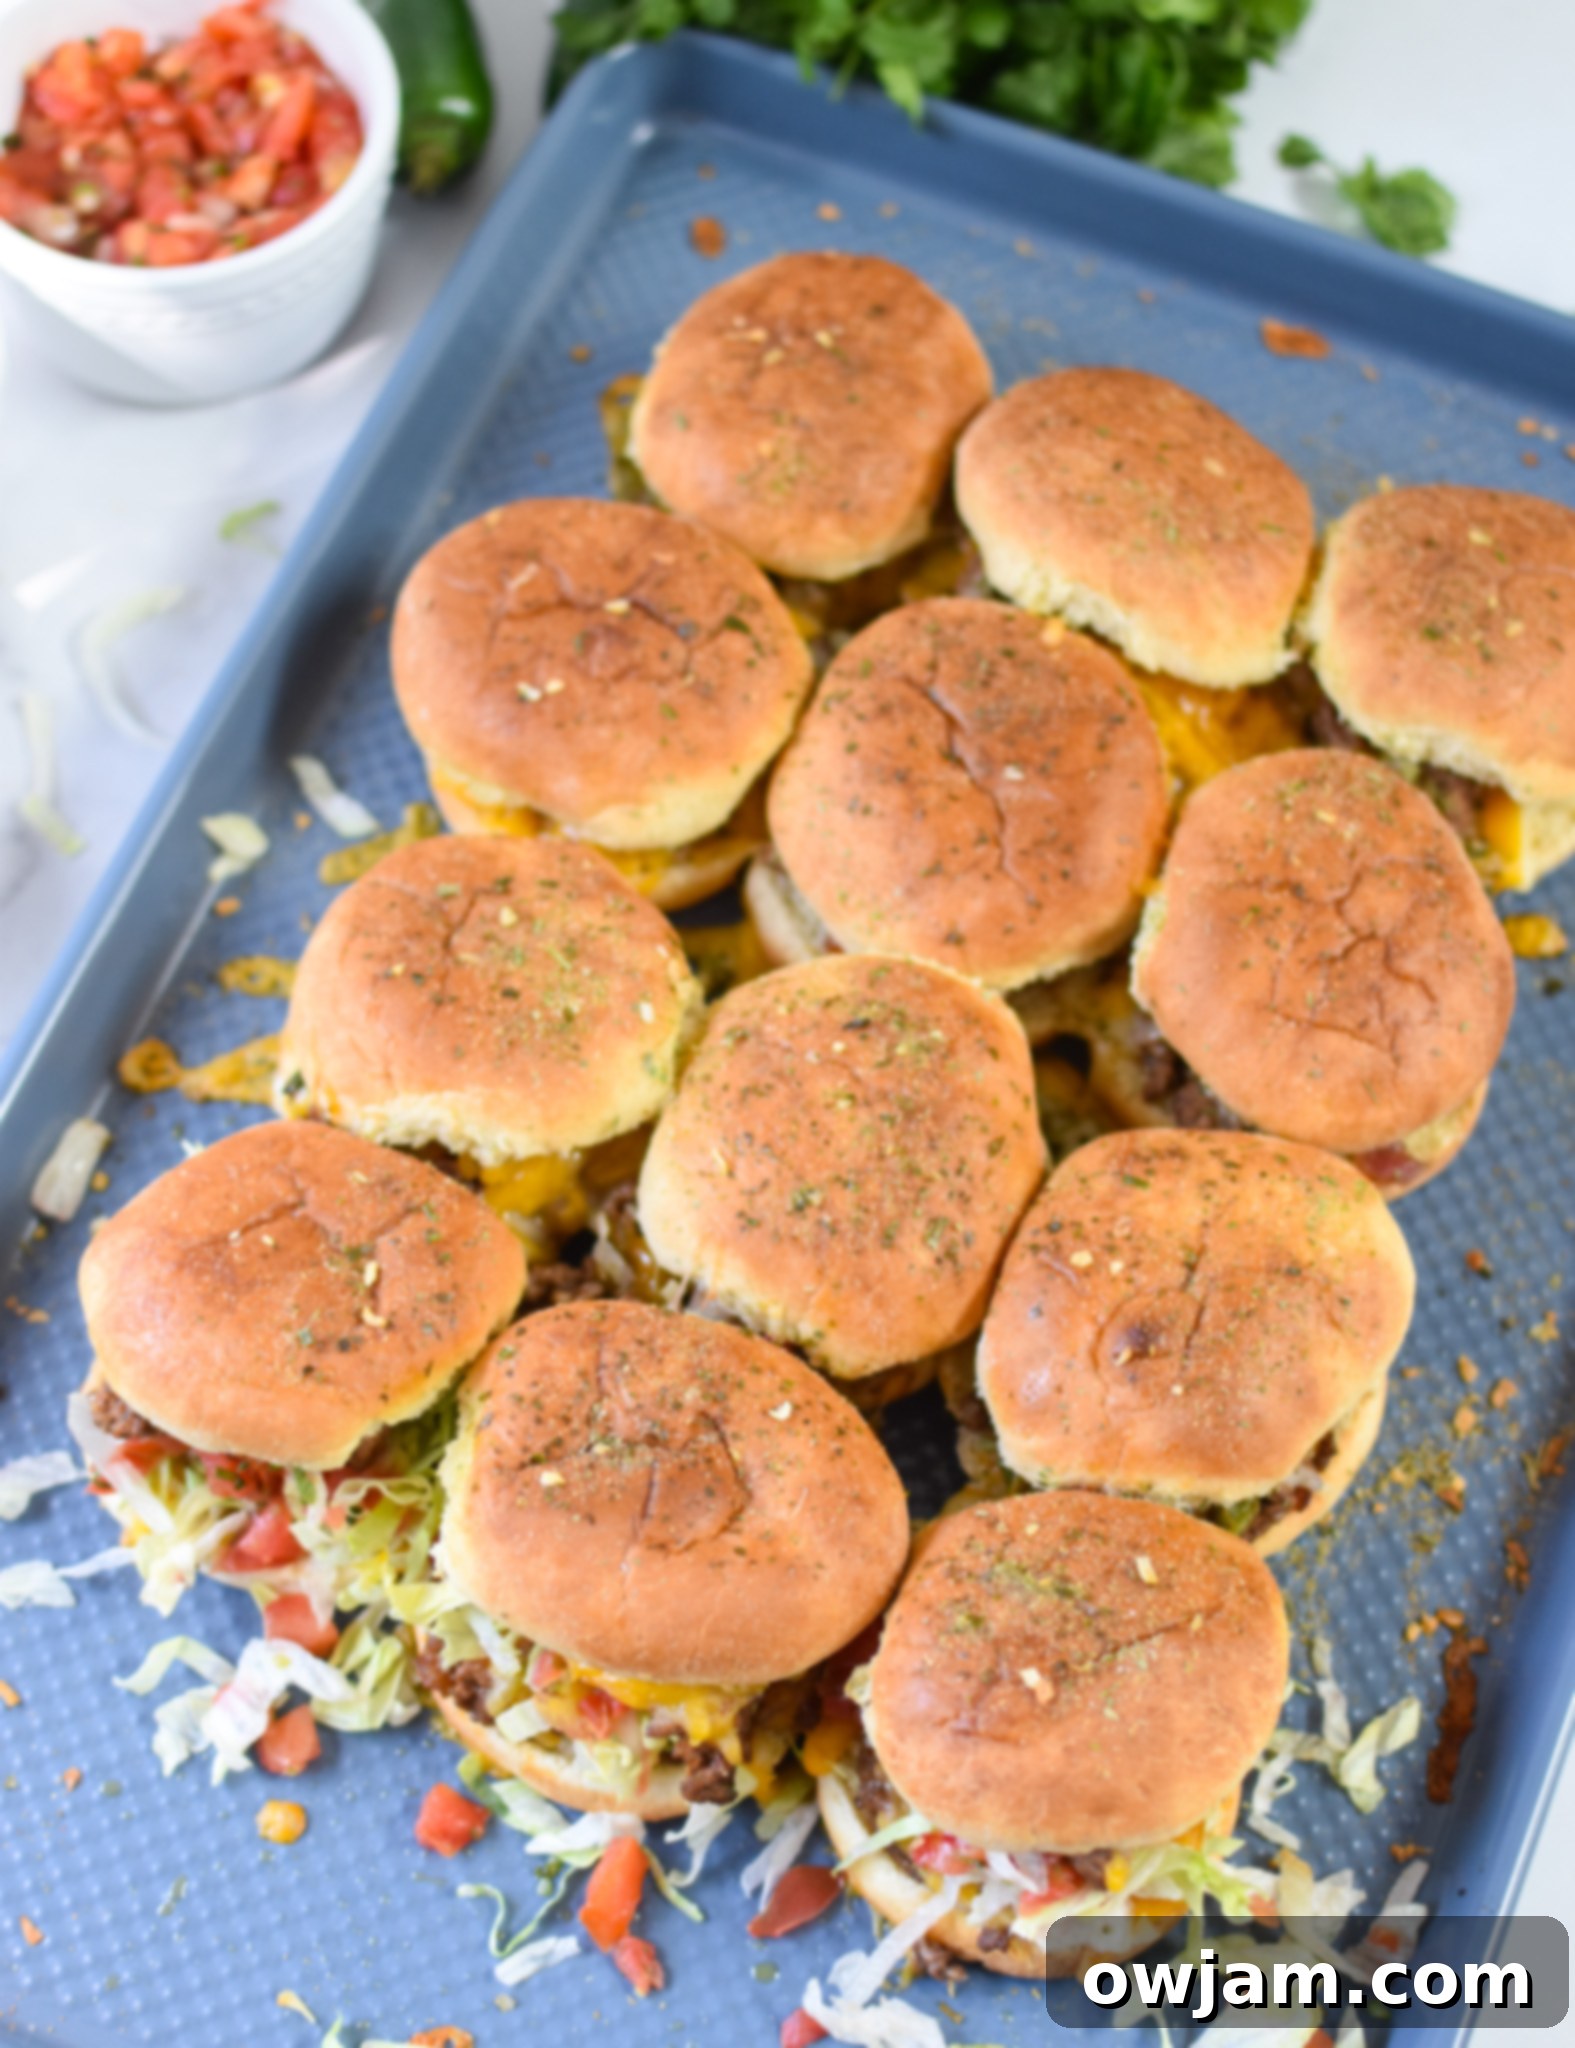
How to Make Delicious Taco Beef Sliders: Step-by-Step Guide
Creating these flavor-packed sliders is incredibly straightforward. Follow these simple steps for perfect results every time:
First, preheat your oven to 350 degrees F (175 degrees C). This ensures your oven is ready for baking as soon as your sliders are assembled.
Step 1: Cook the Beef and Veggie Mixture: In a large, sturdy skillet, heat the olive oil over medium-high heat. Add the minced garlic and sauté for about 2 minutes until it becomes fragrant. Next, add the diced red onion and bell pepper, continuing to sauté for another 3-4 minutes until the vegetables begin to soften. Once the vegetables are tender, add your ground beef to the skillet. Break up the beef with a spoon and cook until it is fully browned and no longer pink. This usually takes about 5-7 minutes. Ensuring the beef is thoroughly cooked and well-browned builds a strong flavor base for your sliders.
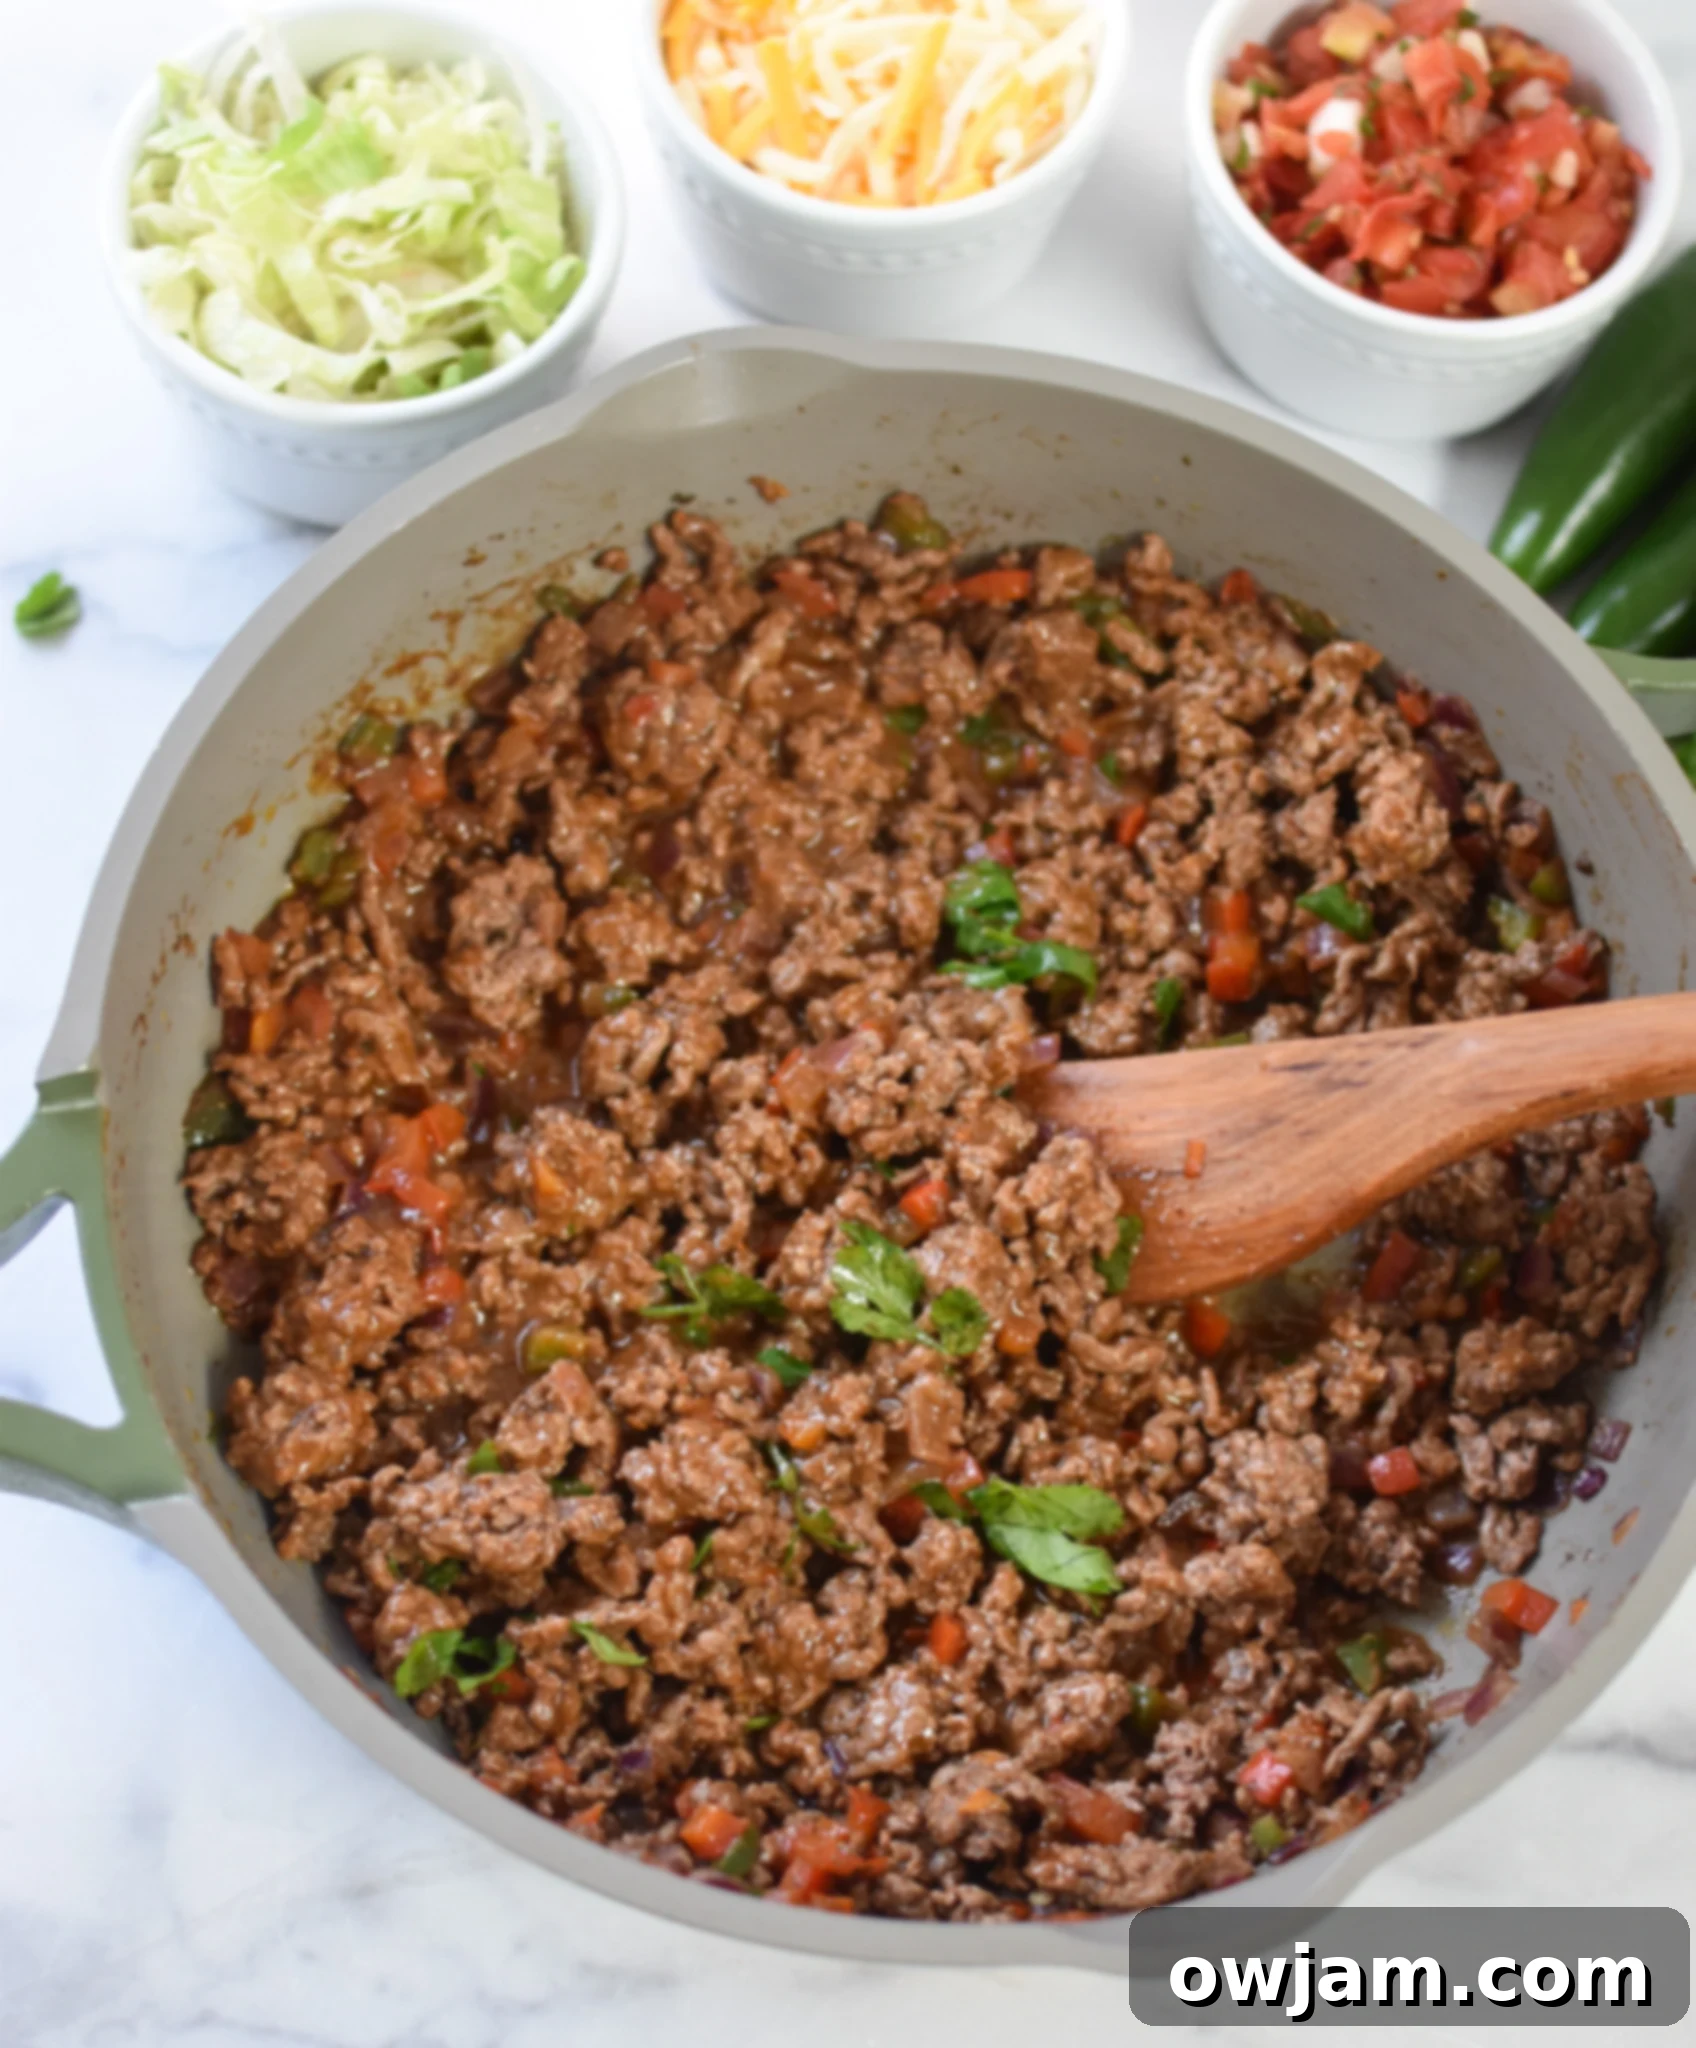
Once the meat mixture is cooked through, it’s essential to drain any excess fat. This step is crucial for preventing soggy sliders. Return the drained beef to the skillet.
Step 2: Stir in Taco Seasoning and Salsa: With the beef back in the skillet (off the heat or on very low), stir in the taco seasoning and your chosen salsa or taco sauce. Mix well to ensure the beef is evenly coated and flavored. Remove the beef from the stove completely.
Prepare your baking vessel. Lightly grease and line a 9” x 13” baking dish with parchment paper, or simply spray a baking sheet with non-stick cooking spray. This prevents sticking and makes cleanup easier.
Step 3: Prepare the Slider Buns: Take your package of slider buns (such as King’s Hawaiian rolls) and, using a serrated knife, carefully cut the entire sheet of buns in half horizontally, separating the top from the bottom. Place the bottom halves of the buns into your prepared casserole dish or onto the baking sheet. For extra protection against sogginess, you can lightly toast these bottom halves in the preheated oven for 3-4 minutes before adding the beef mixture. This creates a slightly crispy barrier.
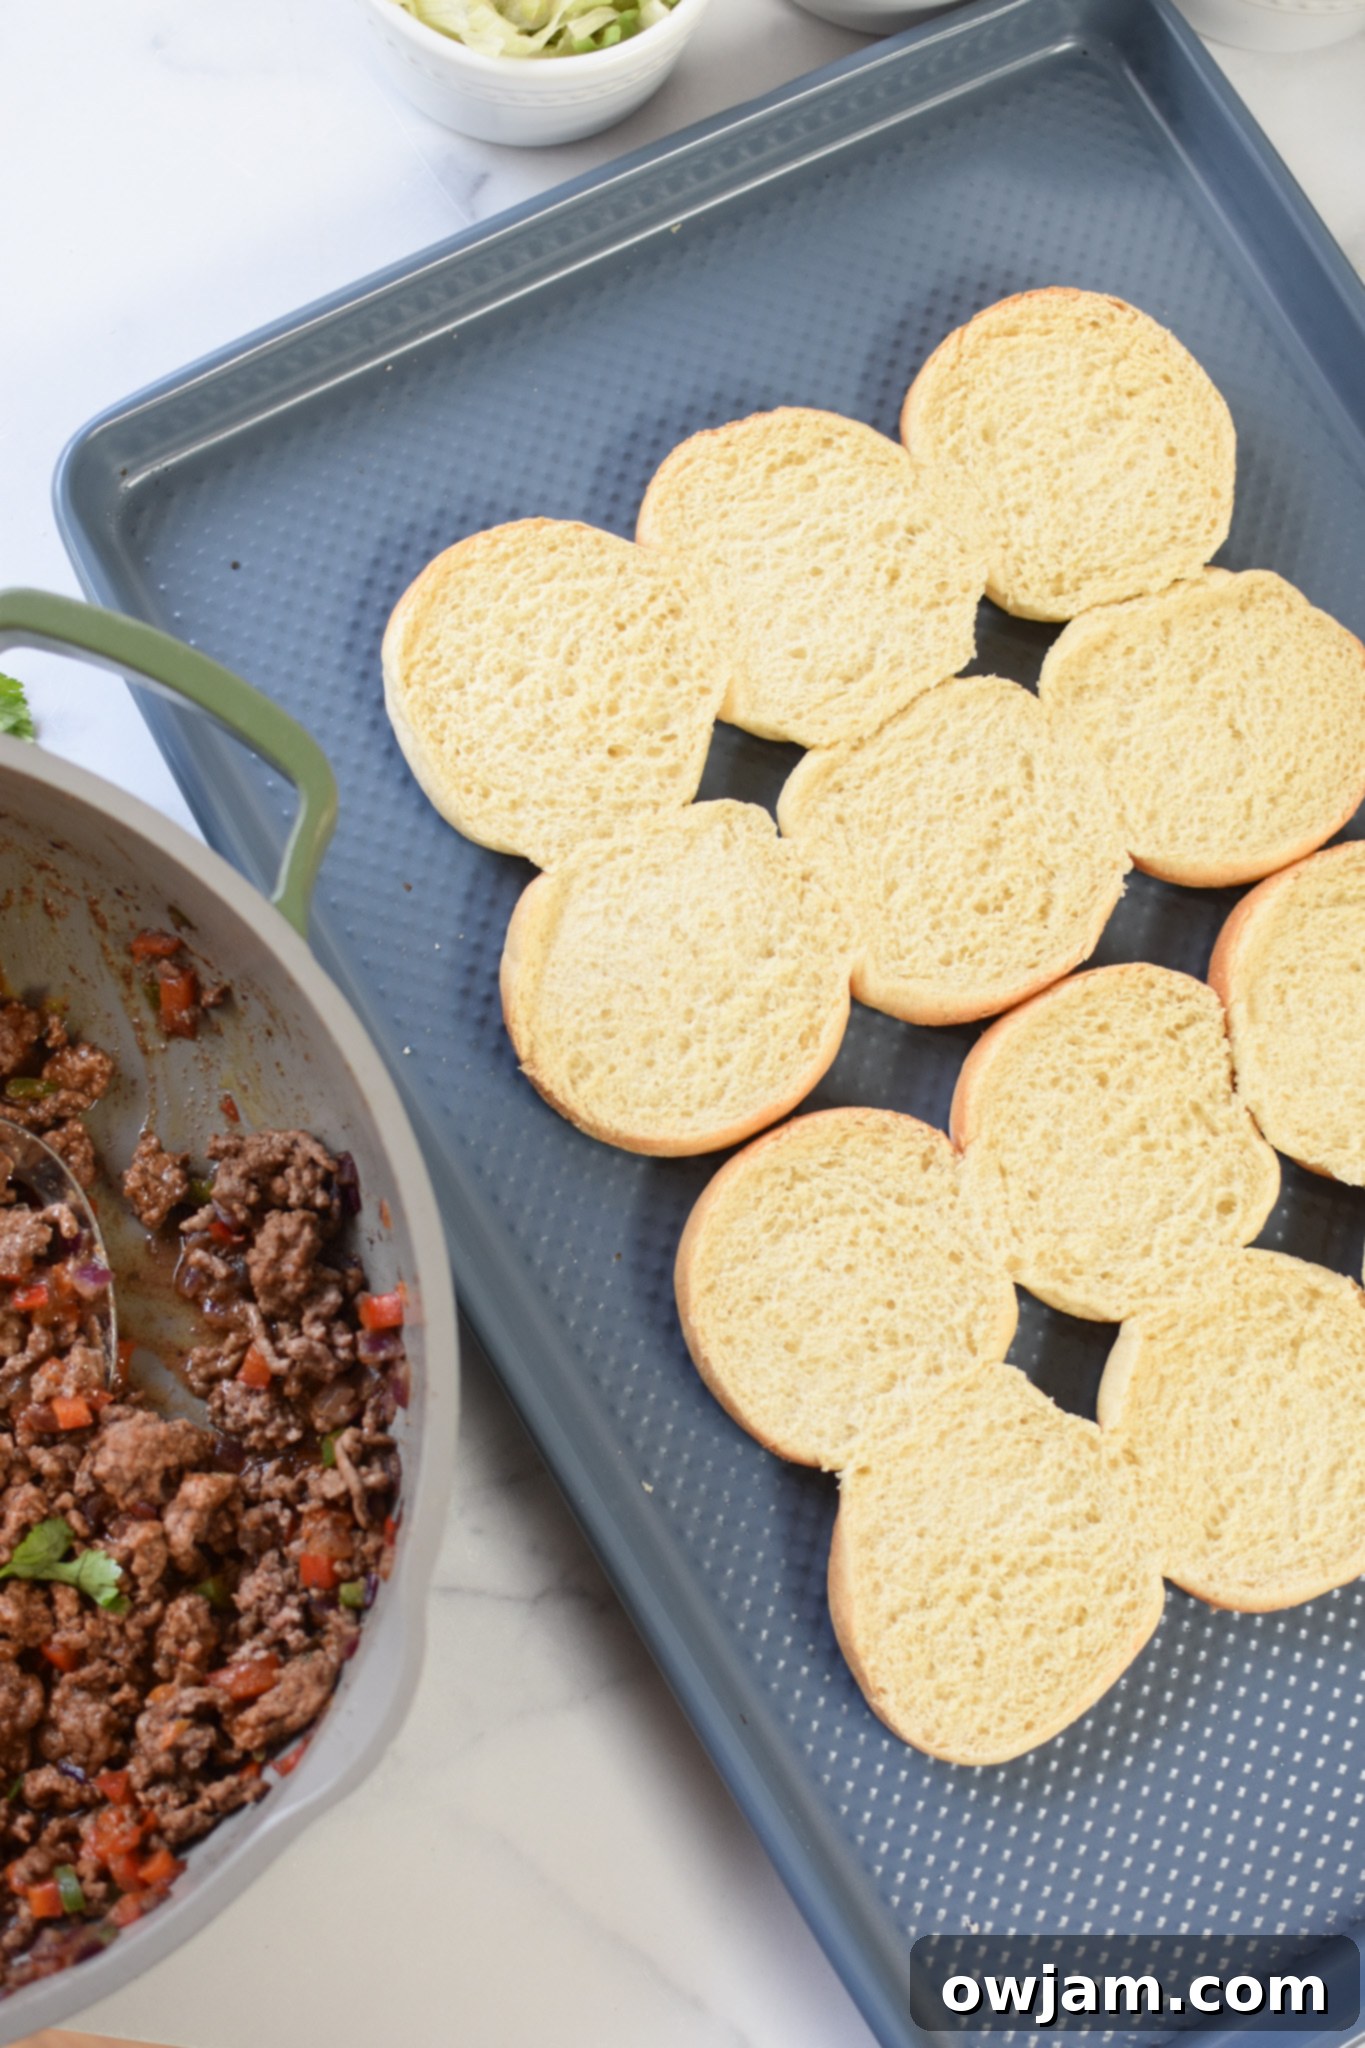
Step 4: Layer the Beef and Cheese: Evenly spread the seasoned ground beef mixture over the bottom halves of the buns. Once the beef is spread, generously sprinkle your shredded cheese over the entire beef layer. Don’t be shy with the cheese; it’s what creates that irresistible gooey texture when baked!
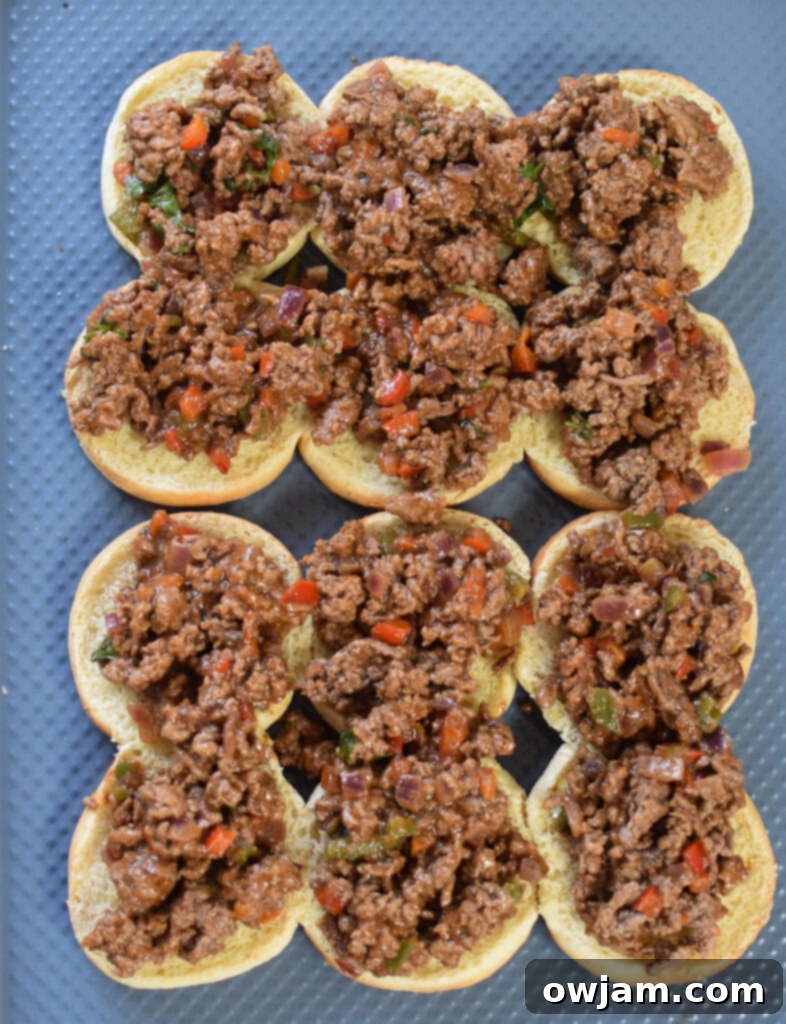
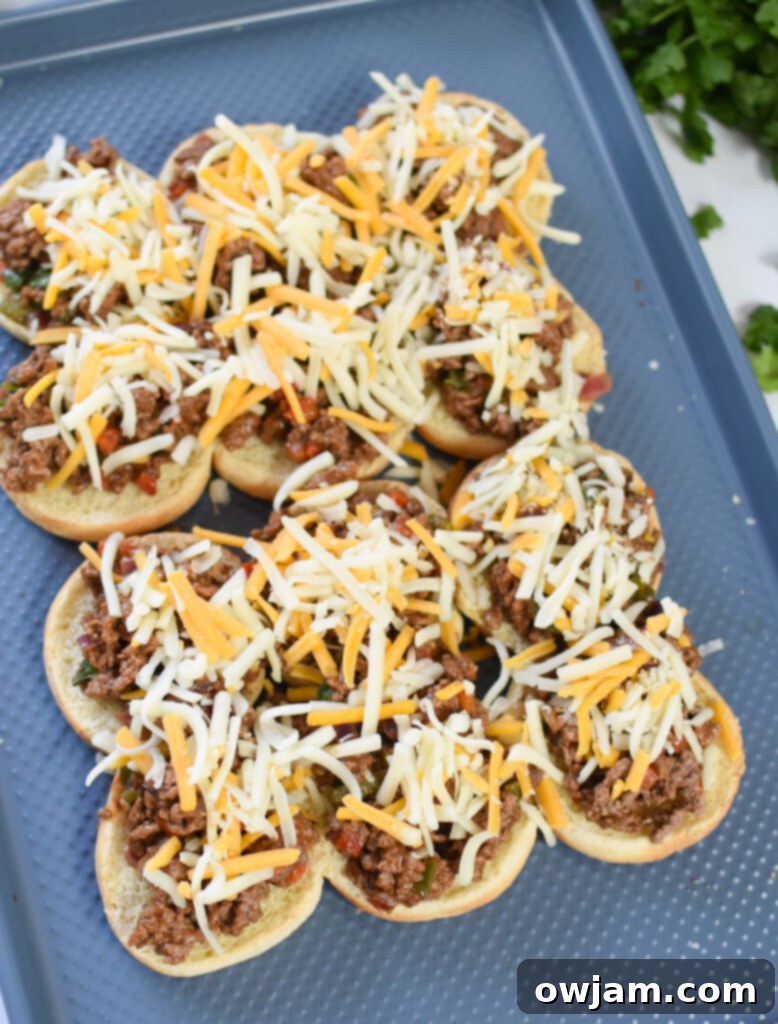
Step 5: Place Buns on Cheese & Butter Wash: Carefully place the top halves of the rolls or buns directly on top of the shredded cheese layer. In a small microwave-safe bowl, melt the butter. Using a pastry brush, generously brush the melted butter over the entire top surface of the buns. This butter layer will help them achieve a beautiful golden brown color and adds richness.
Step 6: Mix & Sprinkle Spices: In another small bowl, combine the garlic powder, onion powder, the additional taco seasoning, salt, and black pepper. Stir these spices together until well mixed. Evenly sprinkle this aromatic spice mixture over the buttered tops of the buns. This adds an extra layer of savory, taco-inspired flavor to the exterior of the sliders.
Step 7: Bake to Perfection: Cover the casserole dish or baking sheet tightly with aluminum foil. This helps to steam the sliders, ensuring the cheese melts thoroughly and the buns become soft and warm without drying out. Bake for 15-20 minutes, or until the butter is fully absorbed and the cheese is bubbly and melted. Then, remove the aluminum foil and continue to bake for an additional 3 to 5 minutes, or until the tops of the buns are lightly golden brown and slightly crispy. Keep a close eye on them during this uncovered baking stage to prevent burning. Remove the sliders from the oven and allow them to cool slightly before cutting and serving. Garnish generously with your favorite taco toppings such as fresh shredded lettuce, chopped cilantro, and salsa.
Store any leftover sliders in an airtight container once they’ve cooled. When you’re ready to enjoy them again, reheat them on low in the oven or quickly in an air fryer for best results.
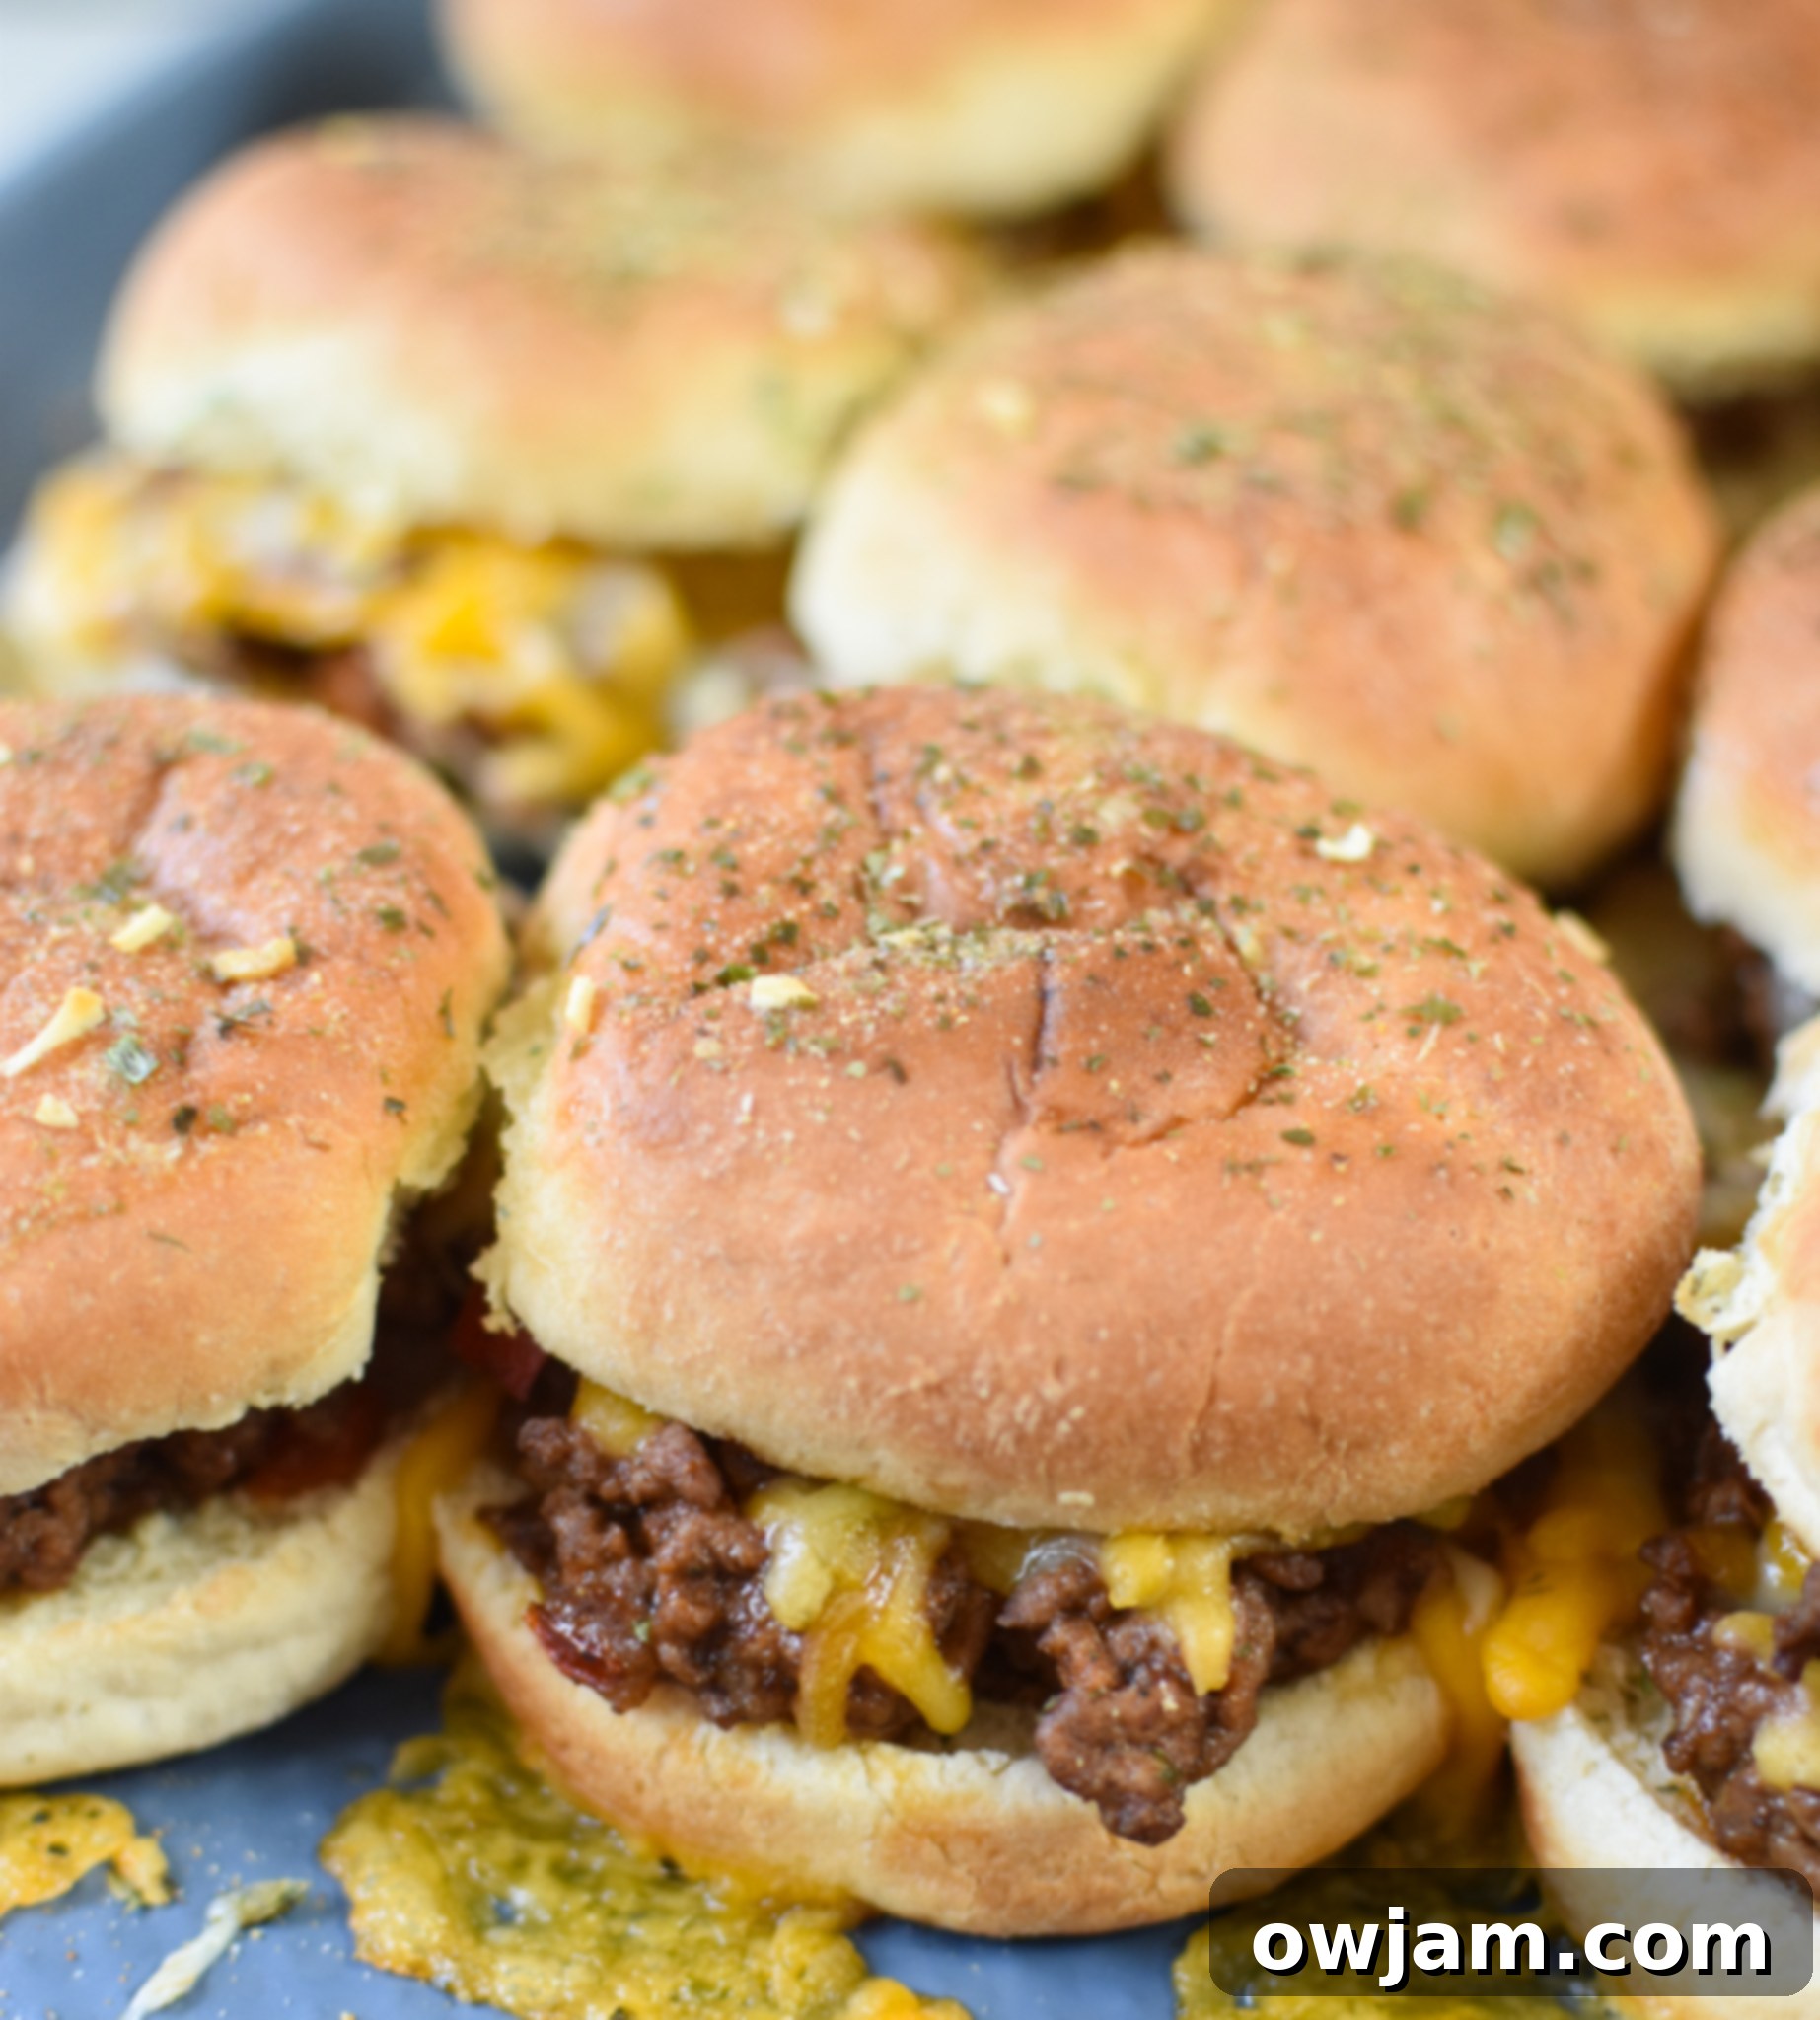
Storage & Reheating Tips for Taco Beef Sliders:
Proper storage and reheating are key to enjoying your Taco Beef Sliders long after they’re first made. Here’s how to keep them fresh and delicious:
Store any leftover sliders in an airtight container or tightly wrapped with plastic wrap or aluminum foil. They will stay fresh in the refrigerator for up to 3-4 days. For optimal freshness, it’s best to store them without fresh toppings like shredded lettuce or cilantro, and add those right before serving.
When you’re ready to reheat, you have a couple of excellent options to ensure they retain their delicious texture:
- Oven Reheating: For best results, especially if reheating multiple sliders, place them on a baking sheet and cover loosely with aluminum foil. Reheat in a preheated oven at a low temperature, around 200-250 degrees F (95-120 degrees C), for about 10-15 minutes, or until they are heated through and the cheese is re-melted. The low temperature helps prevent the buns from drying out.
- Air Fryer Reheating: For a quicker method that crisps the buns beautifully, reheat individual sliders or small batches in an air fryer. Place them in the air fryer basket in a single layer and cook at 350 degrees F (175 degrees C) for approximately 3-5 minutes, or until thoroughly heated and the buns are lightly toasted.
- Microwave (Not Recommended): While you can technically microwave sliders, it’s generally not recommended as it can make the buns soft and chewy, and the meat might lose some of its texture. If you must use a microwave, heat in short bursts and don’t overcook.
Taco Beef Sliders: Frequently Asked Questions
Absolutely! Preparing the taco beef mixture in advance is a fantastic time-saving tip, especially for meal prep or party planning. Cook the ground beef with the vegetables, seasoning, and salsa up to 2–3 days ahead. Let it cool completely, then store it in an airtight container in the refrigerator. When you’re ready to make the sliders, simply reheat the beef mixture gently on the stove or in the microwave before assembling and baking. This makes assembly a breeze!
For these Taco Beef Sliders, I highly recommend using slider buns that come in a connected sheet, such as mini brioche buns or, my personal favorite, King’s Hawaiian rolls. These types of buns hold up exceptionally well to the hearty beef filling, maintain a lovely soft texture, and toast beautifully in the oven, creating a perfect crust. Their slight sweetness also complements the savory taco flavors wonderfully. Regular dinner rolls can work, but choose ones that are slightly denser to prevent them from becoming too soft.
Soggy sliders are a common concern, but easily avoidable with a few simple tricks! Firstly, always ensure you thoroughly drain the cooked ground beef mixture of any excess fat or grease before adding the taco seasoning and salsa. This liquid is the main culprit for soggy buns. Secondly, consider lightly toasting the bottom halves of your slider buns in the oven for 3-4 minutes before layering on the beef and cheese. This creates a slight barrier and helps them retain their structure and texture during baking. Don’t overcrowd your baking dish, allowing for even heat distribution, also helps.
More Delicious Beef Recipes to Try!
If you’re looking for more ways to enjoy flavorful beef dishes, these recipes are sure to inspire:
Beef
Slow Cooker Italian Beef Sandwiches
Beef
Hummus with Spiced Beef and Toasted Pine Nuts
Beef
Beef Nachos
Beef
Grilled Flank Steak with Dry Rub
Tried this recipe? Leave a star rating and comment below! Subscribe to my newsletter or follow me on
Facebook,
Instagram, or
Pinterest for the latest.
Taco Beef Sliders
Pin
Ingredients
- 3 tablespoons olive oil
- 1 lb. ground beef {I like to use 80/20}
- 2 garlic cloves, minced
- 1/2 of a small sweet onion, diced
- 1 red bell pepper, seeds remove, diced
- 2 tablespoons taco seasoning
- 3 tablespoons salsa or taco sauce
For the sliders:
- 1 package of 12 slider buns or 1 package of King’s Hawaiian rolls
- 1 1/2 cups colby jack shredded cheese
- 3 tablespoons butter, melted
- 1/2 teaspoon garlic powder
- 1/2 teaspoon onion powder
- 1 teaspoon taco seasoning
- 1/4 teaspoon salt
- 1/8 teaspoon black pepper
- Fresh salsa for garnish
- Fresh cilantro, chopped
- Shredded lettuce for garnish
Instructions
-
Preheat the oven to 350 degrees F.
-
In a large skillet heat the olive oil over medium high heat. Add the garlic and sauté for 2 minutes. Add the red onion and bell pepper and saute for another 3-4 minutes.
-
Once the beef is cooked through drain the fat and return to the skillet. Stir in the taco seasoning and salsa or taco sauce. Remove the beef from the stove.
-
Grease and line a 9” x 13” casserole dish or spray a baking sheet with non-stick spray.
-
Cut the sandwich roll sheet in half through the middle and lay the bottom half of the sandwiches in the casserole dish or lay the bottom of the slider buns down.
-
Toast the bottom of the buns in the oven for 3-4 minutes before adding the beef.
This helps to prevent the bottom of the buns from getting soggy.
-
Layer on the ground beef mixture followed by the shredded cheese. Place the top half of the rolls or buns on top of the cheese.
-
Melt the butter in a small bowl. Use a brush to brush the butter mixture over the buns.
-
In another small bowl mix together the garlic powder, onion powder, taco seasoning, salt and pepper. Sprinkle the spice mixture over the buns.
-
Cover the casserole dish or baking sheet with foil and bake for 15-20 minutes, until butter is fully absorbed. Uncover and cook for about 3 to 5 minutes, or until the top of the buns are lightly browned {watch to make sure they don’t burn}.
-
Remove from oven and garnish with your favorite toppings like shredded lettuce, cilantro and salsa.
-
Store in an airtight container. Reheat on low in the oven or in an air fryer.
Notes
- You can use a variety of cheese options like mozzarella cheese, pepper jack, cotija cheese or sharp cheddar cheese.
- Feel free to spice these up with hot sauce, jalapeños or crushed red pepper.
Nutrition
Nutrition information is automatically calculated, so should only be used as an approximation.
Today’s post is sponsored by the Ohio Beef Council. As always, opinions are 100% my own.
