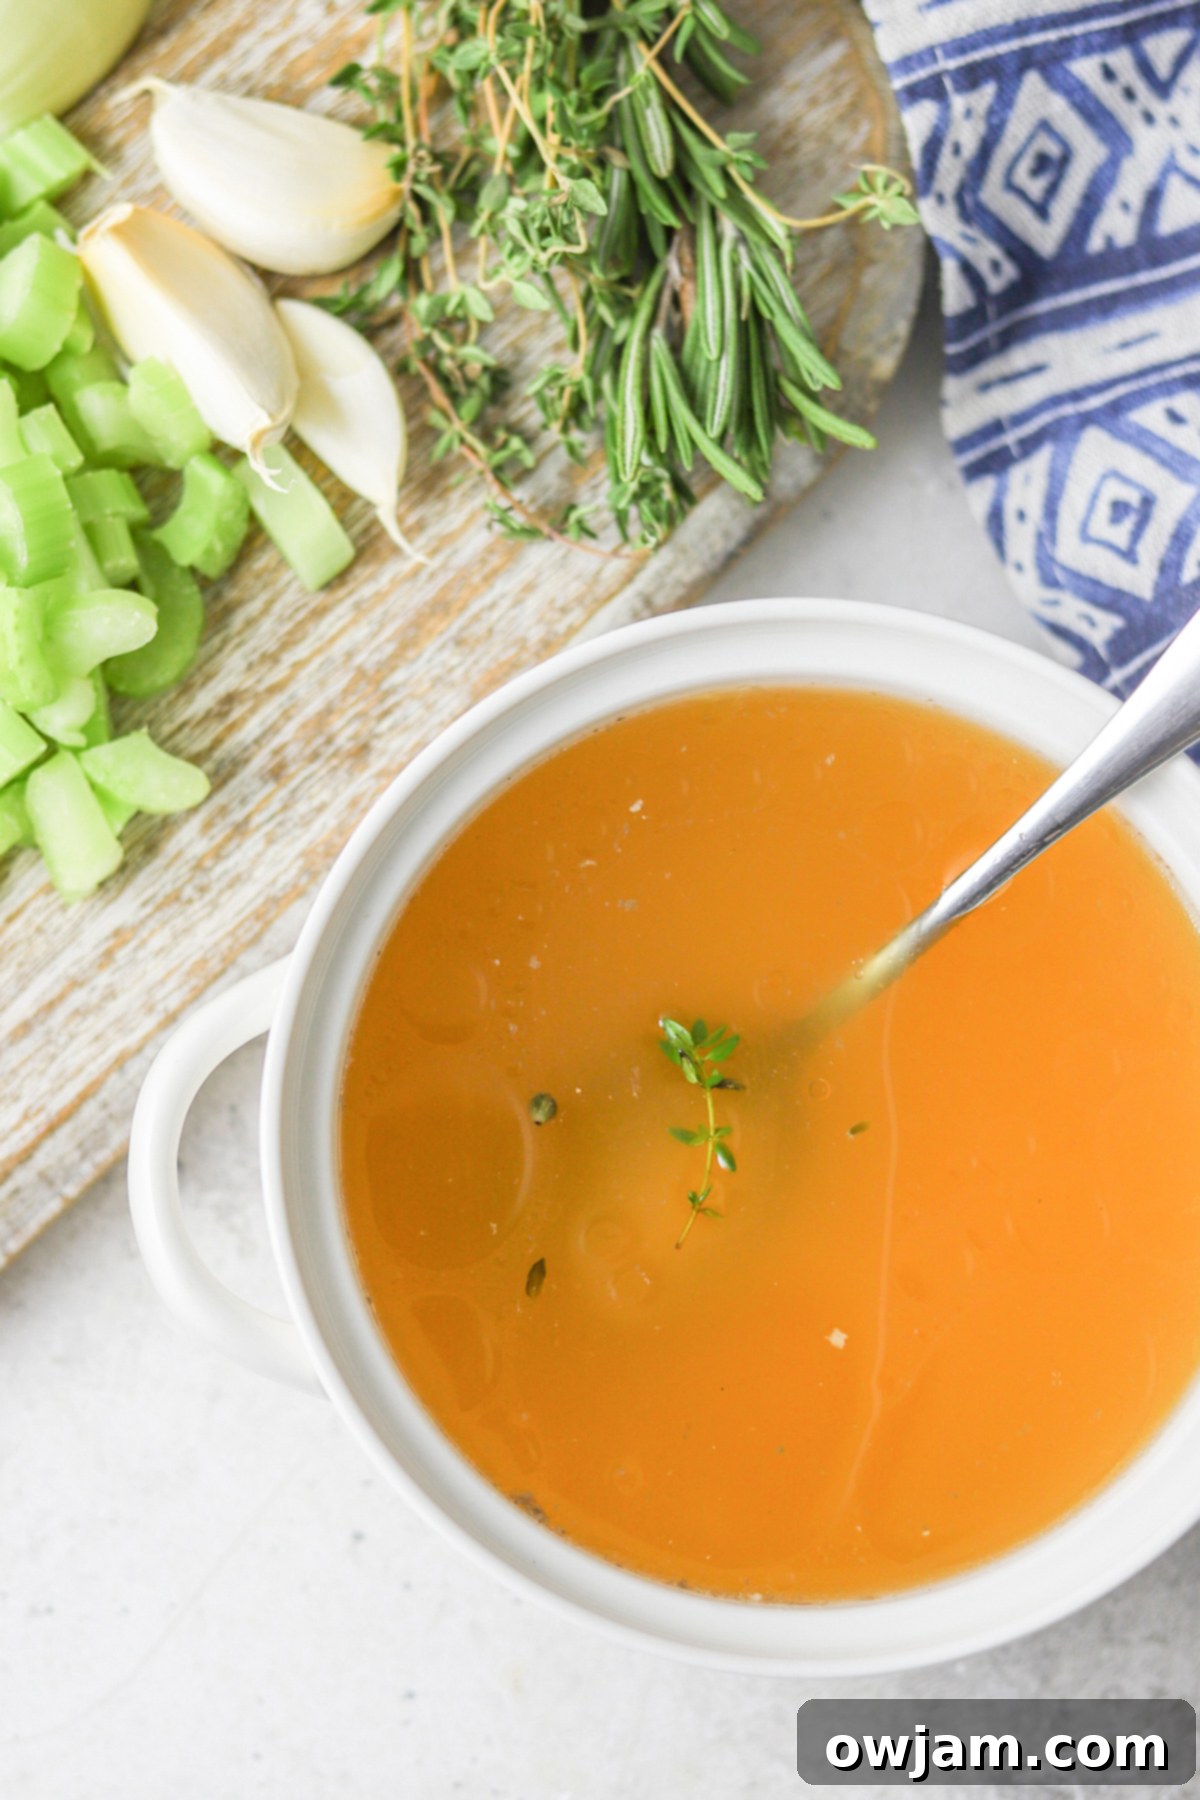
Mastering Homemade Chicken Broth: A Simple Recipe for Deep Flavor
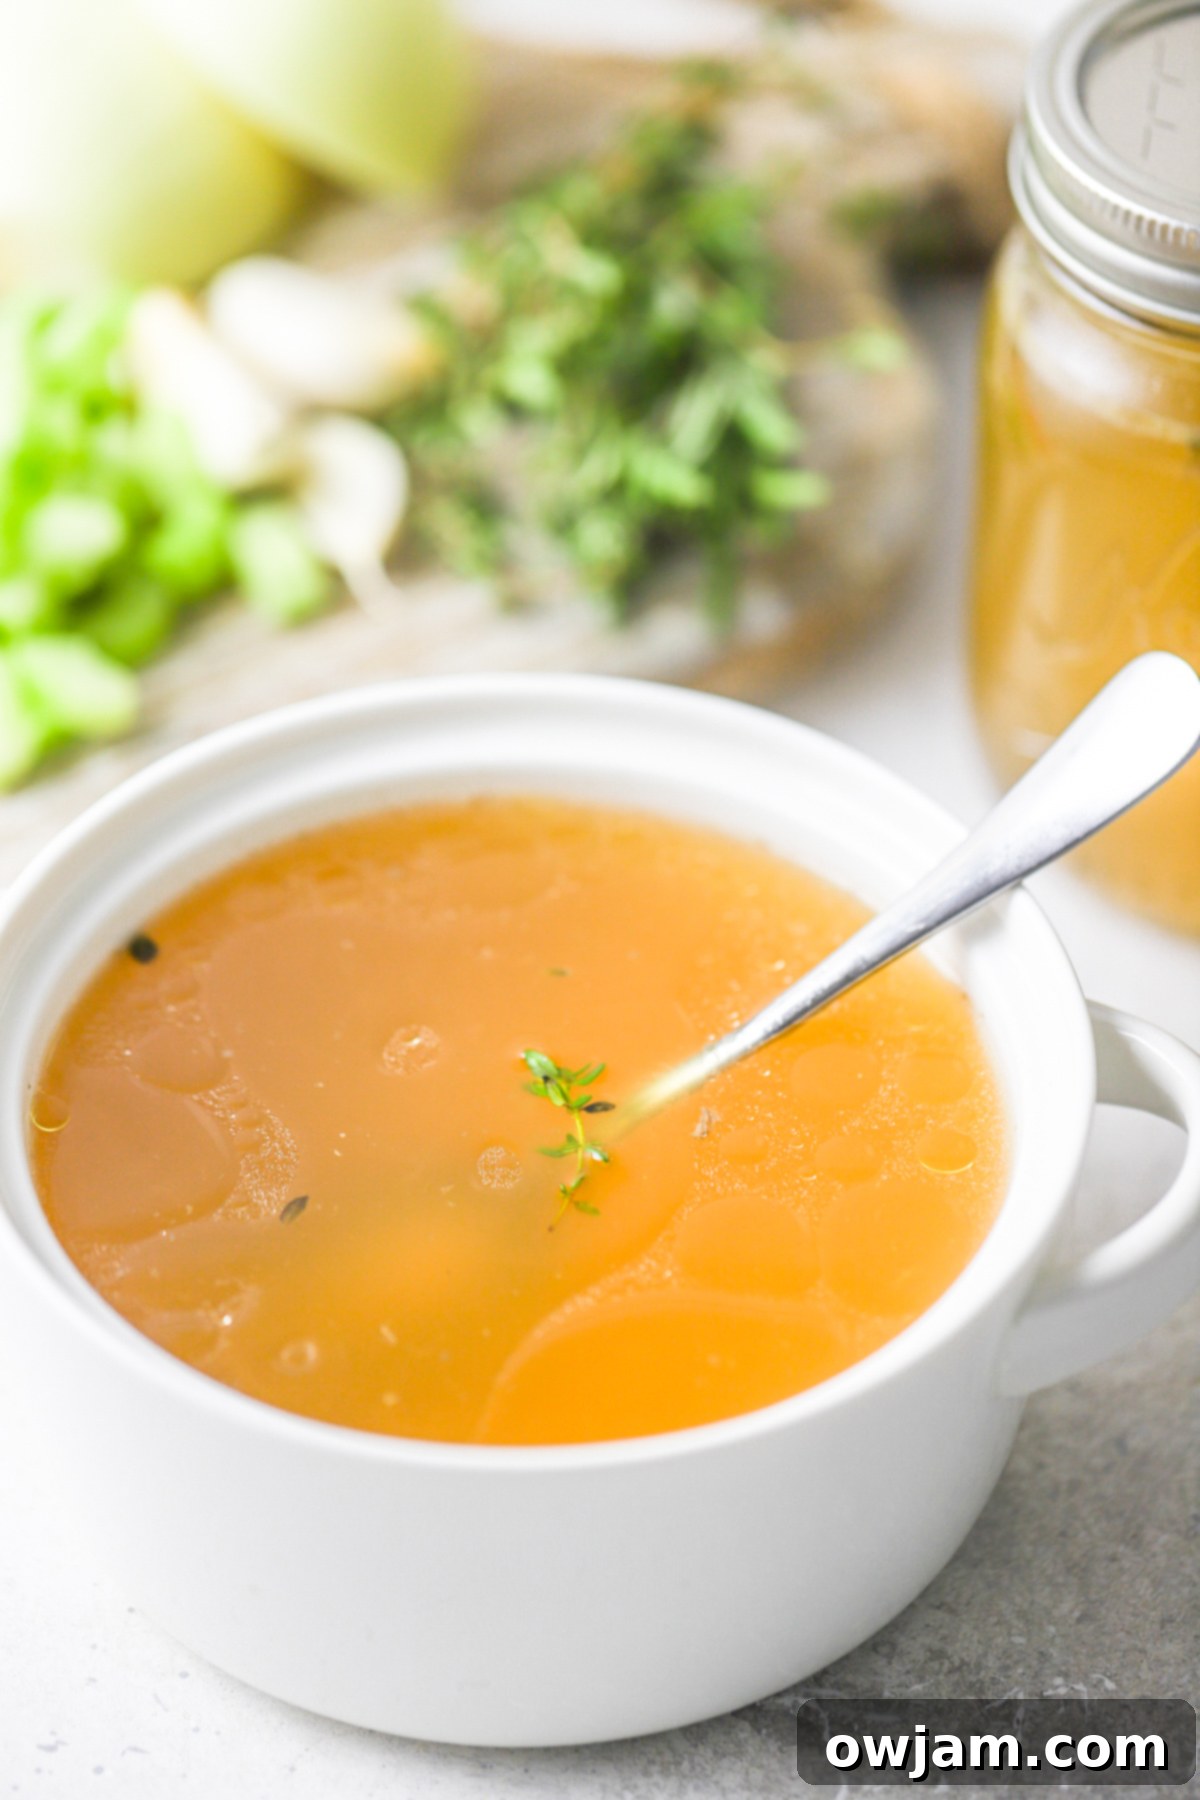
Discover the secret to elevating your home cooking with our guide to making the best homemade chicken broth. Crafted with a whole chicken, a selection of fresh vegetables, and aromatic herbs, this versatile broth promises a depth of flavor far superior to any store-bought alternative. It’s surprisingly easy to prepare and forms the essential foundation for truly exceptional soups, sauces, and countless other dishes.
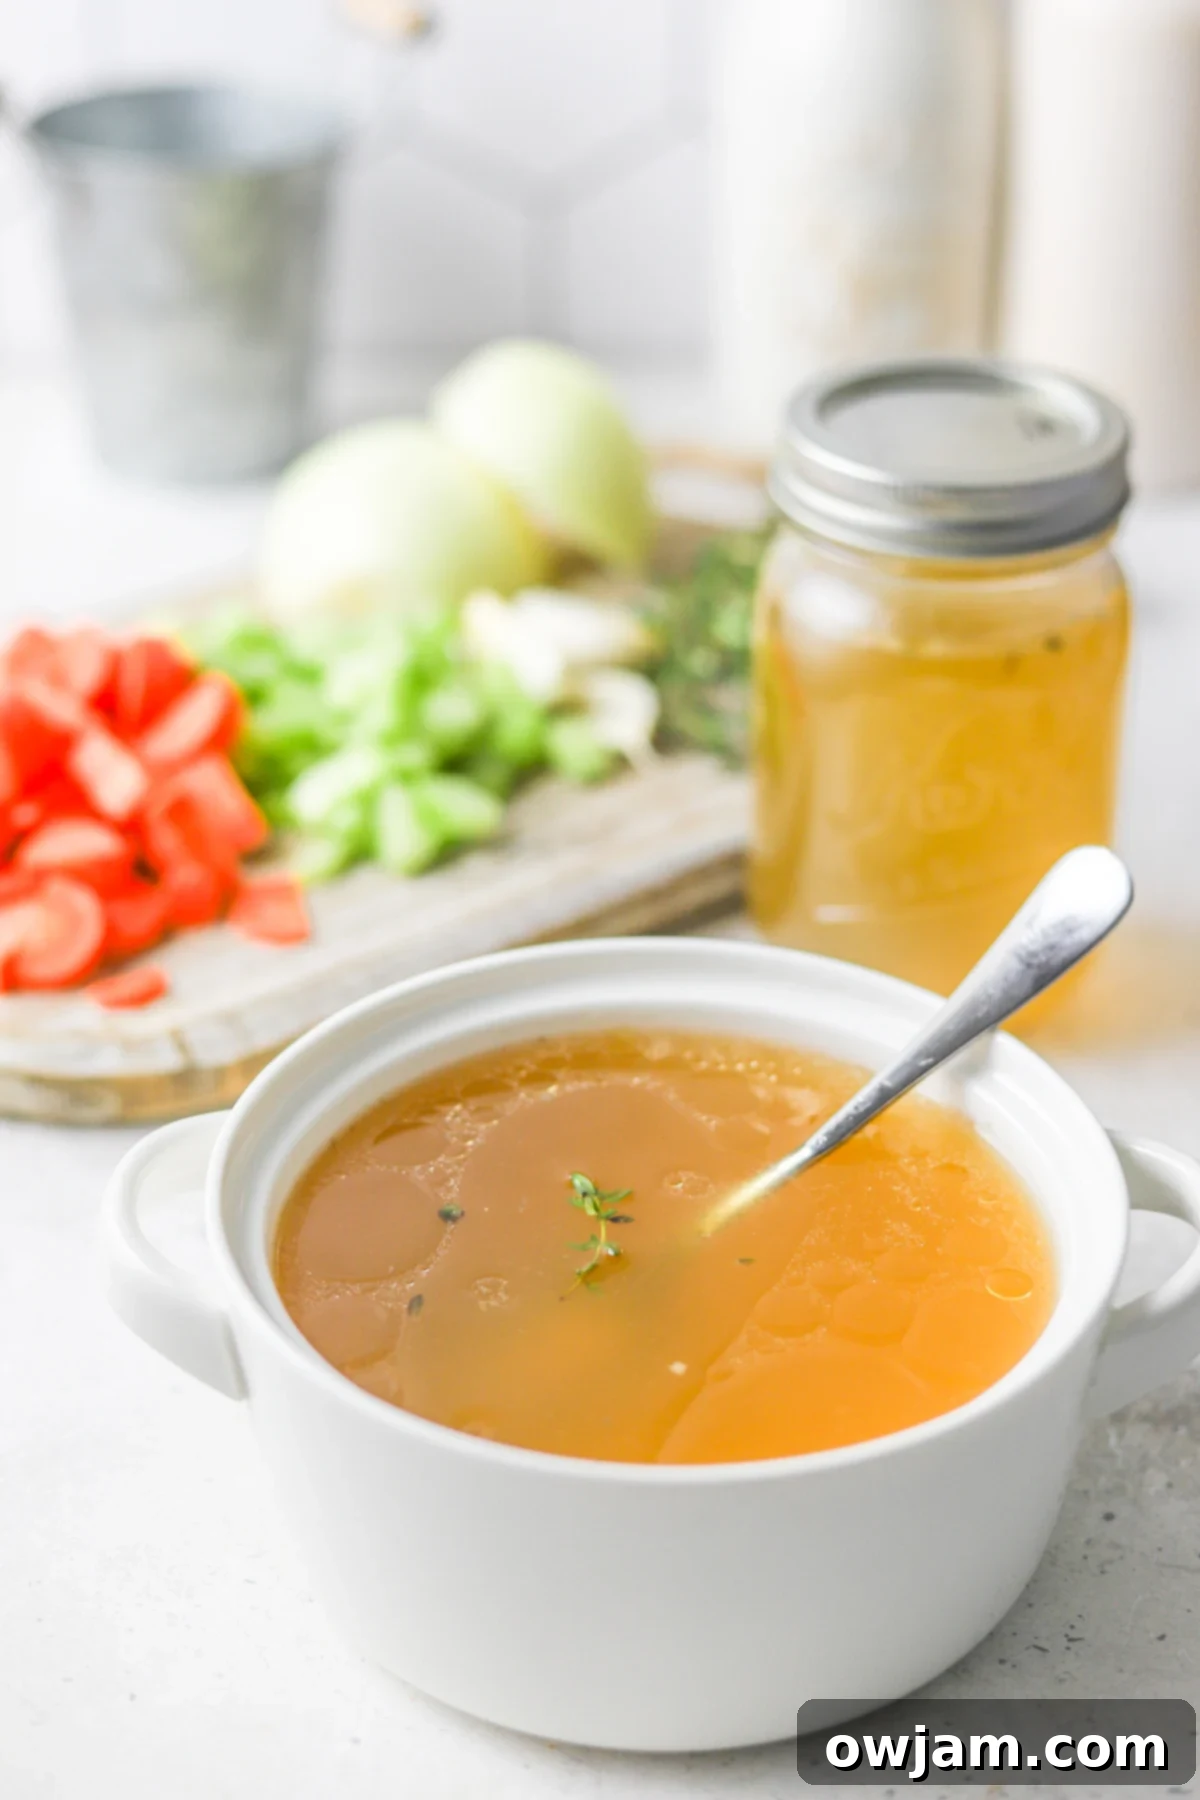
Embarking on the journey of making your own chicken broth is a culinary revelation. Once you experience the rich, nuanced flavors and incredible aroma of homemade stock, you’ll wonder why you ever settled for less. This recipe isn’t just about creating a cooking ingredient; it’s about crafting a foundational flavor enhancer that will transform your meals. Whether you’re simmering a comforting chicken noodle soup or developing a sophisticated sauce, the quality of your broth makes all the difference.
I started preparing my own homemade chicken broth several years ago, and it quickly became a non-negotiable staple in my kitchen. The process is incredibly rewarding, and the results speak for themselves. There’s nothing quite like having a ready supply of rich, homemade broth in your freezer, alongside other essentials like my Easy Beef Bone Broth, ready to elevate any dish.
Why Make Your Own Chicken Broth?
One of the most compelling reasons to make your own broth is the complete control you have over the ingredients. Unlike commercial broths that often contain excessive sodium, artificial flavors, or preservatives, homemade broth allows you to dictate exactly what goes into your food. This means you can adjust salt levels to your preference, select organic ingredients, and tailor the herb and vegetable profile to suit your taste buds. This level of customization ensures a fresher, healthier, and undeniably more delicious product.
Beyond control, the flavor difference is immense. This homemade chicken broth recipe consistently outperforms store-bought versions. The slow simmering process extracts maximum flavor and nutrients from the chicken and aromatics, creating a broth with a depth and complexity that cannot be replicated by quick-production methods. These homemade broths are not just “good”; they are transformative additions to your culinary repertoire, making everything from simple rice dishes to elaborate stews sing with flavor.
Despite its superior quality, this easy homemade chicken broth is surprisingly simple to prepare. With about 10 minutes of active preparation, you can set it to simmer on the stovetop for 2-4 hours, allowing the flavors to meld beautifully while you go about your day. This recipe yields a generous 6-8 cups of exquisite chicken stock, primarily from a whole chicken or its carcass, and stores beautifully in the freezer, ensuring you always have this liquid gold on hand for future culinary adventures.
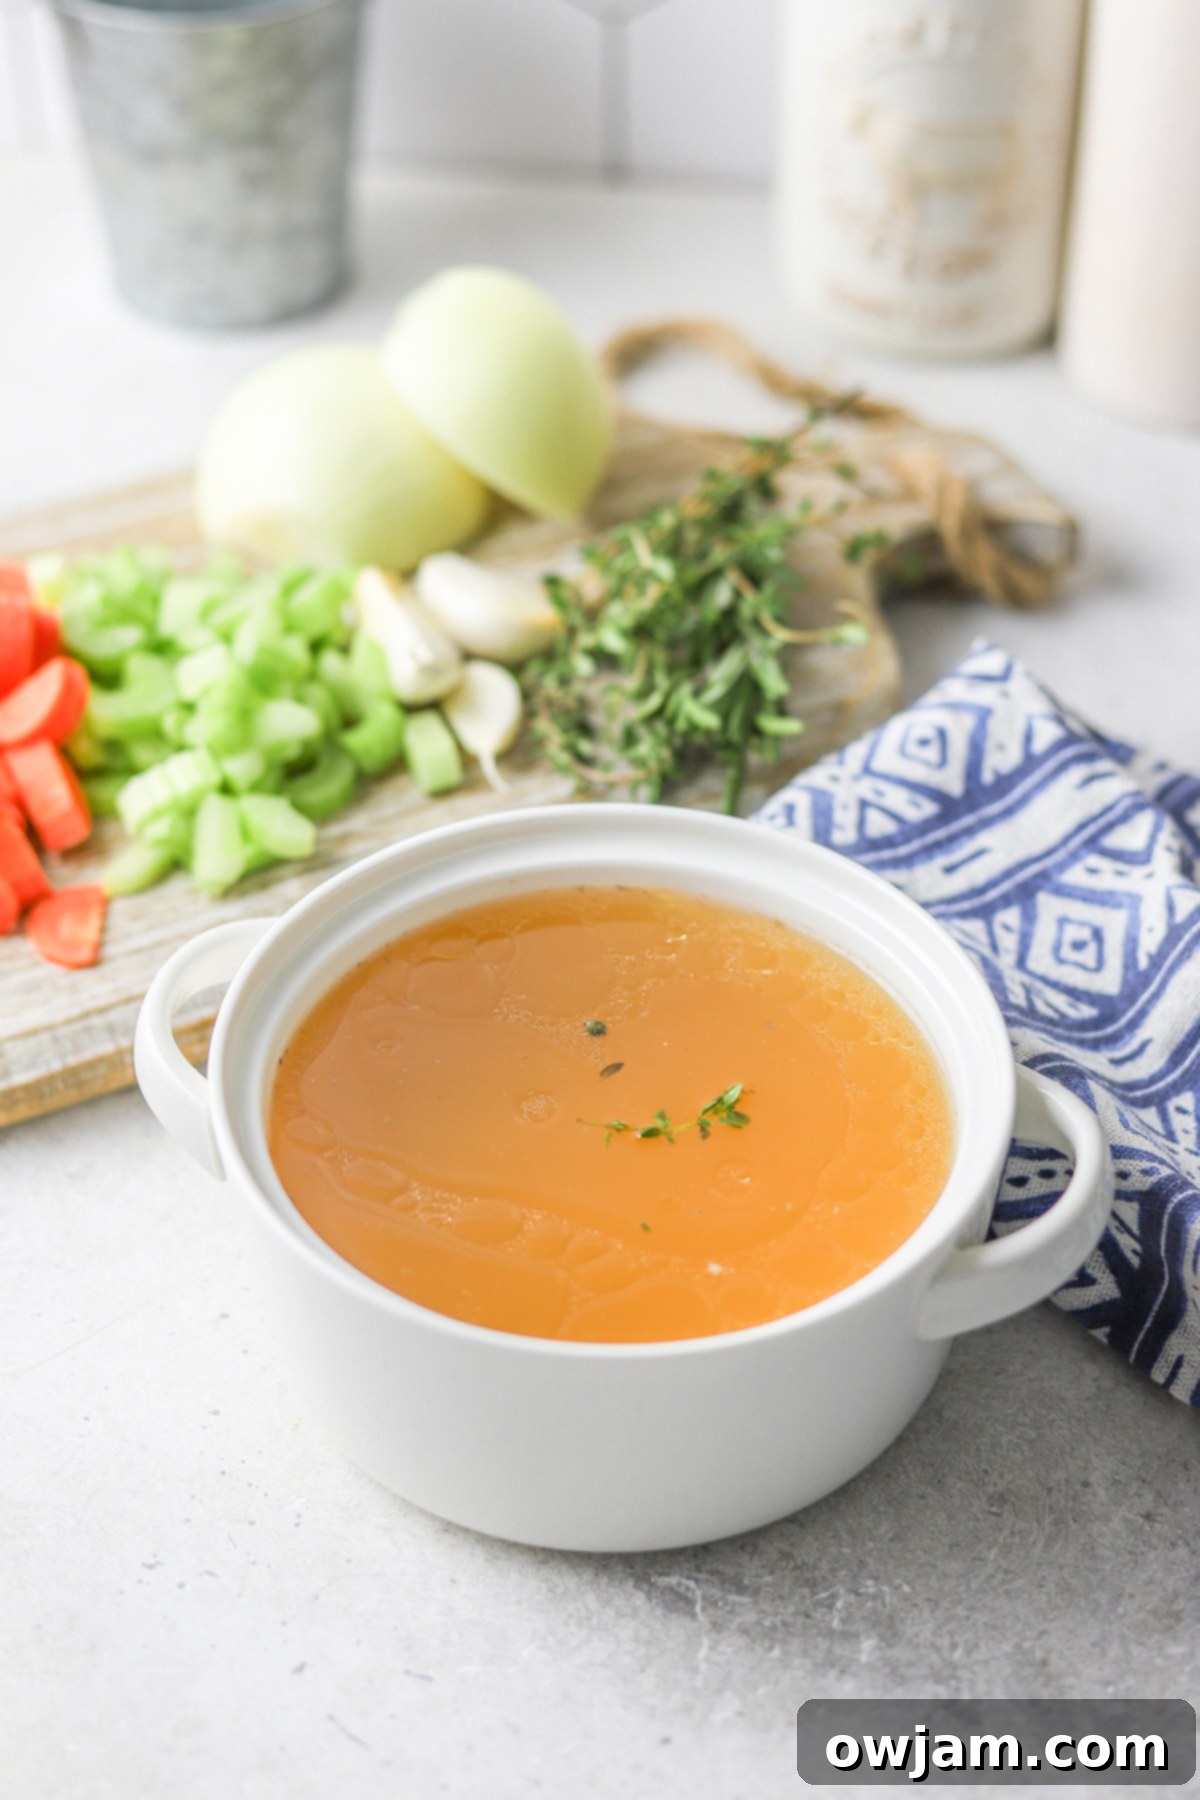
What is Chicken Broth?
Chicken broth, in its simplest form, is a flavorful liquid made by simmering chicken (meat and/or bones), vegetables, and herbs in water. While often used interchangeably with “chicken stock,” there are subtle differences. Broth is typically simmered for a shorter period (2-4 hours), resulting in a lighter, more seasoned liquid that can be enjoyed on its own. Stock, on the other hand, often focuses more on bones and is simmered longer (4-8+ hours) to extract more gelatin, resulting in a richer, thicker consistency that’s often used as a base for sauces and gravies.
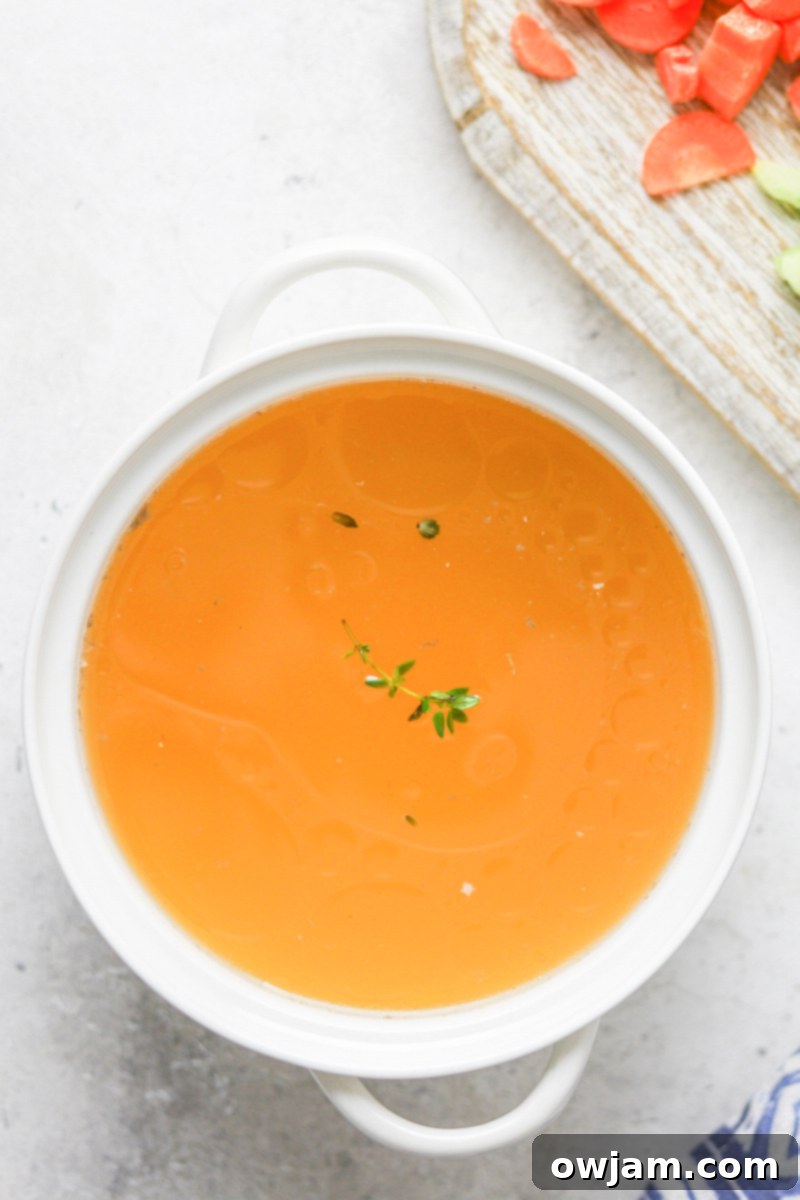
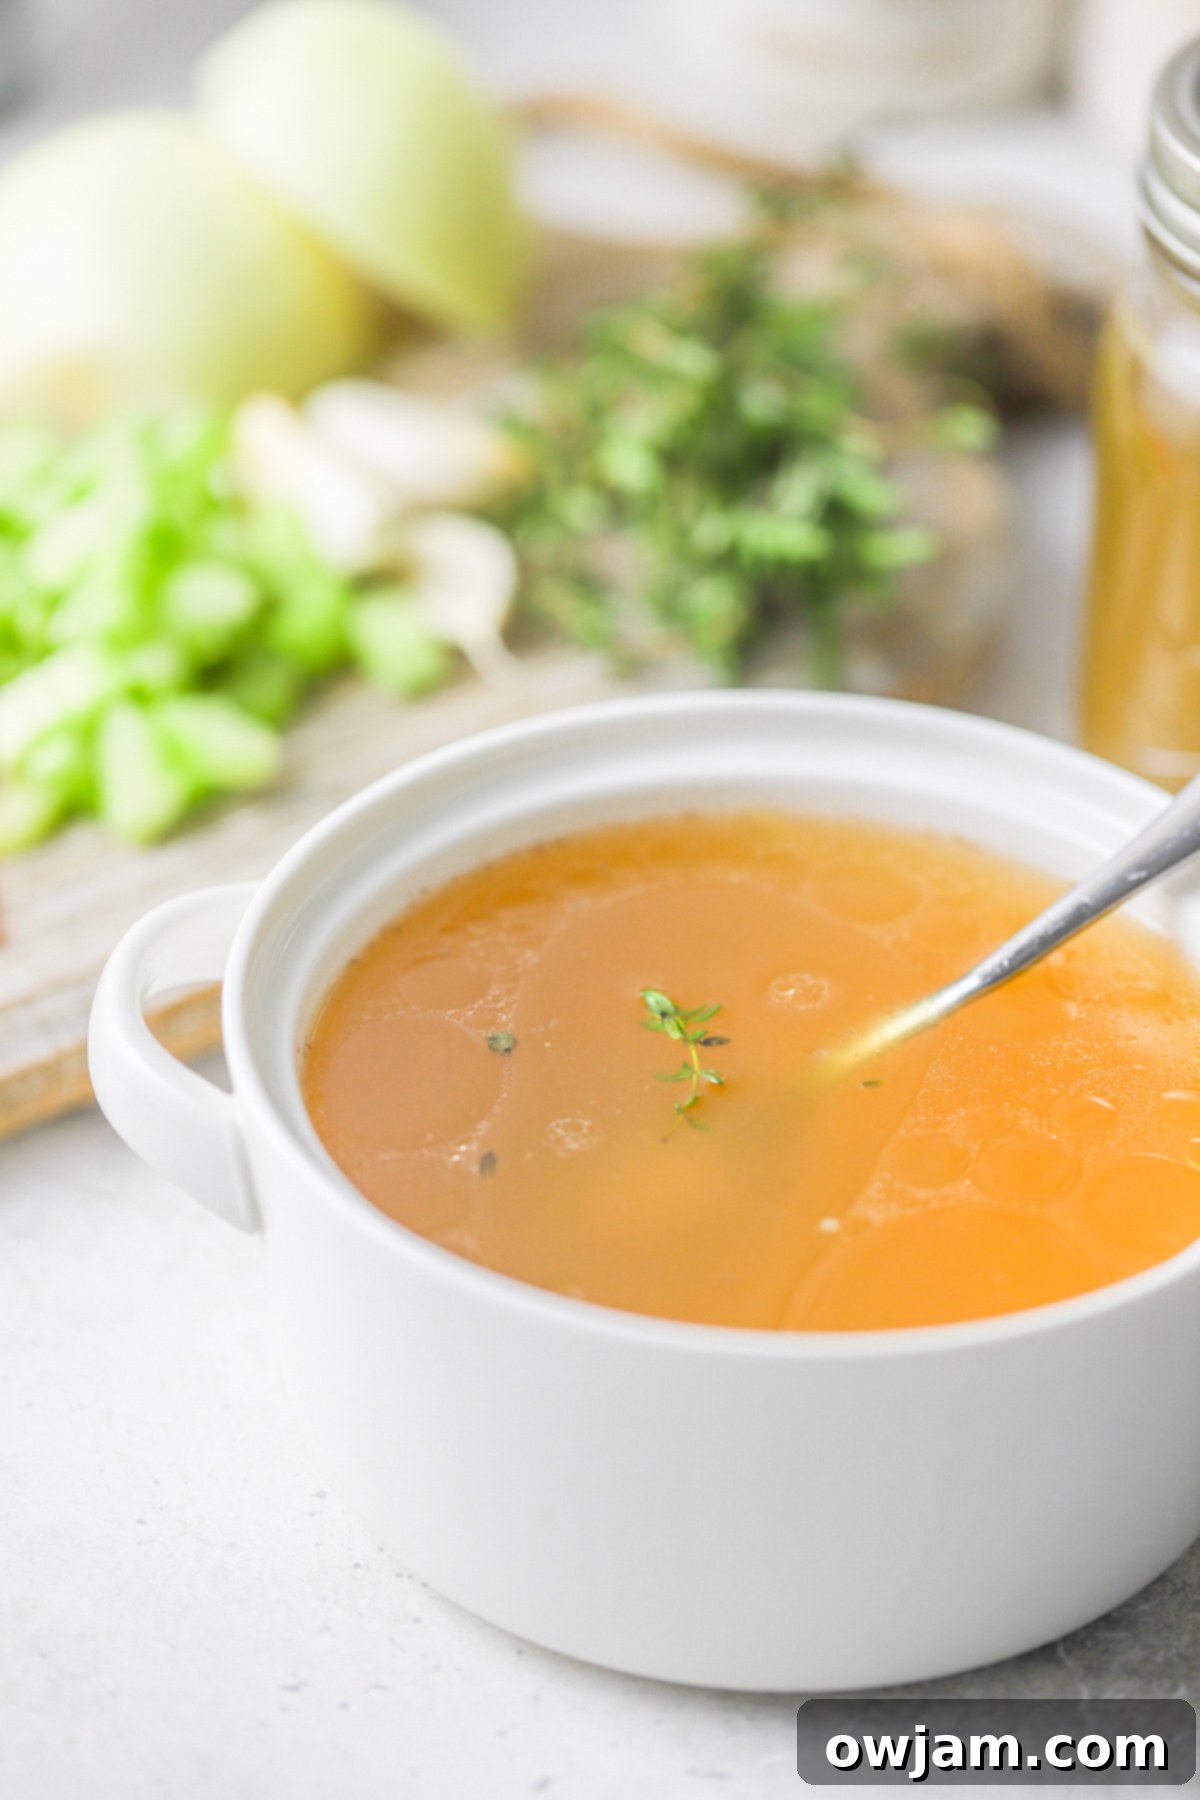
This particular chicken broth recipe leans towards a robust broth, made with a whole chicken or chicken bones, fresh aromatic vegetables, and a medley of herbs. The ingredients are gently simmered for several hours, allowing ample time to extract a deep, savory flavor from the chicken and infuse the liquid with the essence of the vegetables and herbs. After simmering, the broth is strained, resulting in a clear, golden liquid that is ready to be used immediately or stored for future use. It’s the perfect ready-to-use base for a wide variety of delicious chicken dishes and beyond.
Essential Ingredients for Your Homemade Chicken Broth:
Crafting a truly exceptional chicken broth starts with quality ingredients. Here’s a breakdown of what you’ll need and why each component plays a crucial role:
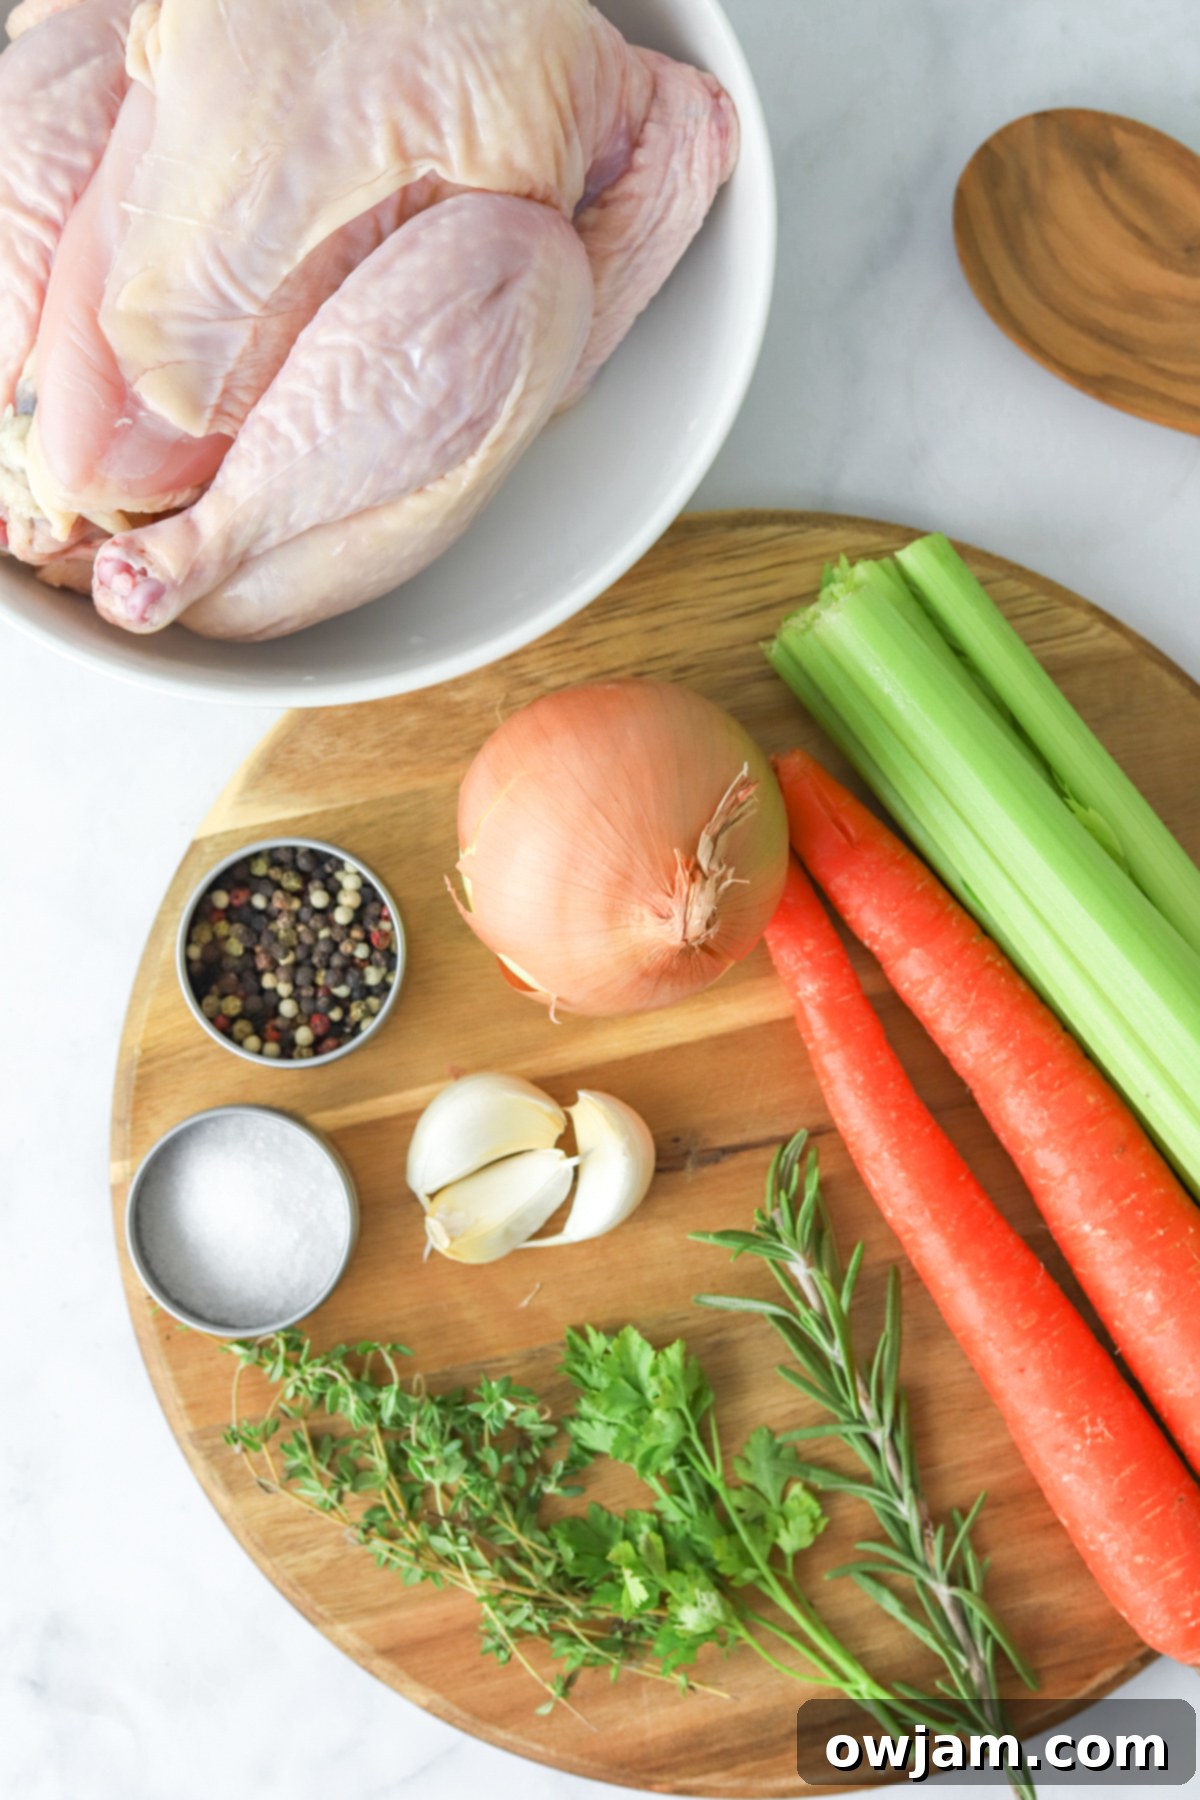
- Whole Chicken or Bones: This recipe primarily uses a whole chicken (giblets removed) to provide a rich meat and bone flavor. If using a whole chicken, I recommend removing the cooked meat around the 45-minute mark to prevent it from becoming dry, then returning the bones to the pot to continue simmering. Alternatively, you can exclusively use chicken bones and carcasses, which are often leftover from dishes like a Whole Roasted Chicken with Potatoes, Slow Cooker Mediterranean Whole Chicken, or an Instant Pot Rotisserie Chicken. Using roasted bones adds an extra layer of savory depth.
- Aromatics (Veggies): A classic trio of fresh celery, carrots, and onion forms the aromatic base, often referred to as “mirepoix.” Garlic cloves are also essential for adding a pungent, savory kick that rounds out the flavor profile of the broth. These vegetables contribute sweetness and an earthy backbone to the liquid.
- Fresh Herbs: The difference fresh herbs make is truly astounding. I always include fresh rosemary, thyme, parsley, and a bay leaf in my broth. These herbs infuse the broth with vibrant, herbaceous notes and an incredibly fragrant aroma. While dried herbs can be used in a pinch, fresh herbs deliver a far superior and more robust flavor that prevents the broth from tasting bland. Their aromatic compounds are crucial for a truly outstanding broth.
- Black Peppercorns: Whole black peppercorns add a subtle warmth and a gentle peppery bite without overpowering the delicate chicken flavor. They season the broth from within, contributing to its overall complexity.
- Salt: Salt is vital for enhancing all the other flavors. I typically start with 1 teaspoon of salt, but this is a guideline. Broth is a deeply personal creation, so feel free to adjust the salt content to your individual taste preferences. Remember, you can always add more salt later when using the broth in a specific dish, but you can’t take it away.
How to Make Flavorful Chicken Broth at Home: Step-by-Step Guide
Creating homemade chicken broth is a straightforward process that rewards you with incredible flavor. Follow these simple steps for a truly delicious result:
Step 1: Sauté the Chicken and Aromatics (Optional but Recommended): This initial step is key for building a deeper flavor profile, especially if you’re using a whole chicken.
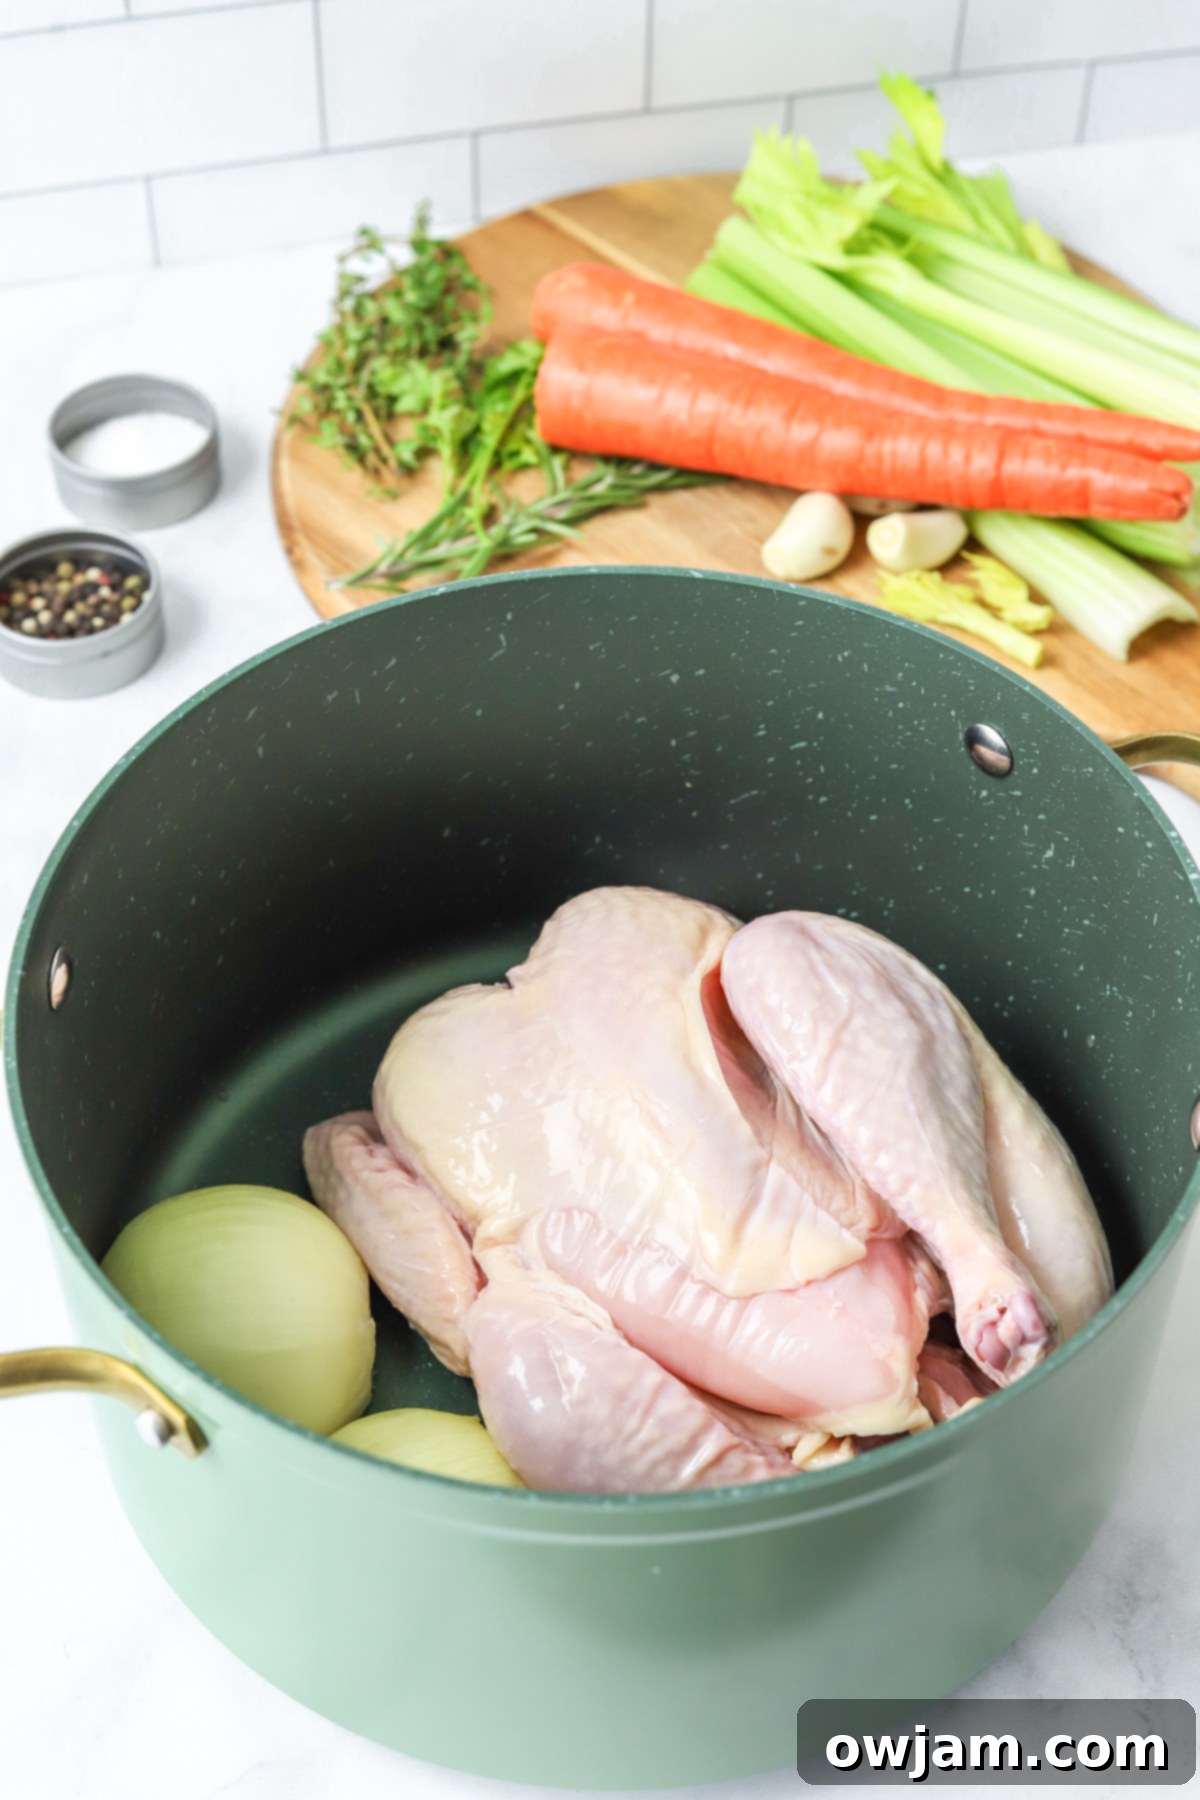
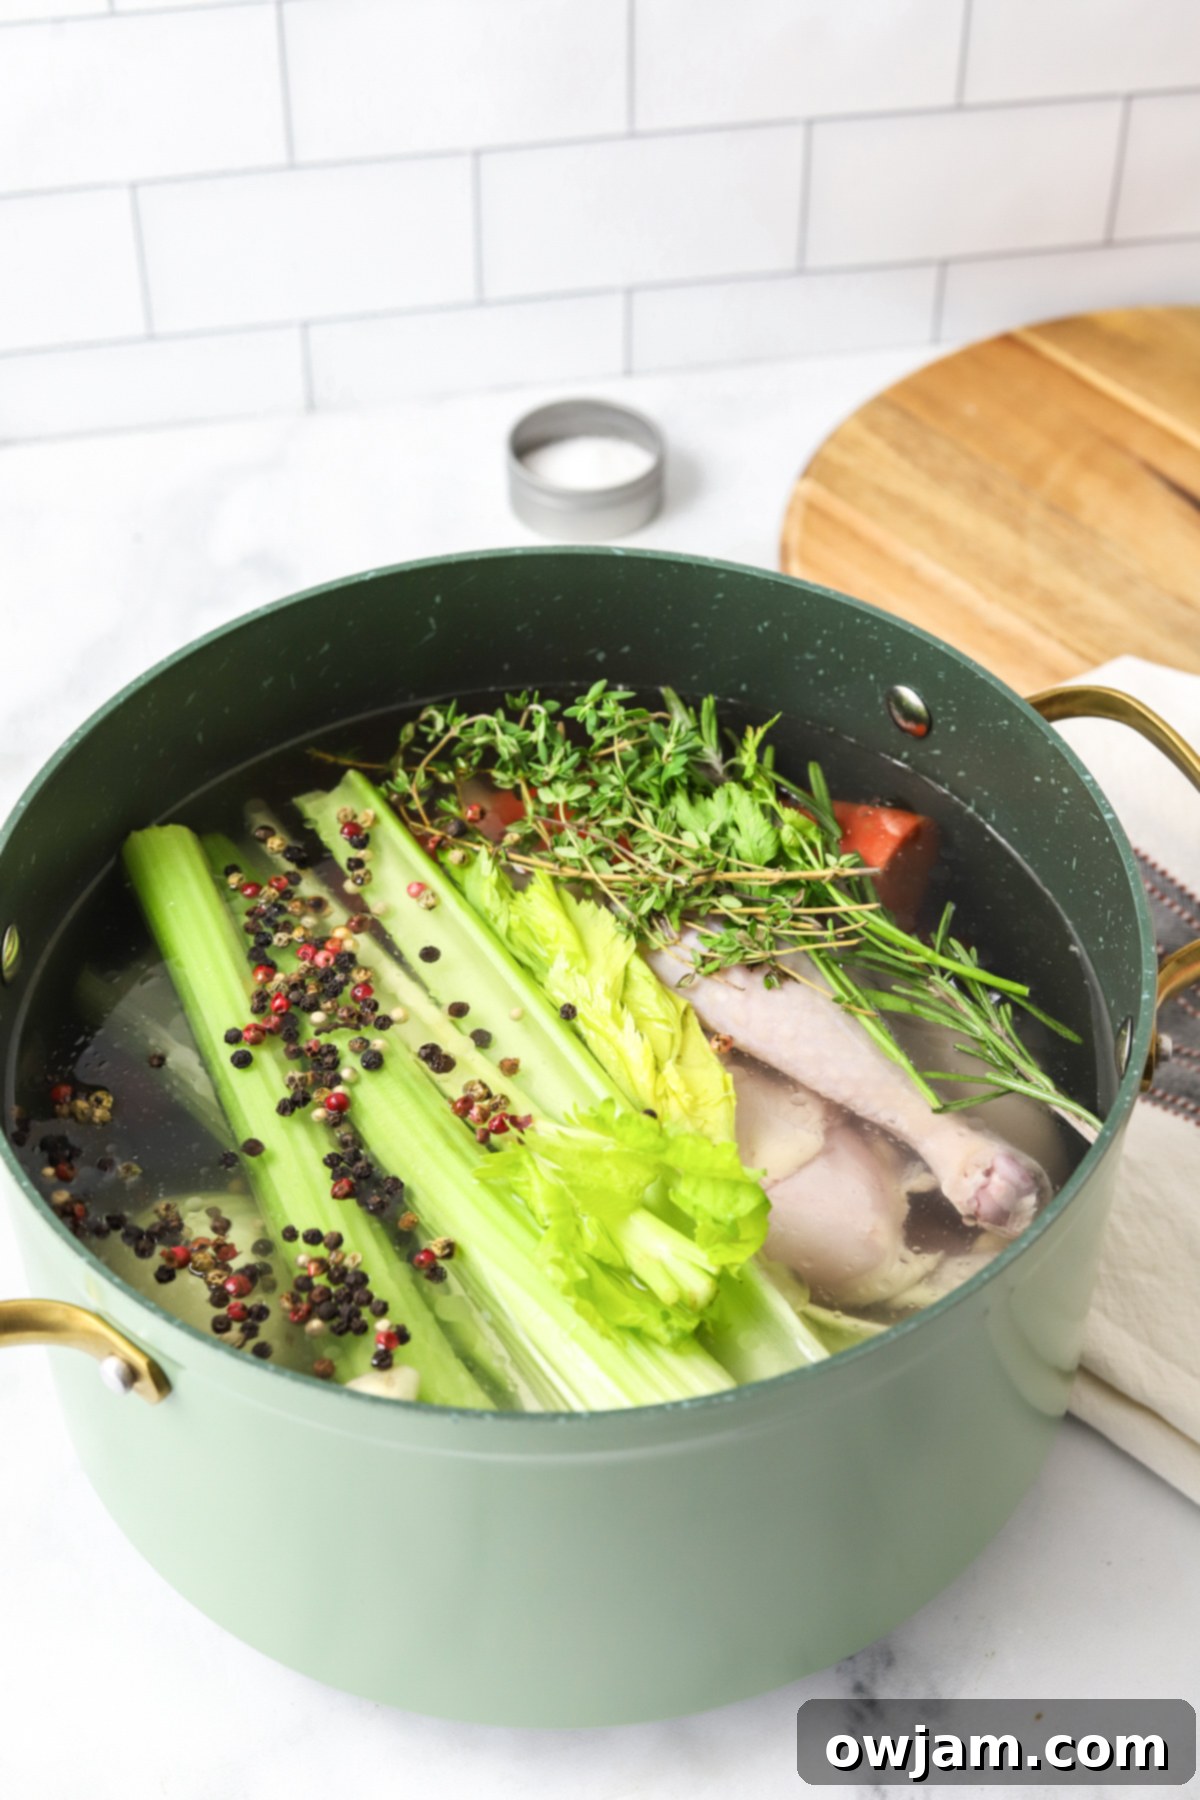
Place a tablespoon of cooking oil (such as olive oil or avocado oil) in the bottom of a large stockpot. Add your whole chicken (giblets removed) or chicken bones, along with the chopped onion, carrots, celery, and garlic.
Lightly brown the contents over medium heat for 6-7 minutes, turning the chicken occasionally to get an even golden color. This browning step, known as caramelization, develops rich, savory notes that will be infused into your broth. If you are only using bones, you can skip this browning step and add them directly in Step 2, but browning roasted bones can still add depth.
Step 2: Add Water: The amount of water is crucial for broth concentration.
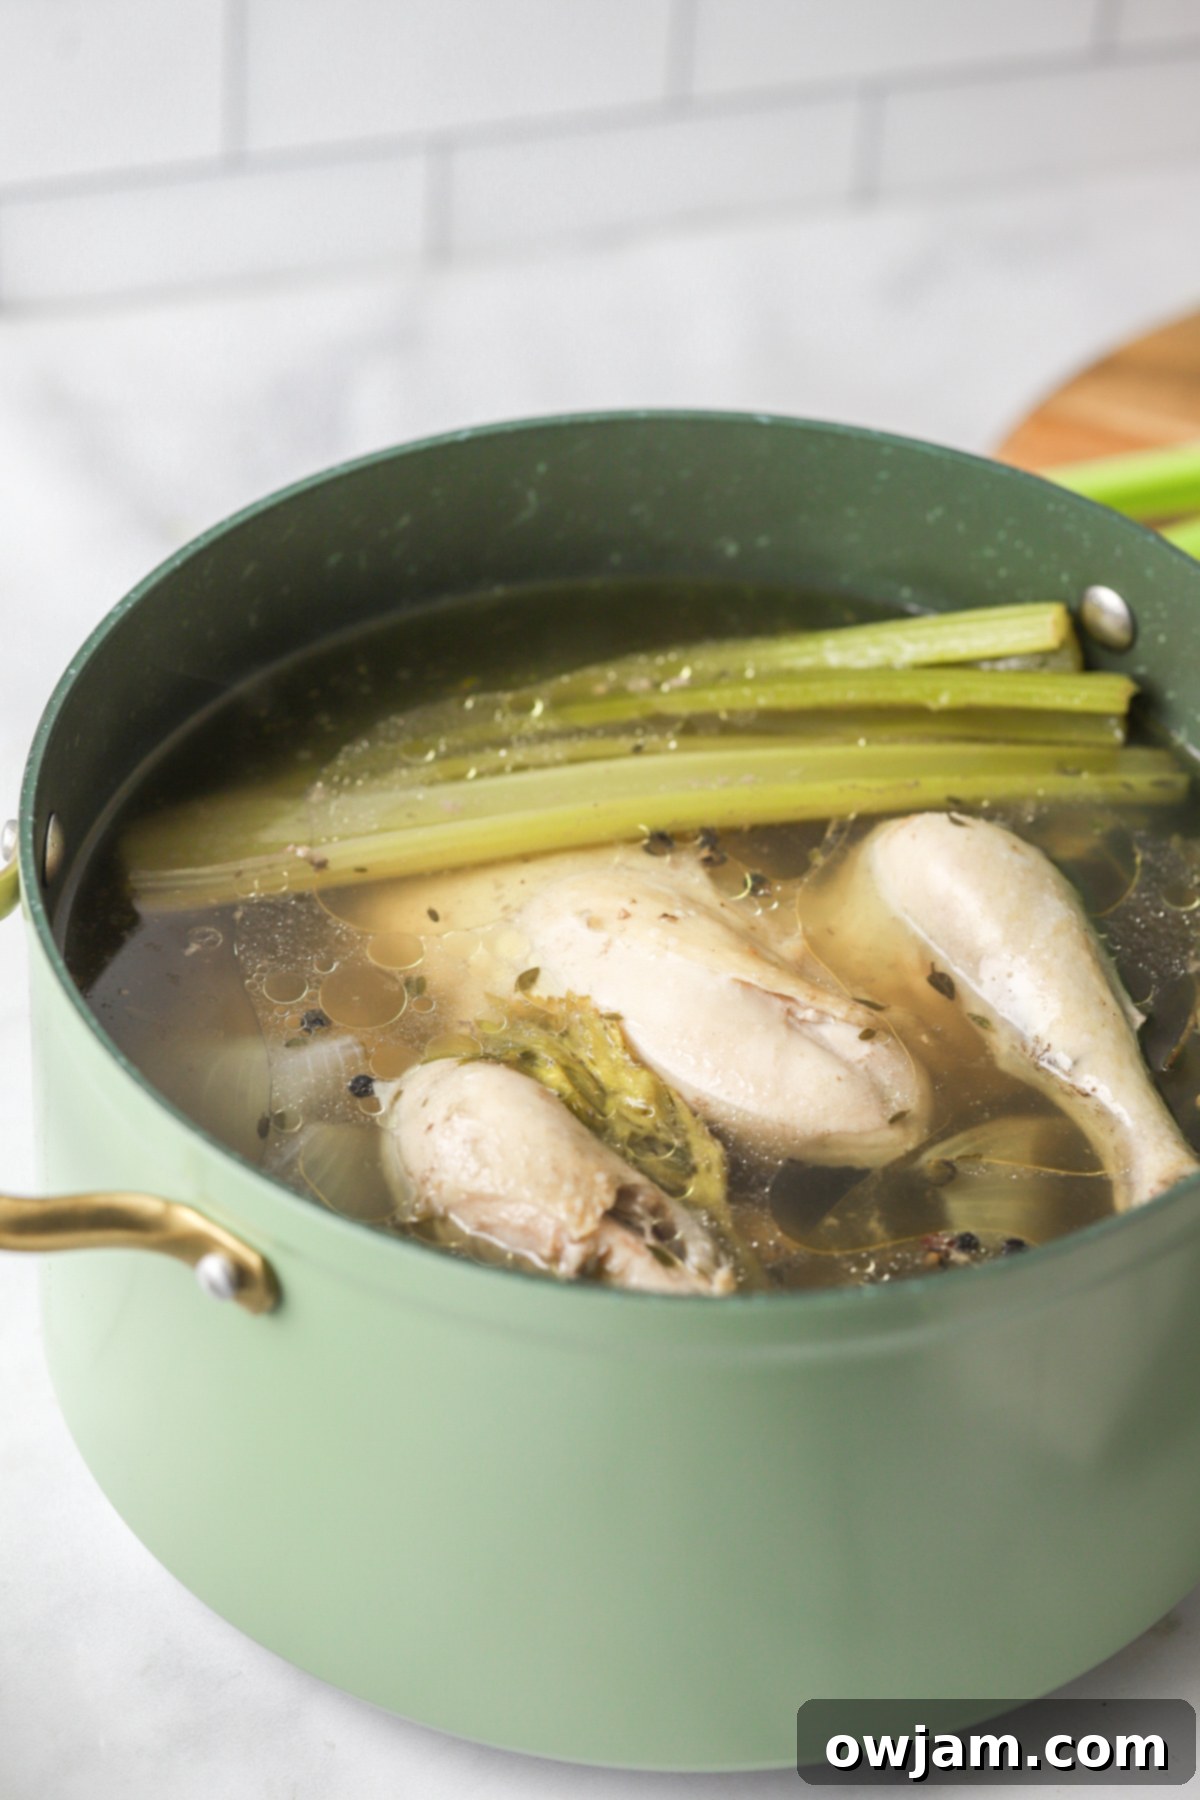
Pour in 6-8 cups of cold water, ensuring there’s just enough to generously cover the chicken and vegetables by about an inch or two. Using cold water helps to slowly extract impurities and flavor, resulting in a clearer broth. Avoid overfilling the pot, as too much water will dilute the flavor.
Step 3: Introduce Fresh Herbs and Seasonings: These are the flavor powerhouses.
Add the fresh rosemary, thyme, parsley, bay leaves, whole peppercorns, and salt to the pot. These ingredients will slowly release their aromatic oils and flavors as the broth simmers, creating a complex and fragrant liquid.
Step 4: Simmer the Broth: Patience is a virtue when making broth.
Bring the pot to a gentle boil over medium-high heat. Once boiling, immediately reduce the heat to low, cover the pot with a lid, and let it simmer gently for 2-4 hours. A slow, steady simmer (small, barely bubbling pockets) is ideal for extracting maximum flavor without making the broth cloudy or overly fatty. The longer simmering time, up to 4 hours, will yield a more concentrated and deeply flavored broth.
Step 5: Adjust Seasoning: A final taste test ensures perfection.
Before straining, taste the broth for flavor. If desired, add more salt or a pinch of black pepper to achieve your preferred seasoning level. Remember that the flavor will become more concentrated as it cools.
Step 6: Strain the Broth: Achieving a clear broth is key.
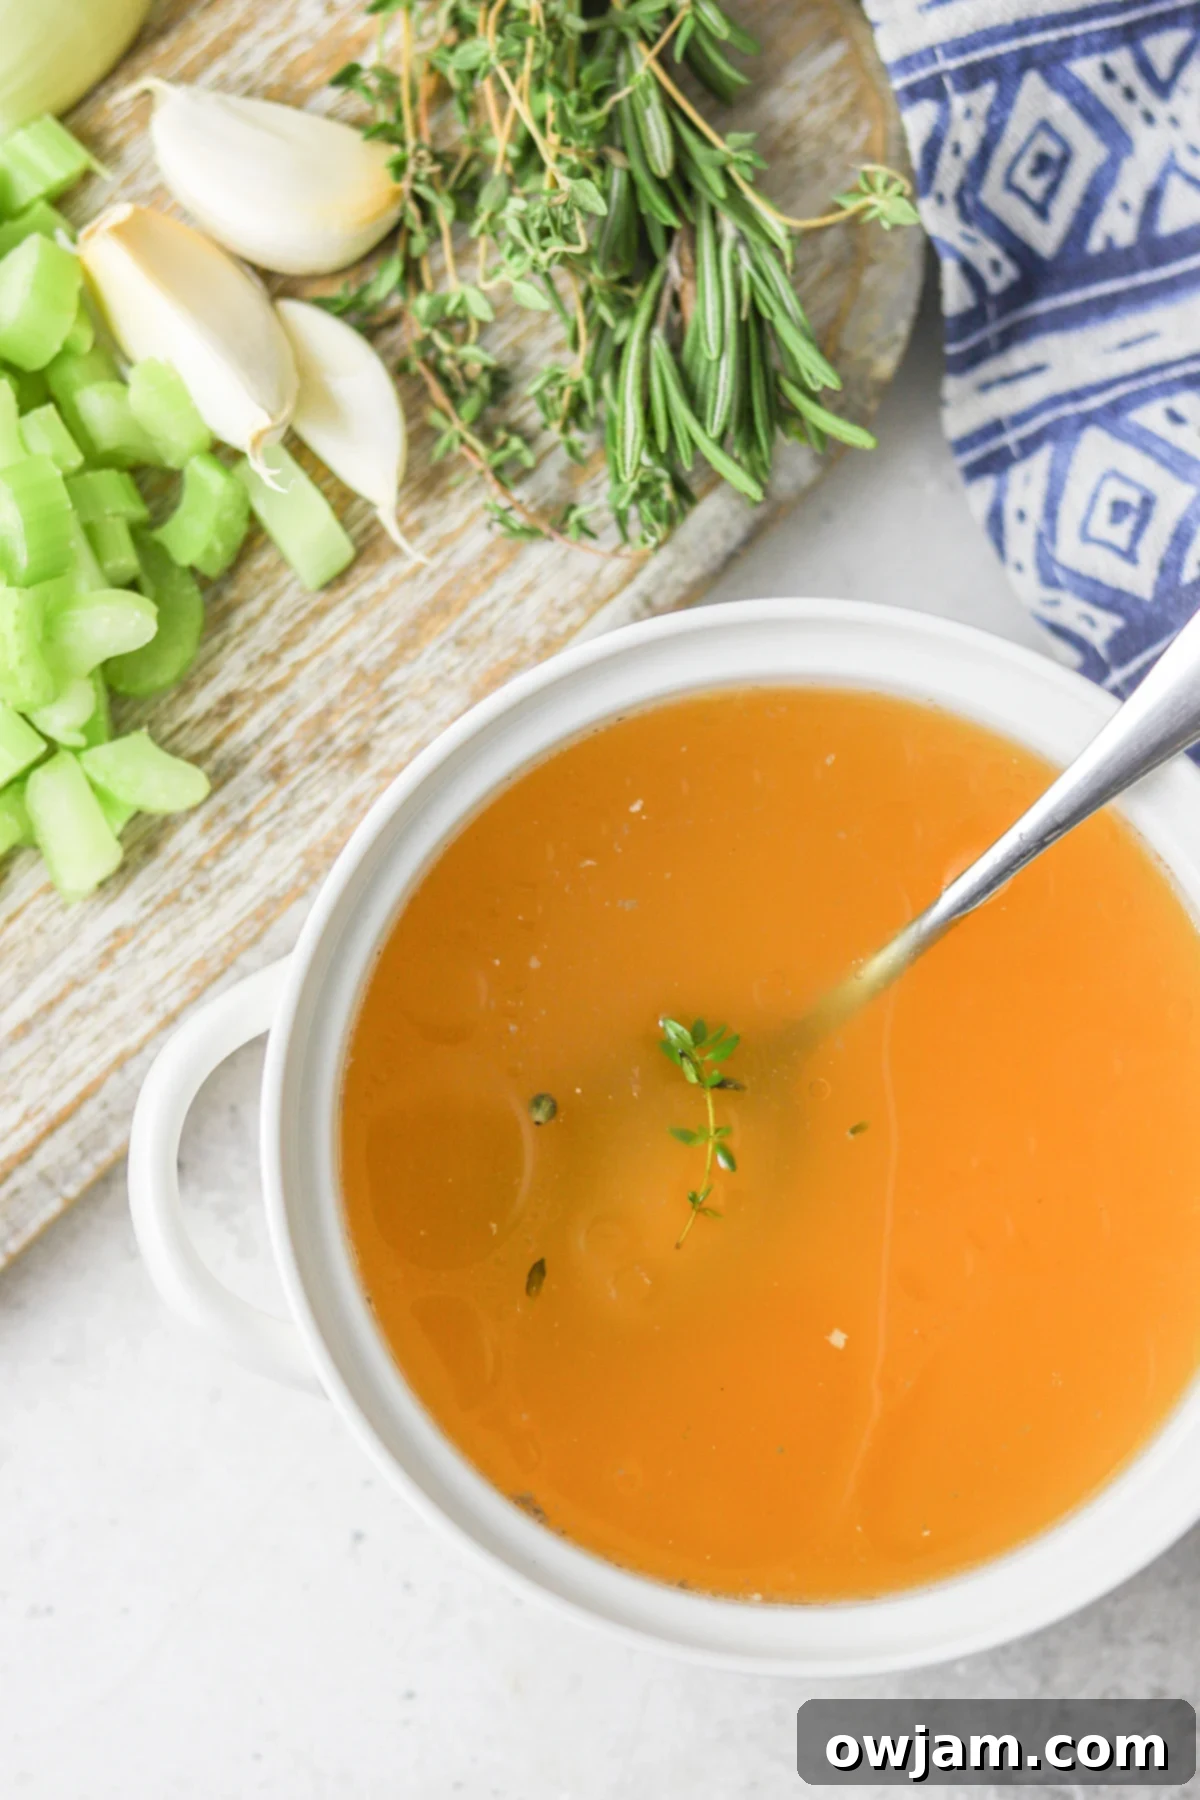
Once the broth has finished simmering, carefully remove all solid ingredients. You can do this by pouring the entire contents of the pot through a large colander placed over another large heatproof container. For an even clearer broth, line the colander with cheesecloth or use a fine-mesh strainer to catch any smaller particles. Discard the spent chicken, vegetables, and herbs. The resulting liquid is your rich, homemade chicken broth!
Step 7: Cool and Store: Proper storage extends the life of your broth.
Let the strained broth cool completely before storing. Once cooled, transfer it to freezer-proof containers or mason jars. It can be stored in the refrigerator for up to four days or frozen for up to six months. For convenient single servings, consider pouring the broth into ice cube trays, freezing solid, and then transferring the frozen cubes to a freezer bag. When ready to use, simply thaw, skim off any solidified fat (which is optional but common for a lighter broth), and reheat.
Optimal Cooking Time for Chicken Broth: How Long is Just Right?
The ideal cooking time for chicken broth can vary, but generally, a minimum of 2 hours is a good starting point for extracting delicious flavors. Allowing the broth to simmer for a longer duration, typically 3-4 hours, will result in a stronger, more concentrated flavor and a richer body due to more collagen being released from the bones. For a robust and flavorful chicken broth using a whole chicken or bones, 2-3 hours is usually sufficient to achieve an excellent result.
While a longer simmer might seem better, avoid cooking for much longer than 4-5 hours for broth, as excessive cooking can sometimes lead to an overly reduced liquid with less volume, or in some cases, can begin to extract bitter notes from the vegetables if they become too soft and mushy. The sweet spot truly depends on how much liquid you desire and the intensity of flavor you’re aiming for. For a lighter, clearer broth, stick to the shorter end of the spectrum, and for a deeply savory base, lean towards the longer simmer.
Instant Pot Method for Chicken Broth: Speedy & Efficient
For those looking to significantly reduce cooking time without sacrificing flavor, the Instant Pot is an excellent tool for making chicken broth.
To use this method: Add all your ingredients (chicken, vegetables, herbs, water, salt, peppercorns) to the Instant Pot. Secure the lid, set the valve to “sealing,” and cook on manual high pressure for 3-4 hours. Once the cooking cycle is complete, allow the pressure to release naturally. This natural pressure release is important as it helps to keep the broth clear and prevents liquid from spurting out. Once the pressure has fully released and the float valve has dropped, carefully open the lid and proceed to strain the broth as usual.
Slow Cooker Method for Chicken Broth: Set It and Forget It
The slow cooker offers an incredibly convenient, hands-off approach to making chicken broth, perfect for busy days.
To prepare broth in a slow cooker: While it’s not strictly necessary, for an even richer flavor, you can briefly brown the chicken and vegetables in a pan on the stovetop before transferring them to the slow cooker insert (as described in Step 1 of the stovetop method). Alternatively, simply add all ingredients – chicken, vegetables, herbs, water, salt, and peppercorns – directly to the slow cooker pot. Set the slow cooker to low and let it cook for a generous 6-8 hours. The gentle, prolonged heat of the slow cooker is fantastic for extracting every last bit of flavor and collagen, resulting in a deeply savory and nourishing broth with minimal effort. Once done, strain and store.
Frequently Asked Questions About Homemade Chicken Broth
The ingredient quantities provided in this recipe are flexible and serve as a guide. The exact amounts can vary based on the size of your pot, the size of your chicken, and your personal preference for flavor intensity. The key is to ensure the chicken and aromatics are well-covered with water without diluting the flavor too much. Feel free to adjust based on what you have on hand and your desired yield.
For an even deeper, more complex flavor, I highly recommend browning the chicken and vegetables slightly for a few minutes before adding the water. This caramelization step significantly enhances the savory notes. Additionally, a crucial tip for intensely flavored broth is to avoid using too much water. While more water yields more liquid, it will dilute the flavor. Aim for just enough water to cover the chicken and other contents of the pot by about an inch or two. Using fresh, high-quality herbs also makes a substantial difference in the final taste.
Absolutely! This is a fantastic way to utilize kitchen scraps and ensure nothing goes to waste. The next time you roast a chicken and don’t have immediate plans to make stock, simply place the cooled chicken carcass (and any leftover bones or giblets, excluding the liver) in a freezer-safe bag. Store it in the freezer until you have time to make broth. This convenience makes homemade broth much more accessible.
Yes, you can, but timing is important to ensure the meat remains flavorful and tender. If your intention is to use the chicken meat for soups, salads, or other dishes, I highly recommend removing the whole chicken from the pot after about 45 minutes to an hour of simmering. Let the chicken cool just enough to handle it comfortably. Then, carefully remove the majority of the meat from the bones to use in your desired recipe. Afterward, toss the stripped carcass and bones back into the pot to continue simmering for at least another hour, or up to an additional 7 hours, to fully extract all the remaining flavor for your broth. Meat cooked for the entire 3-4 hour broth simmering process will be very tender but will likely have lost most of its flavor to the broth and might be overcooked for eating on its own.
Storing Your Homemade Chicken Broth for Freshness
Proper storage is essential to enjoy your homemade chicken broth for as long as possible:
- Refrigeration: Once your fresh broth has completely cooled, it can be stored in an airtight container or covered in the refrigerator for 3-4 days. Always ensure it cools quickly to prevent bacterial growth; you can even place the pot in an ice bath to speed up cooling.
- Freezing for Long-Term Storage: For longer preservation, freezing is your best option. Allow the broth to cool entirely before transferring it into freezer-safe containers, heavy-duty freezer bags, or mason jars. It can be safely stored in the freezer for up to 6 months.
- Tips for Freezing in Mason Jars: If you choose to freeze broth in glass mason jars, exercise caution. Leave at least an inch of headspace at the top of the jar to allow for expansion as the liquid freezes, preventing the glass from cracking. It’s also a good practice to initially freeze the broth with the lid off or loosely placed on top, only sealing it tightly once the broth is completely frozen.
- Convenient Portions: For ultimate convenience, pour cooled broth into ice cube trays. Once frozen solid, pop the broth cubes out and transfer them to a freezer bag. This way, you can easily grab just the amount you need for recipes, whether it’s a small splash or a larger quantity. Remember to skim any solidified fat from the top after thawing and before reheating, if desired, for a lighter broth.
Creative Ways to Use Your Delicious Homemade Chicken Broth
Homemade chicken broth is a culinary chameleon, capable of transforming a wide array of dishes from ordinary to extraordinary. Its rich, savory flavor adds depth and complexity that store-bought versions simply can’t match. Here are just a few ideas to inspire you:
- Soups and Stews: This is arguably its most classic application. Use it as the base for any chicken soup, lending a profound, comforting flavor. Try it in an INSTANT POT TURKEY CHILI for a rich and hearty meal, or a creamy EASY GNOCCHI SOUP for ultimate comfort.
- Sauces and Gravies: Replace water or lesser-quality broths in your sauces for an instant upgrade. It’s the secret ingredient to a velvety smooth gravy, or the liquid component in a classic French COQ AU VIN, enhancing every bite.
- Rice and Grains: Cook your rice, quinoa, or couscous in chicken broth instead of water. This simple swap infuses your grains with a savory depth, making them a delicious side dish on their own.
- Braises and Roasts: Use it as a braising liquid for meats and vegetables, allowing them to slowly tenderize and absorb the rich flavors. It’s perfect for deglazing pans after roasting, creating a flavorful fond for pan sauces.
- Noodle Dishes: From a quick weeknight ramen to a more elaborate ASIAN CHICKEN NOODLE SOUP, homemade broth forms the soul of the dish.
- Flavorful Hydration: Sometimes, a simple mug of warm chicken broth is all you need. It’s incredibly soothing, especially when you’re feeling under the weather, and offers gentle hydration and electrolytes.
- International Delights: Incorporate it into dishes like a vibrant SLOW COOKER CHICKEN AND LIME SOUP, where its robust flavor perfectly complements the zesty notes.
Tried this recipe? Leave a star rating and comment below! Subscribe to my newsletter or follow me on
Facebook,
Instagram, or
Pinterest for the latest.
Homemade Chicken Broth
Saved
Pin
Ingredients
- 1 Whole Chicken {about 4 pounds},, giblets removed {or chicken bones, necks, legs, backs, wings, are best}
- 2 whole carrots
- 3 garlic cloves
- 1 large onion,, halved
- 1 tablespoon olive oil
- 6-8 cups of water {just enough to cover the contents of the pot}
- 2 sprigs of fresh rosemary
- 2 sprigs of fresh thyme
- 3-4 sprig of fresh parsley
- 2 bay leaves
- 1 teaspoon whole peppercorns, optional
- 1 teaspoon salt
Instructions
-
Place cooking oil in bottom of a large pot. Add in whole chicken {if using bones skip the chicken and add the bones in with the water}, onion, carrots, celery and garlic.
-
Lightly brown contents of pot over medium high heat for 6-7 minutes.
-
Add in 6-8 cups of water, using enough to cover contents of pot by an inch or two.
-
Add in fresh rosemary, thyme, parsley, bay leaf, peppercorns and salt {and bones if using bones}.
-
Bring to a boil and cover.
-
Reduce heat to low and let simmer for 2-4 hours {I suggest the longer the better to really infuse the flavors into the broth}.
-
Remove everything out of the broth. Skim the broth trough a collander.
-
Let cool and store in mason jars or an airtight container in the fridge for up to 4 days or in the freeze for up to 6 months.
Notes
- Chicken stock can easily turn out unflavorful. The fresh herbs in this recipe add tons of delicious flavor to your stock. I personally have never tried using dried variations of the herbs. But they make a HUGE difference in how the stock turns out. The aroma they produce is amazing!
- I like to cook the chicken and veggies slightly for a few minutes for additional flavor before adding in the water. But this step can be skipped.
- The ingredients are an estimate in this recipe, as it really depends on the size of the pot your using, the size of the chicken, etc. The important part is to not use too much water. Too much water means more broth, but at the expense of the flavor. Use just enough to cover the chicken and contents of the pot.
- Usually 2-4 hours is sufficient time for a flavorful, delicious broth but you can do more for more flavor.
- The longer cooking time will mean less juice, but a more concentrated flavor, so it really just depends on how much broth you need.
If you want to use the chicken meat:
If you are planning on using the chicken meat for soup or other dishes, I suggest removing the chicken after about 45 minutes to an hour, and let cool for a few minutes while the broth continues to simmer. Remove the majority of the meat from the chicken and toss the carcas back into the broth to continue to simmer for at least another hour, up to seven additional hours. This will make the meat more tender and not flavorless and overcooked.
Nutrition
Nutrition information is automatically calculated, so should only be used as an approximation.
