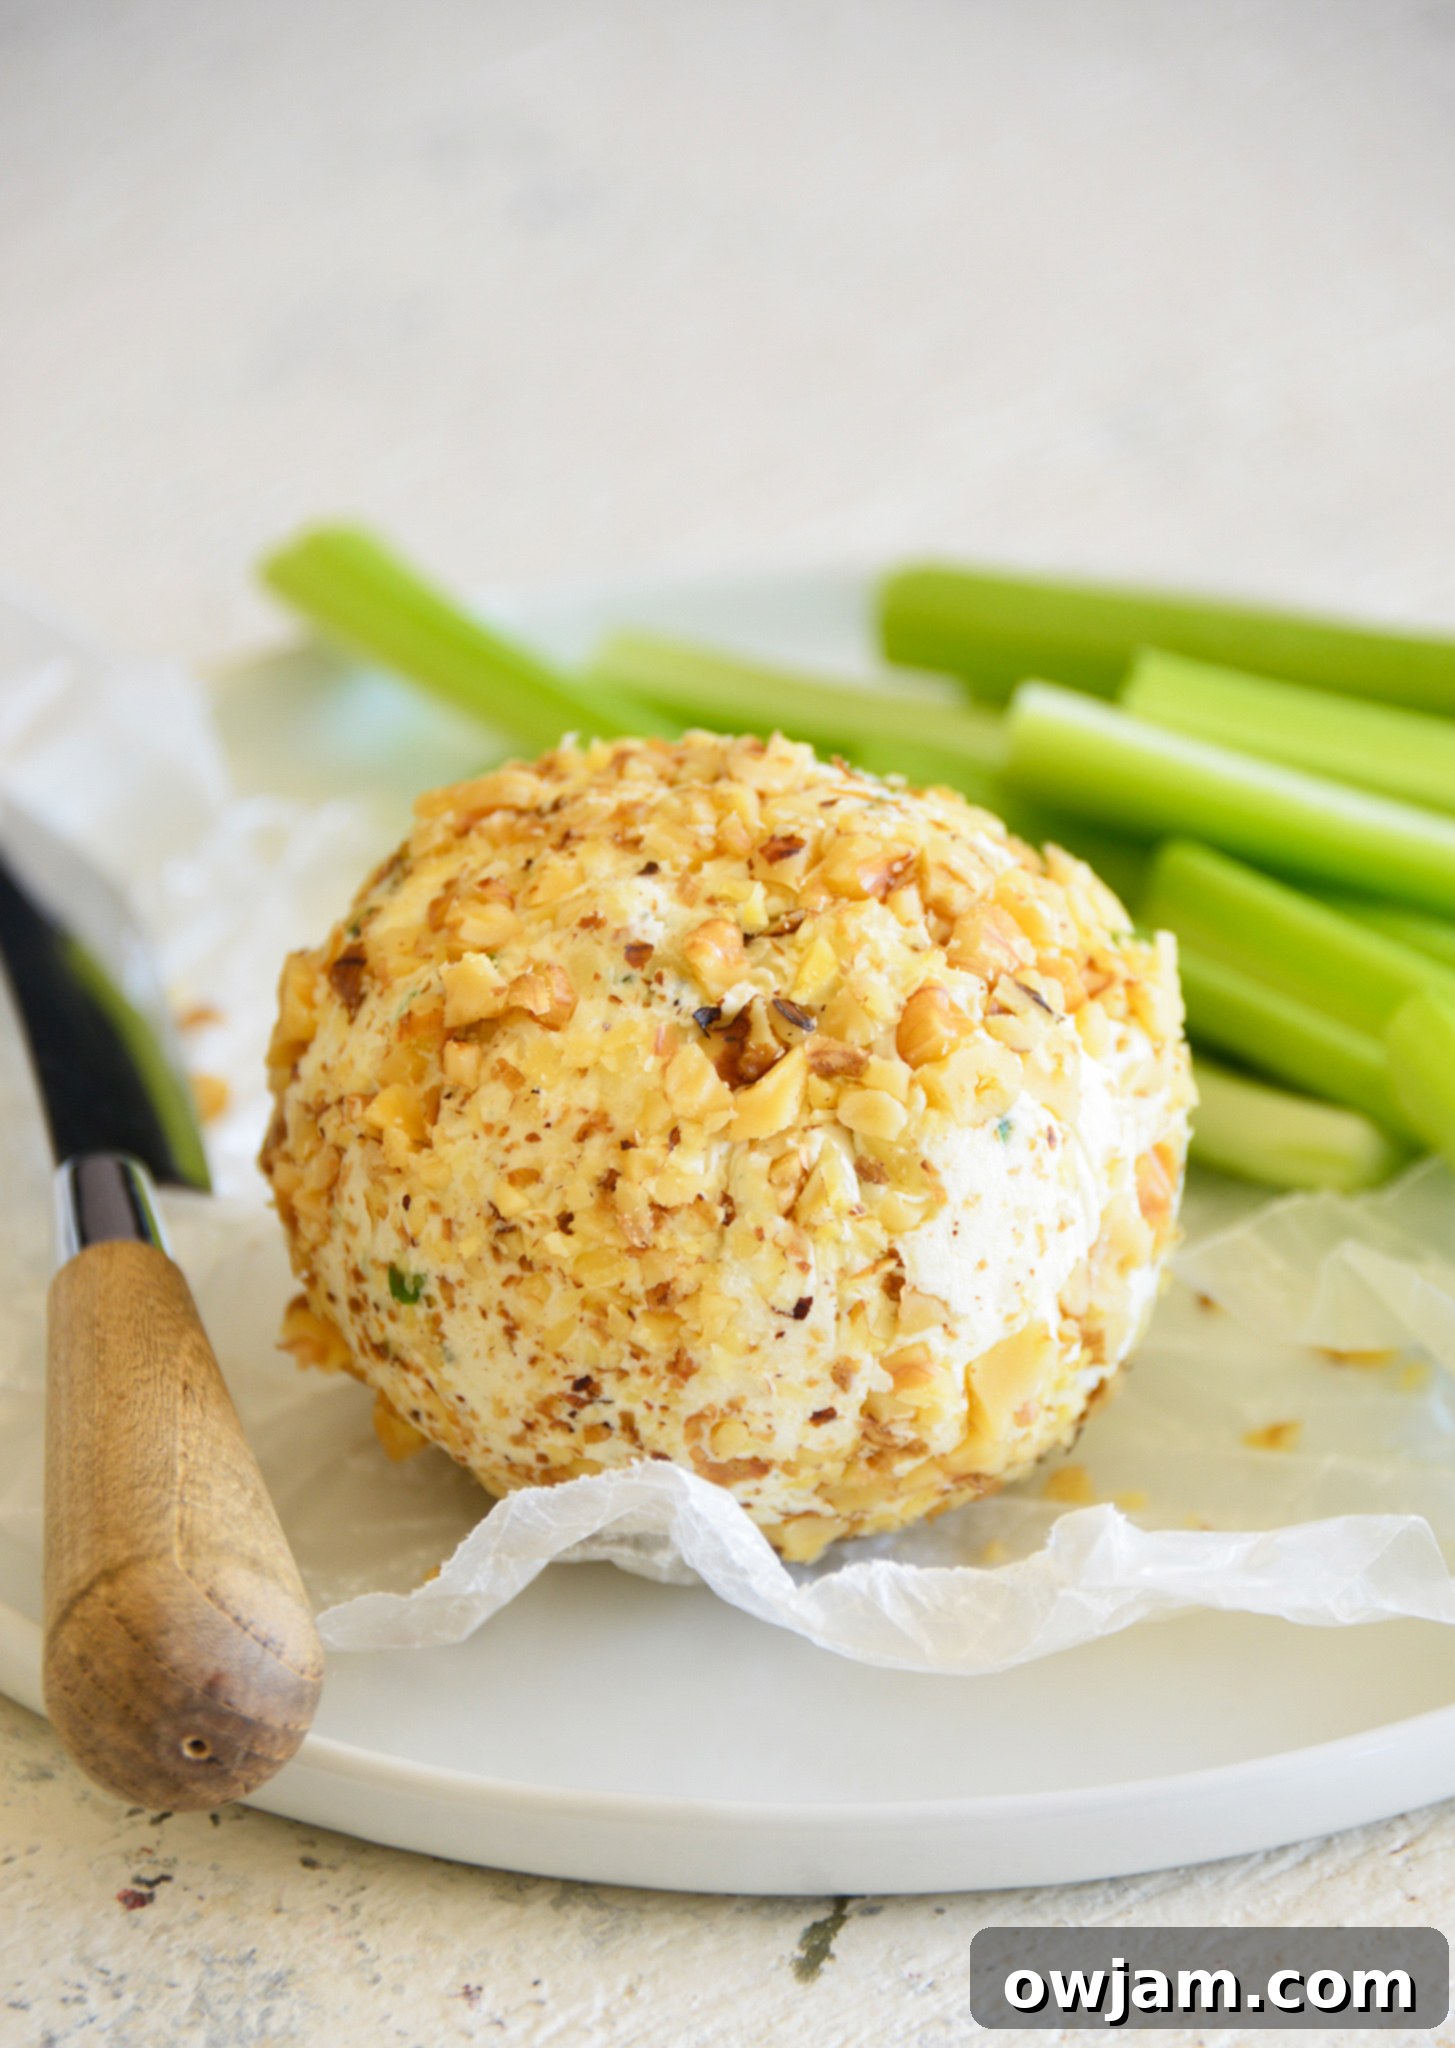
Master the Art of the Perfect Cheese Ball: Your Essential Holiday Appetizer Guide
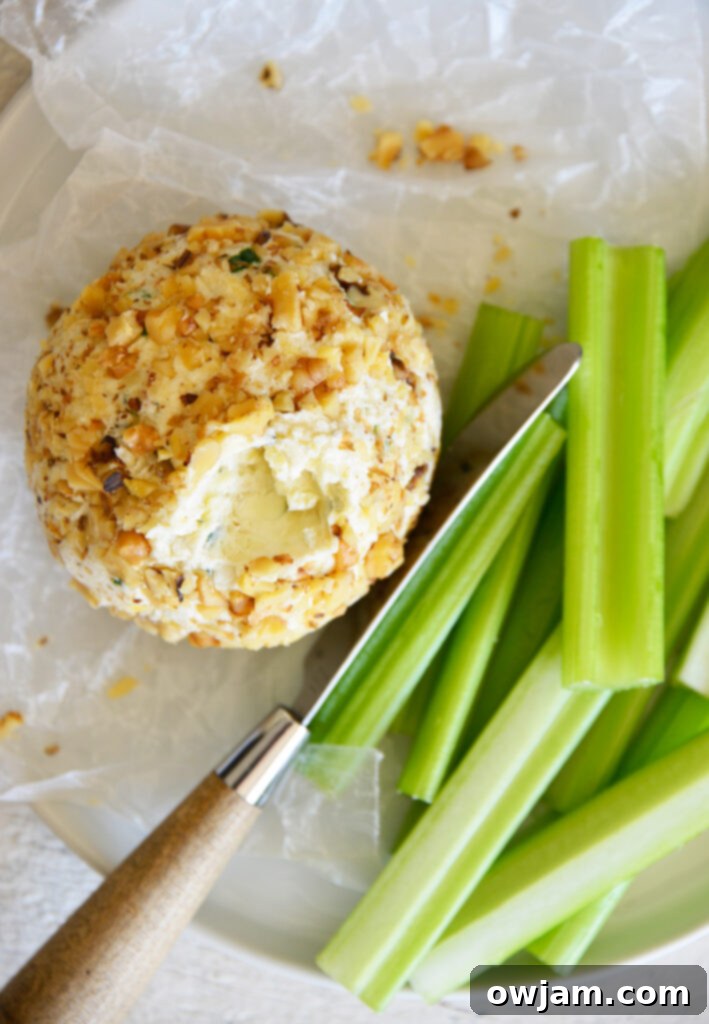
As the festive season draws near, the quest for the perfect appetizer often begins. You want something delicious, impressive, yet straightforward to prepare. Look no further! This comprehensive guide will teach you how to make a cheese ball that will undoubtedly become the star of your holiday table. Forget complicated recipes; this simple yet elegant cheese ball combines the rich creaminess of cream cheese, the sharp bite of white cheddar, and the distinct tang of blue cheese, all elevated with fresh green onions and a delightful coating of chopped walnuts. Your guests will adore this delightful snack or starter!
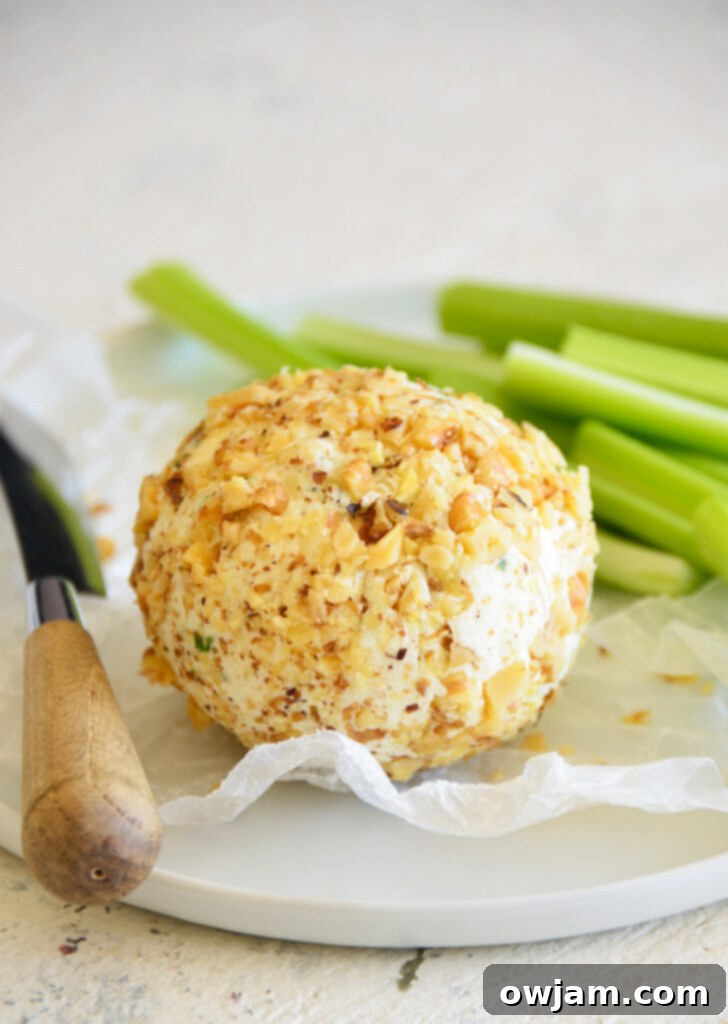
Why a Cheese Ball is the Ultimate Party Appetizer
Appetizers are often the unsung heroes of any holiday feast. As Thanksgiving and Christmas roll around, I find myself constantly brainstorming creative starters that are both delicious and easy to manage. A cheese ball perfectly fits this description. It’s not just a dish; it’s a centerpiece that invites gathering and conversation. Its creamy texture makes it an excellent spread for various accompaniments like crusty bread, crisp crostini, savory pita chips, or a colorful array of fresh vegetables.
What makes a cheese ball truly special for holiday entertaining is its make-ahead potential. You can prepare it days in advance, allowing flavors to meld beautifully and freeing up precious time on the day of your event. This means less stress in the kitchen and more time enjoying the company of your loved ones.
Beyond its practicality, a well-made cheese ball offers a delightful blend of textures and flavors that appeal to almost everyone. The smooth, rich cheese mixture contrasted with the crunchy outer coating makes every bite a satisfying experience. While I adore this particular cheese ball recipe, I also enjoy serving other crowd-pleasing starters like this Goat Cheese Dip, Goat Cheese Figs Wrapped in Prosciutto, Smoked Salmon Cucumber Appetizer Bites, and these Cucumber Hummus Bites.
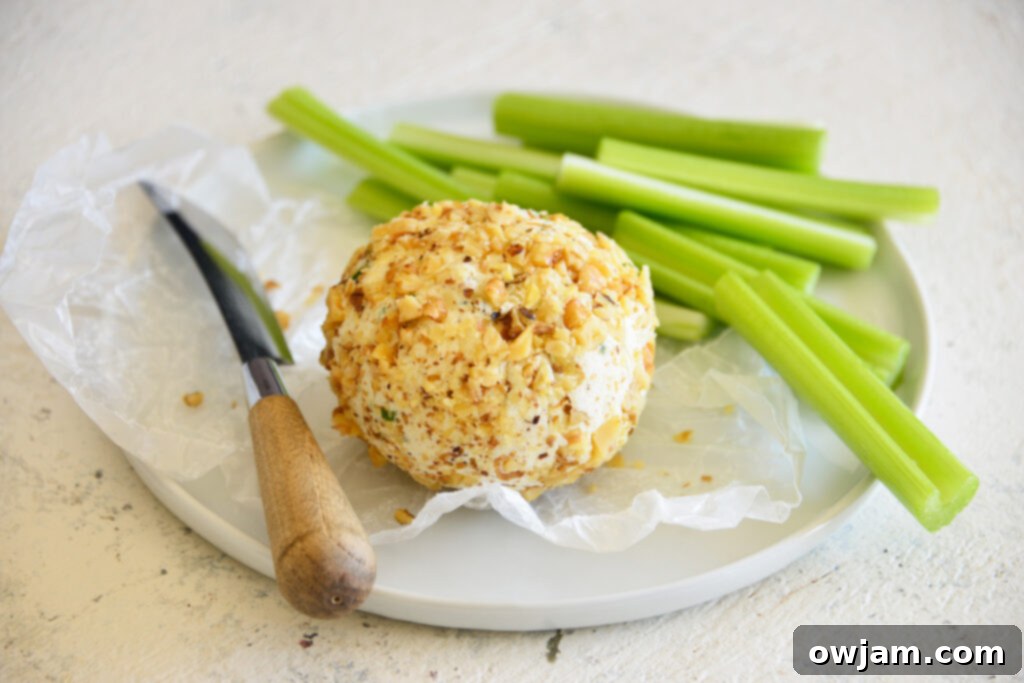
Unpacking the Perfect Cheese Ball: Key Ingredients
My biased opinion tells me this is truly the best cheese ball recipe you’ll find! Its beauty lies in its simplicity and low maintenance, yet it consistently delivers an impressive presentation for any gathering. The secret is in the carefully chosen ingredients that create a harmonious balance of flavor and texture. Let’s delve into what makes this classic cheese ball so irresistible:
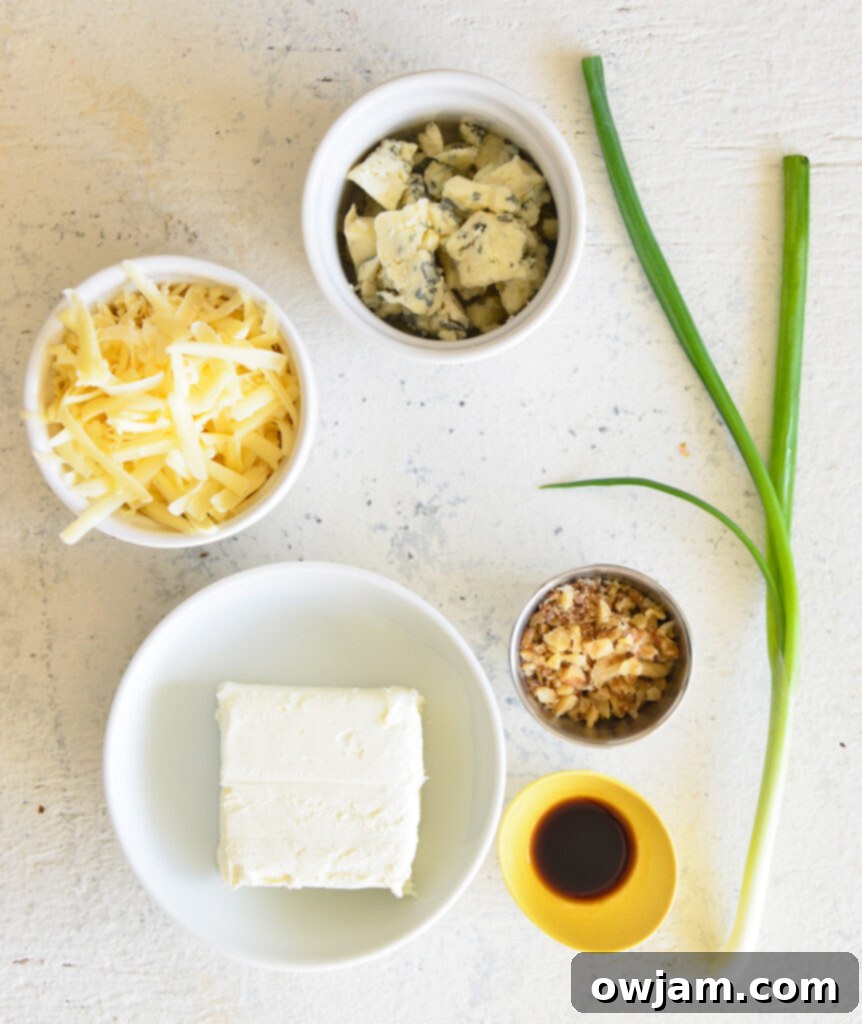
CHEESE: The Creamy Heart of the Ball
This recipe calls for a fantastic trio of cheeses: rich cream cheese, sharp shredded white cheddar cheese, and pungent blue cheese. The cream cheese provides the essential creamy base and structure, making it easy to form and wonderfully spreadable. It’s crucial to bring the cream cheese to room temperature before mixing, as this ensures a smooth, lump-free mixture that readily incorporates the other ingredients. The white cheddar adds a familiar, savory depth, while the blue cheese introduces a sophisticated, tangy punch that elevates the entire flavor profile. This combination creates a complex yet approachable taste that is truly addictive.
WORCESTERSHIRE SAUCE: The Secret Umami Kick
A touch of Worcestershire sauce is a game-changer in this cheese ball. While you could technically skip it, I highly recommend including it. This savory condiment adds a wonderful depth of umami and a subtle tangy complexity that brightens the cheese flavors without overpowering them. It’s that little something extra that makes people wonder what your secret ingredient is!
GREEN ONIONS: Freshness and Texture
Green onions (also known as scallions) contribute both a delicate oniony flavor and a pleasant textural contrast to the creamy cheese. Their mild, fresh taste complements the rich cheeses beautifully. If green onions aren’t your preference or you’re looking for an alternative, freshly chopped parsley is another excellent choice that adds a vibrant color and herbaceous note.
WALNUTS: The Classic Crunchy Coating
No classic cheese ball is complete without a delightful exterior, and for this recipe, finely chopped walnuts are the perfect choice. The nuts provide a satisfying crunch that contrasts wonderfully with the smooth interior. They also add a subtle earthy flavor and an elegant finish, making your cheese ball visually appealing and texturally engaging. Beyond walnuts, there are many other great options for the coating, which we’ll explore in the variations section.
Step-by-Step: How to Craft Your Own Cheese Ball
Making this cheese ball is surprisingly simple, yet the results are incredibly rewarding. Follow these easy steps to create a show-stopping appetizer:
Step 1: Combine the Core Ingredients
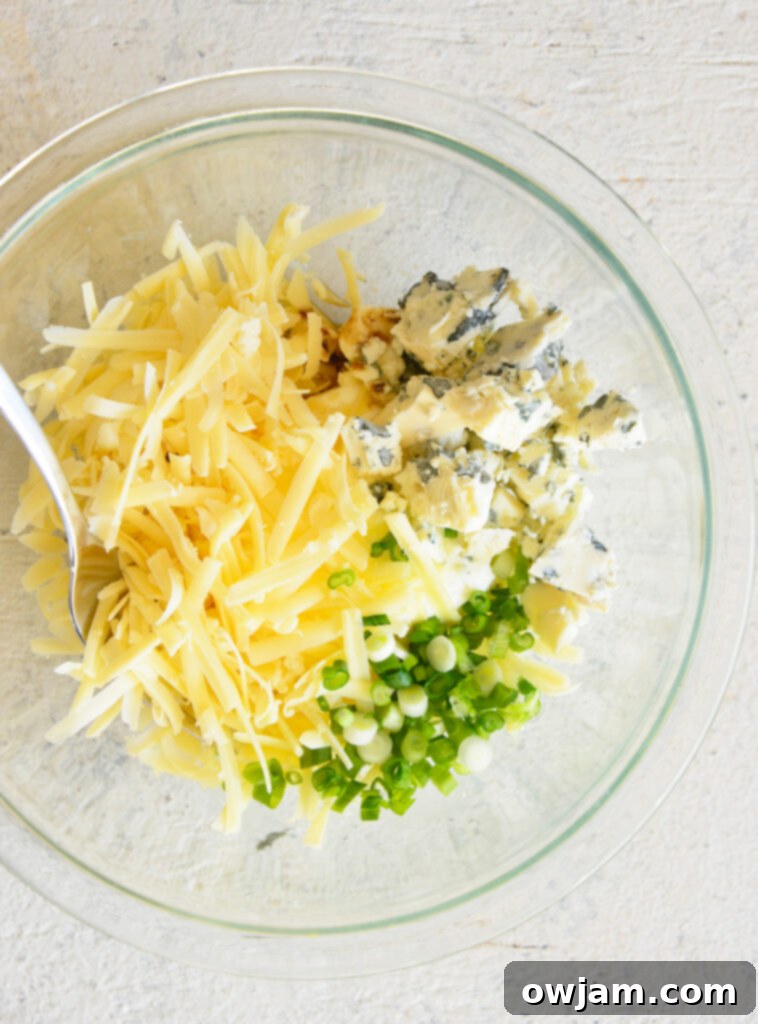
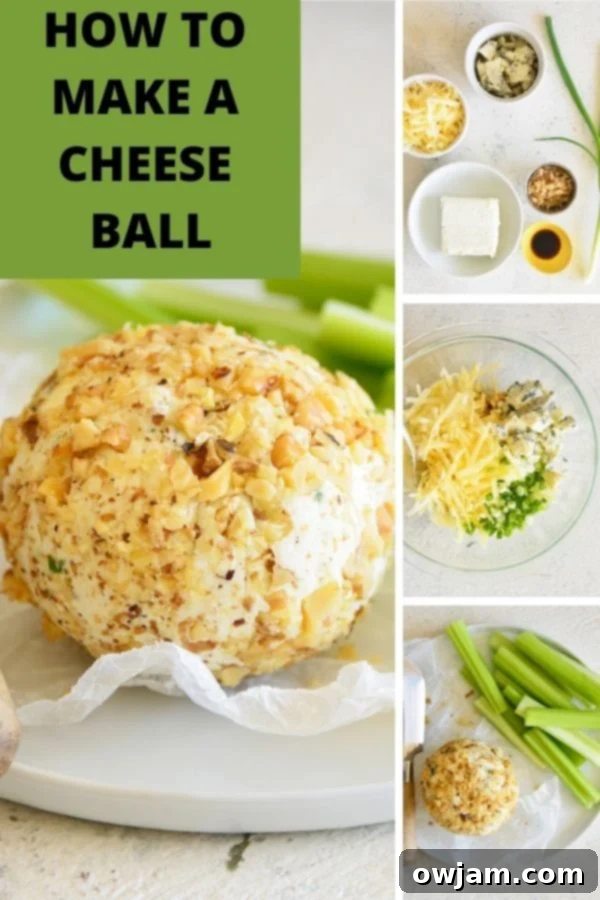
In a medium-sized mixing bowl, combine the room-temperature cream cheese, shredded white cheddar cheese, crumbled blue cheese, Worcestershire sauce, and thinly sliced scallion (both green and white parts). Using cream cheese at room temperature is essential for achieving a smooth, well-blended mixture. You can use a sturdy spoon, a spatula, or even clean hands to thoroughly mix all the ingredients until they are evenly distributed. Ensure no streaks of plain cream cheese remain.
Step 2: Shape and Chill
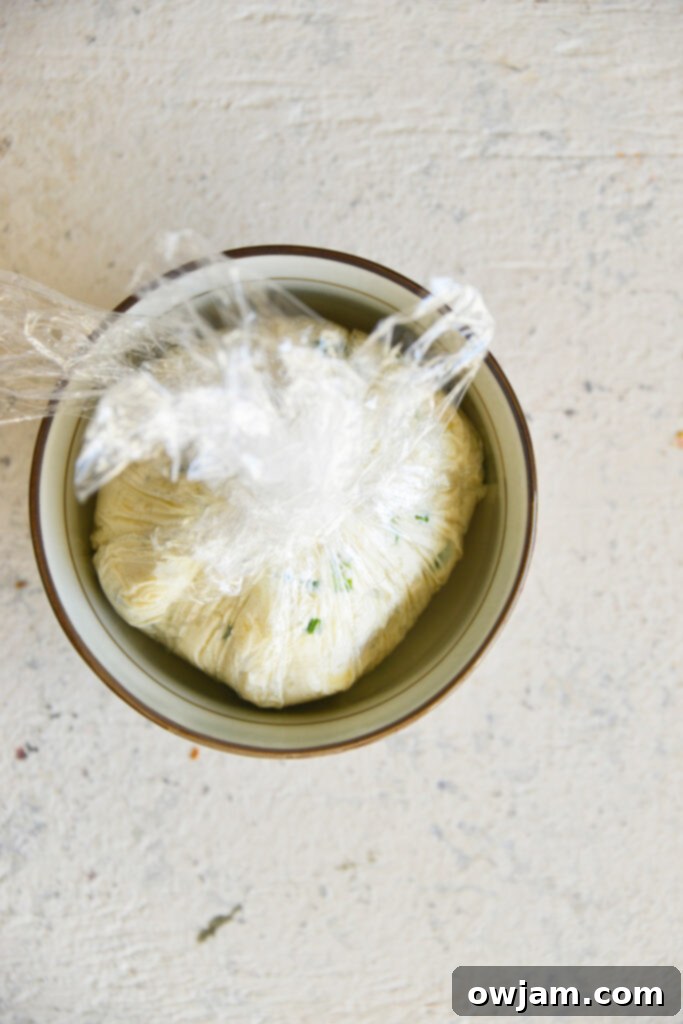
Once thoroughly mixed, use your hands to form the cheese mixture into a neat, firm ball. For best results and to help it maintain its perfect spherical shape, you can place the wrapped cheese ball into a small bowl or ramekin. Wrap the formed cheese ball tightly in plastic wrap, ensuring no air can get to the surface. Refrigerate it for at least 2 hours, or preferably up to 3 days. Chilling is crucial as it allows the flavors to deepen and the cheese ball to firm up, making it easier to handle and serve. This make-ahead step is a huge time-saver for busy hosts!
Step 3: Roll in Walnuts and Serve
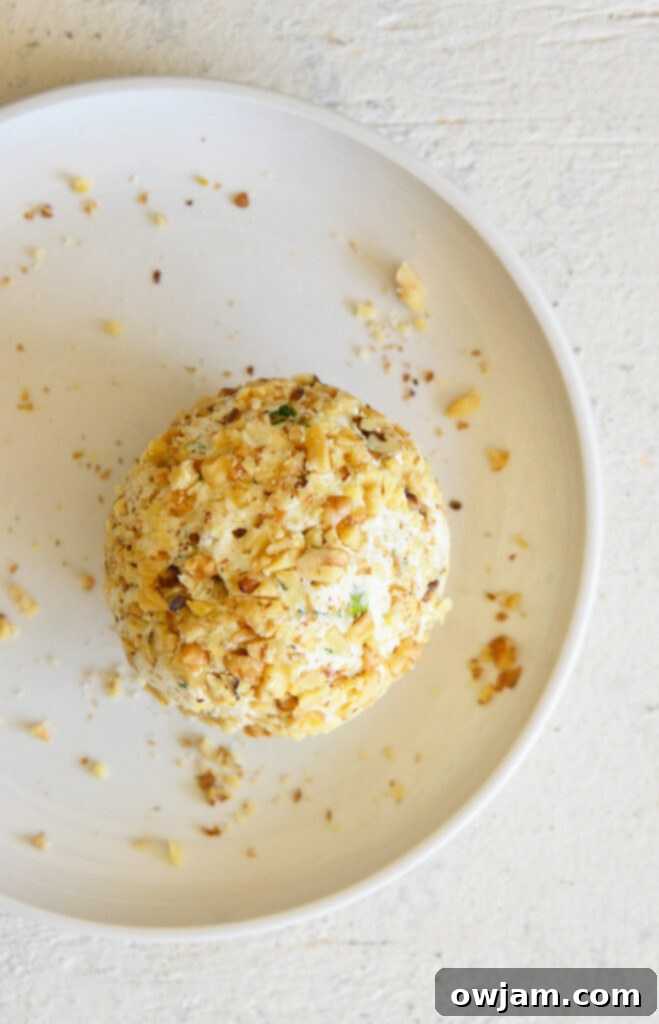
Just before you’re ready to serve, unwrap the chilled cheese ball. Spread the finely chopped walnuts evenly on a plate or shallow dish. Gently roll the cheese ball in the walnuts, pressing lightly to ensure the nuts adhere well and create a uniform coating. This step adds the final textural element and a beautiful rustic appearance. Place your magnificent cheese ball on a serving platter surrounded by your chosen dippers, and watch your guests marvel!
Creative Cheese Ball Variations & Customization Ideas
While this classic cheese ball recipe is perfect as is, it also serves as a fantastic canvas for your culinary creativity! Don’t hesitate to experiment with different ingredients to tailor it to your taste or theme. Here are some ideas to inspire you:
Cheese Swaps & Blends
The base of cream cheese is quite forgiving. For the shredded cheese, feel free to use sharp cheddar, extra sharp cheddar, Monterey Jack, Gouda, or a Mexican blend. If blue cheese isn’t a favorite, simply omit it and substitute with an equal amount of your preferred shredded cheese, or try crumbled feta or goat cheese for a different tang. You could also incorporate a smoked cheese for an added layer of flavor.
Spice It Up! (Seasonings & Heat)
Elevate the flavor profile with additional seasonings. Italian seasoning, dried parsley, oregano, or a touch of garlic powder or onion powder can deepen the savory notes. For those who enjoy a kick, a dash of hot sauce (like Tabasco or sriracha) mixed into the cheese ball can add a delightful warmth. Start with a small amount and taste as you go – a little goes a long way!
Nutty Toppings: More Than Just Walnuts
While walnuts are a classic choice, other nuts work beautifully for the outer coating. Finely chopped pecans or almonds provide a similar crunch and earthy flavor. For an extra festive touch, you can lightly toast the nuts before chopping them to enhance their aroma and flavor.
Sweet & Savory Additions: Dried Fruits & More
Dried fruit can introduce a wonderful sweet-tart element to your cheese ball, pairing exceptionally well with the savory cheeses. Consider adding a small amount of finely chopped dried cranberries, apricots, or even figs to the mixture. This is particularly lovely for a holiday-themed cheese ball. For a more savory twist, try finely chopped sun-dried tomatoes, olives, or roasted red peppers.
Unexpected Mix-ins for Extra Flair
Want to truly make it your own? Experiment with other mix-ins:
- Crispy Bacon: Cooked and crumbled bacon adds an irresistible smoky, salty crunch.
- Jalapeños: Finely minced fresh or pickled jalapeños for a spicy kick.
- Herbs: Fresh dill, chives, or basil, finely chopped, can add a burst of garden-fresh flavor.
- Garlic: A small amount of minced fresh garlic can enhance the savory profile.
- Sweet Relish: For a classic “party dip” flavor, a tablespoon of sweet pickle relish adds a tangy sweetness.
Make Ahead & Storage Tips for Your Cheese Ball
One of the best features of a cheese ball is how well it holds up, making it an ideal make-ahead appetizer for any event. Proper storage ensures its freshness and delicious flavor.
How Long Does This Last?
When stored correctly, this cheese ball will remain fresh and delicious for up to 2 weeks in an airtight container in the refrigerator. Always keep it tightly wrapped in plastic wrap or placed in a sealed container to prevent it from drying out or absorbing other odors from the fridge. For the best flavor and texture, it’s often recommended to let it sit at room temperature for about 15-20 minutes before serving, allowing it to soften slightly and become more spreadable.
Can You Freeze a Cheese Ball?
Yes, you absolutely can freeze a cheese ball! This is an excellent tip for long-term storage or preparing for multiple events. To freeze, wrap the formed cheese ball tightly in plastic wrap (without the nut coating) and place it into a freezer-safe ziplock bag. It can be frozen for up to 1 month. When you’re ready to serve, thaw the cheese ball overnight in the refrigerator. Once completely thawed, remove the plastic wrap, roll it in the chopped nuts, and it will be ready to impress your guests!
What to Serve with Your Delicious Cheese Ball
A cheese ball is only as good as what you pair it with! Offering a variety of dippers and accompaniments enhances the experience and allows your guests to customize their bites. Here are some fantastic options:
- Fresh Fruit: The sweetness of fruit beautifully complements the savory cheese. Consider thin slices of crisp apples, juicy pear wedges, or clusters of fresh grapes for a refreshing contrast.
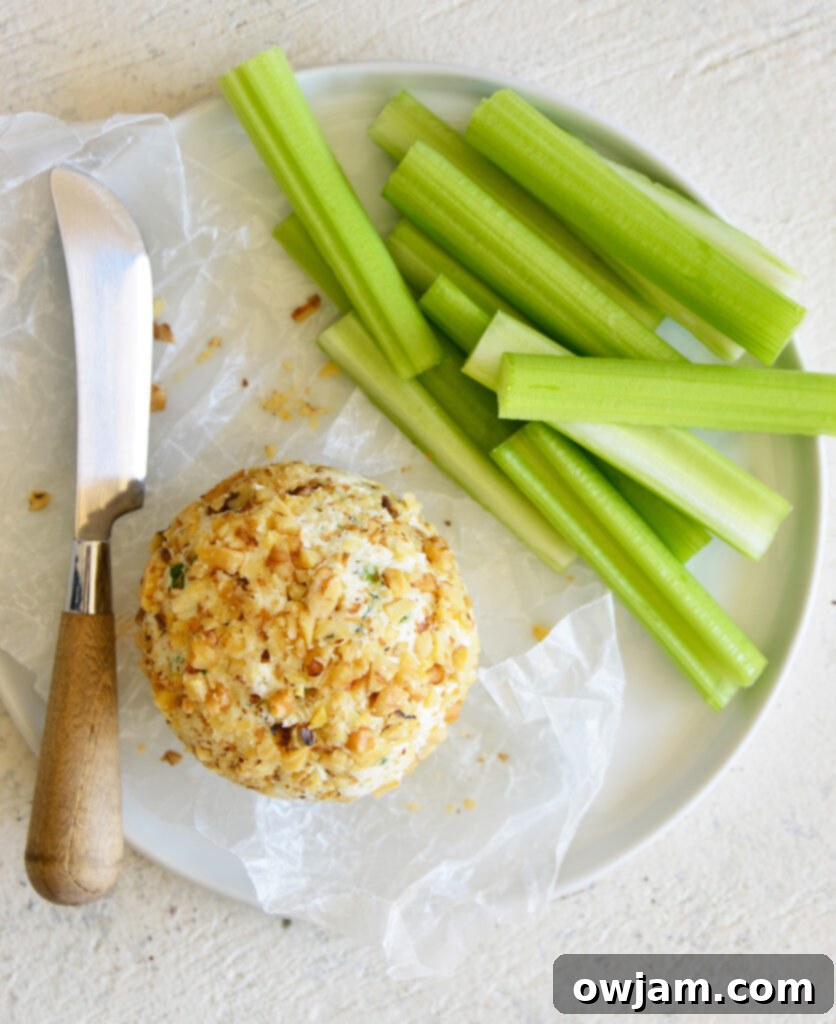
- Bread & Crackers: Classic pairings that never disappoint. Offer a selection of sliced baguette, artisan crackers (like water crackers or buttery crackers), crunchy pita chips, or even toasted crostini. A small serving knife next to the cheese ball makes it easy for guests to spread it onto their chosen base.
- Pretzels & Chips: For a salty, crunchy option, bowls of small pretzels, pita chips, or even vegetable chips work wonderfully. Their sturdy nature makes them perfect for scooping up generous portions of the cheese ball.
- Fresh Vegetables: A vibrant array of crudités adds freshness, color, and a healthy balance. Excellent choices include celery sticks, carrot sticks, cucumber slices, bell pepper strips, cherry tomatoes, and broccoli florets.
- Jams & Chutneys: For an extra gourmet touch, offer a small side of fig jam, cranberry chutney, or hot pepper jelly. The sweet and tangy notes can provide a delightful counterpoint to the rich cheese.
Tried this recipe? Leave a star rating and comment below! Subscribe to my newsletter or follow me on
Facebook,
Instagram, or
Pinterest for the latest.
Recipe: Classic Holiday Cheese Ball
By Julia Jolliff
Prep Time: 15 minutes
Total Time: 15 minutes (plus chilling)
Servings: 4 servings (can be adjusted)
As the holidays approach, learn how to make an impressive cheese ball. This simple recipe blends cream cheese, white cheddar, and blue cheese with green onions and chopped walnuts. It’s a guaranteed hit as a snack or appetizer!
Pin Recipe | Print Recipe
Ingredients
- 4 ounces cream cheese, at room temperature
- 2 ounces white cheddar, shredded (about 1/2 cup lightly packed)
- 2 ounces blue cheese, crumbled
- 1/4 teaspoon Worcestershire sauce
- 1 scallion, green and white parts, thinly sliced
- 2 Tablespoons walnuts, finely chopped (for coating)
Instructions
- Combine the core ingredients: In a medium bowl, combine the softened cream cheese, shredded cheddar cheese, crumbled blue cheese, Worcestershire sauce, and thinly sliced scallion. Mix thoroughly until all ingredients are well incorporated and the mixture is smooth.
- Form and chill: Shape the cheese mixture into a neat ball. Wrap it tightly in plastic wrap and place it in a small bowl (this helps maintain its shape). Refrigerate for at least 2 hours, or up to 3 days, allowing the flavors to meld and the cheese ball to firm up.
- Coat and serve: Just before serving, unwrap the chilled cheese ball. Roll it evenly in the finely chopped walnuts, pressing gently to ensure they adhere. Place on a serving platter with your favorite crackers, bread, and vegetables.
Nutrition Information
(Approximate values per serving, based on 4 servings)
- Calories: 241kcal
- Carbohydrates: 3g
- Protein: 9g
- Fat: 22g
- Saturated Fat: 11g
- Polyunsaturated Fat: 3g
- Monounsaturated Fat: 5g
- Cholesterol: 53mg
- Sodium: 350mg
- Potassium: 118mg
- Fiber: 0.4g
- Sugar: 1g
- Vitamin A: 662IU
- Vitamin C: 1mg
- Calcium: 210mg
- Iron: 0.3mg
Nutrition information is automatically calculated and should be used as an approximation.
Frequently Asked Questions About Cheese Balls
Even though making a cheese ball is relatively straightforward, you might have a few questions. Here are answers to some common queries to ensure your cheese ball turns out perfectly every time:
- What’s the best way to get cream cheese to room temperature quickly? If you forget to take your cream cheese out in advance, you can speed up the process. Cut the block of cream cheese into smaller cubes and spread them on a plate. It will reach room temperature much faster, usually within 15-30 minutes, depending on your room’s warmth. Alternatively, you can place the unopened, foil-wrapped package in a bowl of warm (not hot) water for about 10-15 minutes.
- Can I make mini cheese balls instead of one large one? Absolutely! Mini cheese balls are a fantastic idea for individual servings or a more elegant presentation. After mixing the ingredients, divide the mixture into smaller portions (about 1-2 tablespoons each) and roll them into small balls. Chill as directed, then roll in finely chopped nuts or other coatings. They make great bite-sized appetizers!
- How can I make my cheese ball firmer? The key to a firm cheese ball is proper chilling. Ensure it refrigerates for at least 2 hours, or even longer (up to 3 days), to allow the fats in the cheese to solidify. If your cream cheese was too warm during mixing, or if you added too many liquid-rich ingredients, it might be softer. A longer chill time will generally fix this.
- What type of crackers work best with a cheese ball? The best crackers are usually sturdy enough to hold the cheese ball without breaking. Classic options include Ritz crackers, Triscuits, water crackers, or savory entertainment crackers. For a gluten-free option, there are many excellent gluten-free cracker varieties available. Baguette slices or pita bread also offer a great vehicle for spreading.
- Can I add herbs to the coating instead of just nuts? Yes! For a different visual and flavor profile, you can mix finely chopped fresh herbs like parsley, chives, or dill with the nuts for the coating. Or, if you want a nut-free option, you can coat the cheese ball entirely in herbs, spices (like paprika), or even finely crumbled crispy bacon bits.
Tried this recipe?
Mention @acedarspoon or tag #acedarspoon!
