Homemade Yogurt (Laban): Your Comprehensive Guide to Making Fresh, Creamy Yogurt at Home
Few culinary traditions are as comforting and deeply rooted as making homemade yogurt. I vividly recall the soothing rhythm of my Mom in the kitchen, carefully preparing batch after batch of this wholesome delight. It wasn’t just food; it was a cornerstone of our daily life, a testament to simple, nourishing fare.
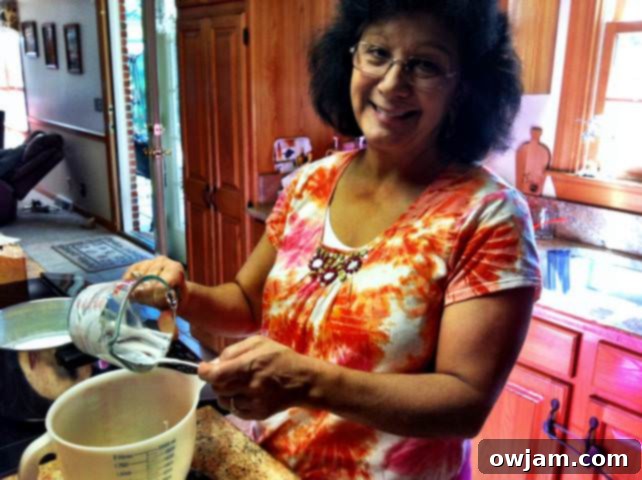
This cherished memory captures her dedication during one of my visits to Tennessee, a snapshot of tradition passed down through generations.
For those of Lebanese heritage, the term “Laban” instantly conjures images of creamy, tangy goodness. We grew up consuming it enthusiastically, often comparing it to a staple condiment – our “ketchup for fries.” Whether served alongside pita bread, as a cooling complement to kibbeh and grape leaves, or as a refreshing addition to a cucumber salad, Laban is incredibly versatile. Personally, I prefer my yogurt plain, relishing its naturally tart flavor, a preference many find surprising but truly showcases its pure essence.
The Journey Back to Homemade: A Modern Dilemma, a Timeless Solution
Years passed, and my Mom’s trusty, albeit “awful orange-colored,” yogurt maker found its way to Goodwill. Fast forward to 2012, with a one-year-old son, I found myself navigating the complex world of healthy eating for my family. My primary goal was to minimize processed foods and eliminate ingredients I couldn’t pronounce. My son adored yogurt, but as I began purchasing it weekly, the high sugar content and lengthy lists of additives in store-bought options became a growing concern. The alternative – organic, no-sugar-added yogurt – felt excessively expensive, especially when I knew the potential to create something far superior at home.
This realization sparked a vivid memory of my childhood and the endless batches of homemade yogurt my Mom crafted. She had complete control over every aspect: the fat content, the specific ingredients, and whether to add fruit or sugar. I knew then that making my own yogurt was the clear solution to my “yogurt dilemma.” While some might dismiss this as a minor concern, for me, ensuring my family consumes foods free from excessive sugar and dubious ingredients is paramount.
During a visit home, my Mom graciously revisited her traditional method, guiding me through the process she had perfected over decades. To my pleasant surprise, it was far simpler than I had imagined. The beauty of this recipe lies in its elegant simplicity, requiring just two core ingredients.
Unlocking the Magic: Two Essential Ingredients for Homemade Yogurt
You truly need only two ingredients to embark on your homemade yogurt journey, and the quality of these components significantly impacts the final product.
- Milk: 4 cups of 2% or whole milk. While skim milk can be used, it typically results in a thinner yogurt with a less robust flavor profile. For a creamy texture and rich taste, 2% or whole milk is highly recommended.
- Starter: 3 tablespoons of plain yogurt with live and active cultures or a dedicated yogurt starter. We’ve had great success with Stonyfield’s plain low-fat or regular yogurt. It’s crucial to use yogurt with some fat content; non-fat varieties may not provide sufficient active cultures for a successful batch. Look for the freshest plain yogurt available from reputable brands like Dannon, Fage, or your preferred brand. Alternatively, for consistent results and specific culture types, consider purchasing a specialized yogurt starter (see our tips section at the end for recommendations).
Beyond Ingredients: Essential Equipment for Your Yogurt-Making Venture
Having the right tools makes the process smoother and more enjoyable:
- Thermometer: A kitchen thermometer (instant-read or candy thermometer works well) is invaluable for accurately monitoring milk temperature, which is critical for successful fermentation.
- Towels/Blankets: Essential for insulating your yogurt during incubation, maintaining a consistent warm temperature.
- Large Container with Lid: An enamel or porcelain bowl with a tight-fitting lid is ideal for incubating the yogurt. Glass jars or heat-safe plastic containers can also work.
- Large Pot: For heating the milk. A heavy-bottomed pot helps prevent scorching.
- Measuring Cup: For precise liquid measurements.
- Stirring Spoon: A heat-proof spoon for stirring the milk.
- Mixing Bowl: A small bowl for tempering the starter.
Step-by-Step Guide to Crafting Your Perfect Homemade Yogurt
With your ingredients and equipment ready, let’s dive into the simple steps to make your own delicious yogurt:
Step 1: Heating the Milk
Pour 4 cups of milk into your large pot. Heat the milk over medium-high heat, stirring constantly to prevent it from scorching at the bottom. The goal is to bring the milk to just below a simmer. You’ll begin to see small bubbles forming around the edges and a light foam appearing on the surface, typically within 10-15 minutes, depending on your stovetop. It’s crucial not to let the milk come to a rolling boil; if it starts to boil, remove it from the heat immediately to avoid altering its proteins and flavor.
Step 2: Cooling the Milk to Optimal Temperature
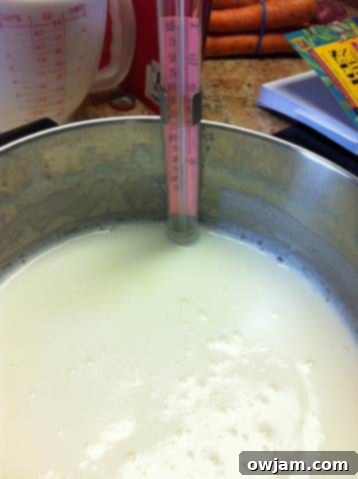
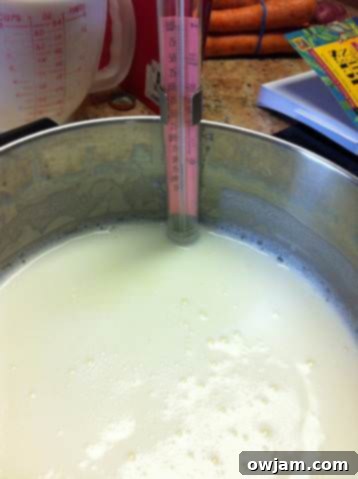
Once heated, remove the pot from the heat. Now comes the waiting game: you need to let the milk cool down to an ideal temperature of 120°F (approximately 49°C). This can take around 40 minutes, or even longer depending on your home’s ambient temperature. You can verify the temperature using your kitchen thermometer, or as my Mom taught me, by comfortably holding your finger in the milk for a count of 10. A thin layer of film or foam will likely form on the surface during cooling.
Step 3: Preparing the Starter
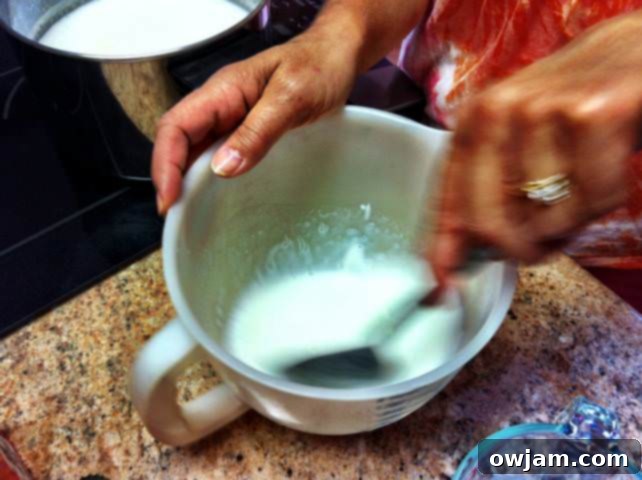
While the milk cools, place the 3 tablespoons of your chosen starter yogurt (e.g., Stonyfield plain yogurt) into a small mixing bowl. Once the milk reaches the target temperature, scoop out several tablespoons of the warm milk and whisk it into the starter yogurt until you have a smooth, lump-free paste. This step, known as tempering, helps to gradually bring the starter up to temperature and ensures it integrates seamlessly into the larger batch of milk without shocking the delicate cultures.
Step 4: Combining and Incubating
Gently add the tempered starter paste to the remainder of the warm milk in the large pot. Stir it in very gently but thoroughly, ensuring the cultures are evenly distributed. Now, carefully pour this mixture into your clean enamel or porcelain container. Cover the container with its lid or a plate.
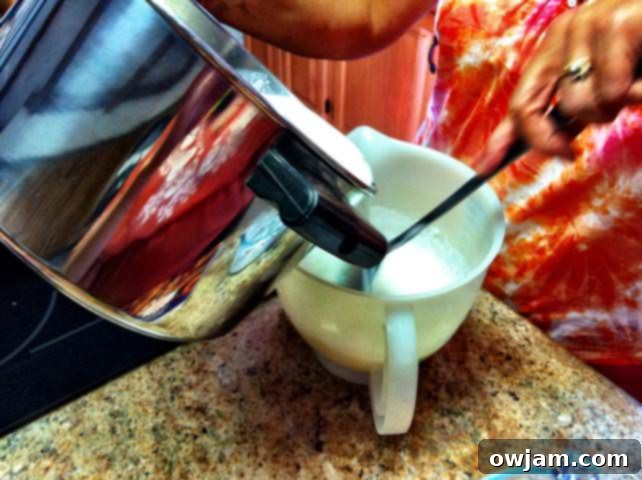
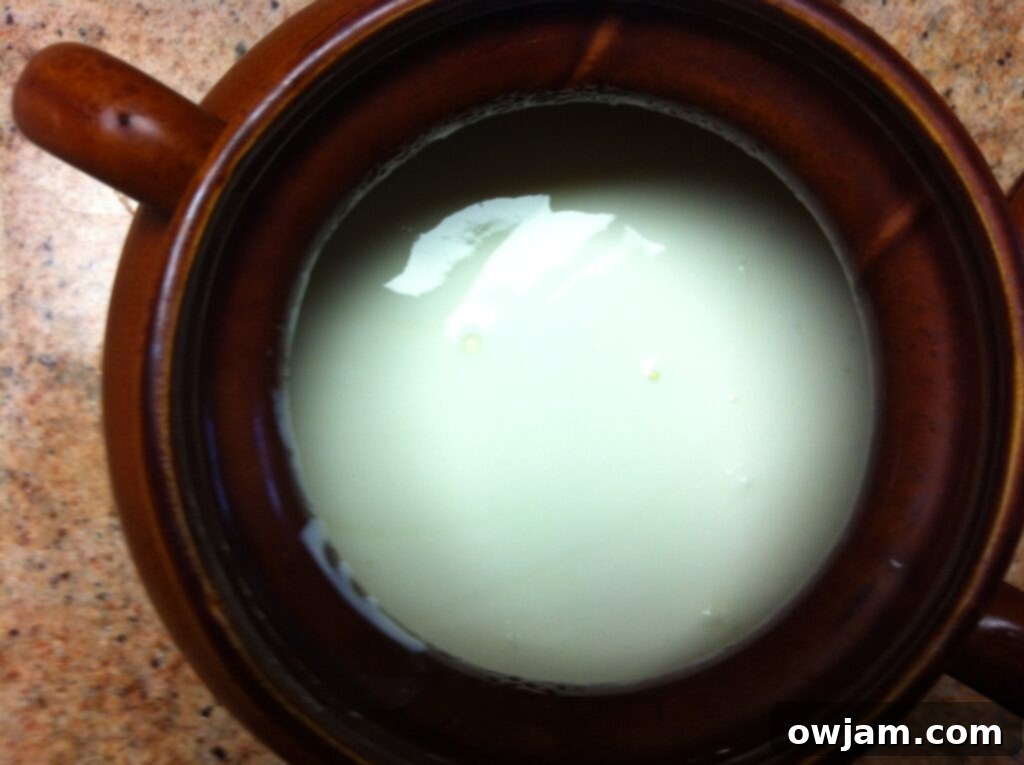
To incubate, wrap the covered container securely with one or two clean towels or a blanket, depending on the ambient temperature (one towel for warmer months, two or a blanket for colder). Place the wrapped container in a warm, undisturbed spot for 4-12 hours. We often let it sit overnight. The longer it incubates, the thicker and tangier the yogurt will become. You’ll know it’s set when the top appears firm and a slight jiggle of the container doesn’t cause the yogurt to ripple excessively.
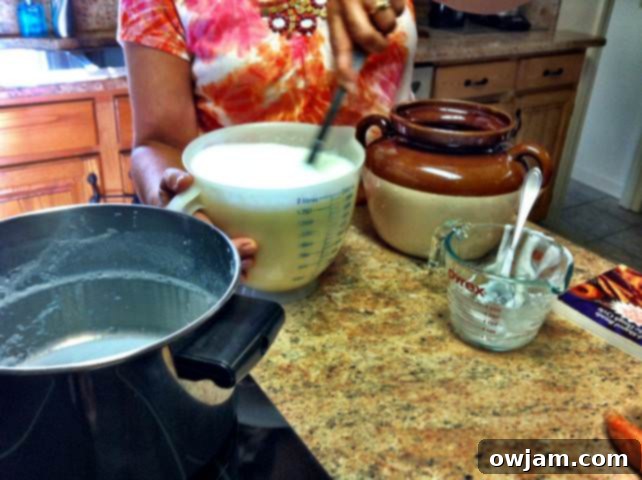

These towels are crucial for maintaining the warmth needed for the cultures to thrive. We usually find a cozy corner in the kitchen where the temperature remains stable.

Enjoying Your Creation: The Delicious Reward
The first batch turned out wonderfully, a creamy, tart delight that surpassed any store-bought alternative. We proudly served it alongside a traditional Lebanese feast featuring Kibbeh, warm pita bread, and homemade hummus. The fresh, authentic flavor truly elevated the entire meal.
Pro Tips for Perfect Homemade Yogurt Every Time
Making yogurt is a rewarding process, and these tips will help you achieve consistent, delicious results:
- Choosing Your Starter:
- When we first made homemade yogurt for this guide, we used 3 tbsp of Stonyfield plain yogurt as our starter because we didn’t have a specialized starter on hand. This is a perfectly viable option, as long as the yogurt contains live and active cultures.
- For those who prefer a dedicated starter culture, here are a couple of excellent online resources:
- Cultures for Health
- King Arthur Baking Company
- Incubation Time and Temperature:
- Duration Matters: The duration of incubation directly impacts the yogurt’s flavor and texture. A shorter incubation (3-4 hours) will yield a milder, thinner yogurt, while a longer period (8-12 hours or overnight) results in a tangier, thicker consistency. In our humble opinion, the longer it sits, the better it tastes!
- Maintaining Warmth: Critical for successful fermentation. If you don’t have a yogurt maker, wrapping your container in towels and placing it in a warm, draft-free spot (like a slightly warm oven that’s turned off, or a cooler) is essential. My Mom has successfully used a turned-off oven as an incubator.
- Perpetuating Your Cultures:
- Self-Sustaining Yogurt: One of the most economical and satisfying aspects of making yogurt at home is that you can save a small amount (about 3 tablespoons) from your freshly made batch to use as the starter for your next one. This creates a continuous cycle of homemade goodness.
- Starter Age and Flavor: Be mindful of the age of your starter. If you use a starter that has been refrigerated for a week or more, your next batch of yogurt will likely have a more pronounced tart flavor. A fresher starter will produce a sweeter, milder yogurt.
- Troubleshooting Thin Yogurt: If your yogurt turns out too thin, it could be due to a few factors:
- Temperature Issues: The milk might have been too hot (killing cultures) or too cold (inactive cultures).
- Weak Starter: Your starter yogurt might not have had enough active cultures, or it was too old.
- Short Incubation: Simply extending the incubation time can often thicken it up.
- Achieving Thicker, Greek-Style Yogurt (Labneh): To make a thicker, strained yogurt (similar to Greek yogurt or traditional Labneh), simply line a colander with cheesecloth and place it over a bowl. Pour your finished homemade yogurt into the cheesecloth and let it drain in the refrigerator for several hours or overnight. The longer it drains, the thicker it will become.
Embrace the Art of Homemade Yogurt
Making homemade yogurt, or Laban, might seem daunting at first, but I promise it gets significantly easier and more intuitive with each batch. It’s a deeply satisfying process that yields a healthier, more flavorful product than anything you can buy. By taking control of the ingredients, you ensure your family enjoys a wholesome, additive-free, and incredibly delicious staple.
Please don’t hesitate to reach out with any questions or leave a comment below! I was intimidated the first time, too, but now it’s a cherished part of my kitchen routine.
Julia
