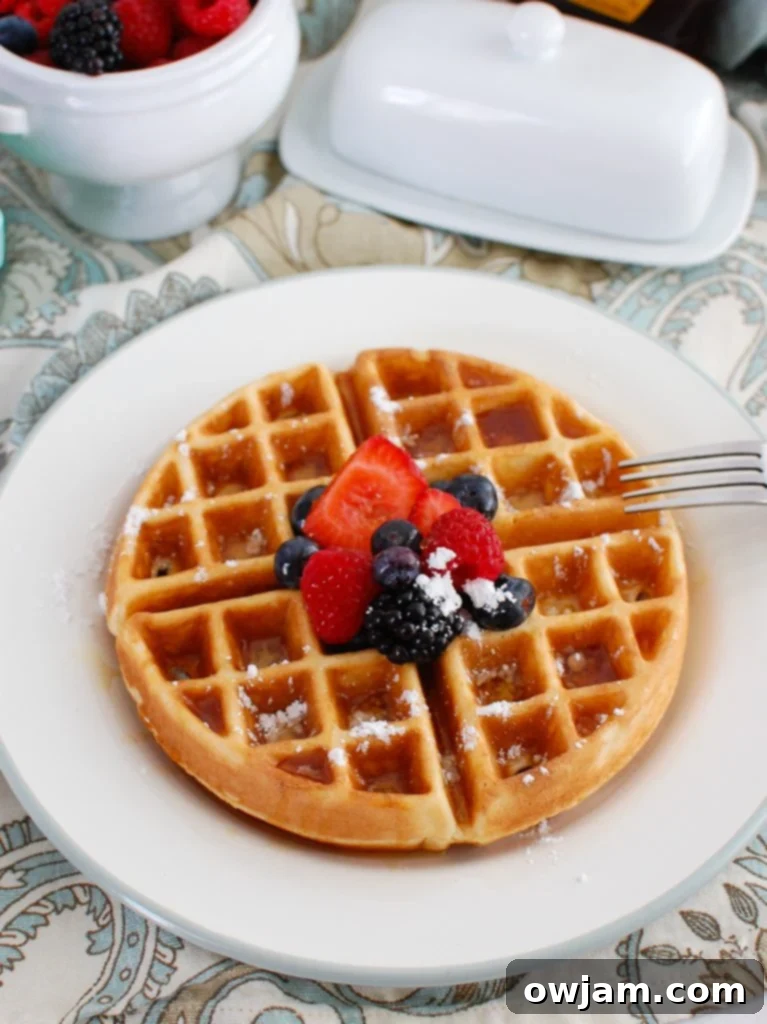
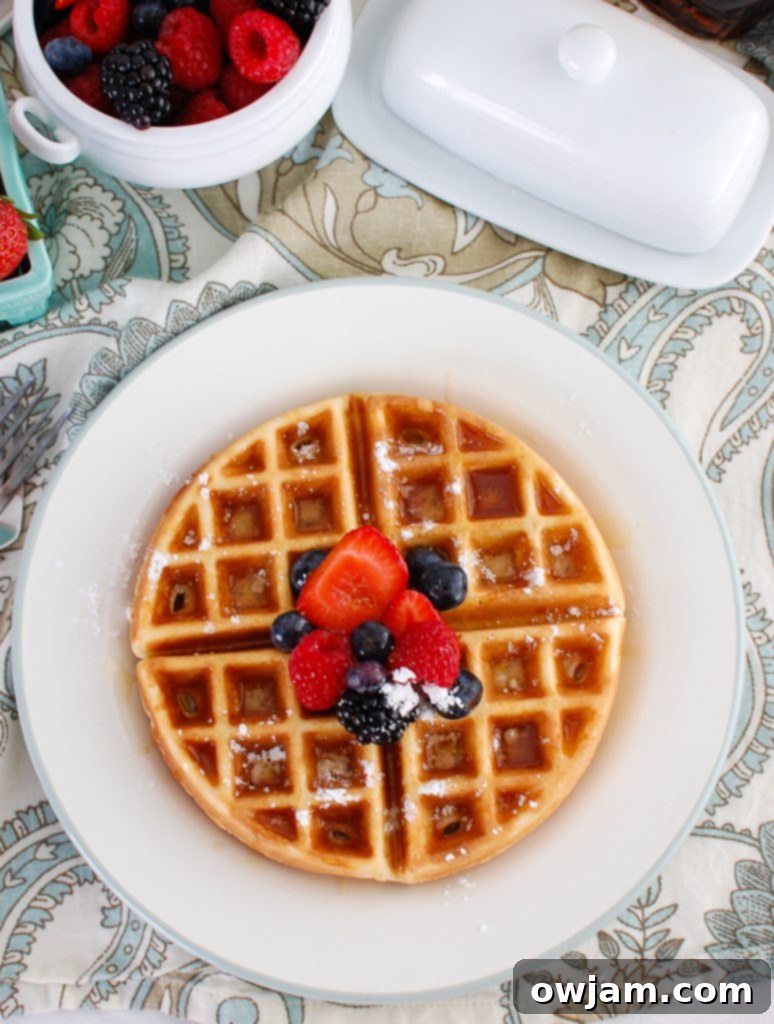
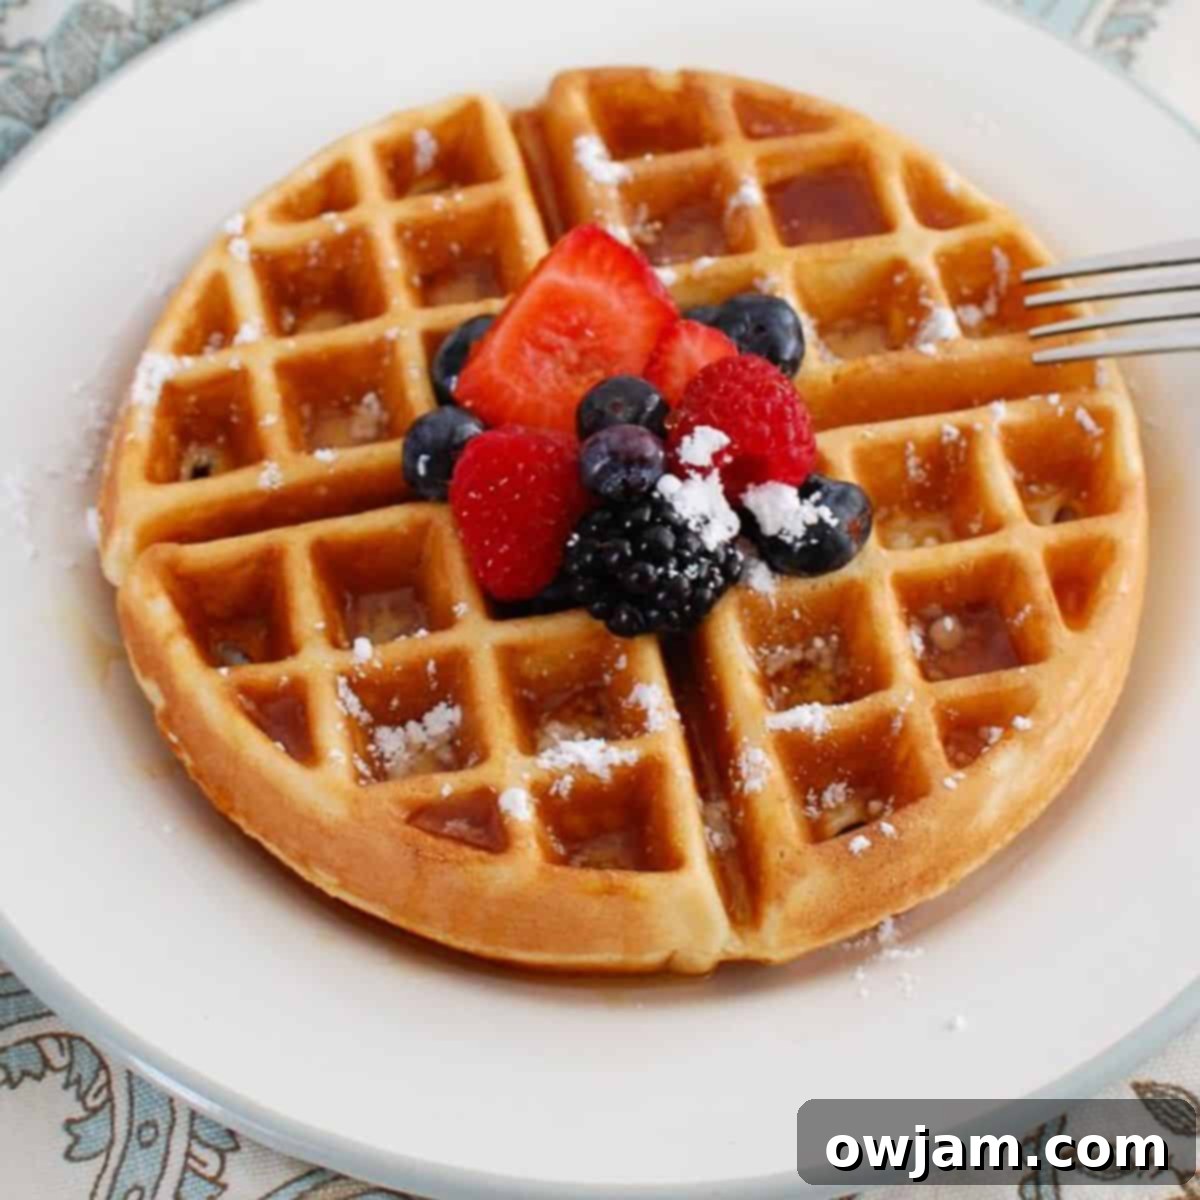
Fluffy & Protein-Packed Greek Yogurt Waffles: Your Easy, Healthy Breakfast Solution

Searching for a breakfast that’s both **incredibly delicious and genuinely good for you**? Look no further! These simple yet extraordinary **Greek Yogurt Waffles** come together quickly, offering a wholesome, protein-packed start to your day that the entire family will love. This recipe is a game-changer for busy school mornings, but don’t just save it for breakfast – they’re also perfect for freezing and packing into lunchboxes for a nutritious midday treat!
As many of us find ourselves back in the rhythm of school and work routines, the challenge of getting nutritious meals on the table can feel daunting. The carefree days of summer often fly by, leaving us with cherished memories and the pressing need for efficient, energy-boosting solutions. If you’re nodding along, these Greek Yogurt Waffles are truly a lifesaver!
We’re excited to partner with the ADA Mideast to highlight the importance of dairy in a healthy diet, especially as we head back to school. These waffles are not just tasty; they’re thoughtfully crafted with Greek yogurt and milk to provide your children (and you!) with sustained energy and a feeling of fullness that lasts longer into the morning. This helps keep minds sharp and tummies happy. One of my favorite tips for busy households is to make a double batch of these waffles. Freeze the extras, and on those extra hectic days, you’ll have delicious, healthy frozen waffles ready to pop into the toaster in minutes. It’s the ultimate breakfast hack!
Why These Greek Yogurt Waffles are Your New Go-To Breakfast
Beyond their delightful taste, these Greek Yogurt Waffles offer a myriad of benefits that make them an essential recipe for every home:
- Protein Powerhouse: The inclusion of Greek yogurt and milk significantly elevates the protein content compared to traditional waffle recipes. Protein is crucial for growth, muscle repair, and providing sustained energy, helping to keep hunger pangs at bay and improving focus throughout the morning.
- Quick & Easy Preparation: The batter for these waffles can be whipped up in under 10 minutes, making them a feasible option even on the most time-crunched weekday mornings. No complex steps or lengthy waiting times required!
- Effortlessly Freezer-Friendly: This recipe is ideal for meal prepping. Make a large batch, freeze the cooked waffles, and you’ll have a healthy, convenient breakfast ready to reheat in your toaster or oven whenever you need it.
- Healthier Indulgence: Greek yogurt naturally replaces a significant portion of the butter or oil often found in classic waffle recipes. This swap reduces saturated fats while adding a wonderful tang and maintaining incredible moisture and richness.
- Versatile and Customizable: These waffles serve as a delicious blank canvas. While they are fantastic plain, they welcome a wide array of toppings, from fresh berries and maple syrup to nuts, chocolate chips, or even savory variations.
- Family Favorite: With their fluffy texture and subtle sweetness, these waffles are universally loved by kids and adults alike. It’s a win-win: a nutritious meal that everyone looks forward to eating.
If you enjoy discovering new breakfast ideas that are both wholesome and appealing, you might also love our other popular recipes such as Pizza Egg Muffins, a hearty Moroccan Frittata, the fresh Zucchini Frittata, or these vibrant Caprese Egg Muffins. But first, let’s unlock the secret to these fantastic Greek Yogurt Waffles!
Essential Ingredients for Fluffy Greek Yogurt Waffles

Crafting these delectable waffles requires a straightforward list of ingredients, most of which you likely already have in your pantry or fridge. Each component plays a vital role in achieving the perfect balance of flavor, texture, and nutritional value:
- Milk: This recipe specifies 2% milk, which provides an ideal creamy texture without being overly heavy. However, this recipe is quite flexible! You can confidently use whole milk for a richer waffle, or opt for skim milk, almond milk, or oat milk as dairy-free alternatives. Be aware that different milk fat contents or types might slightly alter the final texture, but the waffles will still be delicious.
- Greek Yogurt: The cornerstone of our recipe, Greek yogurt is more than just a protein booster. It’s instrumental in creating an incredibly soft, moist, and tender waffle crumb. It acts as a natural leavening agent when combined with baking powder and replaces much of the butter or oil typically found in other recipes, contributing to a healthier profile. For the richest flavor and best texture, we highly recommend full-fat Greek yogurt, but low-fat or non-fat varieties will also work. Brands like Fage are excellent for their thick consistency.
- Eggs: Two large eggs bind all the ingredients together, providing essential structure and richness to the batter. They also contribute to the beautiful golden-brown color of the cooked waffles.
- Vanilla Extract: A touch of pure vanilla extract enhances the overall sweetness and provides a warm, comforting aroma that is synonymous with classic breakfast treats. While optional, it’s strongly recommended for that extra layer of flavor.
- Honey: This natural sweetener imparts a subtle, balanced sweetness to the waffles. You can adjust the quantity to your preference or substitute with an equal amount of maple syrup or a tablespoon of granulated sugar if preferred.
- Spices (Cinnamon and Cardamom {optional}): Warm spices like cinnamon and a hint of cardamom add an inviting depth of flavor that complements the tang of the Greek yogurt beautifully. Cinnamon is a timeless choice for waffles, while cardamom offers a unique, slightly floral, and exotic note. Both are entirely optional; feel free to omit them if you prefer a simpler taste or don’t have them on hand.
- All-Purpose Flour: The foundation of our waffle batter, providing structure and body. For those looking to incorporate more whole grains, a blend of half all-purpose and half whole wheat pastry flour can be used, though this may result in a slightly denser texture.
- Baking Powder: This is a critical ingredient for achieving those light, airy, and fluffy waffles. Baking powder reacts with the wet ingredients to create carbon dioxide bubbles, causing the batter to rise. Ensure your baking powder is fresh; old or inactive baking powder can lead to flat, dense waffles.
- Sea Salt: A small amount of sea salt is essential for balancing the sweetness and enhancing all the other flavors in the waffle batter. It brightens the overall profile, so don’t leave it out!

Step-by-Step Guide: How to Make Irresistible Greek Yogurt Waffles
Creating these delightful Greek Yogurt Waffles is a straightforward process. Follow these detailed steps to ensure perfectly fluffy, golden-brown results every time:
Step 1: Whisk Together the Dry Ingredients. In a large mixing bowl, combine the all-purpose flour, baking powder (confirm its freshness for optimal lift!), cinnamon, the optional cardamom, and sea salt. Use a whisk to thoroughly blend these ingredients. This step is important to ensure that the leavening agents and spices are evenly distributed throughout the dry mixture, which is crucial for uniform waffles. Set this bowl aside for a moment.
Step 2: Blend the Wet Ingredients. In the bowl of a KitchenAid stand mixer, or if you prefer a quicker method, a blender, combine the milk, Greek yogurt, large eggs, vanilla extract, and honey. Mix these wet ingredients on a low speed until they are just combined and smooth. If using a blender, a few short pulses will suffice. The goal here is to integrate them without incorporating too much air or over-processing.
Step 3: Combine Wet and Dry Ingredients (Carefully!). Slowly add the dry ingredient mixture from Step 1 into the wet ingredients. Mix on the lowest speed setting of your stand mixer, or gently fold by hand with a spatula, until the ingredients are just combined. This is a critical step: **do not overmix the batter!** Overmixing develops the gluten in the flour excessively, which will result in dense, tough, and rubbery waffles. A few small lumps in the batter are perfectly normal and even desirable for a tender waffle texture.
Step 4: Cook Your Waffles to Golden Perfection. Begin by preheating your Belgian waffle iron to medium heat, according to the manufacturer’s instructions. You’ll typically know it’s heated when an indicator light goes off or a sound alerts you. Lightly spray the waffle iron plates with non-stick cooking spray, even if your iron claims to be non-stick, to guarantee easy release and help achieve those coveted crispy edges. Pour about 1/3 to 1/2 cup of batter into the center of the waffle iron (the exact amount will depend on your waffle iron’s size). Close the lid and cook until the waffles are wonderfully crisp, golden brown, and fully cooked through, which usually takes about 3 to 5 minutes. Again, most waffle irons have a light or sound that signals when they are done.
Step 5: Repeat and Serve. Continue the cooking process with the remaining batter, reapplying non-stick spray to the iron between each waffle if necessary to prevent sticking. Serve your freshly made Greek Yogurt Waffles warm, adorned with your favorite toppings like fresh fruit, a generous drizzle of maple syrup, or an extra dollop of Greek yogurt. If you’ve prepared a larger batch for future meals, ensure they cool completely before storing them away for freezing.
Delicious Serving Suggestions and Flavor Variations
These Greek Yogurt Waffles are inherently delightful, but their true magic lies in their versatility. They provide a perfect canvas for both classic and creative additions, allowing you to customize each serving to individual tastes and preferences. Explore these ideas to elevate your waffle experience!
Classic and Wholesome Toppings:
- Fresh Berries: A vibrant mix of strawberries, blueberries, raspberries, or sliced bananas adds natural sweetness, a burst of flavor, and essential vitamins.
- Pure Maple Syrup or Honey: A generous drizzle is always a beloved classic, complementing the subtle sweetness of the waffles.
- Extra Greek Yogurt: For an additional protein boost and creamy texture, a spoonful of plain or vanilla Greek yogurt on top is simply divine.
- Chopped Nuts: Toasted pecans, walnuts, or almonds provide a delightful crunch and healthy fats.
- Whipped Cream: For a more indulgent touch, a cloud of freshly whipped cream can transform these into a dessert-like treat.
- Fruit Compote: A homemade berry or apple compote adds a warm, fruity element.
Exciting Flavor Variations (Mix into the batter!):
- Chocolate Chip Waffles: Fold in a handful of mini chocolate chips (milk, dark, or white) into the batter just before cooking for a universally loved treat.
- Lemon Zest & Poppy Seed: For a bright, zesty flavor, add 1-2 teaspoons of fresh lemon zest and 1 tablespoon of poppy seeds to the dry ingredients.
- Blueberry Bliss: Gently fold fresh or frozen blueberries (do not thaw them first) into the batter. The blueberries will burst during cooking, creating pockets of juicy sweetness.
- Seasonal Spices: During autumn, swap the cinnamon and cardamom for 1-2 teaspoons of pumpkin pie spice blend for a cozy, seasonal flavor.
- Savory Cheese & Herb Waffles: For a savory twist, omit the vanilla and honey. Instead, add 1/2 cup of shredded cheddar or Parmesan cheese, 2 tablespoons of chopped fresh chives or dill, and a pinch of black pepper. Serve these with a fried egg, avocado, or a side of bacon for a unique meal.

Storage and Reheating Tips for Your Waffles
One of the most practical aspects of these Greek Yogurt Waffles is their excellent storage capacity, making them perfect for advanced meal preparation. Whether you’re planning for a busy week ahead or simply want to have quick breakfast options on hand, these tips will help you preserve their freshness and flavor:
Refrigerating Cooked Waffles:
If you have any cooked waffles left over and plan to eat them within a few days, ensure they cool completely to room temperature first. Storing warm waffles will create condensation, leading to sogginess. Once fully cooled, place them in an airtight container or a large, sealable bag. They will stay fresh in the refrigerator for up to 3 days.
Freezing Waffles for Longer Storage:
For convenience that lasts for months, freezing your Greek Yogurt Waffles is an ideal solution:
- Cool Down Thoroughly: Just like with refrigeration, it is absolutely essential that your cooked waffles are completely cooled before freezing. Any residual warmth will turn into ice crystals, leading to freezer burn and a diminished texture.
- Flash Freeze (Highly Recommended): For the best results and to prevent waffles from sticking together, lay the cooled waffles in a single layer on a baking sheet. Place the baking sheet in the freezer for approximately 1-2 hours, or until the waffles are solid. This “flash freezing” step ensures they remain separate.
- Wrap and Store Securely: Once flash-frozen, you can individually wrap each waffle tightly in plastic wrap or parchment paper. Then, transfer them all into a heavy-duty freezer-safe zip-top bag or an airtight container. Make sure to press out as much air as possible from the bag to prevent freezer burn. Label the bag with the date. Frozen waffles will maintain their quality and taste for up to 3 months.
Reheating Frozen Waffles to Perfection:
Reheating these waffles is quick and easy, allowing you to enjoy a hot, delicious breakfast in minutes:
- Toaster or Toaster Oven: This is arguably the best method for achieving crispy waffles. Simply pop a frozen waffle directly into your toaster or toaster oven on a medium setting. Toast until it’s heated through and wonderfully crispy, typically 1-3 cycles depending on your appliance.
- Conventional Oven: Preheat your oven to 350°F (175°C). Place the frozen waffles in a single layer on a baking sheet. Bake for about 8-10 minutes, or until they are thoroughly warmed and have regained some crispness.
- Air Fryer: For a quick and crispy result, place frozen waffles in a single layer in your air fryer basket. Air fry at 350°F (175°C) for 3-5 minutes, flipping them halfway through, until they are hot and crispy.
- Microwave (Use with Caution): While you can warm waffles in the microwave, they will likely come out soft and potentially chewy rather than crispy. If using a microwave, heat in short 20-30 second increments until warm. This method is best if crispness isn’t a priority.
Storing Leftover Waffle Batter:
Should you find yourself with leftover batter, transfer it to an airtight container and store it in the refrigerator for up to 24 hours. Before using, give the batter a vigorous whisk to reincorporate any ingredients that may have separated and to ensure a smooth, uniform consistency for your next batch of waffles.
Frequently Asked Questions About Greek Yogurt Waffles
Incorporating Greek yogurt into your waffle batter offers a multitude of benefits, making it an excellent ingredient choice! Primarily, it provides a significant protein boost; a typical six-ounce serving of Greek yogurt contains 14–17 grams of protein, which is roughly double the amount found in regular yogurt (7–8 grams per 6 ounces). This added protein helps to keep you feeling full and satisfied for a longer period, preventing mid-morning hunger pangs. Beyond its nutritional value, Greek yogurt is also a secret weapon for texture. It can effectively replace much of the oil or butter traditionally used in baked goods, cutting down on unhealthy fats while simultaneously adding incredible moisture, tenderness, and a delightful subtle tang to your waffles. The acidity in yogurt also interacts with baking powder to create extra fluffiness.
Absolutely! Preparing the waffle batter the evening before is a fantastic strategy for streamlining your busy morning routine. Simply follow all the steps to mix the ingredients as directed. Once prepared, transfer the batter to an airtight container or a large jar with a lid and store it in the refrigerator overnight. When you’re ready to make waffles the next day, it’s normal for the batter to have thickened slightly or for some separation to have occurred. Just give it a good whisk or stir to recombine everything and achieve a smooth, pourable consistency before adding it to your waffle iron.
Several factors can contribute to dense, rather than light and fluffy, waffles. The most common cause is **overmixing the batter**. When you mix flour extensively, you develop its gluten too much, resulting in a tough, chewy, and dense final product. For perfectly tender waffles, mix the batter until the dry and wet ingredients are just combined; a few small lumps are perfectly fine and often preferred. Another potential culprit is **old or inactive baking powder**. Baking powder loses its potency over time, failing to produce enough lift. To check if your baking powder is still active, mix a teaspoon with a quarter cup of hot water; if it fizzes vigorously, it’s still good. If not, it’s time for a new container!
Yes, this recipe is adaptable for gluten-free diets! You can easily substitute the all-purpose flour with a high-quality 1:1 gluten-free flour blend. Many such blends are formulated to perform very similarly to wheat flour in baked goods and often contain xanthan gum for structure. Simply replace the flour cup-for-cup and follow the rest of the recipe instructions as written. Keep in mind that the texture might be slightly different, but the waffles should still turn out delicious and fluffy.
Achieving that desirable crispy exterior on your waffles is key! Here are a few tips: First, ensure your waffle iron is thoroughly preheated to the recommended temperature. Patience is crucial here; don’t rush it. Second, avoid opening the waffle iron too early during the cooking process. The steam created during cooking helps to crisp the outside, and opening the lid prematurely can release that steam and result in a softer waffle. Third, don’t skimp on greasing your waffle iron, even if it’s non-stick. A light spray of non-stick cooking spray before each waffle helps with release and promotes browning and crispness. Finally, some waffle irons naturally produce crispier results than others, so understanding your appliance can also help!
More Delicious Breakfast Recipes to Brighten Your Morning
Vegetarian
Breakfast Egg Muffins
Breakfast
Overnight Triple Berry Oatmeal
Breakfast
Vegetarian Breakfast Egg Burritos
Breakfast
Greek Baked Eggs
Tried this recipe? Leave a star rating and comment below! Subscribe to my newsletter or follow me on
Facebook,
Instagram, or
Pinterest for the latest.
Greek Yogurt Waffles

Pin
Video
Ingredients
- 1 1/4 cup 2% milk {or milk of your choice}
- 2/3 cup full fat Greek Yogurt
- 2 large eggs
- 1 teaspoon vanilla extract
- 2 teaspoons honey
- 1 teaspoon cinnamon
- 1/4 teaspoon cardamom {optional}
- 2 cups all-purpose flour
- 1 tablespoons + 2 teaspoons baking powder
- 1/4 teaspoon sea salt
Instructions
-
Mix the Dry Ingredients: In a large mixing bowl combine the flour, baking powder, cinnamon, cardamom {optional}, salt and mix until well combined. Set aside.
-
Mix Wet Ingredients in Mixer: In a Kitchenmaid mixer or a blender combine the milk, yogurt, eggs, vanilla, honey and mix on low until combined.
-
Add the Dry Ingredients: Slowly add the dry ingredients into the wet ingredients and mix until combined. Don’t over mix the batter or it will be rubbery when you make the waffles.
-
Cook Waffles: Heat a Belgium waffle iron over medium heat until it is heated up and the light goes off. Spray with non-stick spray and pour about 1/3 to 1/2 cup of batter in the middle of the waffle iron. Close the iron and cook until crisp and golden brown, about 4 minutes.
-
Repeat using the remaining batter. Enjoy warm with fresh fruit or freeze the waffles for later.
Notes
- To freeze waffles: Let the waffles cool completely. Wrap each waffle in plastic wrap and put them in a large ziplock baggie.
Nutrition
Nutrition information is automatically calculated, so should only be used as an approximation.
Today’s post was sponsored by ADA Mideast. As always, opinions are 100% my own. Thanks for supporting the brands that allow me to create new and delicious recipes!
