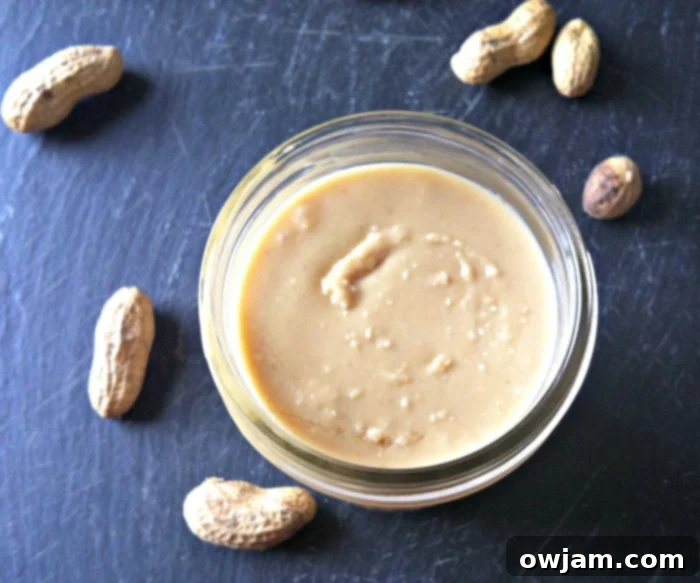
The Ultimate Guide to Homemade Peanut Butter: Easy, Healthy, and Fully Customizable
Are you tired of store-bought peanut butter laden with hidden sugars, unhealthy oils, and a list of ingredients you can barely pronounce? It’s time to take control of your pantry! Imagine a rich, creamy, and undeniably delicious spread made from just one simple, wholesome ingredient – peanuts. Making your own homemade peanut butter is not only incredibly easy, but it also grants you complete control over every aspect: from its natural flavor and satisfying texture to its nutritional content.
Say goodbye to artificial additives, unnecessary preservatives, and hydrogenated oils. Embrace the freshness and purity of a homemade spread that will elevate your breakfasts, snacks, and even your gourmet dessert creations. This comprehensive guide will walk you through everything you need to know to create your perfect batch of DIY peanut butter, ensuring a healthier and more flavorful experience with every spoonful.
The Irresistible Benefits of Making Your Own Peanut Butter
In our fast-paced world, choosing to make everyday staples at home is a conscious decision to prioritize quality and health. Crafting your own peanut butter is a prime example of this, offering a multitude of advantages that go far beyond just a superior taste:
- Pure Ingredients, No Nasties: The most significant benefit is knowing exactly what goes into your food. Commercial peanut butter often contains hydrogenated oils (contributing to unhealthy trans fats), high-fructose corn syrup, and various artificial flavors and stabilizers. With homemade, your ingredient list is usually just one item: peanuts. This means no preservatives, no strange emulsifiers, and no unpronounceable chemicals.
- Unrivaled Freshness and Flavor: The moment you process peanuts, their natural oils are released, creating an incredibly vibrant, nutty flavor and a rich aroma that cannot be replicated by mass-produced varieties. This freshness translates directly into a more delicious and satisfying product.
- Tailor-Made to Your Taste: Whether you crave a super-smooth, almost liquid butter or a hearty, chunky texture with substantial nut pieces, you have complete control. You can also adjust the sweetness, saltiness, and add unique flavorings, making it truly yours.
- Cost-Effective Goodness: While the initial investment in good quality peanuts might seem like a small hurdle, buying them in bulk often proves to be more economical in the long run compared to consistently purchasing premium, additive-free peanut butter from the store.
- Surprisingly Quick and Easy: Despite what you might imagine, the process of turning raw or roasted peanuts into a delectable spread is astonishingly fast. With the aid of a powerful food processor or blender, you can go from whole nuts to a creamy butter in under 10-15 minutes.
Peanut butter is more than just a spread; it’s a versatile culinary staple that features in countless beloved dishes. From classic peanut butter cookies and fudgy brownies to a delightful swirl in your morning oatmeal or a topping for ice cream, its rich flavor is indispensable. It’s also the perfect partner for dipping crisp celery sticks and juicy apple slices, or for that irresistible, guilty-pleasure spoonful straight from the jar as you pass the pantry. This recipe is designed to make that daily indulgence even healthier, purer, and utterly satisfying.
Unlock Infinite Possibilities: Customizing Your Peanut Butter
One of the most exciting aspects of making your peanut butter at home is the endless potential for customization. You are the chef, and your preferences dictate the final product!
Choosing the Right Peanuts
The type of peanuts you start with will significantly impact the flavor and overall profile of your homemade butter:
- Raw vs. Roasted: For a deeper, more pronounced nutty flavor, pre-roasted peanuts are an excellent choice. Many stores offer dry-roasted varieties. If you begin with raw peanuts, you can easily roast them yourself for a truly fresh roast. Simply spread them evenly on a baking sheet and bake at 350°F (175°C) for 10-15 minutes, stirring occasionally, until they are golden brown and fragrant. Be careful not to burn them!
- Salted vs. Unsalted: This decision affects the final seasoning. If your peanuts are already salted, you might not need to add any more. For maximum control, opt for unsalted peanuts and add a pinch of sea salt to taste at the end. Salt not only seasons but also enhances the natural sweetness of the peanuts.
- Organic and High-Quality: For the purest and healthiest option, consider using organic, non-GMO peanuts. They ensure your spread is free from unwanted pesticides and chemicals.
Crafting Your Ideal Texture
The journey from whole peanuts to a creamy spread is a fascinating transformation, and you can stop at any stage to achieve your preferred consistency:
- Chunky Peanut Butter: If you love that satisfying crunch, process the peanuts for a shorter duration. Stop blending just as the mixture begins to move freely around the blades but still contains distinct, delightful peanut pieces. For an extra chunky texture, you can also set aside a handful of coarsely chopped peanuts and stir them into the smooth butter at the very end.
- Silky Smooth Peanut Butter: For a gloriously smooth, almost pourable butter, continue processing past the “ball” stage. The peanuts will continue to release more and more of their natural oils, gradually transforming into a wonderfully fluid and creamy spread. Patience is key here!
Infusing Flavor: Sweeteners and Additions
Once your peanut butter reaches its perfect texture, it’s time for the fun part: fine-tuning the flavor. This is where your homemade creation truly shines!
- Natural Sweeteners: For a sweeter profile, slowly drizzle in honey, maple syrup, or add a spoonful of granulated sugar (white or brown sugar works beautifully). Start with a small amount (e.g., 1-2 teaspoons per 3 cups of peanuts) and adjust to your liking.
- Savory Twists: Unleash your adventurous side! A dash of chili powder, a pinch of smoked paprika, or a hint of garlic powder can create a unique, savory peanut butter perfect for Asian-inspired marinades, dipping sauces, or even a creative sandwich spread.
- Decadent Dessert Flavors: Transform your peanut butter into a gourmet treat by blending in a tablespoon of cocoa powder for a rich chocolate peanut butter, a drizzle of melted caramel sauce, or a splash of pure vanilla extract for an aromatic touch.
- Optional Oil Boost: While peanuts naturally release plenty of oil, if your butter seems stubbornly thick or dry after extended blending, you can add 1 teaspoon of neutral oil like peanut oil, vegetable oil, or grapeseed oil. However, many find that the best flavor and texture are achieved without any additional oil. Be aware that freshly processed peanut butter often appears quite runny due to the warmth from blending, but it will naturally thicken to a perfect spreadable consistency once refrigerated overnight.
The Star Ingredient: Quality Peanuts
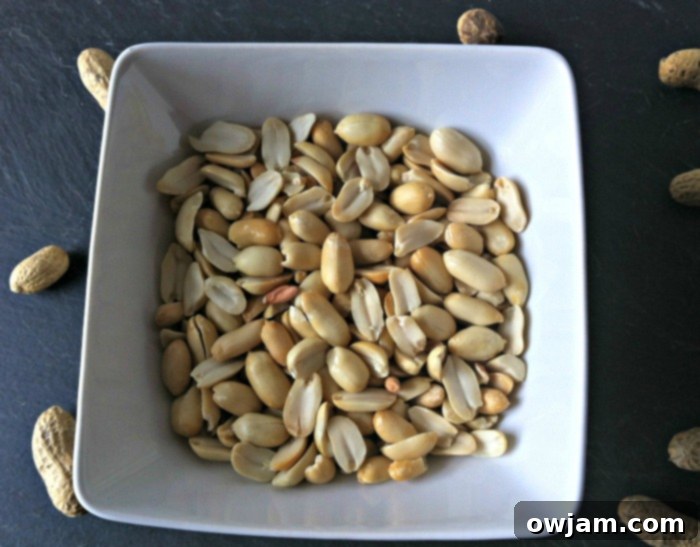
The true magic of this recipe lies in its elegant simplicity: the only absolutely required ingredient is peanuts. Yes, just one! While optional flavorings and additions can elevate your spread, the heart and soul of delicious peanut butter is purely the peanut itself. Selecting good quality peanuts is the first and most crucial step in ensuring a superior end product.
When embarking on our homemade peanut butter adventure, we initially sought out bags of pre-roasted, unsalted peanuts. Depending on your local grocery store, finding these already shelled can sometimes be a bit of a treasure hunt! On one occasion, we resorted to buying whole, unshelled peanuts and undertook the task of shelling them ourselves. While some might find the repetitive act of shelling peanuts to be meditative or therapeutic, I must admit my mind quickly wandered to the ever-growing “to-do” list. So, unless you genuinely enjoy the process of shelling (and some certainly do!), I highly recommend saving yourself the time and effort by seeking out a bag of already shelled peanuts. These are widely available in most major supermarkets, health food stores, or online retailers.
When choosing your peanuts, decide whether you prefer salted or unsalted. If you opt for unsalted peanuts, you will likely want to add a pinch of salt to taste at the end of the blending process. However, if your peanuts are already salted, taste them first before adding any extra. Ultimately, you are the judge of your perfect balance of flavor and seasoning. Remember, good quality peanuts are the foundation of truly exceptional homemade peanut butter!
The Simple Steps: From Whole Peanuts to Creamy Perfection
Making peanut butter is a captivating culinary transformation that happens right before your eyes in a matter of minutes. Here’s a detailed breakdown of how to achieve that perfect consistency:
Step 1: Prepare Your Peanuts. Begin by measuring out 3 cups of shelled peanuts. Ensure they are the type you prefer – whether roasted, unsalted, honey-roasted, or raw that you’ve pre-roasted yourself. Having them ready is the first step to a smooth process.
Step 2: Load Your Equipment. Carefully transfer all 3 cups of your chosen peanuts into the bowl of your high-powered food processor or heavy-duty blender. Make sure the lid is securely fastened to prevent any mess once you begin processing.
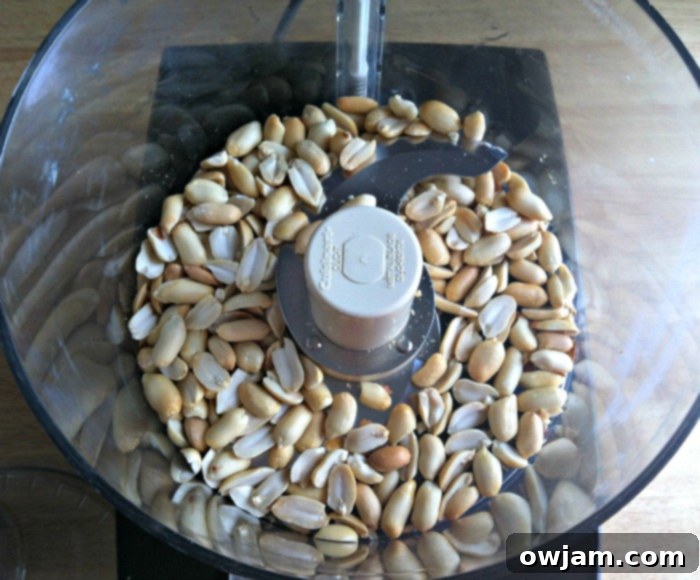
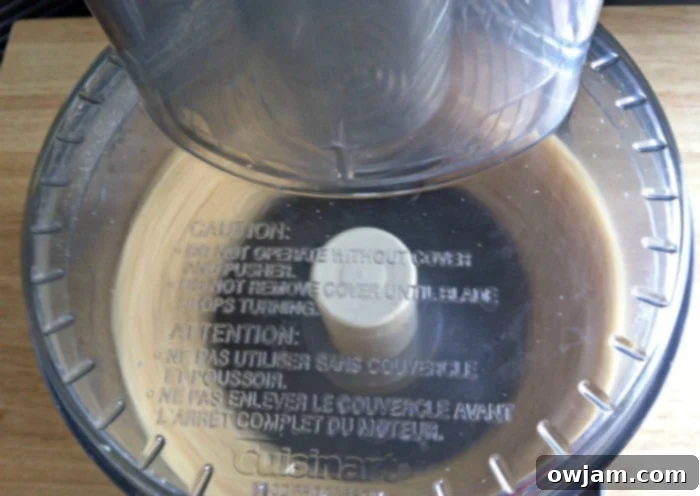
Step 3: Begin Processing and Witness the Transformation. Turn on your blender or food processor and let it work its magic. This isn’t an instant change, but it’s remarkably quick and utterly mesmerizing to watch. The peanuts will transition through several distinct stages, each taking approximately 1-3 minutes:
- Crushed Crumbs: Initially, the blades will break down the whole peanuts into coarse, dry crumbs, resembling finely crushed nuts.
- Thick Paste: As the processing continues, the peanuts will start releasing their natural oils. The mixture will begin to clump together, forming a thick, somewhat dry paste.
- The “Ball” Stage: The paste will become denser still, and you might observe it forming a large ball that spins around the blades. This is a crucial phase where the oils are really being extracted and emulsified.
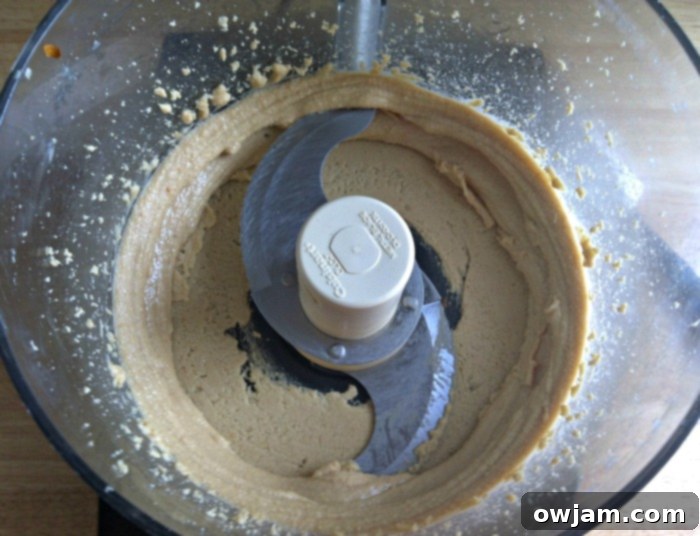
- Smooth and Creamy: Finally, after about 7-10 minutes (depending on your machine’s power and your desired consistency), the peanut butter will start to thin out, becoming wonderfully smooth, creamy, and sometimes even a bit runny.
Throughout this process, particularly during the paste and thickening stages, you may need to pause your machine and use a spatula to scrape down the sides of the bowl. This ensures that all the peanuts are thoroughly incorporated and processed evenly, helping to achieve a uniform texture. The entire process typically takes about 9-10 minutes to reach a beautifully smooth consistency, but remember, this timeframe can vary based on your equipment and your personal preference for thickness and smoothness.
Step 4: Taste and Adjust. Once your homemade peanut butter has reached your desired texture (chunky or smooth), turn off your machine. Take a small spoonful and give it a quick taste test. This is the perfect moment to make any final adjustments. You might want to stir in a pinch of sea salt to enhance the flavor, a swirl of honey or maple syrup for added sweetness, or any of the other optional flavor additions we discussed earlier to customize it perfectly to your palate.
Storing Your Homemade Delicacy & Maximizing Freshness
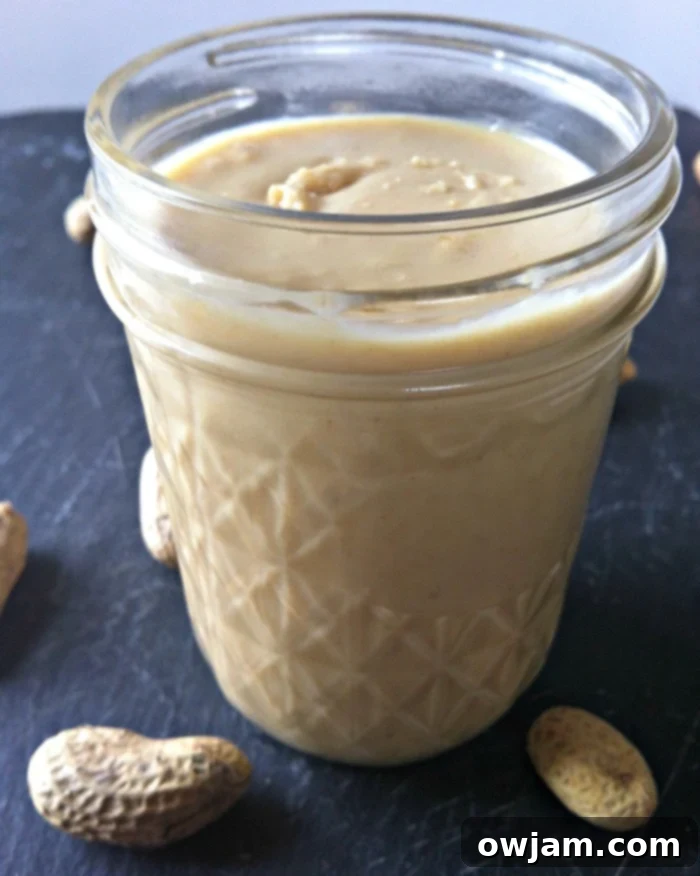
Once your exquisite batch of homemade peanut butter is perfectly crafted and seasoned to your liking, it’s time to ensure its freshness and longevity. Transfer your newly made peanut butter into a clean, airtight container. Glass jars with tight-fitting lids are an excellent choice, not only for their aesthetic appeal but also because they help maintain the butter’s flavor and prevent oxidation. Mason jars or recycled glass food jars work wonderfully.
For optimal freshness and to prolong its shelf life, store your homemade peanut butter in the refrigerator. When stored correctly, it will typically remain fresh and delicious for up to two months. However, given its irresistible taste and versatility, don’t be surprised if it disappears much faster than that!
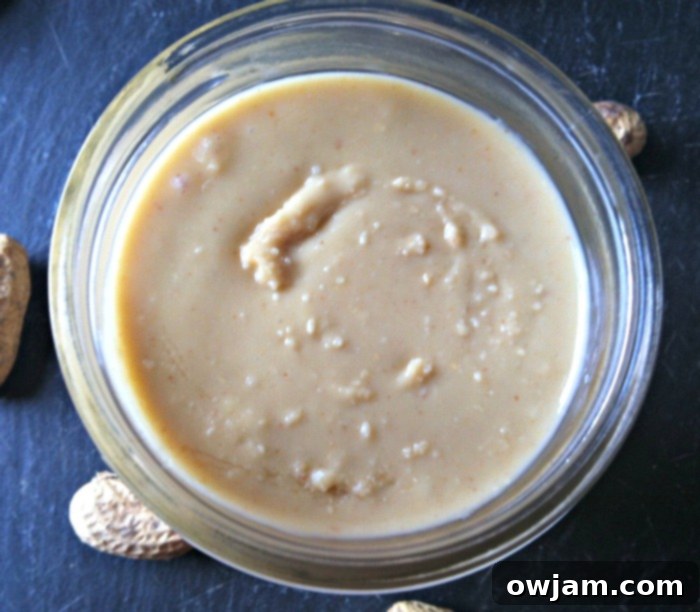
A helpful tip to keep in mind: freshly made peanut butter, especially right after processing, often appears quite runny. This is completely normal! The friction from the blender or food processor generates heat, warming the natural oils in the peanuts and making the butter more fluid. Don’t be alarmed by its initial consistency. Once you transfer it to the refrigerator and allow it to chill overnight, it will naturally thicken to that familiar, perfectly spreadable consistency we all love.
Creative Serving Suggestions & The Health Power of Natural Peanut Butter
Beyond the classic peanut butter and jelly sandwich, your homemade peanut butter unlocks a world of culinary inspiration. Its fresh, pure flavor makes it a star ingredient in countless dishes:
- Breakfast Power-Up: Swirl generous dollops into your morning oatmeal, blend it into creamy smoothies, spread it generously on whole-grain toast, or use it as a decadent topping for pancakes and waffles.
- Smart and Satisfying Snacks: Pair it with crisp apple slices, sweet banana rounds, crunchy celery sticks, or your favorite whole-grain crackers for a protein-packed and satisfying snack that keeps hunger at bay.
- Baking and Dessert Wonders: Elevate your baked goods by incorporating homemade peanut butter into cookies, brownies, energy bites, granola bars, or even a no-bake pie crust for an intensely nutty flavor.
- Savory Culinary Adventures: Don’t limit peanut butter to sweet dishes! It serves as an incredible base for savory satay sauces, glazes for roasted chicken or tofu, and unique dressings for vibrant salads or noodle bowls. Its creamy texture and rich flavor add depth to various cuisines, particularly Asian-inspired dishes.
The Nutritional Advantage of Homemade
When made with just peanuts, your homemade spread is not just delicious – it’s a powerhouse of essential nutrients:
- Rich in Plant-Based Protein: Peanuts are an excellent source of protein, crucial for muscle repair, growth, and overall bodily function.
- Packed with Healthy Fats: Primarily composed of monounsaturated and polyunsaturated fats, homemade peanut butter is heart-healthy. These fats help to lower bad cholesterol levels and support cardiovascular health.
- Good Source of Dietary Fiber: The natural fiber content in peanuts aids in digestive health, promotes a feeling of fullness, and can help regulate blood sugar levels.
- Abundant in Vitamins and Minerals: Peanuts deliver a healthy dose of essential micronutrients, including Vitamin E (a powerful antioxidant), various B vitamins (such as folate and niacin), magnesium (important for muscle and nerve function), phosphorus, and zinc.
- Natural Antioxidants: Peanuts contain beneficial compounds like resveratrol, the same potent antioxidant found in red wine, which contributes to cellular health and disease prevention.
By consciously choosing to make your peanut butter at home and avoiding the added sugars, hydrogenated oils, and excessive sodium commonly found in many commercial brands, you are making a far superior and healthier choice for your diet and overall well-being. Enjoy the pure, unadulterated goodness!
We’ve explored the effortless process and the exciting world of customizing your very own delicious homemade peanut butter. Now, it’s your turn to get creative in the kitchen! What will be your signature flavor or special addition to your next batch of homemade peanut butter? We’d love to hear about your ideas and culinary experiments in the comments below!
Happy blending and happy eating!
Julia
Tried this recipe? Leave a star rating and comment below! Subscribe to my newsletter or follow me on
Facebook,
Instagram, or
Pinterest for the latest.
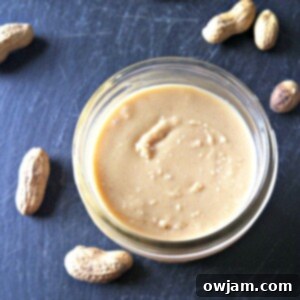
Homemade Peanut Butter
Pin
Ingredients
- 3 cups shelled peanuts , 24oz, (your choice: honey roasted, roasted or un-roasted, salted or unsalted)
Instructions
-
Put the 3 cups of peanuts in the bowl of your food processor or blender.
-
Turn the blender on and let the peanuts break down, scraping the sides if necessary. Continue to blend the peanut butter until you begin to see a very smooth texture (you will go through stages as you make the peanut butter: 1. crunchy, 2. paste, 3. thick paste, 4. ball of peanut butter, 5. smooth peanut butter).
-
Taste the peanut butter and add salt to taste.
Notes
- You can add 1 teaspoon of peanut oil or vegetable oil if you think your peanut butter needs it but I found it is best without it.
- You will have a pretty runny peanut butter at first but once you put it in the refrigerator overnight it will thicken up.
- A few optional additions to peanut butter: Honey, Sugar, Caramel, Chocolate
Nutrition
Nutrition information is automatically calculated, so should only be used as an approximation.
