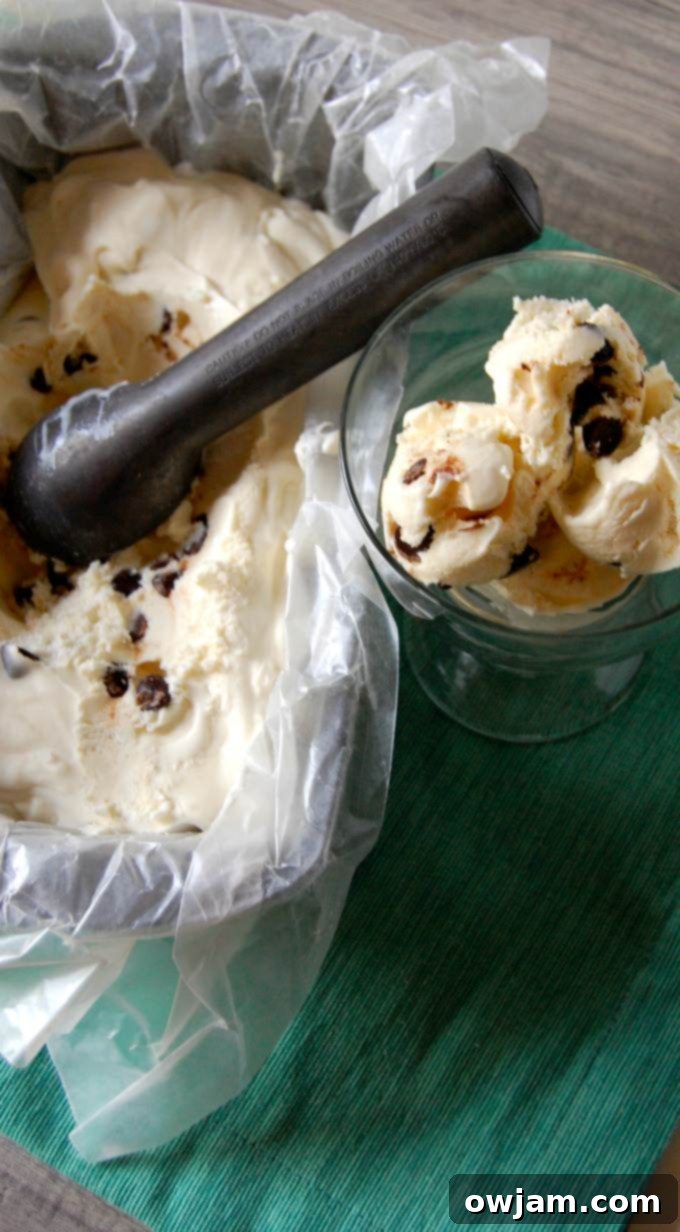
Easy No-Churn Peppermint Chip Ice Cream: Your Perfect Summer Indulgence
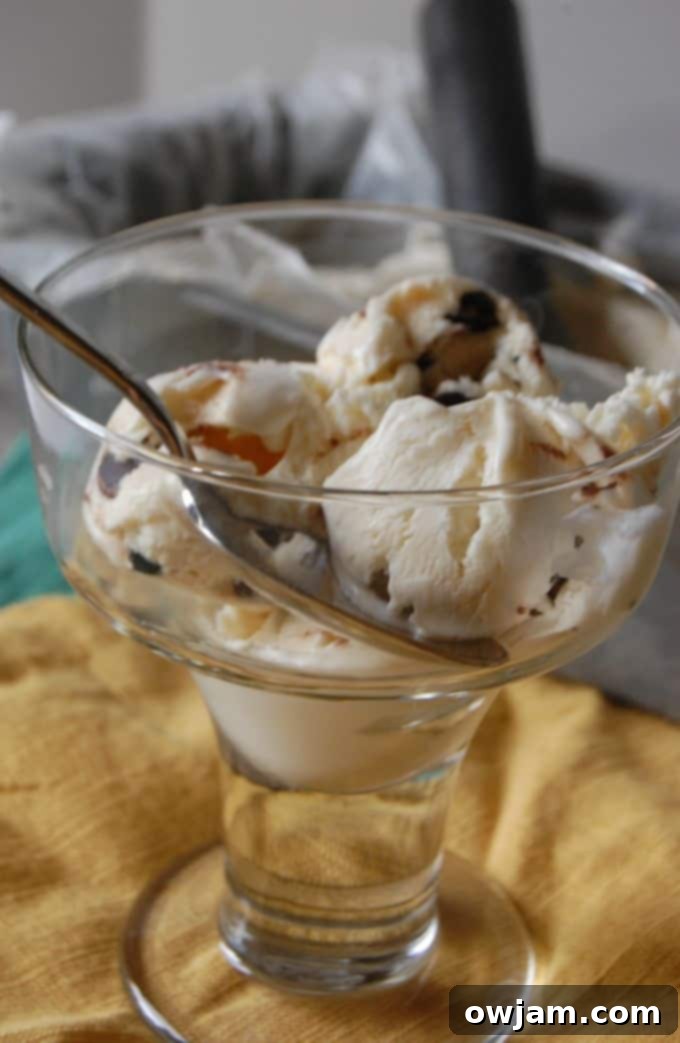
Imagine the cool, refreshing taste of peppermint combined with delightful chocolate chips, all swirled into a luxuriously creamy ice cream that requires no special machine to make. This No-Churn Peppermint Chip Ice Cream is not just a dessert; it’s an experience – a little bit of winter wonderland magic in the heart of summer, or indeed, any time you crave a unique and indulgent treat. With just five simple ingredients, you can whip up this dreamy confection that promises to be the highlight of your next gathering or a perfect personal escape. Get ready for a surprisingly simple yet incredibly satisfying homemade ice cream experience!
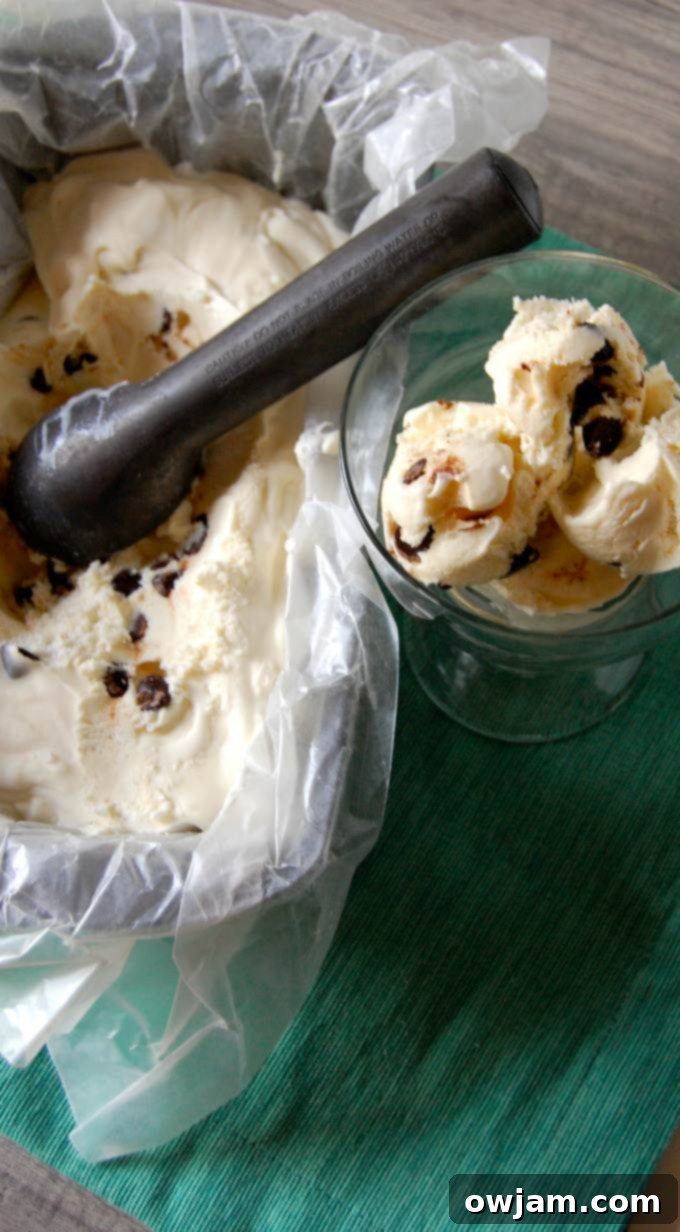
As summer continues its delightful run, bringing with it long, sun-drenched days and warm evenings, there’s one treat that consistently calls to us: ice cream. It’s the quintessential warm-weather indulgence, a spoonful of pure joy that instantly cools and satisfies. It feels like we blinked, and summer is almost over, but there’s still plenty of time to enjoy all the creamy, dreamy desserts it has to offer. Today, we’re diving into a particularly delightful rendition that brings a unique twist to your warm-weather dessert repertoire: a luxurious No-Churn Peppermint Chip Ice Cream. Forget the complicated machinery; this recipe is all about ease, incredible flavor, and that unbelievably creamy texture we all adore.
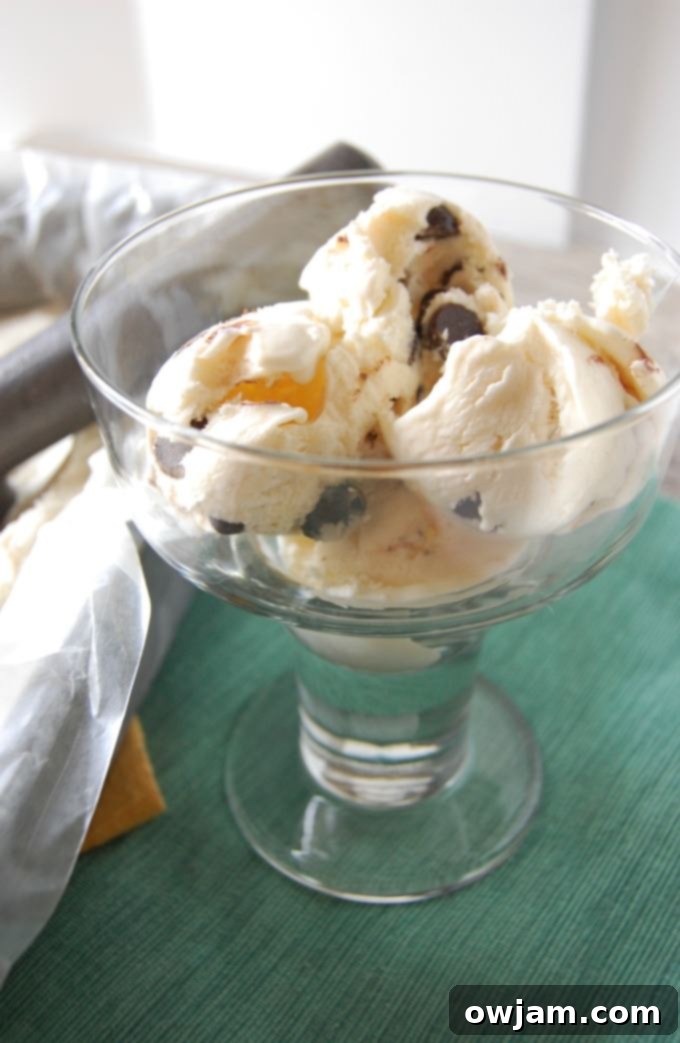
This isn’t just any homemade ice cream; it’s a celebration of simplicity and vibrant taste. Picture a spoonful of velvety smooth ice cream, infused with the invigorating essence of peppermint, studded with satisfying bits of chocolate. It’s a flavor combination that often evokes holiday cheer, but we’re here to tell you that its refreshing coolness is absolutely perfect for beating the summer heat. Thanks to my friends at REAL® Seal, we’ve crafted an accessible, five-ingredient recipe for National Ice Cream Month that proves you don’t need an expensive ice cream maker to achieve professional-level creaminess right in your own kitchen. All you need is a reliable mixer and enough patience to let the ice cream set in your freezer for about 5-6 hours after you’ve mixed it all together.
The Magic of No-Churn Ice Cream: Effortless Homemade Perfection
For many, the idea of making homemade ice cream can seem daunting, often conjuring images of bulky machines, rock salt, and extended churning times. This is where the beauty of “no-churn” ice cream truly shines. This method completely eliminates the need for an ice cream maker, making gourmet-quality frozen desserts accessible to everyone. The secret lies in a brilliant combination of whipped heavy cream and sweetened condensed milk, which together create a miraculously smooth and rich base.
When heavy cream is whipped to stiff peaks, it expertly incorporates air, creating a light and fluffy foundation. Sweetened condensed milk, on the other hand, is a wonderfully dense, sweet, and rich ingredient that adds both body and prevents the ice cream from becoming overly icy. It contributes to that desirable creamy texture by lowering the freezing point of the mixture, ensuring a scoopable consistency every time. Combined with the bold, refreshing flavor of peppermint extract and the delightful crunch of chocolate chips, these simple components transform into an irresistible frozen treat after a few hours in the freezer. The process is so simple, you’ll wonder why you haven’t been making no-churn ice cream all along!
Why Peppermint Chip Ice Cream is Your Next Obsession
When it comes to indulgent sweets, ice cream holds a truly special place in my heart – it’s undeniably my biggest weakness! I’ll happily pass on most other desserts for a generous, creamy bowl of my favorite frozen treat. My personal top flavors include mint, peppermint, and raspberry, so it was only a matter of time before I ventured into creating a homemade peppermint ice cream. After all, if I could enjoy a refreshing Peppermint Cacao Smoothie Recipe, the next logical step was a full-blown ice cream!
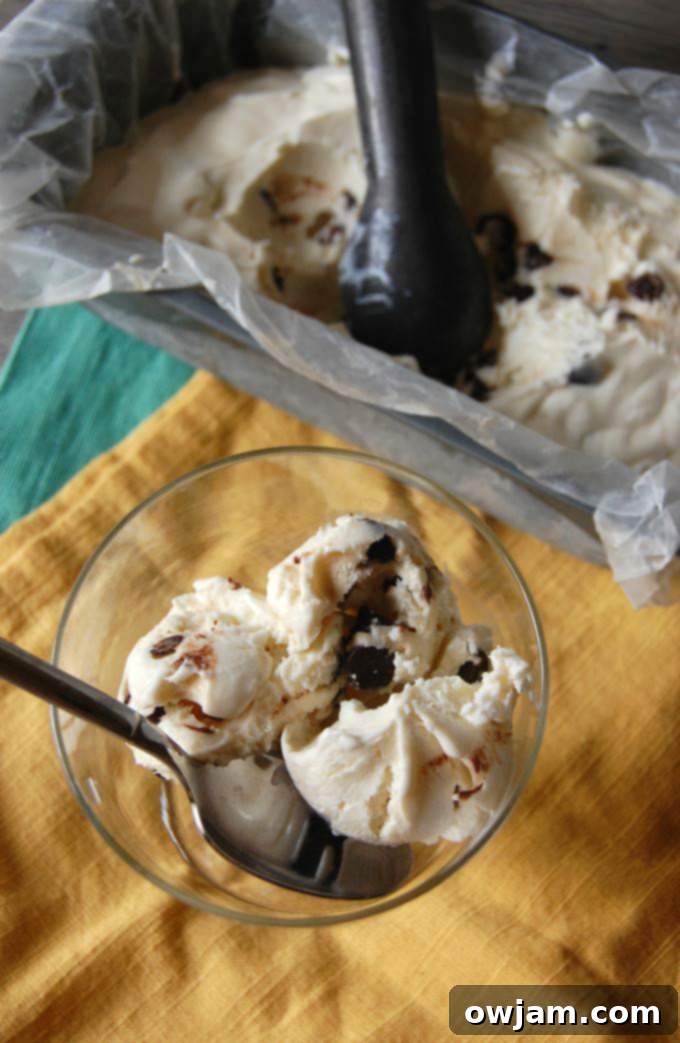
While many of the recipes you find on A Cedar Spoon lean towards healthy eating, I firmly believe in savoring life’s delicious treats and embracing those occasional indulgences. This ice cream recipe, using heavy whipping cream and sweetened condensed milk, certainly falls into the indulgence category, creating an unbelievably creamy, rich texture that satisfies every craving. And honestly, isn’t that what ice cream is all about? The appeal of peppermint chip ice cream goes beyond its invigorating taste. It offers a nostalgic charm, often associated with festive seasons, yet its crisp, clean flavor profile is incredibly versatile. The cooling sensation of peppermint is a delightful contrast to the warmth of summer, making this ice cream surprisingly invigorating. When paired with rich, dark chocolate chips, you get a beautiful balance of cool and decadent, a symphony of textures and flavors that dance on your palate. It’s an unexpected but utterly welcome twist on classic ice cream flavors, offering something truly special for those seeking a unique and satisfying dessert that works perfectly for “Christmas in July” or any time you need a sweet escape.
Key Ingredients and the Importance of the REAL® Seal
This simple yet magnificent recipe relies on a handful of high-quality ingredients to achieve its decadent texture and flavor. Here’s a closer look at what you’ll need for your No-Churn Peppermint Chip Ice Cream:
- Heavy Whipping Cream: This is the foundation of our no-churn ice cream. Its high fat content allows it to whip up into light, airy peaks, which is essential for creating a smooth, creamy base without the need for an ice cream machine. Always ensure your cream is very cold before whipping for the best results.
- Sweetened Condensed Milk: This magical ingredient provides both sweetness and body, and critically, it helps prevent ice crystals from forming, leading to that luxurious, scoopable texture. It’s a key player in any successful no-churn recipe, binding the flavors and textures together.
- Peppermint Extract: For that signature cool, minty flavor. Adjust the amount to your preference – start with the recommended amount and add more if you desire a stronger, more intense peppermint kick.
- Vanilla Extract: A touch of vanilla rounds out the flavors, adding warmth and depth that beautifully complements the peppermint, preventing it from being one-dimensional.
- Chocolate Chips: Choose your favorite! Mini chocolate chips are great for an even distribution throughout the ice cream, but regular semi-sweet or dark chocolate chips also work wonderfully, adding a pleasant textural contrast and rich cocoa notes. You could even use finely chopped chocolate bars.
Spotting the REAL® Seal: A Commitment to Quality American Dairy
When you’re gathering your dairy ingredients, especially for your condensed milk and heavy cream, make sure to look for the distinctive REAL® Seal. You might wonder what this symbol signifies, and why it’s so important for your dairy purchases. The REAL® Seal is much more than just a label; it’s a guarantee established over four decades ago, providing consumers with confidence in their dairy choices.
The presence of the REAL® Seal indicates two critical things: first, that the product is indeed a real dairy food, made from genuine milk. Secondly, and perhaps even more importantly for discerning consumers and those who value domestic products, it signifies that the milk used to produce that product comes exclusively from cows on U.S. dairy farms. This means you’re not getting imported ingredients, substitute components, or imitations. It’s an assurance of authenticity, quality, and purity, confirming that your dairy products meet strict manufacturing requirements and support local agriculture. In a country that consumes vast quantities of dairy, knowing the source and quality of your ingredients is paramount. By choosing products with the REAL® Seal, you’re not only ensuring superior flavor and texture for your ice cream but also contributing to the livelihood of American dairy farmers and the integrity of the U.S. dairy industry. It’s a simple choice that makes a big difference in both quality and community support, empowering you to make informed decisions about the food you bring into your home.
Crafting Your Homemade Peppermint Chip Ice Cream: Step-by-Step Simplicity
Creating this delicious no-churn ice cream is remarkably straightforward. Here’s a breakdown of the easy process to achieve creamy, peppermint-infused perfection:
- Whip the Cream: In a large mixing bowl (preferably one that has been chilled in the freezer for 10-15 minutes), pour in your very cold heavy whipping cream. Using a stand mixer with the whisk attachment or a hand mixer, beat the cream on high speed until stiff peaks form. This means when you lift the whisk, the cream holds its shape firmly. Be careful not to over-whip, as it can turn grainy.
- Combine Flavor Base: In a separate, medium-sized bowl, gently combine the sweetened condensed milk, peppermint extract, and vanilla extract. Stir these together until they are thoroughly integrated, ensuring the flavors are evenly distributed.
- Fold in the Flavors: Carefully and gently fold the condensed milk mixture into the whipped cream. The key here is to use a spatula and incorporate the two mixtures without deflating the air you’ve worked so hard to whip into the cream. This gentle folding motion ensures your ice cream remains light, airy, and wonderfully creamy.
- Add Chocolate Chips: Once the mixtures are nearly combined, gently fold in your chocolate chips. Again, be mindful not to overmix; just enough to distribute the chips evenly throughout the base.
- Prepare for Freezing: Pour the entire luscious mixture into a freezer-safe container. An airtight loaf pan, a sturdy plastic container, or even an old ice cream tub works perfectly. Cover the container tightly with plastic wrap directly touching the surface of the ice cream, and then with a lid if your container has one.
- Patience is Key: Transfer the covered container to the freezer and let it chill for a minimum of 5-6 hours, or preferably overnight, until it is firm enough to scoop beautifully. The longer it freezes, the better the texture will set and the flavors will meld.
Tips for the Best No-Churn Peppermint Chip Ice Cream
To ensure your homemade no-churn ice cream is nothing short of spectacular, keep these tips in mind:
- Chill Your Equipment: For optimal whipping, place your mixing bowl and whisk attachment in the freezer for 10-15 minutes before you start. This helps the cream stay cold and whip up faster and more effectively, especially on a warm day.
- Use Very Cold Cream: Always ensure your heavy whipping cream is straight from the coldest part of the refrigerator. Cold cream whips more efficiently and holds its structure better.
- Gentle Folding: When combining the condensed milk mixture with the whipped cream, be as gentle as possible. Overmixing can deflate the cream, resulting in a less airy and creamy ice cream base.
- Quality Extracts: A good quality peppermint extract will make a noticeable difference in the overall flavor profile of your ice cream. Avoid imitation extracts for the best taste.
- Appropriate Container: While any airtight, freezer-safe container will work, a shallow, wide freezer-safe container can sometimes help the ice cream freeze a bit quicker and more evenly. Always cover it tightly to prevent ice crystals and freezer burn.
- Serving Temperature: For the best scooping experience and creamy texture, let your ice cream sit out on the counter for 5-10 minutes before serving, allowing it to soften just slightly.
Variations and Customizations to Explore
While this No-Churn Peppermint Chip Ice Cream is absolutely delightful as is, feel free to get creative and experiment with these variations to suit your taste or occasion:
- Classic Mint Chocolate Chip: If you prefer the traditional green hue, swap peppermint extract for mint extract (or a combination of both for a balanced flavor) and add a few drops of green food coloring for that classic mint chocolate chip look.
- Peppermint Candy Cane Crunch: For an extra festive touch or during the holiday season, instead of or in addition to chocolate chips, crush some candy canes and fold them into the mixture for an irresistible crunch and an intense burst of peppermint flavor.
- Double Chocolate Peppermint: For the ultimate chocolate lover, add a tablespoon of unsweetened cocoa powder to the condensed milk mixture. This will create a richer, deeper chocolate base that beautifully complements the peppermint.
- White Chocolate Peppermint: Use white chocolate chips instead of dark or semi-sweet for a milder, sweeter profile and a lovely visual contrast against an optional green base.
- Add a Swirl: For a marbled effect, after pouring the ice cream base into the container, drizzle some melted chocolate or a berry sauce on top and gently swirl with a knife before freezing.
Indulgence, Simplified: A Treat for Every Occasion
This No-Churn Peppermint Chip Ice Cream embodies everything you could want in a homemade dessert: it’s incredibly easy to make, uses minimal ingredients, and delivers on a rich, creamy, and distinctively flavored experience. It’s a wonderful example of how simple recipes can yield extraordinary results, proving that you don’t need extensive culinary skills or specialized equipment to create something truly special and memorable.
Whether you’re celebrating National Ice Cream Month, looking for a unique and refreshing summer treat, or simply craving a cool dessert with an invigorating twist, this recipe is sure to become a cherished favorite in your household. So go ahead, treat yourself and your loved ones to this delightful creation. It’s a gentle reminder that some of life’s greatest pleasures are found in the simple act of making and sharing delicious food that brings smiles and satisfaction.
Recipe slightly adapted from Food.com
I would love to connect with you on Facebook, Pinterest, Twitter, Google +and Instagram.
For more summer recipes check out my Summer Eats Pinterest board!
This post is sponsored by my friends at REAL® Seal. The REAL® Seal was established over four decades ago as a promise to consumers that the dairy products they purchase are made from milk sourced exclusively from cows on U.S. dairy farms and produced under stringent manufacturing requirements. This commitment ensures authenticity, quality, and supports domestic agriculture – factors that are increasingly important for a country that cherishes its dairy. As always, all thoughts and opinions expressed here are my own, and I proudly support and share the products and brands that I genuinely believe in and enjoy. Choosing products with the REAL® Seal is a simple way to guarantee the quality of your ingredients and support American dairy farmers.
