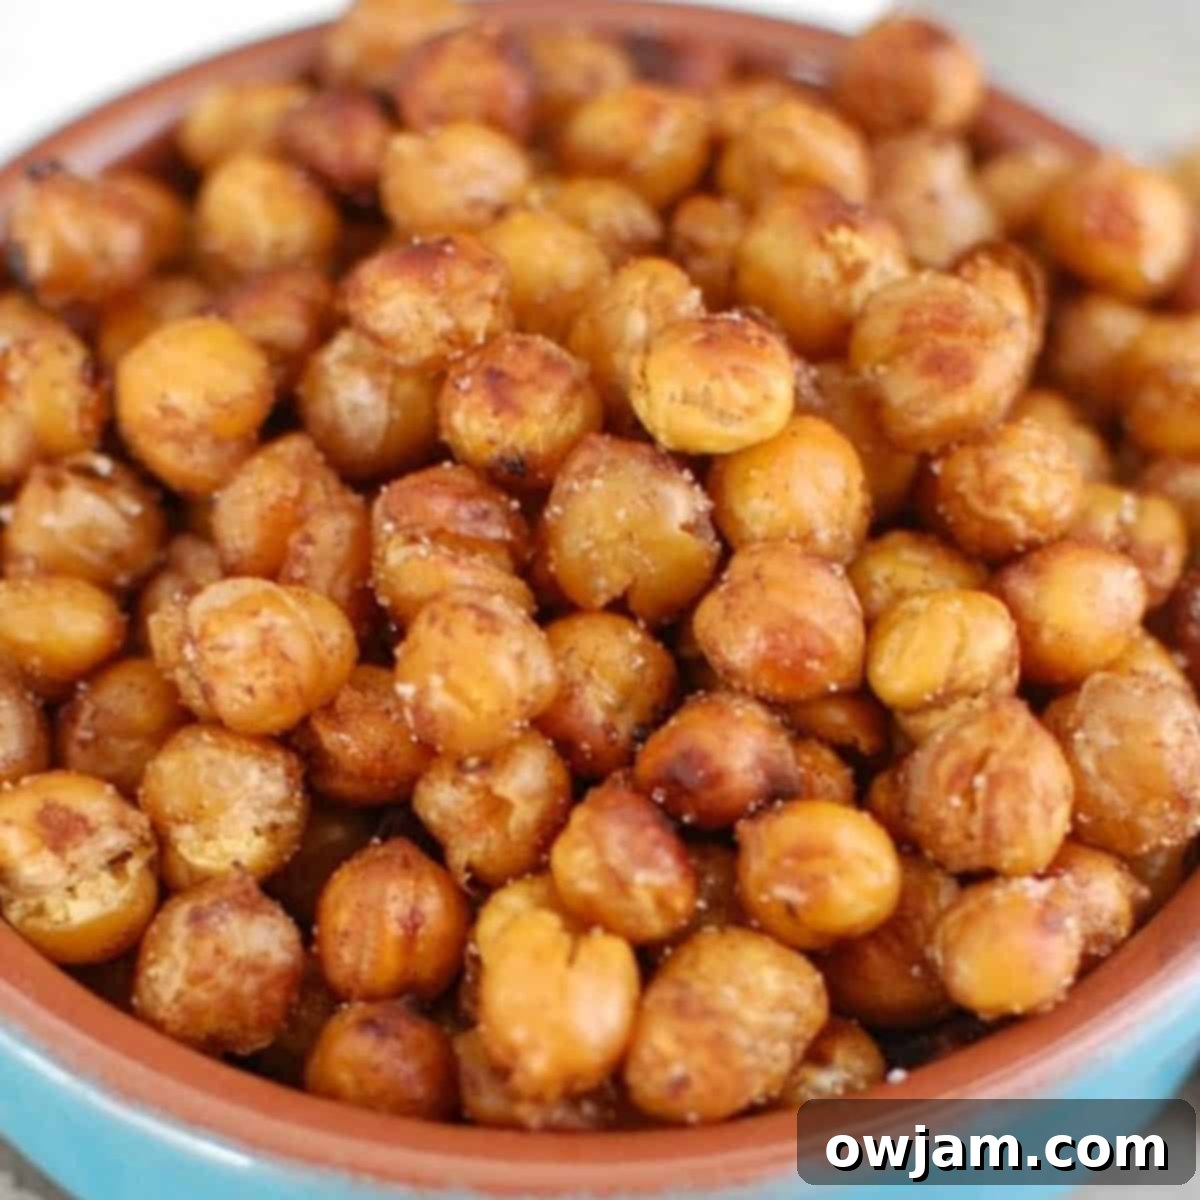
Perfectly Crunchy Roasted Chickpeas: Your Ultimate Guide to a Healthy, Flavorful Snack
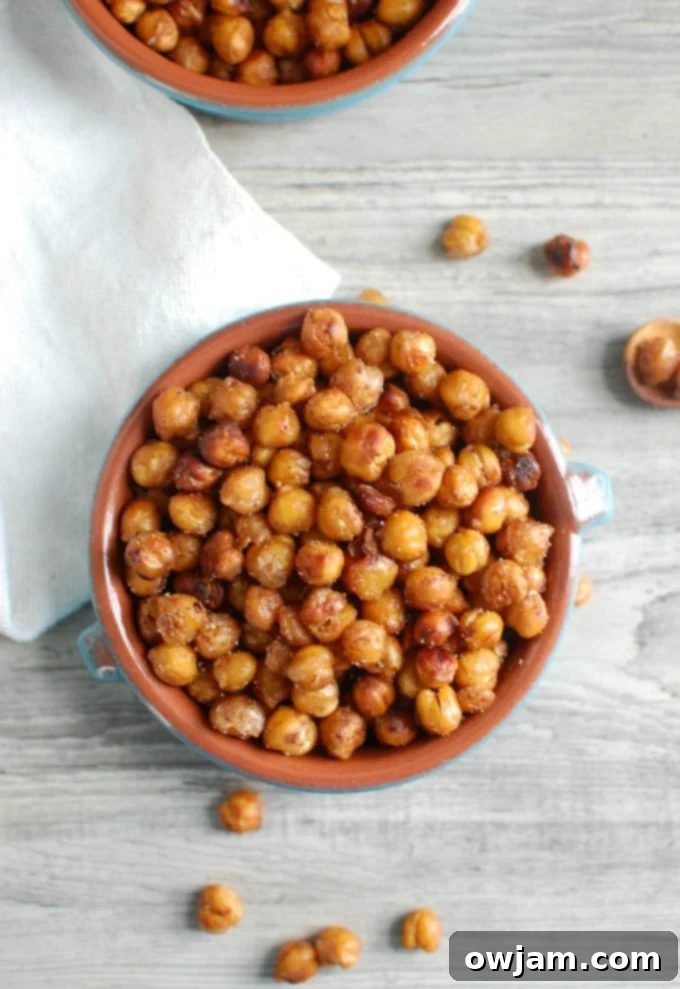
Discover the delightful world of Crunchy Roasted Chickpeas – a truly versatile, delicious, and incredibly healthy snack for everyone in your family. Whether you crave something sweet, spicy, or simply savory with a touch of olive oil and salt, these crispy little legumes are guaranteed to satisfy. As a plant-based, gluten-free, and nutrient-packed option, roasted chickpeas are not just a fantastic standalone snack but also an excellent addition to a variety of meals, from vibrant salads and hearty hummus bowls to flavorful wraps and even as a crunchy soup topping.
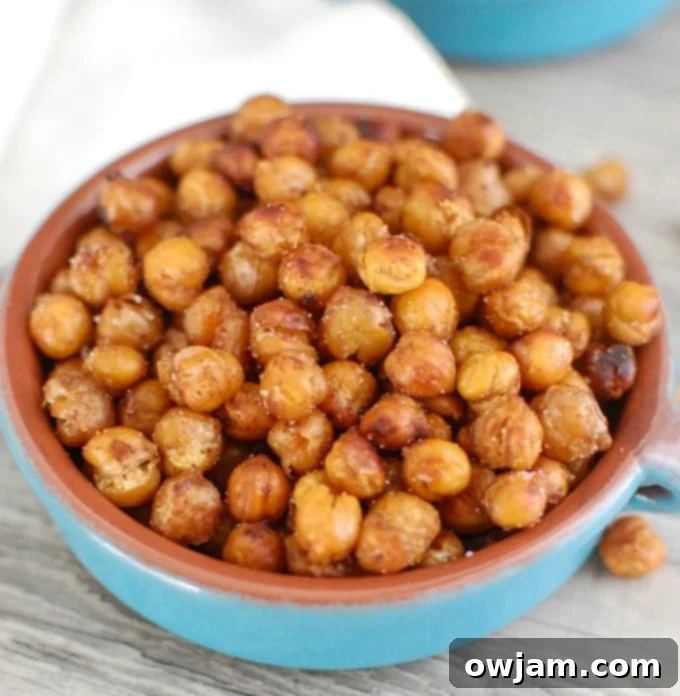
While chickpeas are famously known for their starring role in creamy hummus and many savory recipes, their potential as a standalone snack is often overlooked. These humble legumes transform into irresistibly crunchy bites when roasted, offering a wholesome alternative to processed snacks. For parents navigating the challenges of picky eaters, crunchy roasted chickpeas can be a game-changer, providing a healthy, appealing option that both adults and children will adore. Their delightful texture and customizable flavors make them an instant hit in any household.
If you’re looking for an even quicker preparation method, consider using an air fryer! You can find a fantastic recipe for Air Fryer Chickpeas that delivers similar crispiness with less time.
In our home, Crunchy Roasted Chickpeas are a consistent family favorite. My sons can’t get enough of them, and they’re equally popular with the grown-ups. The beauty of this recipe lies in its simplicity and adaptability. You can tailor the flavor profile to suit any craving – from fiery cayenne pepper to sweet cinnamon sugar, or a classic combination of sea salt and olive oil. The basic process involves little more than tossing chickpeas with oil and your chosen seasonings before roasting. Personally, I love experimenting; one day it might be smoky paprika, the next just a hint of sea salt and rich olive oil. The possibilities for creative flavor combinations are truly endless, making this recipe a staple for healthy snacking.
Beyond being a fantastic snack, these crispy chickpeas also shine as a flavorful addition to main meals. Elevate your salads by sprinkling them over a fresh Fattoush Salad, a zesty Easy Lebanese Salad, or a vibrant Lemon Arugula Salad. They add a wonderful texture and boost of protein, transforming an ordinary meal into something extraordinary.
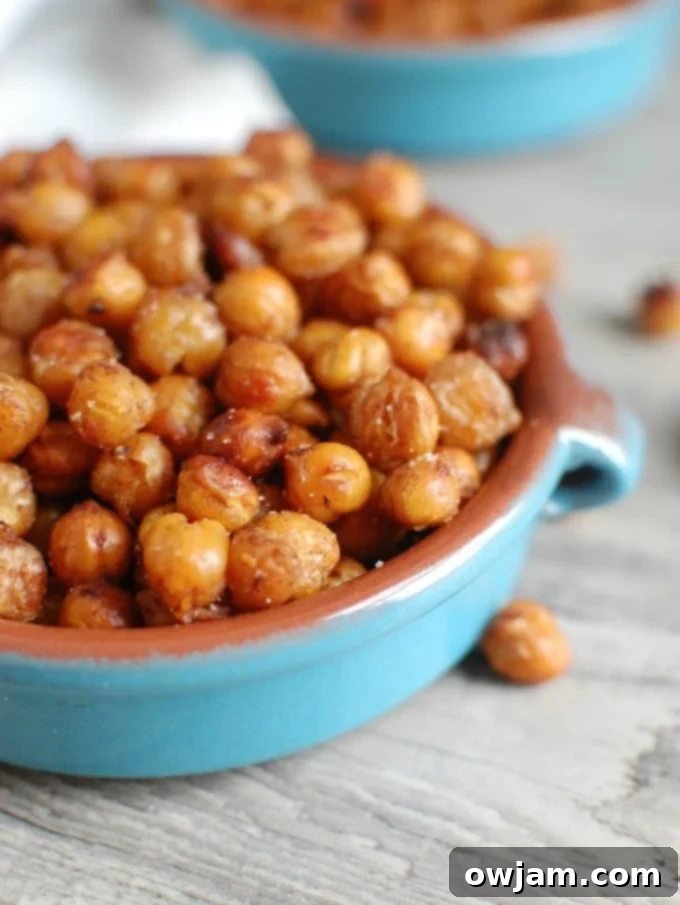
Why Choose Roasted Chickpeas for Your Next Snack?
Beyond their amazing taste and satisfying crunch, roasted chickpeas offer a wealth of nutritional benefits, making them a smart choice for any snack craving. They are an excellent source of plant-based protein and dietary fiber, which are essential for feeling full and supporting healthy digestion. This combination helps regulate blood sugar levels, preventing those mid-afternoon energy crashes often associated with less wholesome snacks. Naturally low in fat and cholesterol-free, chickpeas are also packed with essential vitamins and minerals like iron, magnesium, folate, and zinc, contributing to overall well-being. Opting for roasted chickpeas means choosing a snack that fuels your body with goodness, supports a balanced diet, and tastes fantastic.
Essential Recipe Ingredients You’ll Need
- Chickpeas: For convenience and ease, this recipe primarily uses canned chickpeas. Make sure to choose low-sodium options if preferred, and always give them a thorough rinse and drain before use. Rinsing helps remove excess sodium and any starchy liquid, which can inhibit crispiness. If you’re feeling ambitious or prefer to cook from scratch, you can certainly use dried chickpeas that have been soaked and cooked. Here is an excellent guide on how to soak and cook dried chickpeas for this recipe. Just ensure they are completely dry before roasting!
- Extra Virgin Olive Oil: I highly recommend using good quality extra virgin olive oil when preparing these crispy chickpeas. It adds a wonderful depth of flavor and helps achieve that golden, crunchy exterior. However, if you don’t have EVOO on hand, or prefer a more neutral taste, avocado oil or regular olive oil are excellent alternatives. For sweet variations, a light drizzle of melted coconut oil can also work beautifully.
- Spices & Seasonings: This is where the magic happens and you can truly make the recipe your own! The right spice mixture creates a deep, rich, and unforgettable flavor in your garbanzo beans. My personal favorites for savory options include smoked paprika (for a warm, earthy flavor), chili powder (for a gentle kick), cumin (for an aromatic, slightly nutty note), and garlic powder (for that essential savory depth). Feel free to adjust the amounts of each spice to your liking, making them as mild or as bold as you desire. Other fantastic savory options include onion powder, curry powder, za’atar, sumac, or even a dash of dried herbs like oregano or thyme. For sweet chickpeas, think cinnamon, nutmeg, a hint of ginger, or even pumpkin pie spice.
- Salt: A crucial ingredient for enhancing all the other flavors. I typically use a fine sea salt, but kosher salt also works well. Adjust the quantity to taste.
Please refer to the detailed recipe card below for exact ingredient amounts and comprehensive instructions to achieve the best crunchy results.
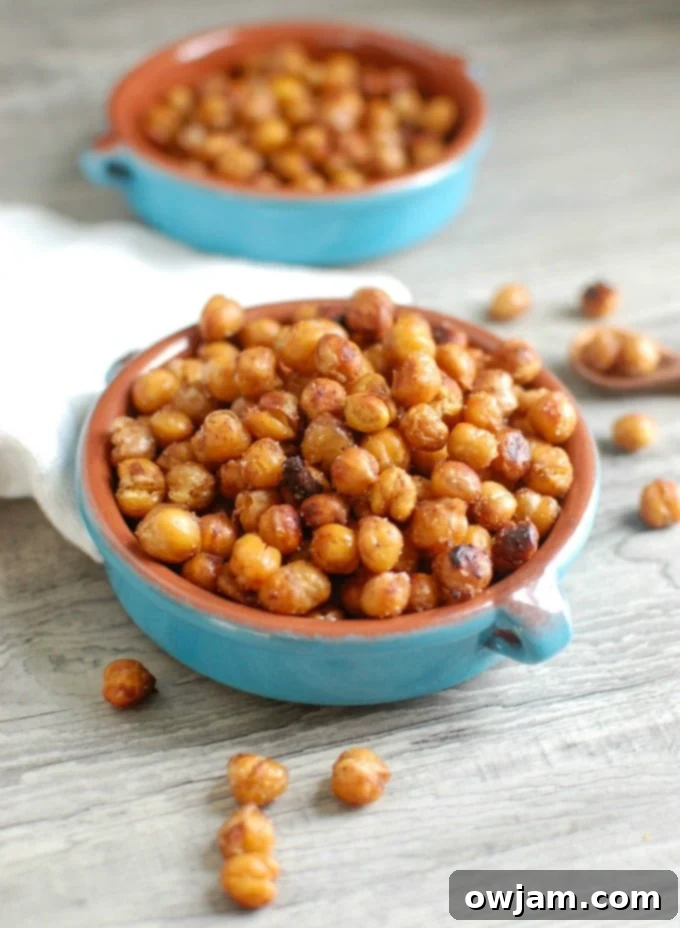
Tips for Achieving the Ultimate Crispy Chickpeas
Getting your roasted chickpeas perfectly crunchy isn’t difficult, but it does involve a few key steps. Follow these tips for consistently delicious results:
- Dry, Dry, Dry: This is arguably the most crucial step! Any residual moisture on the chickpeas will cause them to steam instead of roast, resulting in a soft, chewy texture rather than crispiness. Don’t rush the drying process – spread them out on paper towels for at least 20 minutes, even longer if you have time.
- Don’t Overcrowd the Pan: For optimal crisping, chickpeas need space. Spreading them in a single layer on a large rimmed baking sheet prevents them from steaming each other. If you’re making a larger batch, use two baking sheets to ensure adequate space.
- Remove Loose Casings (Optional but Recommended): After drying, gently rub the chickpeas between two paper towels. Many of the loose skins will come off. While not strictly necessary for flavor, removing these casings can lead to a slightly crispier and more uniform texture, as they can sometimes burn faster than the chickpea itself.
- Oil is Your Friend: A good coating of olive oil (or your chosen oil) helps conduct heat evenly, promoting browning and crispiness. Ensure each chickpea is lightly coated before roasting.
- Hot Oven is Key: Roasting at 400°F (200°C) provides enough heat to crisp the chickpeas quickly.
- Toss Occasionally: Stirring or shaking the baking sheet every 10-15 minutes ensures even exposure to heat, preventing one side from burning while the other remains soft.
- Listen for the Crunch: Towards the end of the baking time, you might start to hear a subtle popping or crackling sound from the oven, indicating they’re crisping up. Visually, they should be golden brown.
- Add Delicate Spices After Roasting: While a base of salt and some robust spices can go on before roasting, more delicate spices like cinnamon, za’atar, or certain chili powders, and especially liquid sweeteners like honey or maple syrup, are best added immediately after the chickpeas come out of the oven. This prevents them from burning and preserves their vibrant flavor.
How to Make Crunchy Roasted Chickpeas: Step-by-Step
Creating these delightful crispy treats is straightforward. Just follow these simple steps:
Step 1: Prepare Chickpeas for Maximum Crispiness: Begin by thoroughly rinsing your canned chickpeas under cold water until the water runs clear. This removes excess sodium and any starchy liquid, which is crucial for achieving crispiness. Drain them well. Next, on a large rimmed baking sheet, lay down a clean paper towel. Spread the rinsed chickpeas out in a single layer over the paper towel. Place another paper towel over the top of the chickpeas and gently press to absorb as much moisture as possible. Let them sit undisturbed for at least 20 minutes; the longer they dry, the crispier they will become.
Step 2: Coat Chickpeas with Oil and Salt: While the chickpeas are drying, preheat your oven to 400 degrees Fahrenheit (200°C). After the 20-minute drying period, gently roll your hands over the top paper towel to help loosen any remaining chickpea casings. Carefully pick through the chickpeas and discard any loose skins – this optional step can contribute to a more uniform crispiness. Transfer the dried chickpeas to a medium mixing bowl. Drizzle them generously with olive oil and sprinkle with salt. Toss everything together until the chickpeas are evenly coated.
Step 3: Bake to Golden Perfection: Spread the coated chickpeas back onto the same rimmed baking sheet (ensure you remove the paper towel first, or use a new sheet lined with parchment paper for easy cleanup). Arrange them in a single layer, ensuring they are not overcrowded, as this can lead to steaming instead of roasting. Roast in the preheated oven for 35-40 minutes, making sure to toss them occasionally (every 10-15 minutes) to ensure even browning and crispiness. Continue roasting until they are deeply golden brown and audibly crunchy.
Step 4: Flavor and Serve: Once the chickpeas are perfectly crispy and golden, remove them from the oven. Immediately sprinkle your chosen spices over them. For example, add 1/2 teaspoon of smoked paprika for a savory kick, or 1/2 teaspoon of cinnamon for a sweet treat. If you’re using a liquid sweetener like honey or maple syrup, return the hot chickpeas to a mixing bowl, add the honey/syrup, and stir well to coat. Serve these irresistible crunchy roasted chickpeas warm as a snack, or allow them to cool completely before storing. They are truly best enjoyed on the first day when their crispiness is at its peak!
Storage Tips for Keeping Your Chickpeas Crispy
Proper storage is essential to maintaining the delightful crispiness of your roasted chickpeas. The enemy of crunch is moisture! Here’s how to store them effectively:
First and foremost, allow the roasted chickpeas to cool completely to room temperature before storing them. Placing warm chickpeas in a sealed container will create condensation, making them soft and chewy.
Once cooled, transfer them to an airtight container, but here’s the trick: do not completely seal it. Leave the lid slightly ajar, or use a container with a tiny gap. This allows for some air circulation and prevents moisture buildup. Alternatively, you can use a paper bag, which allows the chickpeas to breathe and maintains their crunch better than a fully sealed plastic container.
Store your chickpeas at room temperature, away from direct sunlight or any heat sources. They will retain their best crispiness for about 3 days. After this period, they might start to lose a bit of their initial crunch, but they will still be perfectly delicious for up to a week. If your chickpeas soften, don’t despair! You can easily re-crisp them. Simply spread them on a baking sheet and pop them back into a preheated oven at 375°F (190°C) for 5–8 minutes, or heat them in an air fryer for a few minutes until they are crunchy again.
Recipe Frequently Asked Questions (FAQ)
The secret to super crispy chickpeas lies in two main factors: dryness and even heat. Ensure your chickpeas are as dry as possible before roasting; use paper towels to remove all surface moisture. Secondly, don’t overcrowd your baking pan – spread them in a single layer so hot air can circulate around each one. If they still aren’t crispy after the recommended time, simply continue roasting for an additional 5-10 minutes, checking frequently. Remember to give the pan a good shake or toss the chickpeas every 10–15 minutes for uniform roasting.
While optional, peeling the chickpeas can significantly enhance their crispiness and provide a lighter, more uniform texture. The skins can sometimes create a slightly chewier result or even burn before the chickpea itself is fully crispy. To easily remove many skins at once, after draining and rinsing, gently roll the chickpeas between two kitchen towels. Many of the skins will loosen and come off quickly, making the process much faster than peeling each one individually.
Absolutely! Roasted chickpeas are incredibly versatile for both savory and sweet cravings. For sweet versions, consider tossing them with a drizzle of maple syrup or honey (add after roasting to prevent burning), cinnamon, a pinch of nutmeg, or even a sprinkle of cocoa powder and a touch of sugar. They make a fantastic, healthy alternative to sugary desserts.
Beyond the classic salt, pepper, and paprika, the possibilities are endless! For a Mediterranean twist, try za’atar and sumac. For an Indian-inspired flavor, use curry powder and turmeric. A Mexican-inspired version might include chili powder, cumin, and a dash of cayenne. For a cheesy flavor, nutritional yeast is a great addition. Don’t be afraid to experiment with your favorite spices and herbs!
Yes, they are! Roasted chickpeas are an excellent component for meal prep. They can be added to salads, grain bowls, or packed as a healthy snack for work or school. While they are at their crispiest on the first day, they maintain a good texture for several days when stored properly (see storage tips above). If you prefer them super crispy, a quick re-crisp in the oven or air fryer before serving will do the trick.
Tried this recipe? Leave a star rating and comment below! Subscribe to my newsletter or follow me on
Facebook,
Instagram, or
Pinterest for the latest.
Crunchy Roasted Chickpeas

Pin
Ingredients
- 1 15 ounce can of chickpeas, drained and rinsed
- 2 tablespoons olive oil
- 1/2 teaspoon salt {more or less to taste}
- 1/2 teaspoon of smoked paprika {or your favorite spice: other ideas cinnamon, paprika, sumac, za’atar}
Instructions
-
Rinse and drain the chickpeas thoroughly. On a large rimmed baking sheet, lay a paper towel down and spread the chickpeas out in a single layer. Place another paper towel over them and gently press to absorb moisture. Let them sit for at least 20 minutes to dry.
-
Preheat your oven to 400 degrees Fahrenheit (200°C).
-
After 20 minutes of drying, gently roll your hands over the paper towel covering the chickpeas to help loosen any casings. Pick through the chickpeas and discard any loose skins to promote better crispiness.
-
In a medium mixing bowl, combine the dried chickpeas with olive oil and salt. Toss until the chickpeas are evenly coated.
-
Spread the seasoned chickpeas back onto the rimmed baking sheet (without the paper towel) in a single layer. Roast for 35-40 minutes, tossing occasionally every 10-15 minutes, until they are crispy and golden brown.
-
Remove from the oven. Immediately sprinkle your spice of choice over the hot chickpeas (e.g., 1/2 teaspoon smoked paprika for savory, or 1/2 teaspoon cinnamon for sweet). If using honey or maple syrup, return the chickpeas to a mixing bowl and stir the sweetener in to coat.
-
Serve warm for the best texture, or allow them to cool completely before storing in a loosely covered container. These are truly best enjoyed the day they are made for maximum crunch!
Nutrition
Nutrition information is automatically calculated, so should only be used as an approximation.
Tried this recipe?Mention @acedarspoon or tag #acedarspoon!
