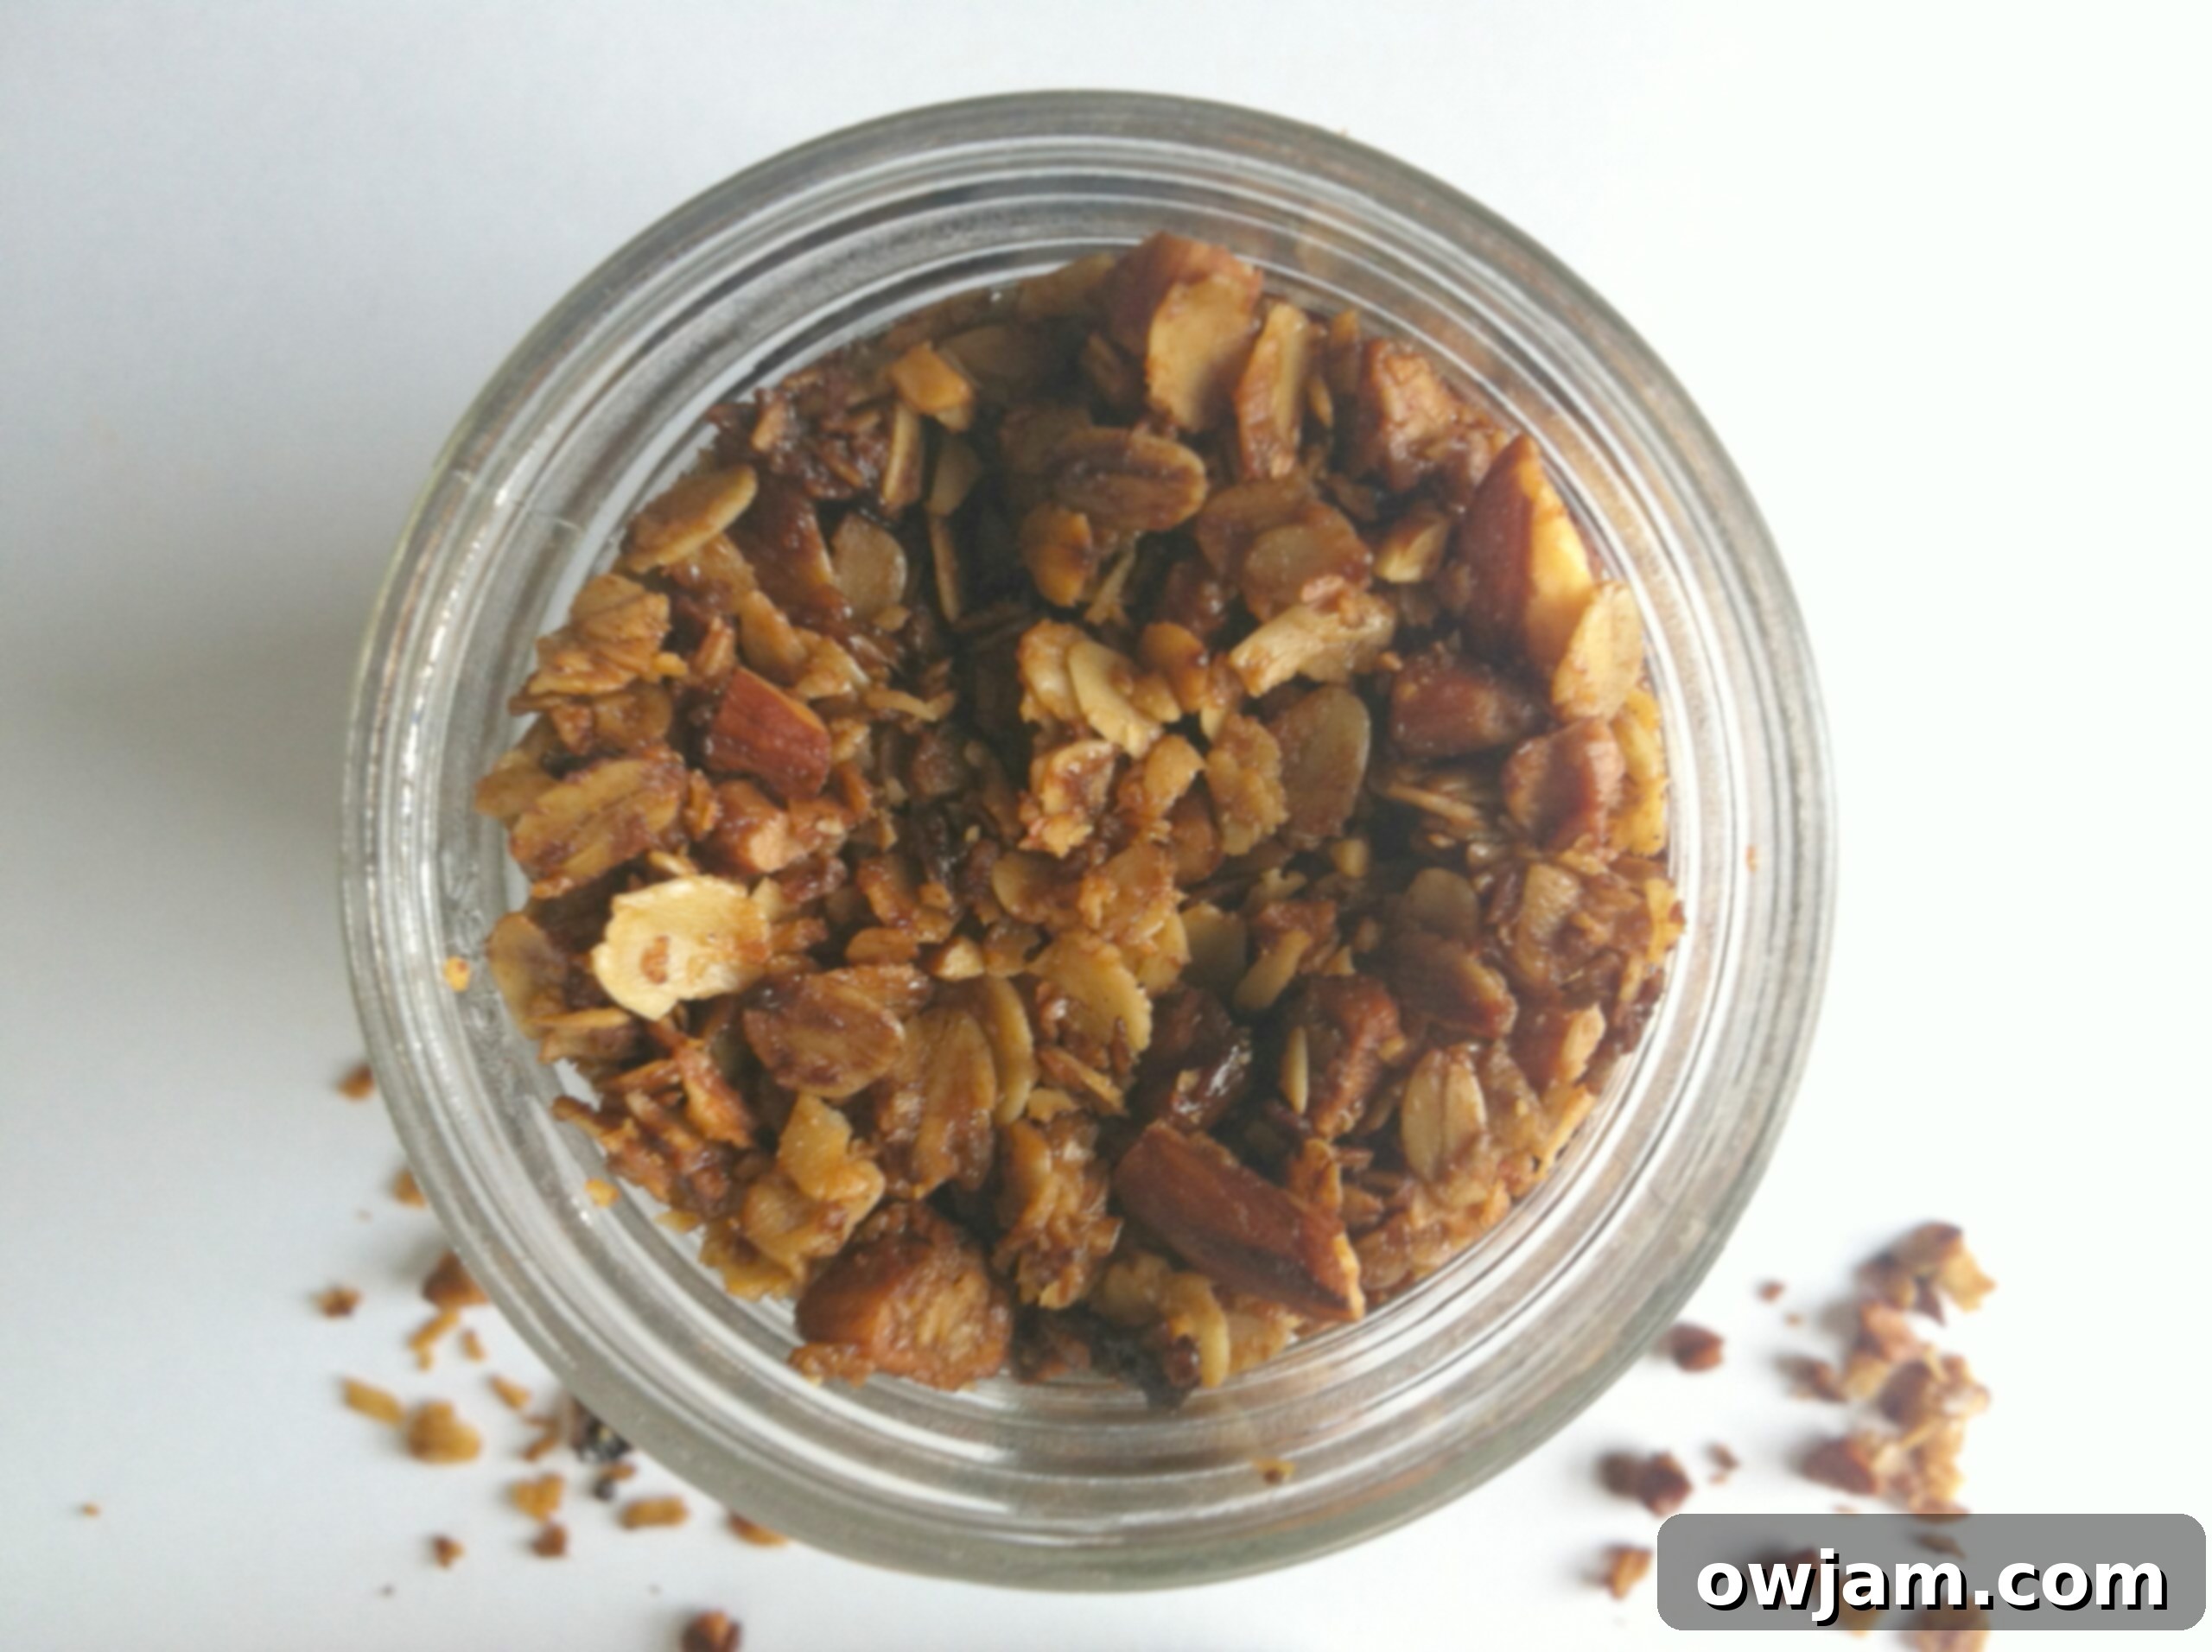
The Ultimate Homemade Granola Recipe: Easy, Healthy, and Delicious
Discover the simple joy of crafting your very own batch of homemade granola! This recipe is not just amazing; it’s a game-changer that will elevate your breakfast and snacking experience far beyond anything you can buy at the store. Fresh, customizable, and incredibly satisfying, once you try homemade, there’s truly no turning back.
Last year, five months after our son Will was born, my husband and I desperately needed a break. We decided on a short, rejuvenating weekend getaway to Door County, Wisconsin. While it might not have been our absolute favorite summer spot, Traverse City, Michigan, Door County offered its own unique charm. It was beautiful, wonderfully relaxing, and a much-needed escape, even if only for two precious nights.
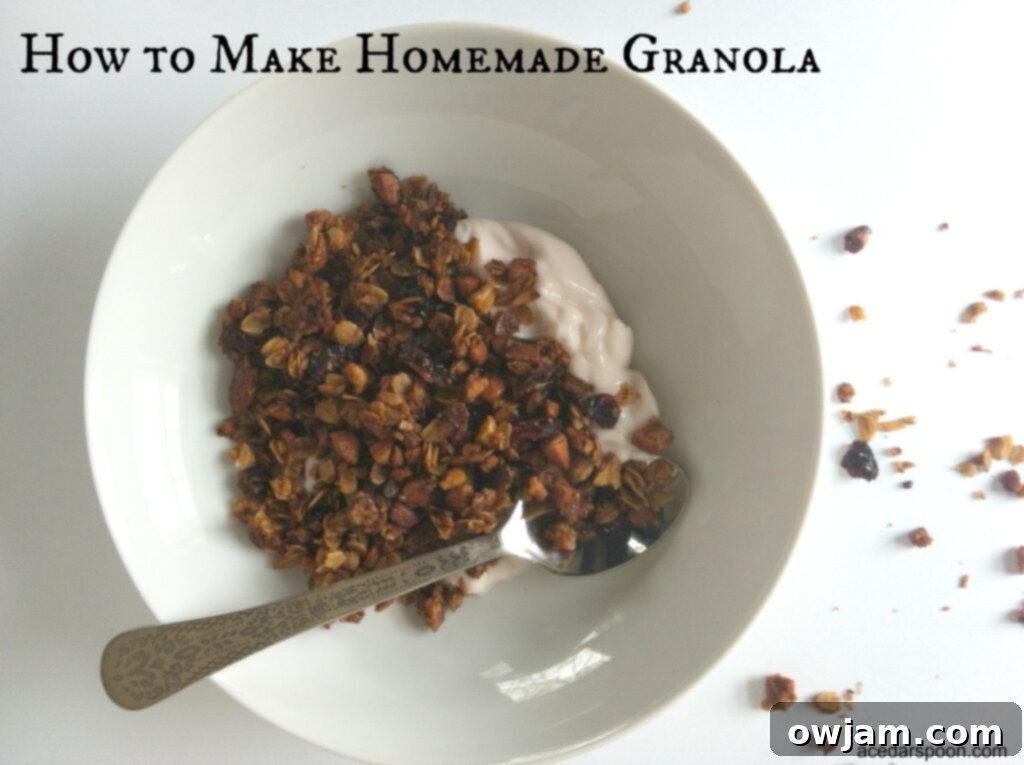
Why Homemade Granola? The Bed and Breakfast Inspiration
Anyone who has welcomed a newborn into their life understands the realities of those early months: sleep becomes a precious, rare commodity, time alone with your spouse feels like a distant dream, and functioning on anything less than three cups of coffee simply isn’t an option. There are no complaints here – I wouldn’t trade those moments for anything in the world – but it’s important to acknowledge the beautiful chaos they bring.
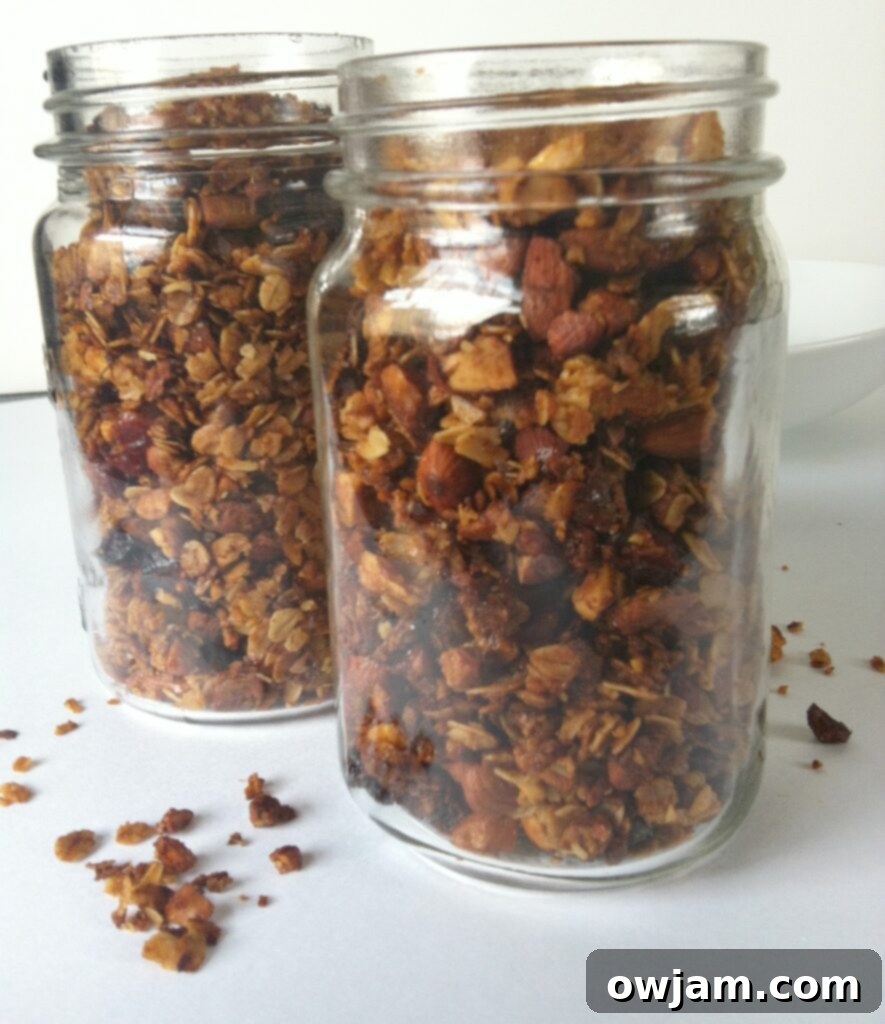
During our Door County escape, we stayed at the most adorable little Bed and Breakfast, The Juniper Inn. It was there that my husband and I were reminded why we someday dream of owning our own B&B (I’d, of course, be the one whipping up the delicious breakfasts!). This particular B&B was incredibly quaint, quiet, peaceful, and serene. We absolutely adore staying in B&Bs when we’re without our little one because they offer such a personal, intimate feeling. The food is always homemade, often showcasing the finest local farmers and ingredients, which truly makes for a special culinary experience.
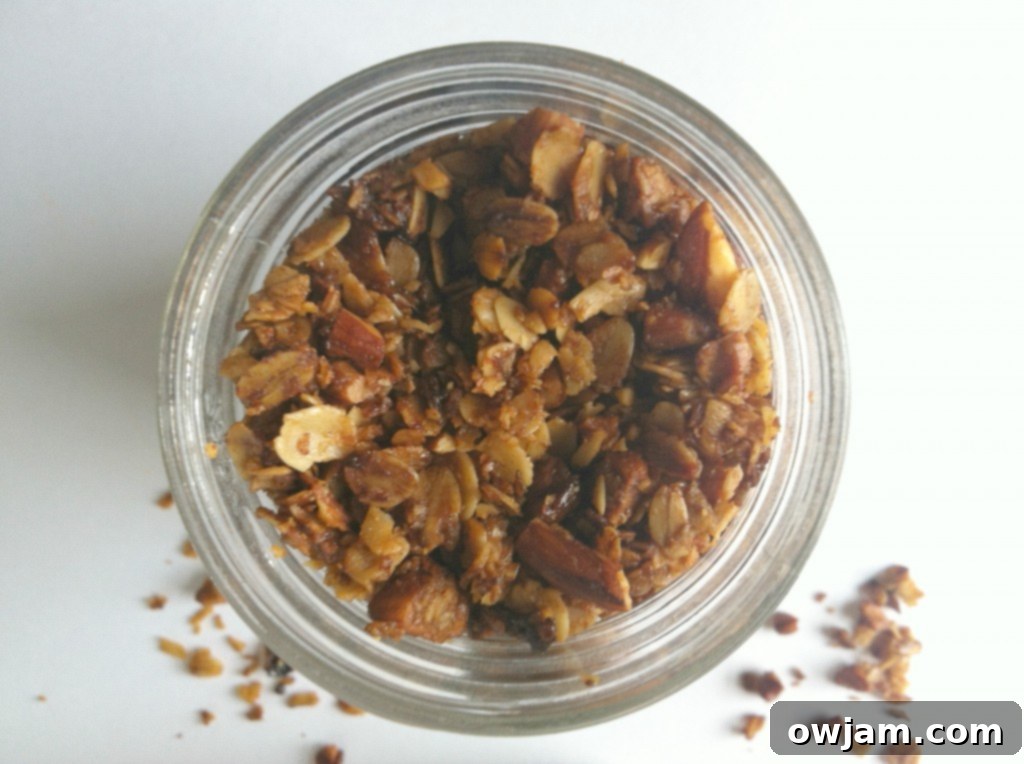
The Irresistible Appeal of Homemade Granola
Now, let’s talk about the star of the show: homemade granola. It’s a staple at almost every bed and breakfast I’ve ever had the pleasure of staying at, and for good reason! The best thing about granola is its incredible versatility. It’s perfect for a wholesome breakfast, whether served with a creamy bowl of yogurt and fresh seasonal fruit, or as a convenient, energy-boosting snack to get you through a busy day. Beyond that, it can be a crunchy topping for smoothies, an unexpected addition to a dessert, or even a simple, satisfying treat on its own.
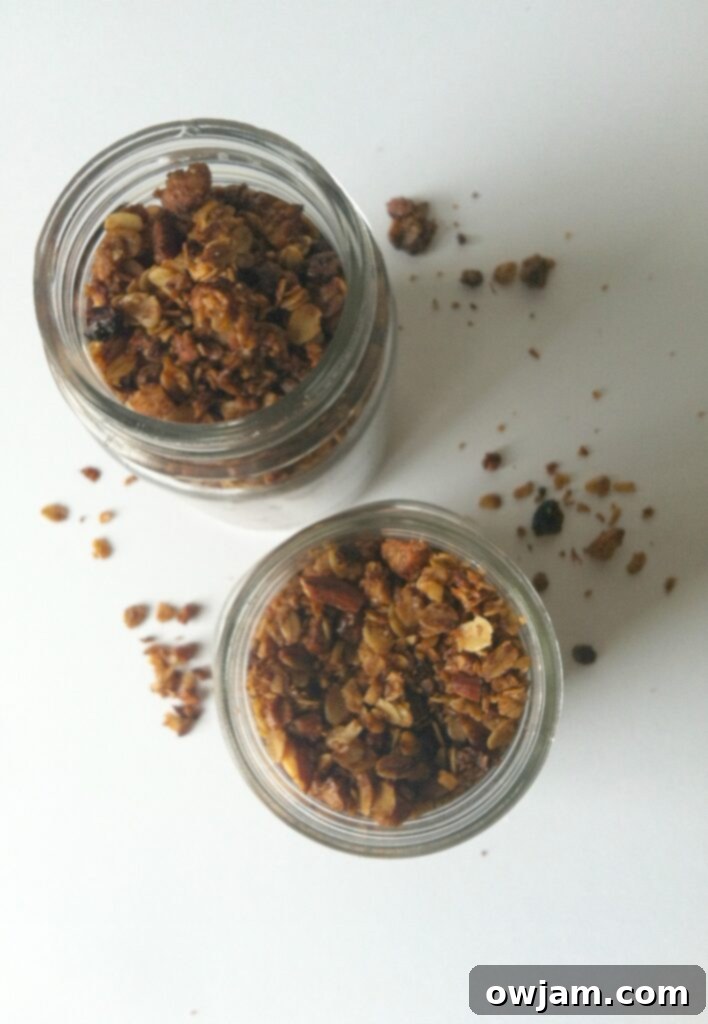
For a long time, the idea of making my own homemade granola had been lingering in the back of my mind. It was one of those recipes I knew I needed to try. Finally, a few weeks ago, I decided to take the plunge, and I couldn’t be happier with the results! It’s incredibly easy to make, tastes absolutely fantastic, and is remarkably healthier and more affordable than most store-bought varieties. The best part? You have complete control over the ingredients, ensuring it meets your dietary needs and preferences. Seriously, once you experience the freshness and flavor of homemade, there’s no going back to the pre-packaged stuff!
Crafting Your Perfect Homemade Granola: Ingredients and Preparation
Making your own granola begins with choosing the right ingredients to create a flavor profile that you’ll adore. Here’s a breakdown of what you’ll need for this delicious base, along with some tips for customization:
- Oats: Start with 2 cups of old-fashioned rolled oats. It’s crucial to use old-fashioned oats, not the quick-cooking or instant varieties, as they provide the best texture and hold up well during baking. Quick oats can become mushy.
- Nuts & Seeds: You’ll need 1 ½ cups of your favorite nuts and/or seeds. This is where you can truly personalize your granola! I often use almonds, crushing them slightly for easier eating and better distribution. Other excellent choices include pecans, walnuts, cashews, pumpkin seeds (pepitas), sunflower seeds, or a mix of several. Each adds a unique flavor and nutritional boost.
- Oil: Incorporate 1/3 cup of oil. Olive oil is a fantastic choice for a subtle, earthy flavor, but coconut oil (which adds a slight sweetness) or avocado oil (for a neutral taste) also work wonderfully. The oil helps bind the ingredients and contributes to that desirable golden, crispy texture.
- Sweetener: For natural sweetness, you’ll need 1/3 cup of honey or maple syrup. I personally prefer honey for its rich flavor, but pure maple syrup is an excellent vegan alternative that provides a similar depth of sweetness. These natural sweeteners caramelize beautifully in the oven, giving your granola a lovely sheen and sticky clusters.
- Salt and Spices: A balanced granola needs a touch of seasoning! Add 1/2 teaspoon of salt (fine sea salt works best), ¼ teaspoon of cinnamon, and a pinch each of nutmeg and ginger. These spices create a warm, inviting aroma and enhance the overall flavor profile. Feel free to adjust the amounts or add other spices like cardamom or allspice to your liking.
- Vanilla Extract: A crucial ingredient for depth of flavor is ½ teaspoon of vanilla extract. It rounds out the sweetness and spice, adding a comforting aroma.
- Dried Fruit: Finally, add ¼ cup of your preferred dried fruit. Dried cranberries are a classic choice, offering a tart contrast to the sweet oats and nuts. Dried blueberries, cherries, raisins, or chopped apricots are also fantastic options.
Step-by-Step Guide to Baking Perfect Granola
Now that you have all your ingredients ready, let’s walk through the simple baking process to achieve that perfect golden-brown, crunchy granola:
- First, make sure your oven is preheated to 350 degrees Fahrenheit (175 degrees Celsius). This ensures even baking from the start.
- In a large mixing bowl, combine the dry ingredients: the old-fashioned oats and your chosen nuts/seeds. Give them a good stir to ensure they are well-mixed.
- Next, pour the wet ingredients over the dry: the olive oil (or your chosen oil) and honey (or maple syrup). Stir everything thoroughly until the oats and nuts are evenly coated. This is crucial for flavor distribution and proper caramelization.
- Add the aromatic spices (salt, cinnamon, nutmeg, ginger) and the vanilla extract to the mixture. Continue to mix well until the spices are fully incorporated. You’ll already start to smell the deliciousness!
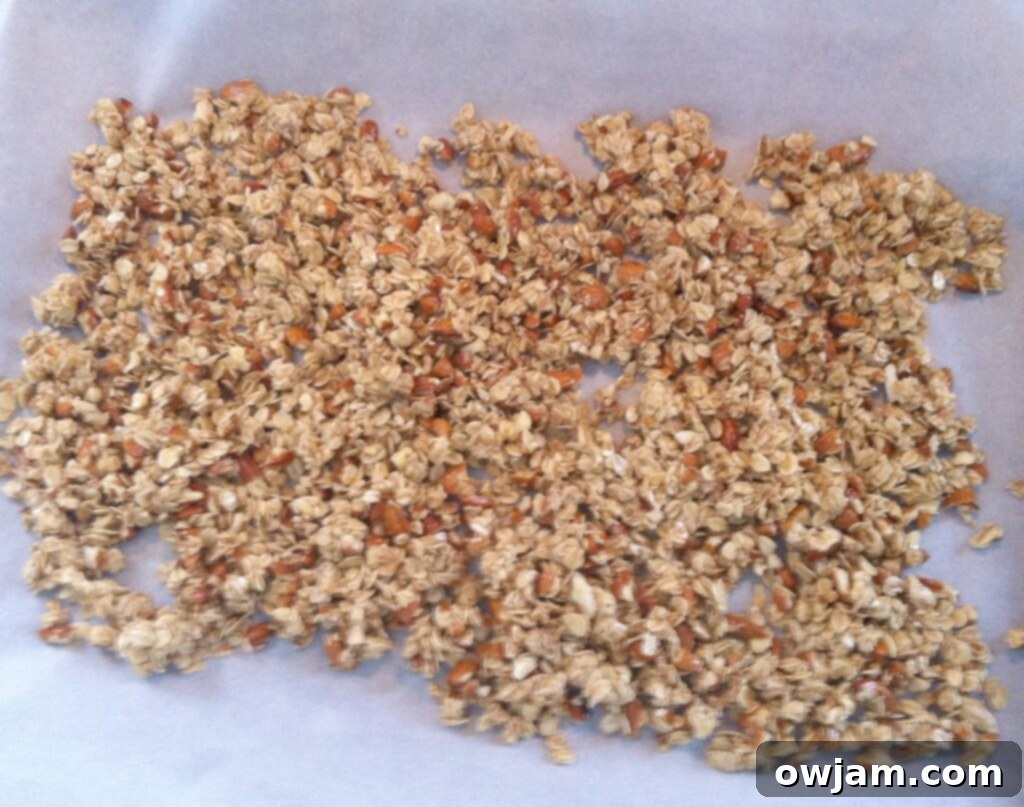
- Prepare a baking sheet by lining it with parchment paper. This prevents sticking and makes for easy cleanup. Spread the granola mixture out onto the prepared baking sheet in a single, even layer. Avoid piling it too high, as this can lead to uneven cooking.
- Bake the granola in your preheated oven for a total of 25-30 minutes. The key to even baking and preventing burning is to stir the mixture every 10 minutes. This ensures all pieces get a chance to toast beautifully.
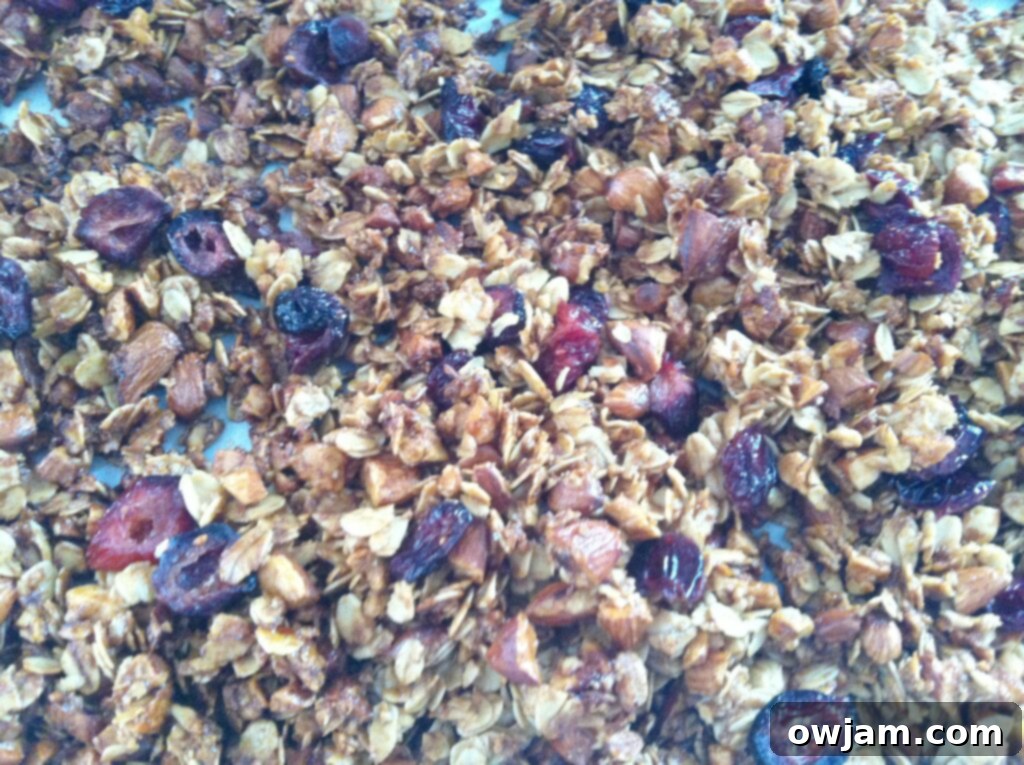
- During the last 10 minutes of baking, add your dried fruit (e.g., cranberries) to the granola mixture. Stir it in well. Adding the dried fruit too early can make it overly hard or burnt, so timing is important here.
- Once golden brown and fragrant, remove the granola from the oven and let it cool completely on the baking sheet. It will crisp up further as it cools. Store it in an airtight container for up to two weeks.
Endless Customization Ideas for Your Homemade Granola
The beauty of homemade granola lies in its adaptability. You can truly make it your own by experimenting with various additions. Beyond the basic recipe, consider these delicious ideas:
- Nuts: Try pecans, walnuts, cashews, or macadamia nuts for different textures and flavors.
- Seeds: Boost nutrition with pumpkin seeds (pepitas), sunflower seeds, flax seeds, or chia seeds.
- Dried Fruits: Explore dried blueberries, cherries, mango, pineapple, or chopped dates and figs. Remember to add these in the last 10 minutes of baking to prevent them from becoming too hard.
- Coconut: Toasted shredded coconut or coconut flakes add a tropical crunch and flavor. Add them during the last 5-10 minutes of baking, as they can burn quickly.
- Chocolate: For a treat, stir in chocolate chips, dark chocolate chunks, or peanut butter chips AFTER the granola has completely cooled. The residual heat can melt them otherwise.
- Other Flavors: A dash of orange zest, a sprinkle of espresso powder, or a tablespoon of unsweetened cocoa powder can dramatically change the flavor profile.
Don’t be afraid to get creative and find your perfect mix! This recipe is a fantastic starting point for countless delicious variations.
Tried this recipe? Leave a star rating and comment below! Subscribe to my newsletter or follow me on
Facebook,
Instagram, or
Pinterest for the latest.
Homemade Granola
Julia Jolliff
10 minutes
25 minutes
35 minutes
4 servings
Pin
Want to save this recipe for later? You can pin it to Pinterest using the “Pin” button above or subscribe to our newsletter for more delicious recipes delivered straight to your inbox!
Ingredients
- 2 cups old fashioned oats, not the quick cooking kind
- 1 1/2 cups almonds, crushed into pieces for easier eating
- 1/3 cup olive oil
- 1/2 teaspoon salt
- 1/4 teaspoon cinnamon
- pinch nutmeg , and ginger
- 1/3 cup honey
- 1/2 teaspoon vanilla extract
- 1/4 cup cranberries, dried
Instructions
-
Preheat the oven to 350 degrees F (175 degrees C).
-
In a large bowl, combine the old-fashioned oats and crushed almonds (or other nuts/seeds).
-
Add the olive oil (or chosen oil) and honey (or maple syrup) to the bowl and stir very well until all dry ingredients are thoroughly coated.
-
Stir in the salt, cinnamon, nutmeg, ginger, and vanilla extract. Continue mixing until everything is evenly distributed.
-
Line a large baking sheet with parchment paper. Spread the granola mixture out in a single, even layer on the prepared sheet.
-
Bake at 350 degrees F (175 degrees C) for 25-30 minutes total. Make sure to stir the granola every 10 minutes to ensure even toasting and prevent burning.
-
During the final 10 minutes of baking, add the dried cranberries (or other dried fruit) to the granola. Stir well to incorporate them into the mixture.
-
Once baked to a golden brown, remove from the oven and let it cool completely on the baking sheet. It will become much crispier as it cools.
Notes
- Granola stores wonderfully for up to 2 weeks when kept in a sealed, airtight container at room temperature. For longer storage, you can even freeze it for up to 3 months (though it rarely lasts that long in my house!).
- My granola typically takes about 26 minutes total to achieve a perfect golden brown, but baking times can vary significantly by oven. You want it toasted, not burnt, as a burnt flavor is quite unappetizing.
- Always keep a close eye on your granola, especially towards the end of the baking time, and remember to stir every 10 minutes. This prevents hot spots and ensures all components toast evenly. Adjust baking time based on your oven’s performance.
Nutrition
Nutrition information is automatically calculated, so should only be used as an approximation.
