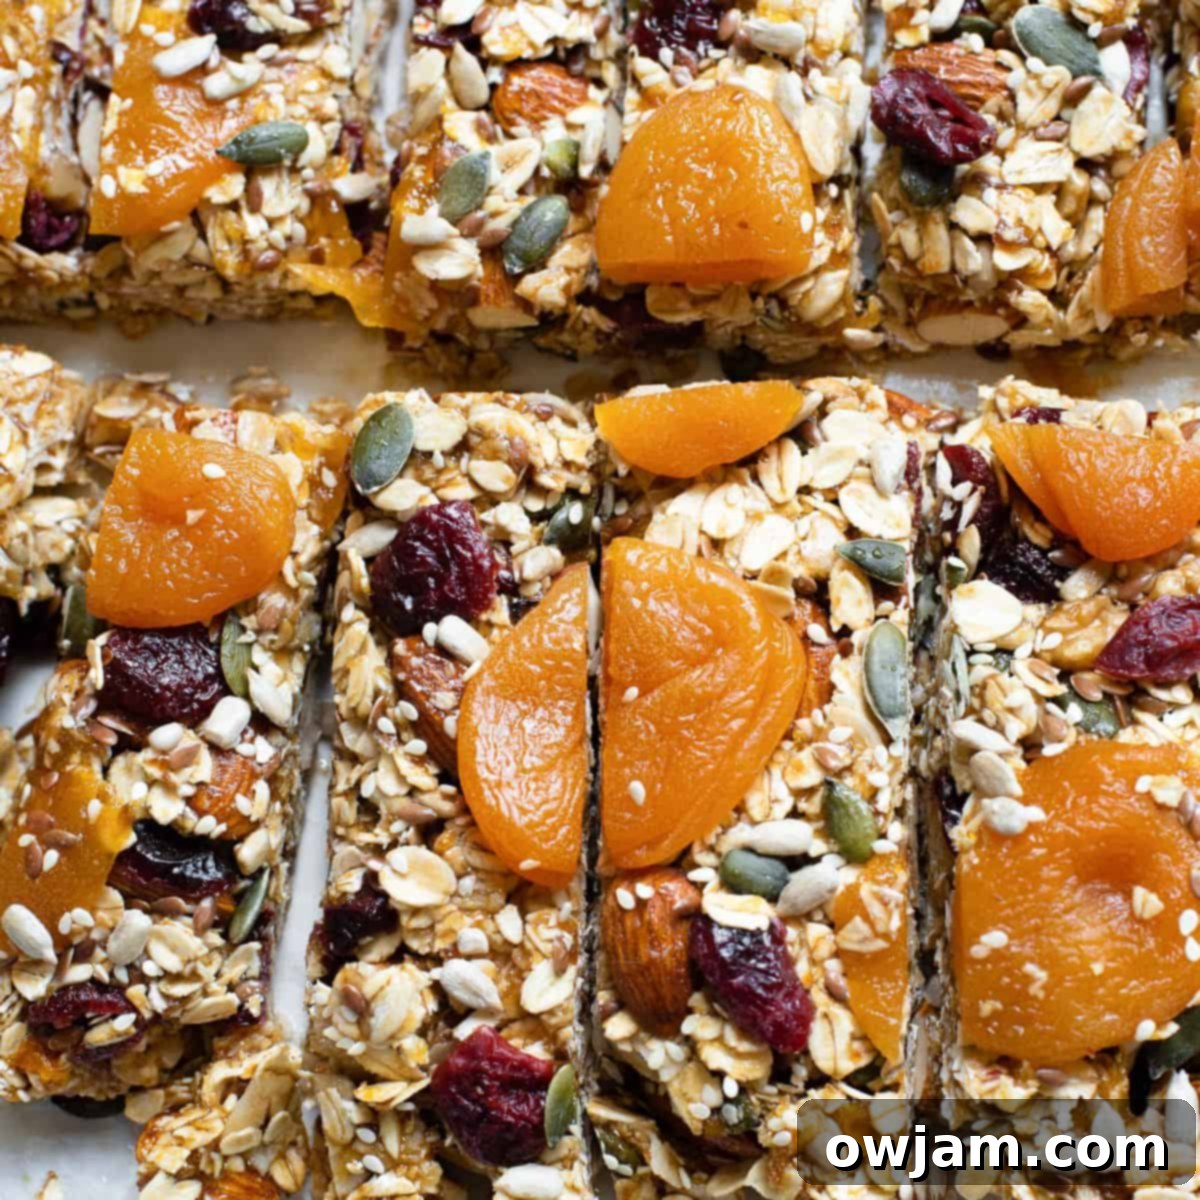
Easy No-Bake Date Granola Bars: Your Go-To Healthy Snack for Busy Days
Discover the ultimate solution for healthy, on-the-go snacking with my recipe for Easy Date Granola Bars. Crafted with wholesome oats and packed with the natural sweetness of dates, succulent apricots, and tart cranberries, these bars are a delightful treat for all ages. For an extra layer of texture and nutrition, I’ve incorporated a delightful mix of nuts and seeds, ensuring every bite offers a satisfying crunch. The best part? These date oat bars are entirely no-bake, requiring just 5 minutes of active prep time before they chill to perfection in your refrigerator. This incredibly simple recipe yields a delicious, kid-friendly snack that’s perfect for busy families!
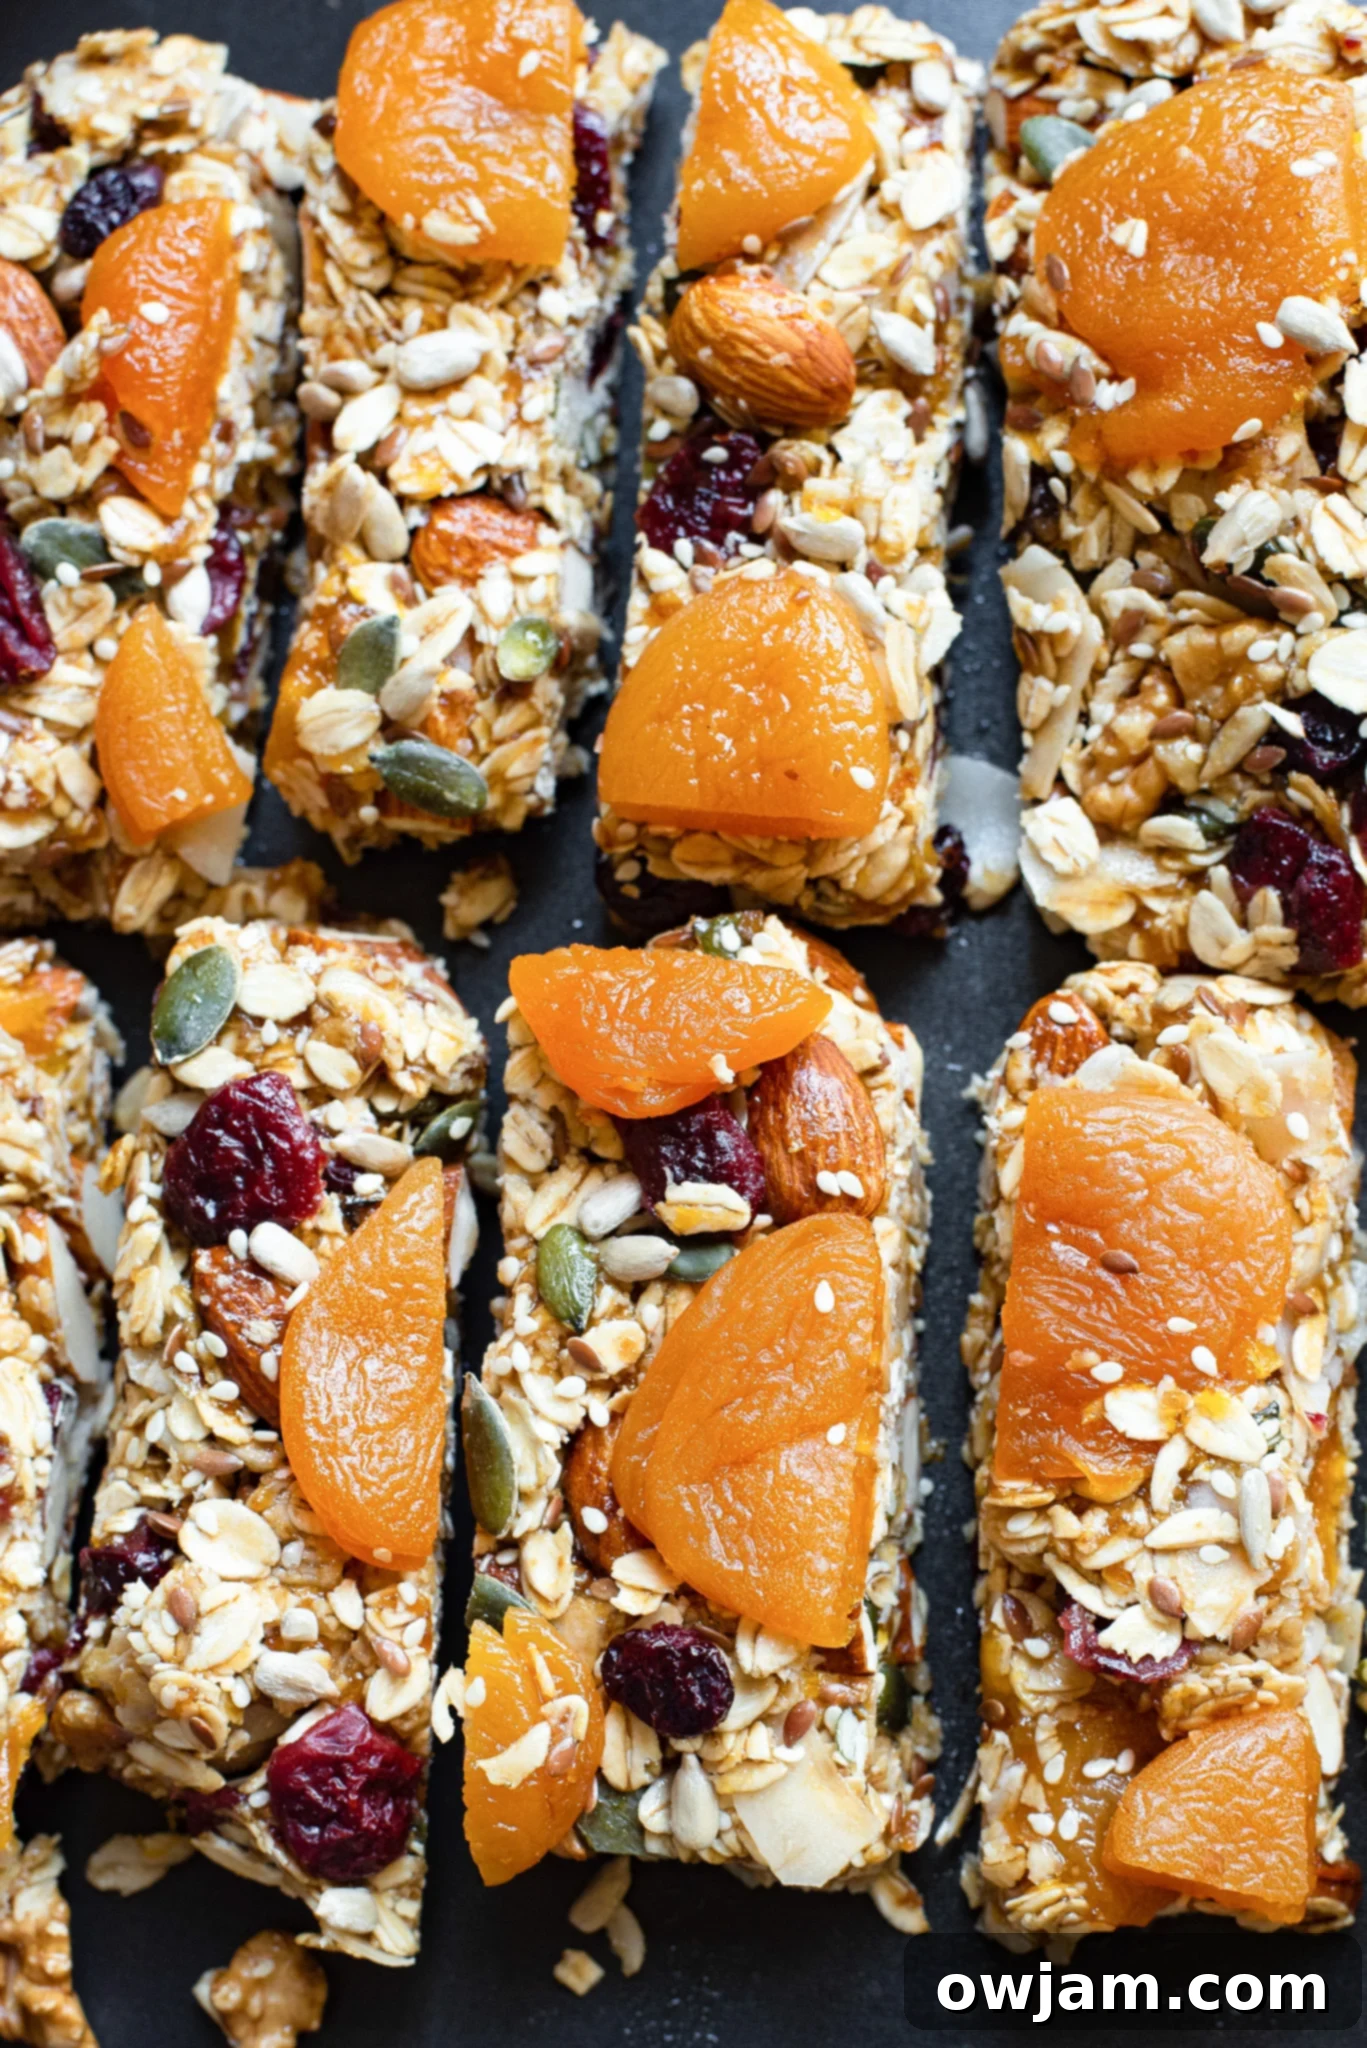
As a parent, I know the constant juggle of after-school activities. Whether it’s sports, karate, or scouting, my children are always on the move. This constant activity means there’s always a demand for convenient, healthy snacks that I feel good about providing. That’s why these **Easy Date Granola Bars** have become a staple in our household.
These bars are incredibly simple to prepare, requiring only 5 minutes of hands-on time, making them perfect for busy weekday mornings or weekend meal prep. Their no-bake nature simplifies the process even further, ensuring you can whip up a batch with minimal fuss. Once made, they can be stored in the refrigerator for up to a month, though they rarely last that long in our house!
More than just a quick bite, these homemade granola bars serve as an ideal quick snack or an easy grab-and-go breakfast. Unlike many store-bought alternatives, these healthy granola bars contain no refined sugar and significantly less salt, giving you peace of mind about what you and your family are consuming. By making your own, you gain full control over the ingredients, allowing you to customize them with your family’s favorite combination of dried fruits, seeds, and nuts.
The minimal preparation also makes this a fantastic kid-friendly recipe. I love involving my children in the kitchen, letting them choose the ingredients they want to include in their bars. This not only makes them more likely to eat the finished product but also teaches them valuable cooking skills. It’s a win-win for everyone!
If you’re looking for more healthy and delicious snack ideas that my family adores, be sure to check out these other favorites: Date Protein Balls, Peanut Butter Oatmeal No Bake Bites, Homemade Oatmeal Banana Cookies or these Cranberry Almond Energy Bites.
Essential Ingredients for Your No-Bake Date Granola Bars
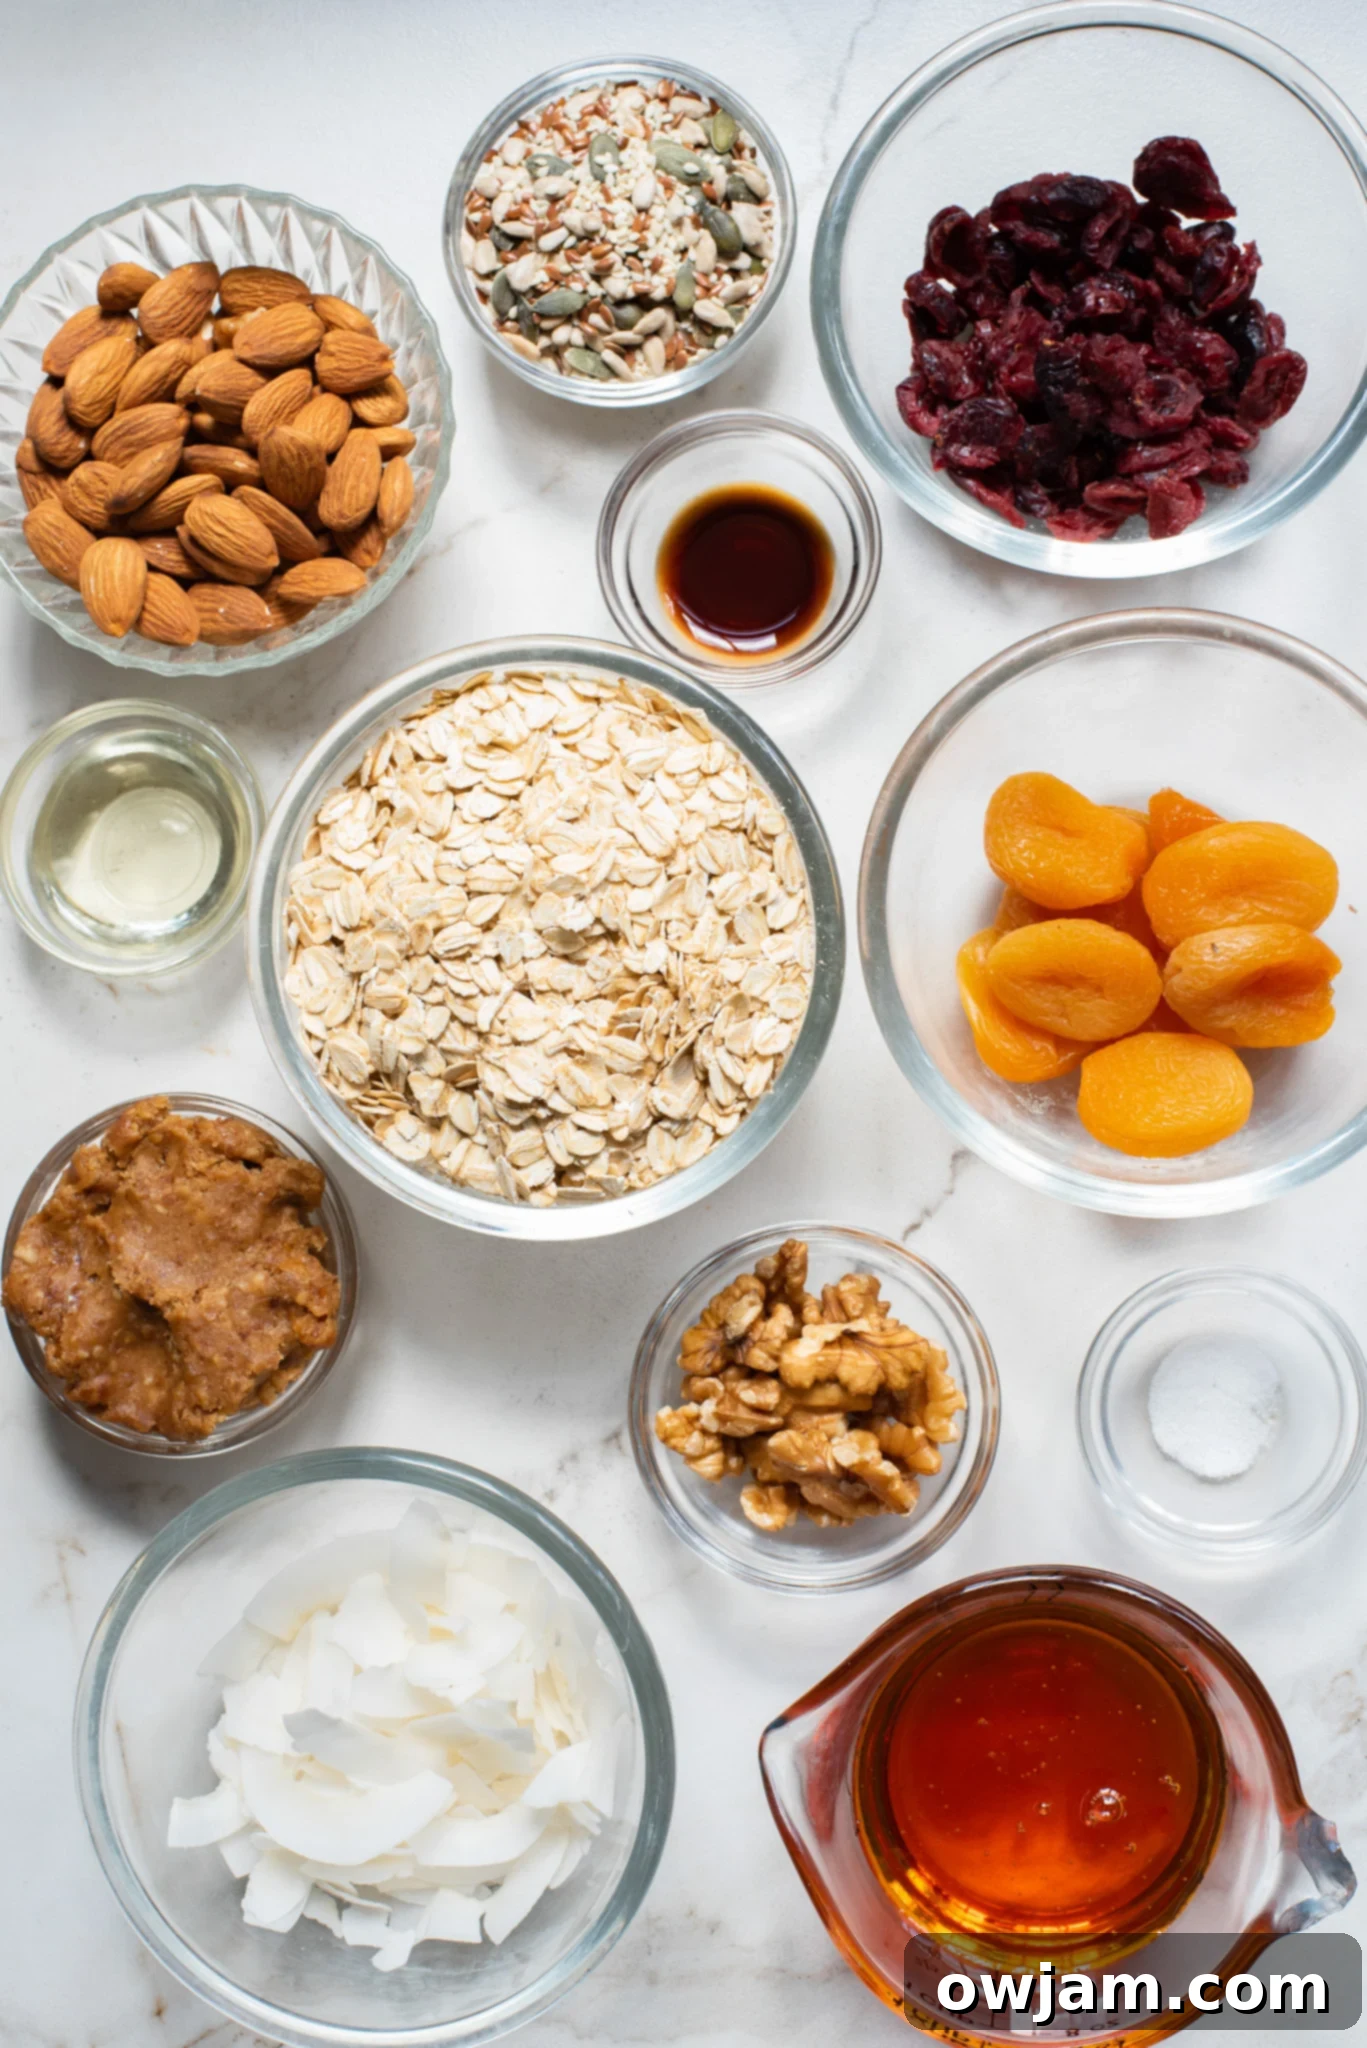
Crafting these delicious no-bake granola bars requires a selection of simple, wholesome ingredients. Here’s a detailed look at what you’ll need and why each component is crucial for the perfect texture and flavor:
Recipe Ingredients
- Dates (Date Paste): I prefer using a cup of date paste, which is fundamental not only for its rich, caramel-like flavor but also for its excellent binding properties. It naturally sweetens the bars and helps hold everything together. If date paste isn’t readily available in your local stores, you can easily purchase it online or make your own at home. Alternatively, for every 2/3 cup of date paste, you can substitute with 1/2 cup of honey or maple syrup.
- Natural Sweeteners (Honey or Maple Syrup): Instead of relying on refined sugars, I opt for unrefined sweeteners like honey or maple syrup. These not only provide a delightful sweetness but also contribute to the bars’ sticky consistency, aiding in their structure and offering additional depth of flavor.
- Coconut Oil: Melted coconut oil plays a vital role as a binder, helping to solidify the bars when chilled. It also imparts a subtle richness and a lovely hint of coconut flavor, enhancing the overall taste.
- Vanilla Extract: A teaspoon of good quality vanilla extract is essential for adding a warm, aromatic note that complements the other flavors beautifully. I always recommend using extract over essence for its superior, richer flavor, but essence will work if that’s all you have on hand.
- Oats (Rolled Oats): Two cups of rolled oats form the hearty base of these no-bake date oat bars. Rolled oats are preferred over instant oats as they provide more texture and nutritional fiber, contributing to a more satisfying and filling snack.
- Dried Fruits, Nuts, and Seeds: This is where the customization truly shines! My preferred mix includes dried apricots, cranberries, assorted nuts (like almonds, cashews, or pecans), coconut chips, and various mixed seeds (such as sunflower, pumpkin, chia, or flaxseeds). This combination adds a fantastic crunch, a burst of flavor, and a significant nutritional boost, including healthy fats, protein, and fiber.
- Salt: Just a quarter teaspoon of salt is added to balance the sweetness and enhance all the other flavors, making the bars taste even more delicious.
For precise ingredient measurements and detailed instructions, please refer to the comprehensive recipe card below.
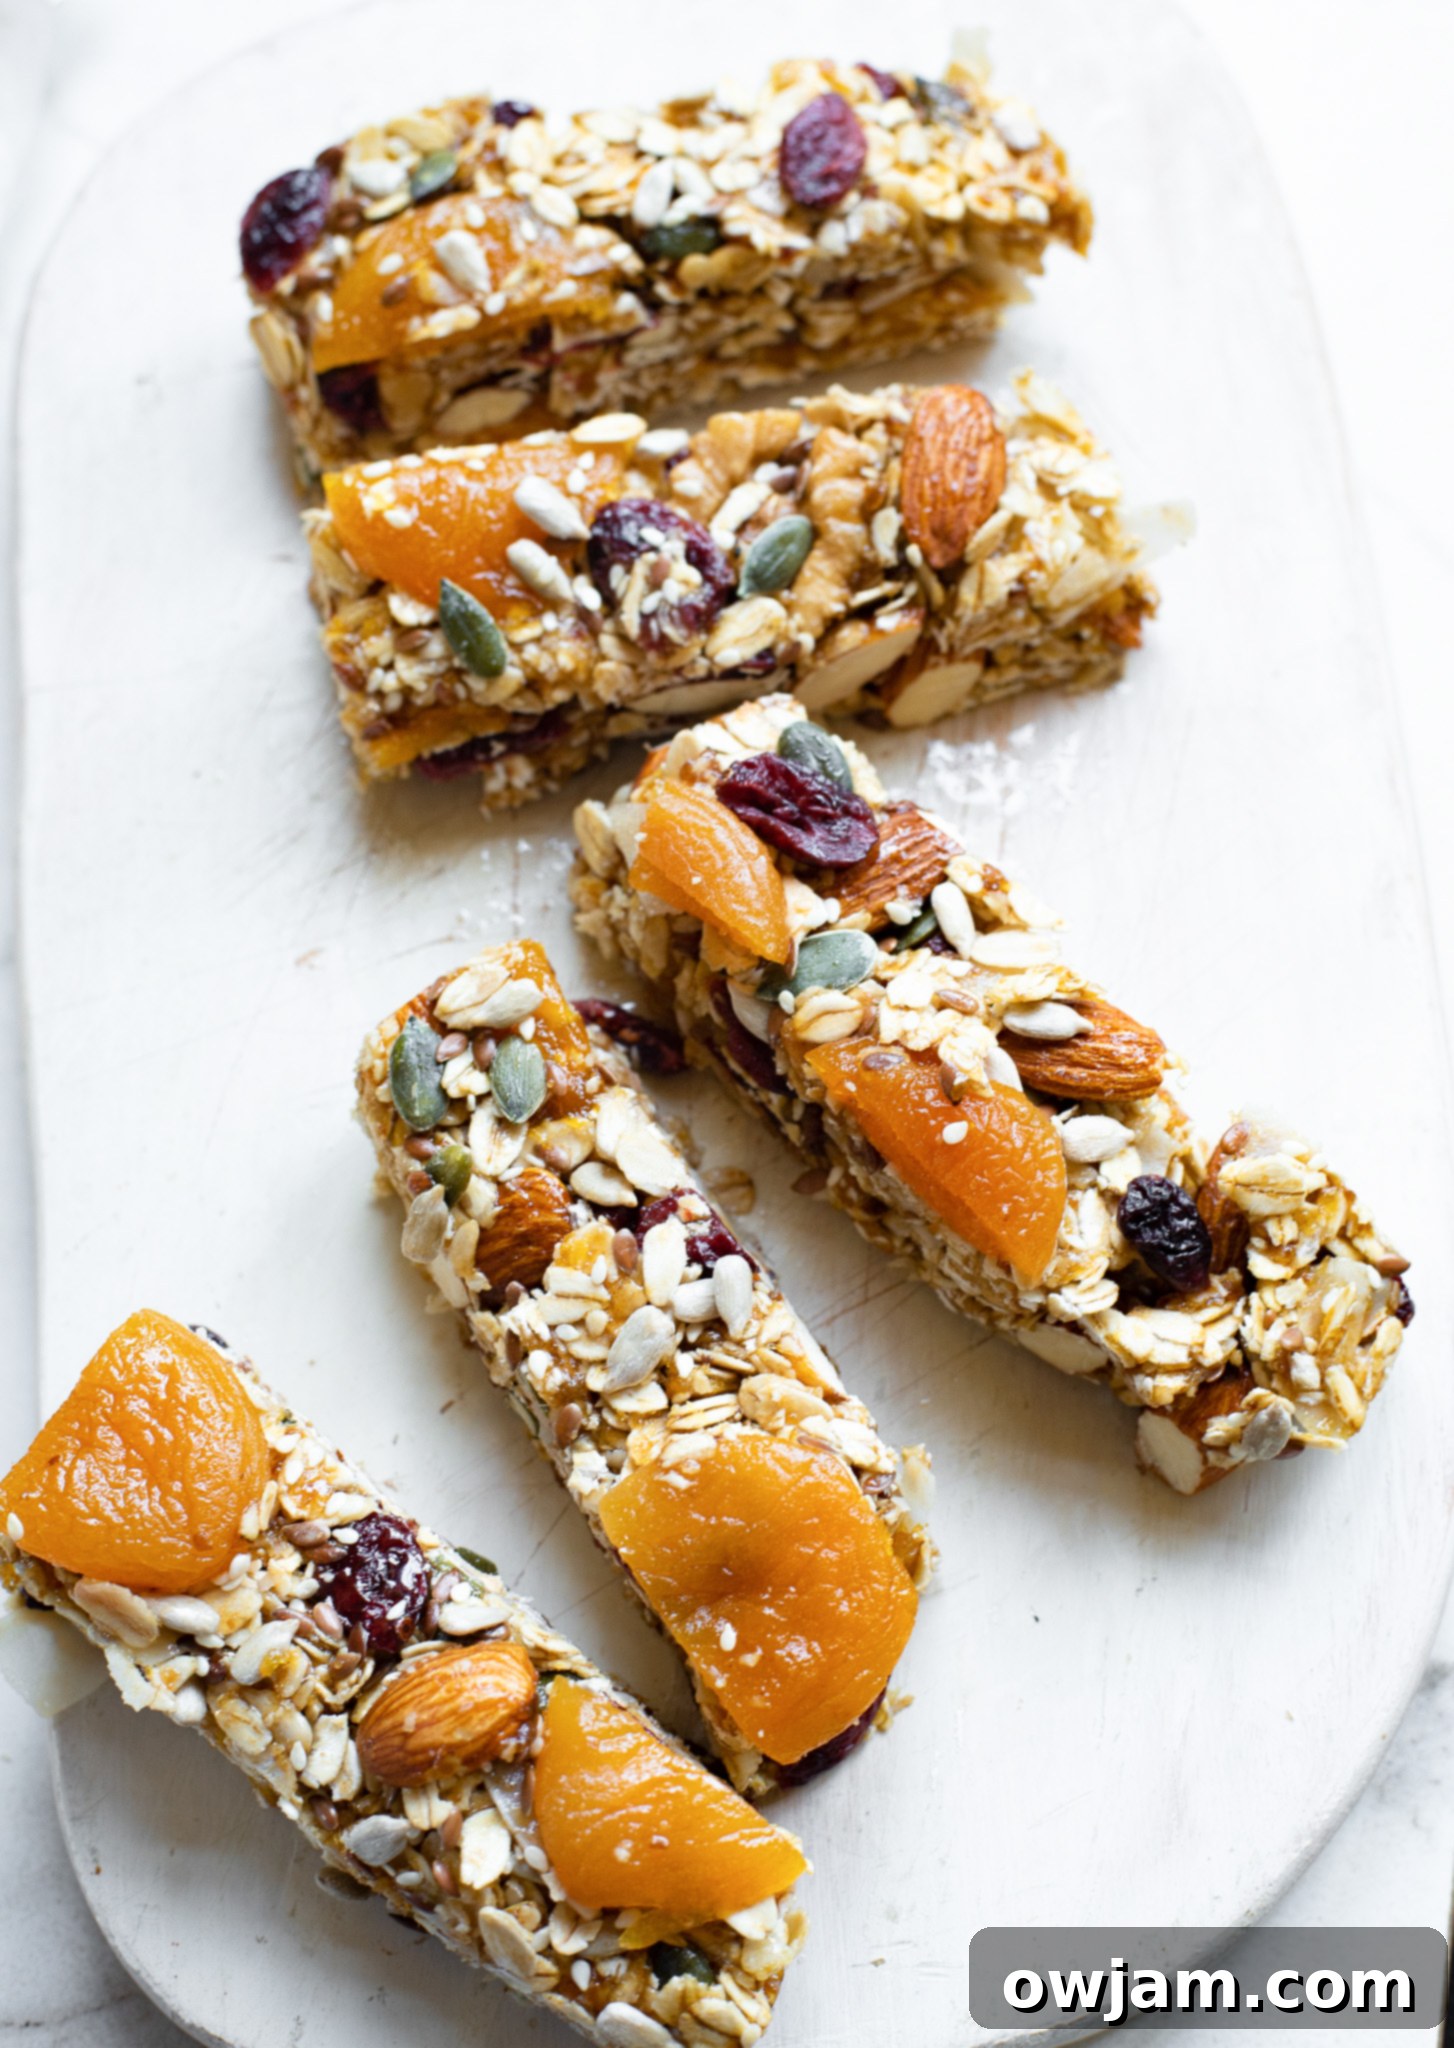
How to Effortlessly Make No-Bake Date Granola Bars
Making these homemade no-bake granola bars is incredibly straightforward and quick. Follow these simple steps to create a batch of wholesome snacks in no time:
Step 1: Prepare Your Baking Pan
Start by lining an 8×8 inch baking pan with parchment paper. Ensure the paper covers both the bottom and extends up the sides of the pan, creating “handles” that will make it easy to lift the set bars out later. Lightly spray the parchment paper with baking oil to prevent any sticking. This step is crucial for easy removal of your finished granola bars.
Step 2: Create the Sticky Base
In a microwave-safe bowl, combine your date paste and honey (or maple syrup). Heat this mixture on a low-to-medium setting in the microwave for a few seconds – just enough to make it warm and more pliable. This gentle warming helps the date paste soften and integrate better with the other ingredients. Once warmed, remove the bowl and stir in the melted coconut oil and vanilla extract until everything is well combined and forms a smooth, sticky paste. This mixture will be the “glue” for your granola bars.
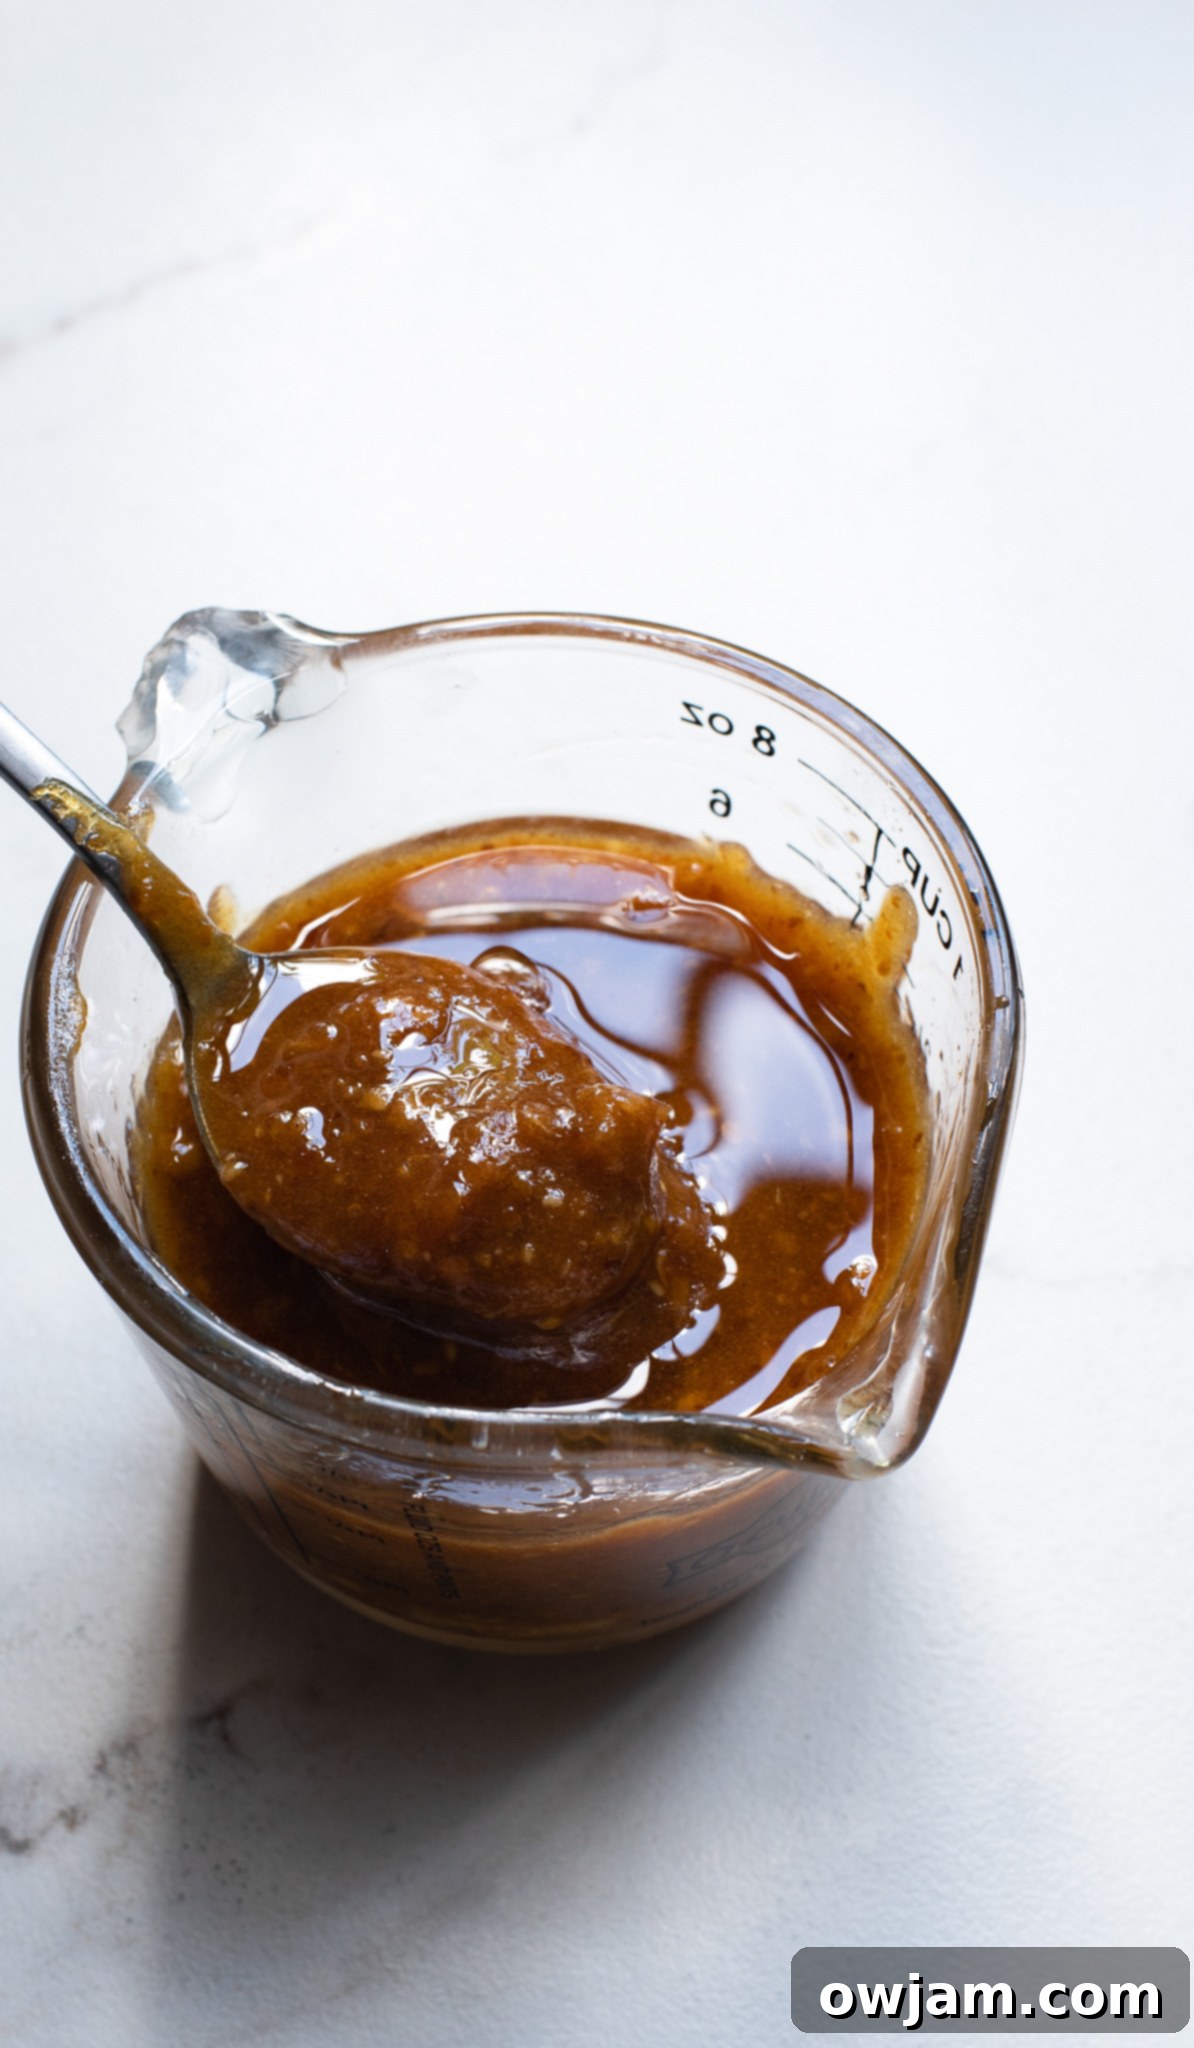
Step 3: Combine the Dry Ingredients
In a large mixing bowl, thoroughly combine all your dry ingredients: the rolled oats, chopped dried apricots, mixed nuts, coconut chips, dried cranberries, and mixed seeds, along with a pinch of salt. Ensure these ingredients are evenly distributed before adding the wet mixture. This step prepares the foundation for your granola bars, providing all the flavor and texture components.
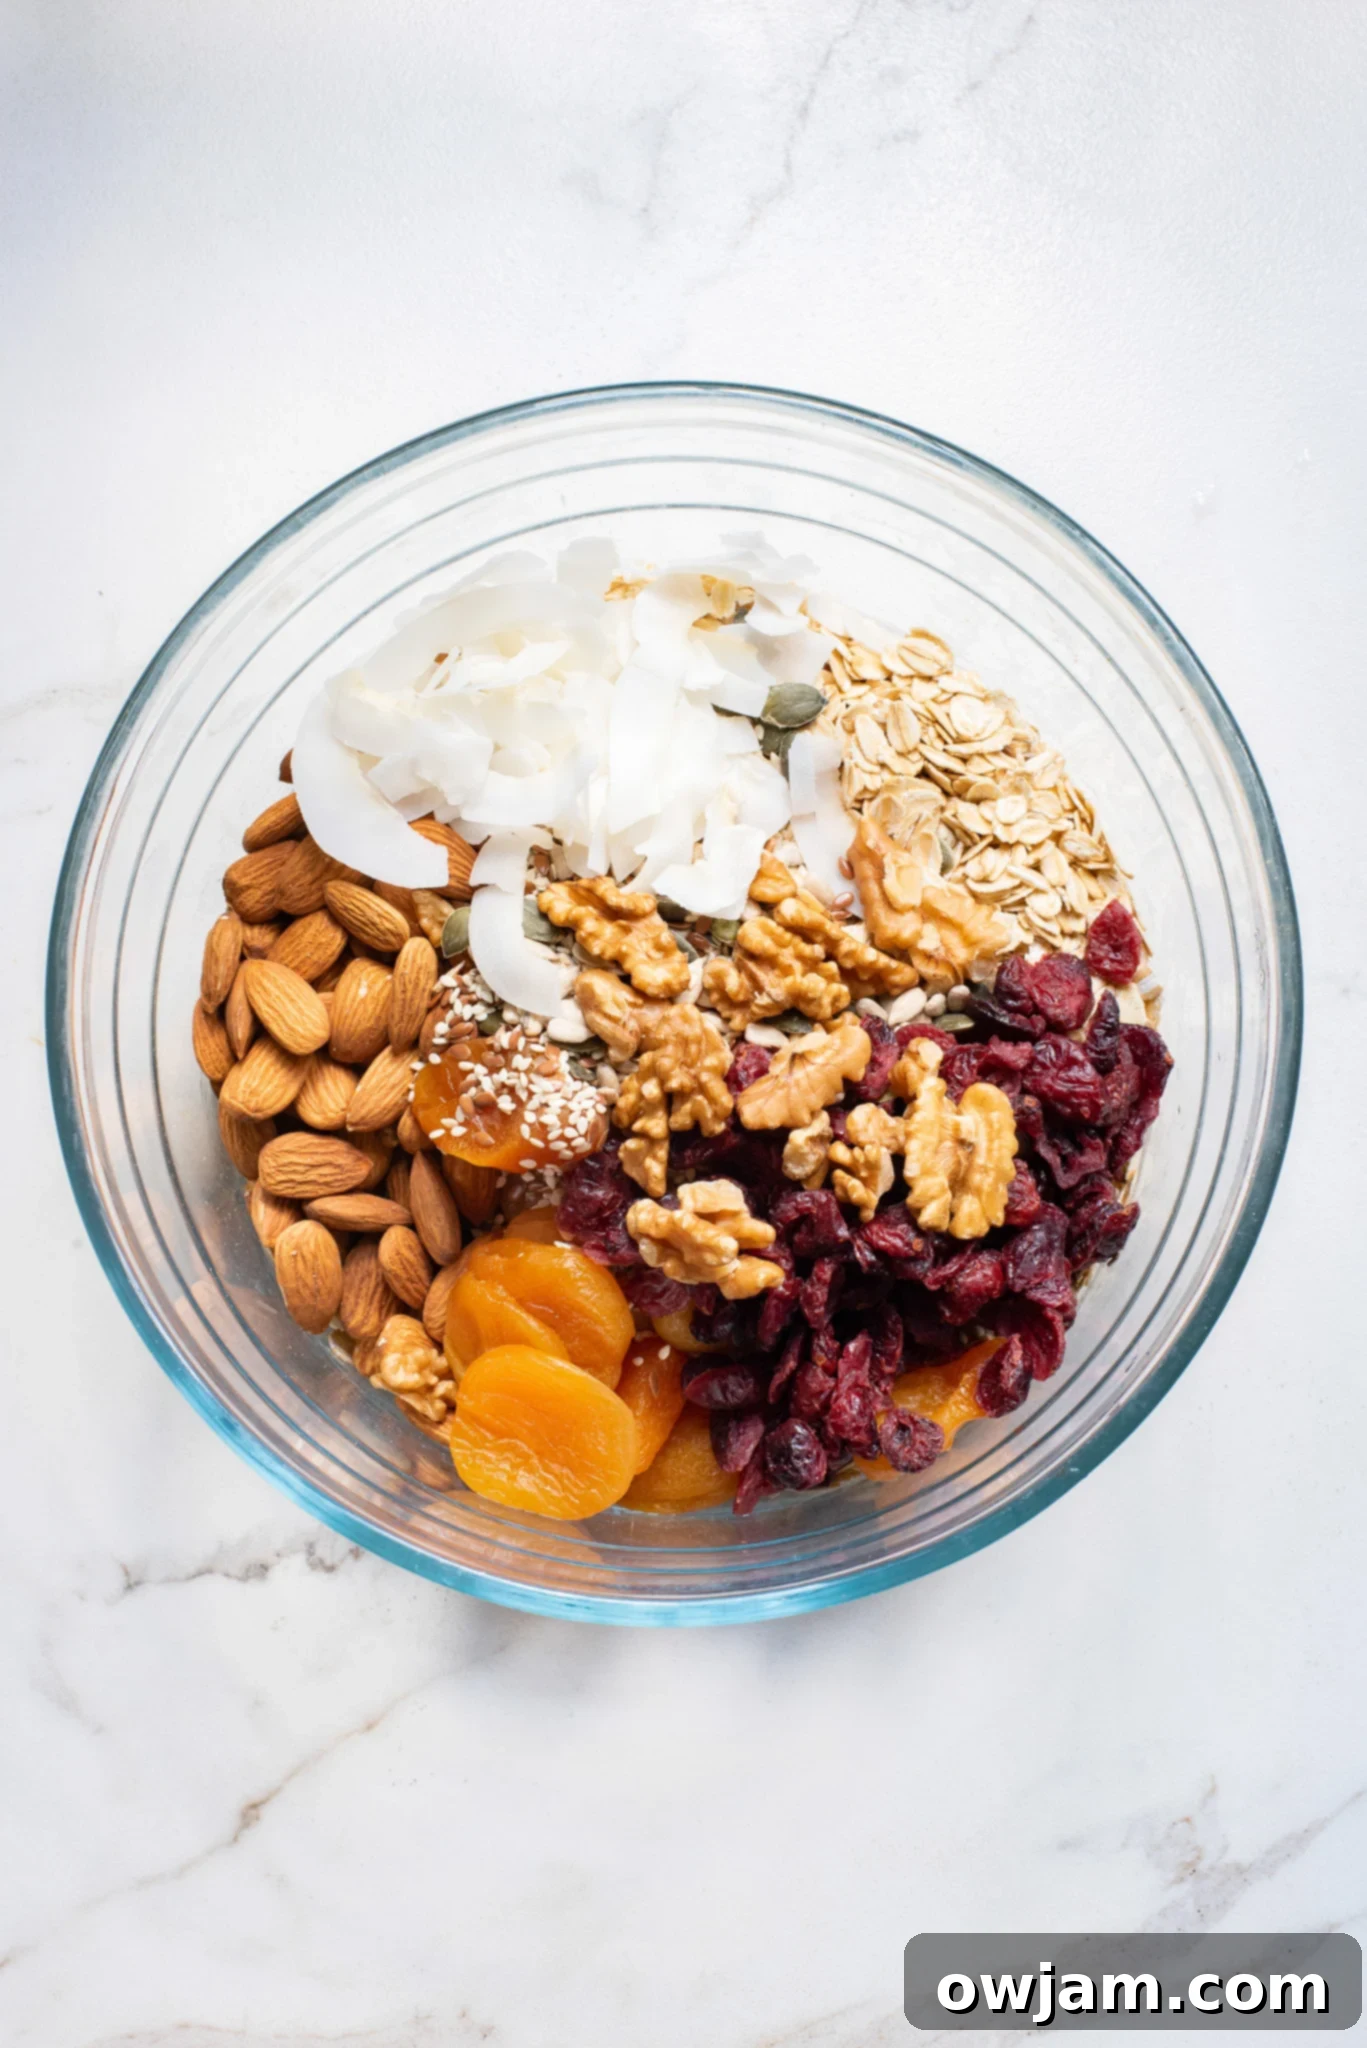
Step 4: Incorporate Wet into Dry Ingredients
Pour the warm, sticky date mixture from Step 2 directly into the large mixing bowl containing all the dry ingredients. Using a sturdy spatula, mix everything together thoroughly. It’s important to ensure that every oat flake, dried fruit piece, nut, and seed is well coated and moistened by the date mixture. This ensures your bars will hold together beautifully once set. Continue mixing until there are no dry spots visible.
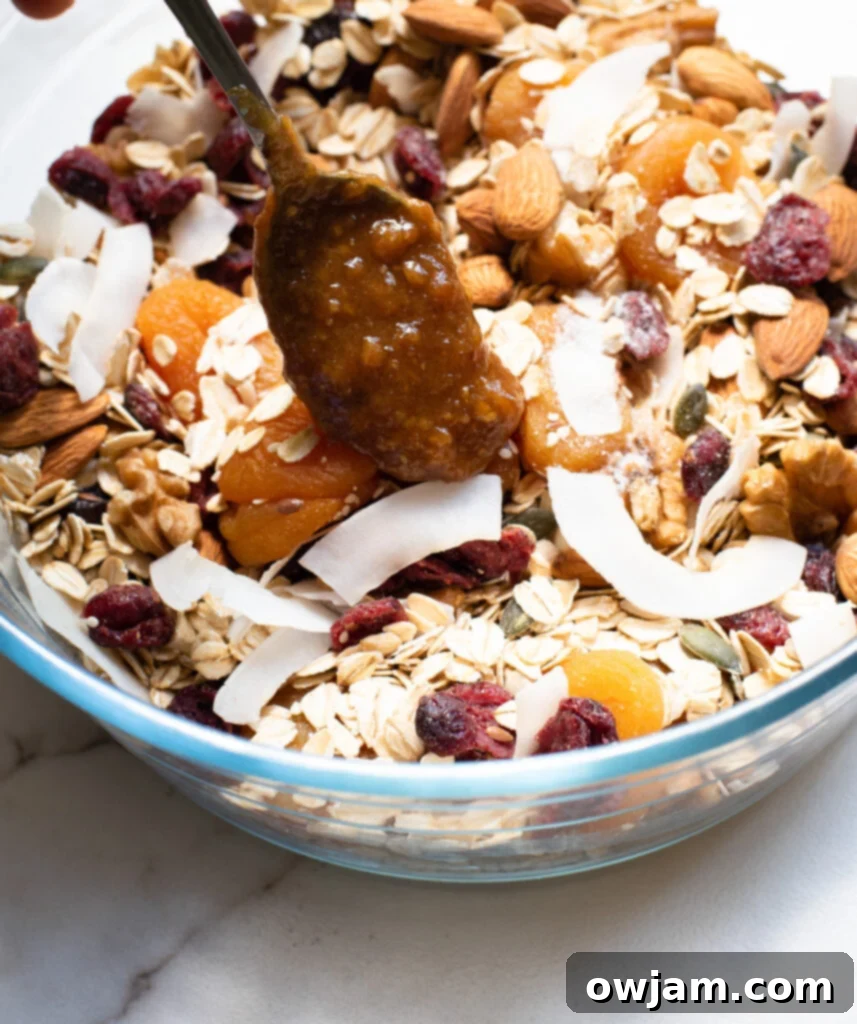
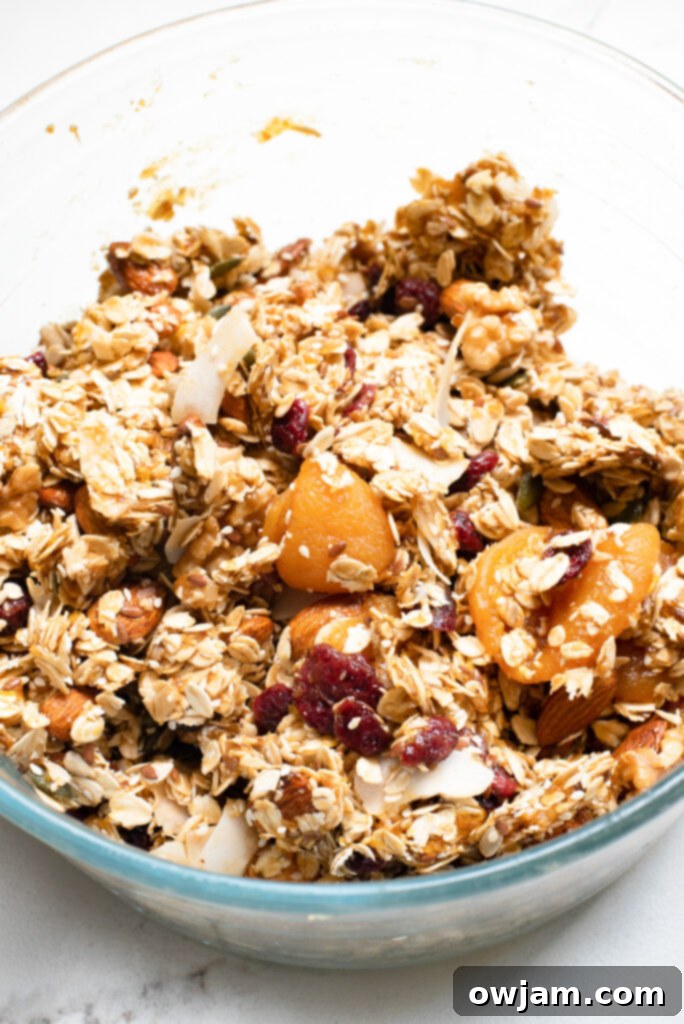
Step 5: Press and Chill to Set the Granola Bars
Transfer the well-mixed granola bar mixture into the baking pan you prepared earlier. Using your spatula or the bottom of a measuring cup, press the mixture down firmly and evenly into a compact layer. The tighter you pack it, the better your bars will hold their shape. Once pressed, place the pan in the refrigerator to set. Allow at least 2 hours, or ideally, leave them overnight, to ensure they become firm and perfectly sliceable. Patience here is key to preventing crumbling!
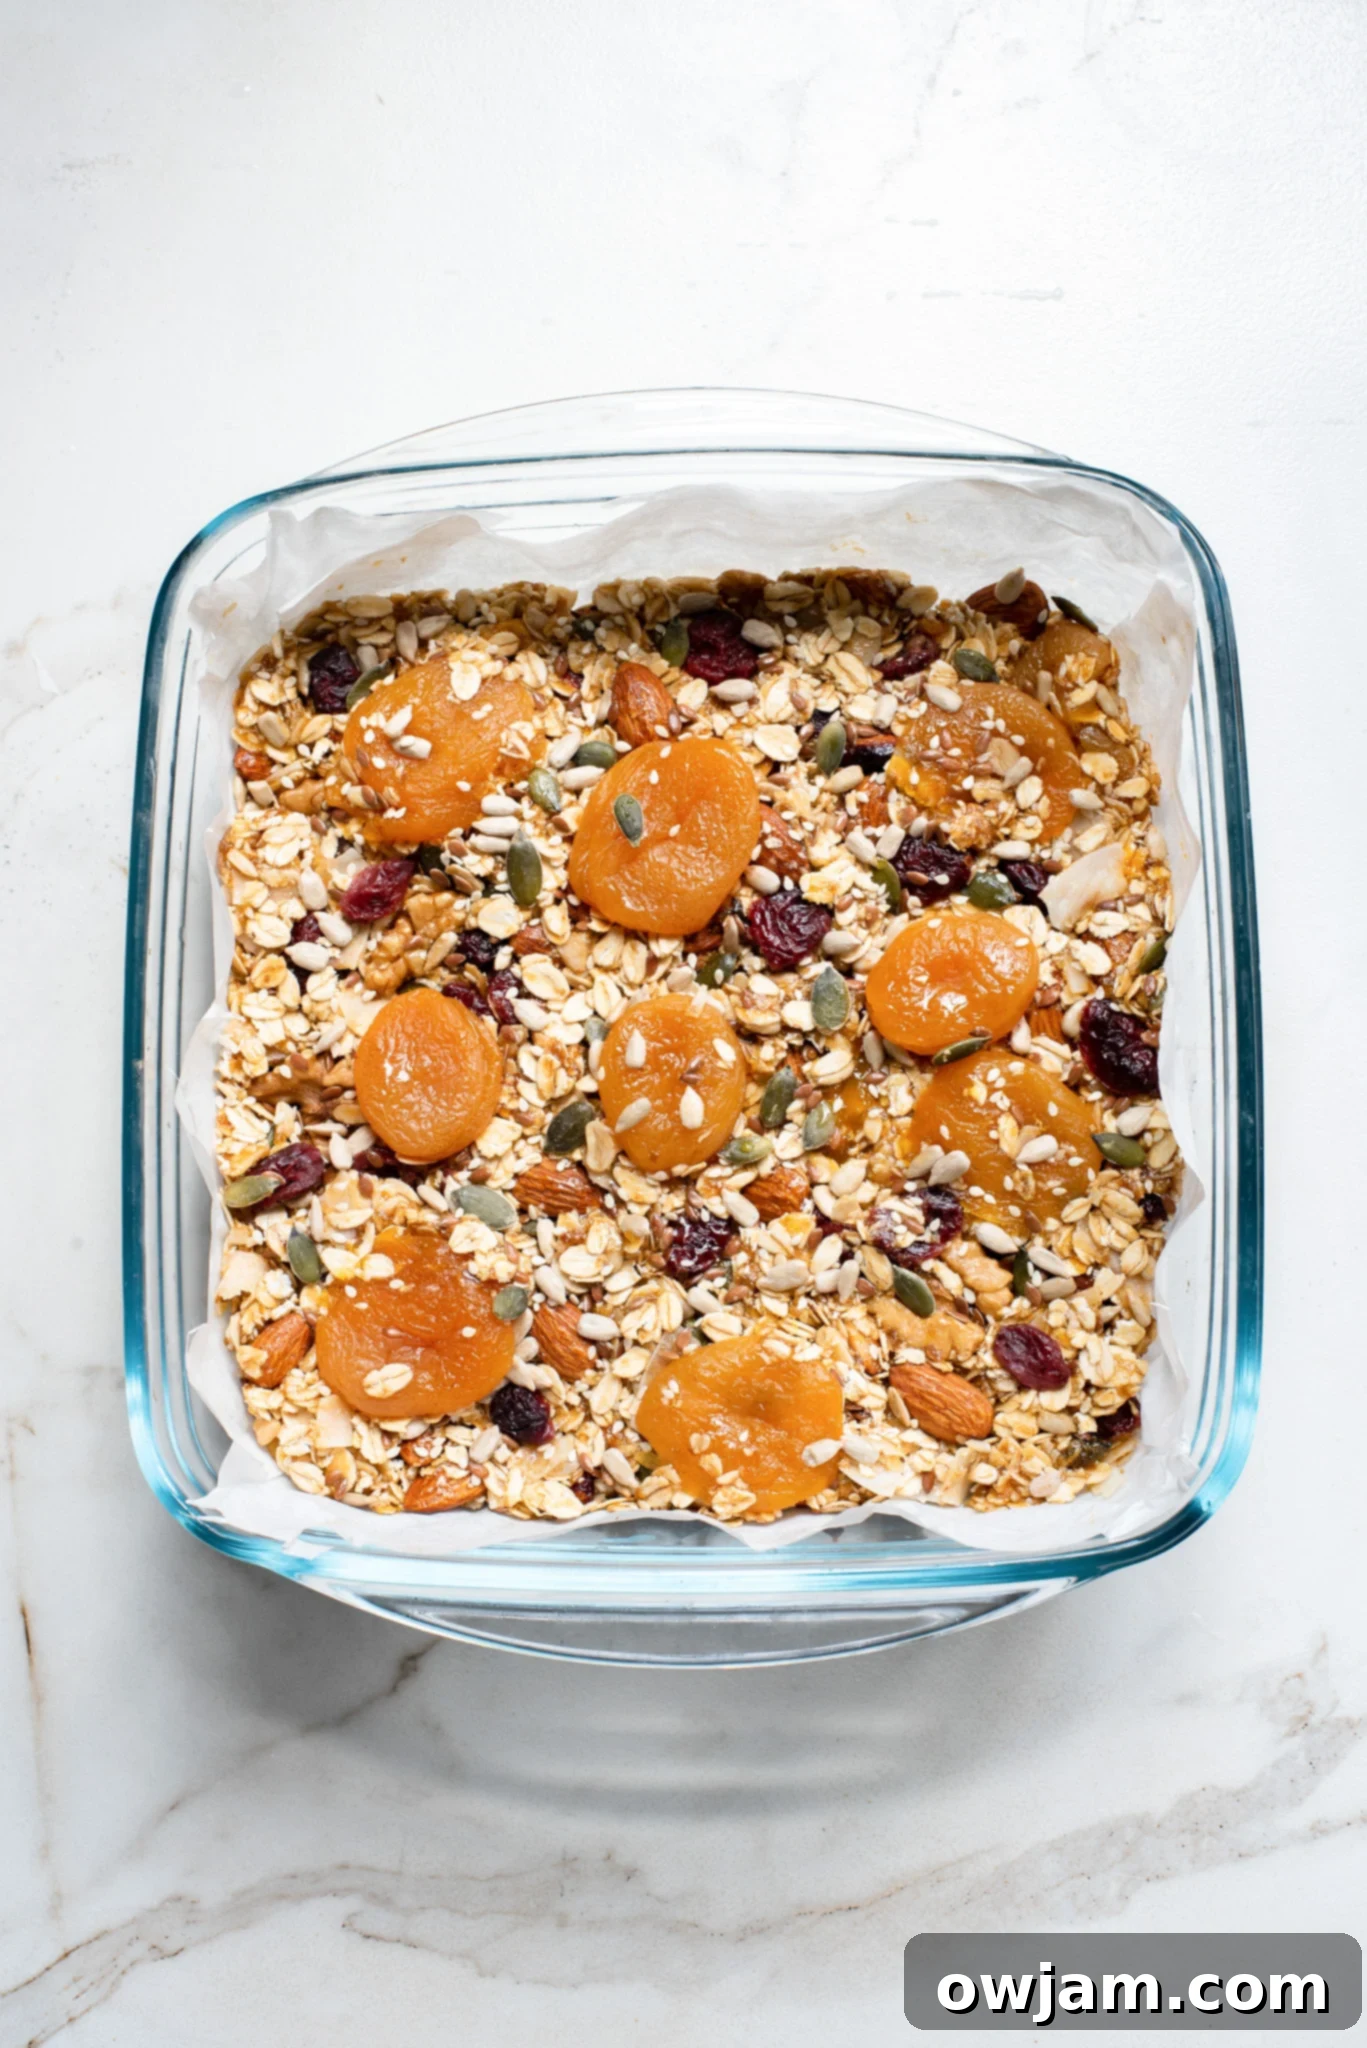
Step 6: Slice and Store Your Granola Bars
Once fully set, remove the baking pan from the refrigerator. Using the parchment paper handles, carefully lift the entire block of granola mixture out of the pan. Place it on a cutting board. With a sharp knife, cut the mixture into 12 evenly sized bars. For clean edges, wipe your knife between cuts if it becomes sticky. Store these homemade granola bars in an airtight container in the refrigerator for up to 1 month, or individually wrap them and freeze for up to 2 months for longer preservation. This ensures you always have a healthy snack ready when hunger strikes!
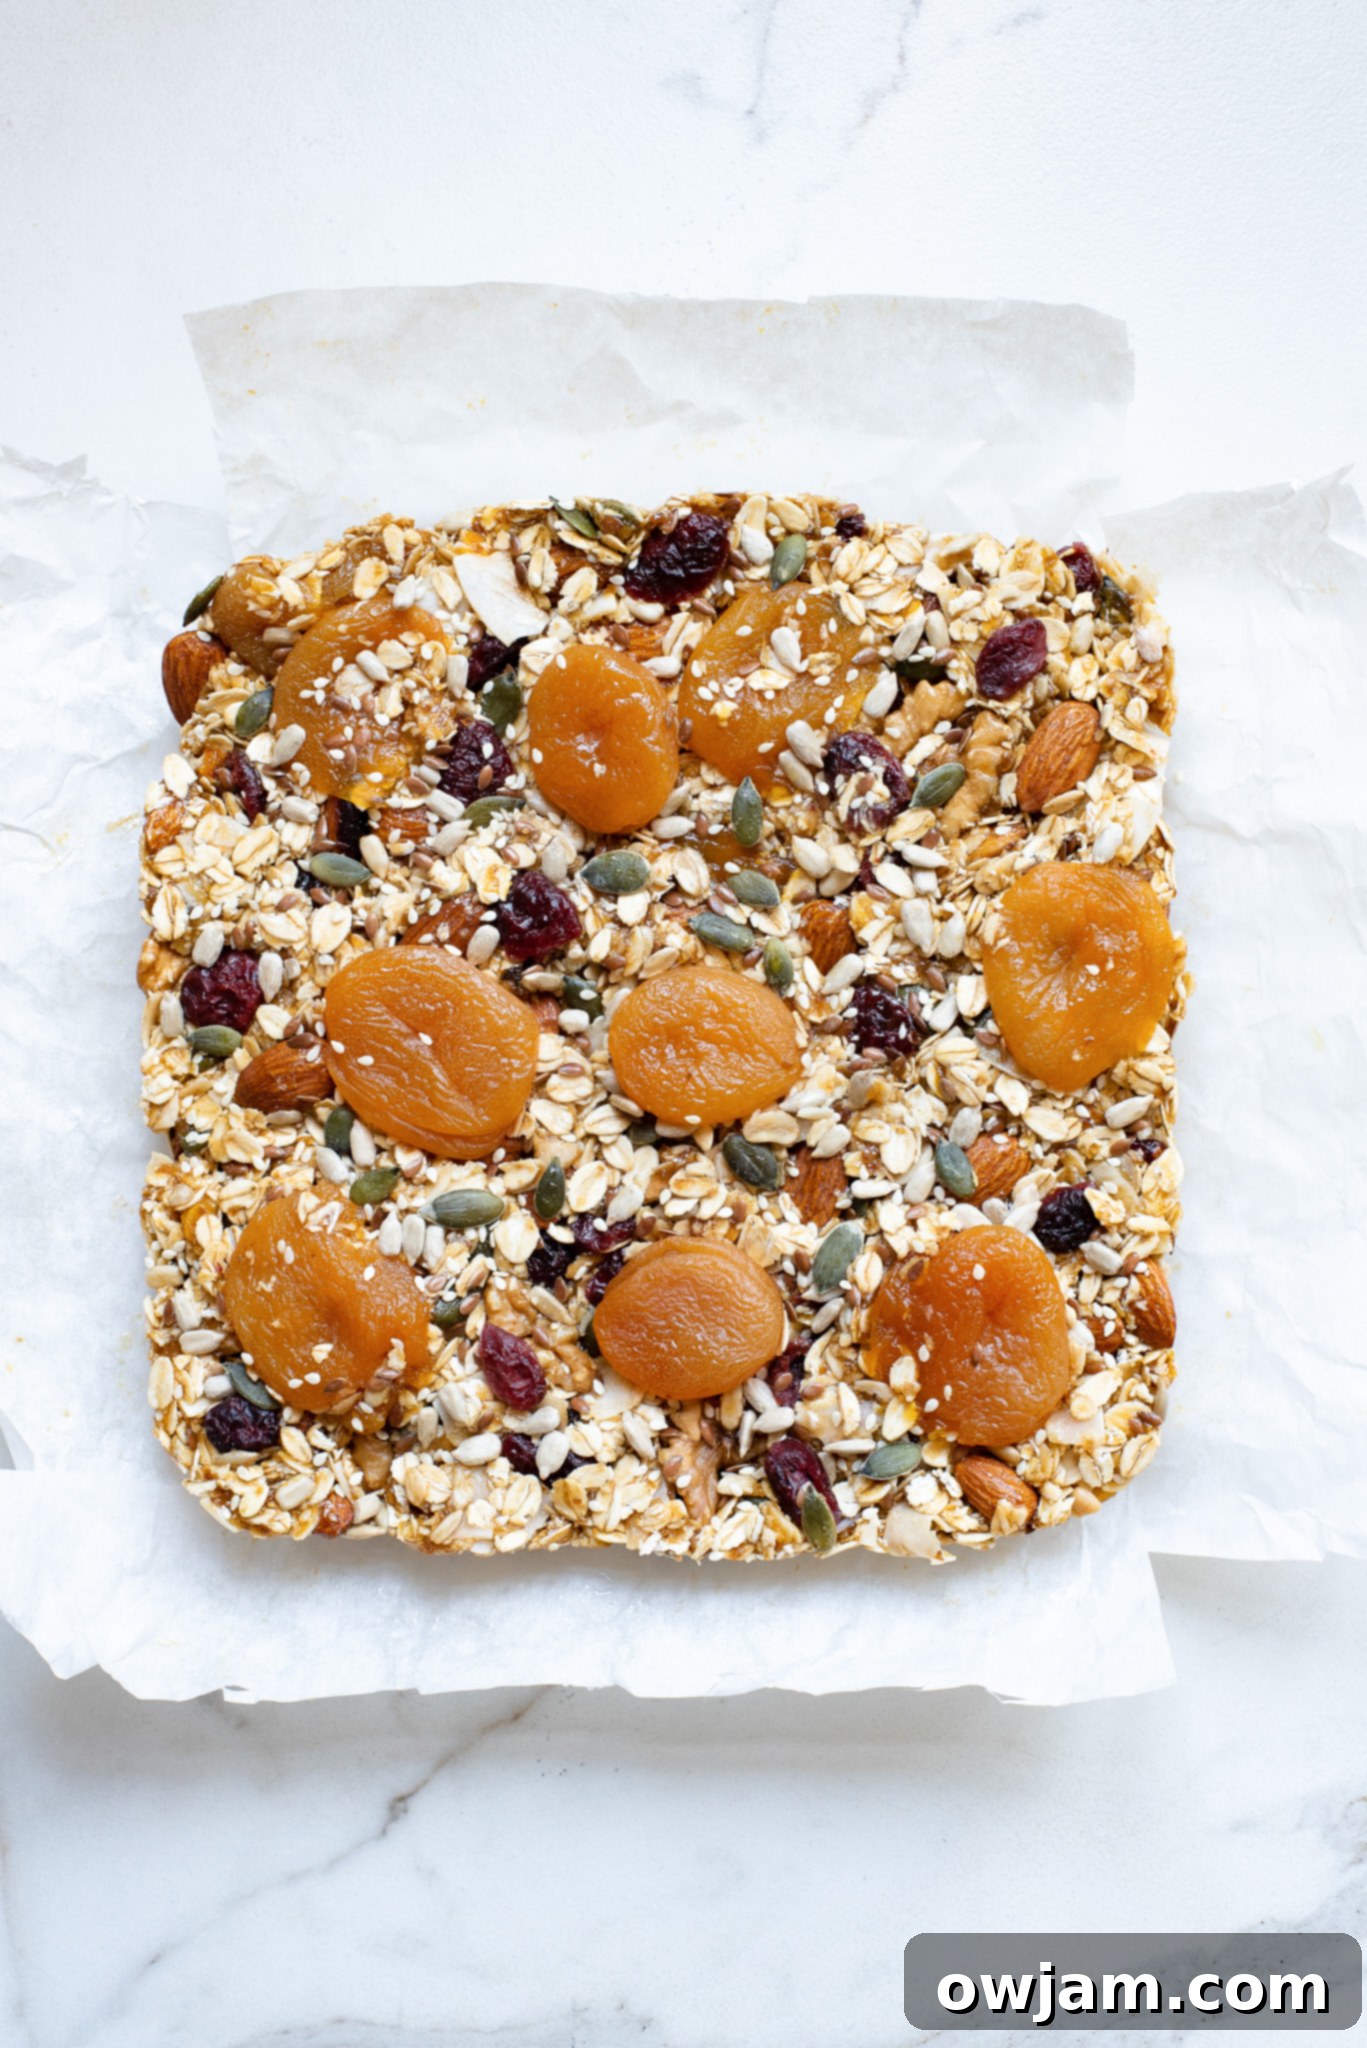
Creative Recipe Modifications and Add-ins
One of the best aspects of making your own granola bars is the freedom to customize! Here are some fantastic ways to modify this recipe to suit your taste preferences or what you have on hand:
- Swap the Dried Fruits: While I love dried apricots and cranberries, feel free to experiment! You can substitute them with any of your favorite dried fruits. Consider chopped dried mango, papaya, figs, cherries, blueberries, or golden raisins. Each will impart a unique flavor and texture. Ensure fruits are chopped into small, bite-sized pieces for even distribution.
- Add Any Combination of Nuts: The mixed nuts add a wonderful crunch and healthy fats. Don’t limit yourself to just one type! Great options include hazelnuts, almonds, pecans, cashews, pistachios, or walnuts. You can use a single type or create your own custom blend. Lightly toasting them before adding can also enhance their flavor.
- Add Any Combination of Seeds: Boost the nutritional profile with various seeds. My favorite blend often includes sunflower seeds, chia seeds, pumpkin seeds, and flaxseeds. Other excellent choices are sesame seeds or hemp seeds. Seeds add healthy fats, fiber, and an extra layer of crunch.
- Try Adding Spice: For a touch of warmth and aromatic depth, consider adding ground spices to your dry ingredients. A teaspoon of ground cinnamon, a half teaspoon of nutmeg, or even a blend of pumpkin pie spice would be delightful, especially during the cooler months.
- Chocolate Lovers Rejoice: For an indulgent twist, fold in 1/2 cup of mini chocolate chips (dark, milk, or white) along with your dry ingredients. They add a lovely burst of sweetness and melt-in-your-mouth texture.
- Protein Boost: Enhance the protein content by mixing in 1-2 scoops of your favorite protein powder (vanilla or unflavored work best) with the dry ingredients. You might need to add a touch more liquid (honey or coconut oil) if the mixture becomes too dry.
- Citrus Zest: A teaspoon of finely grated orange or lemon zest can add a bright, fresh note that beautifully complements the sweetness of the dates and dried fruits. Add it along with the vanilla extract.
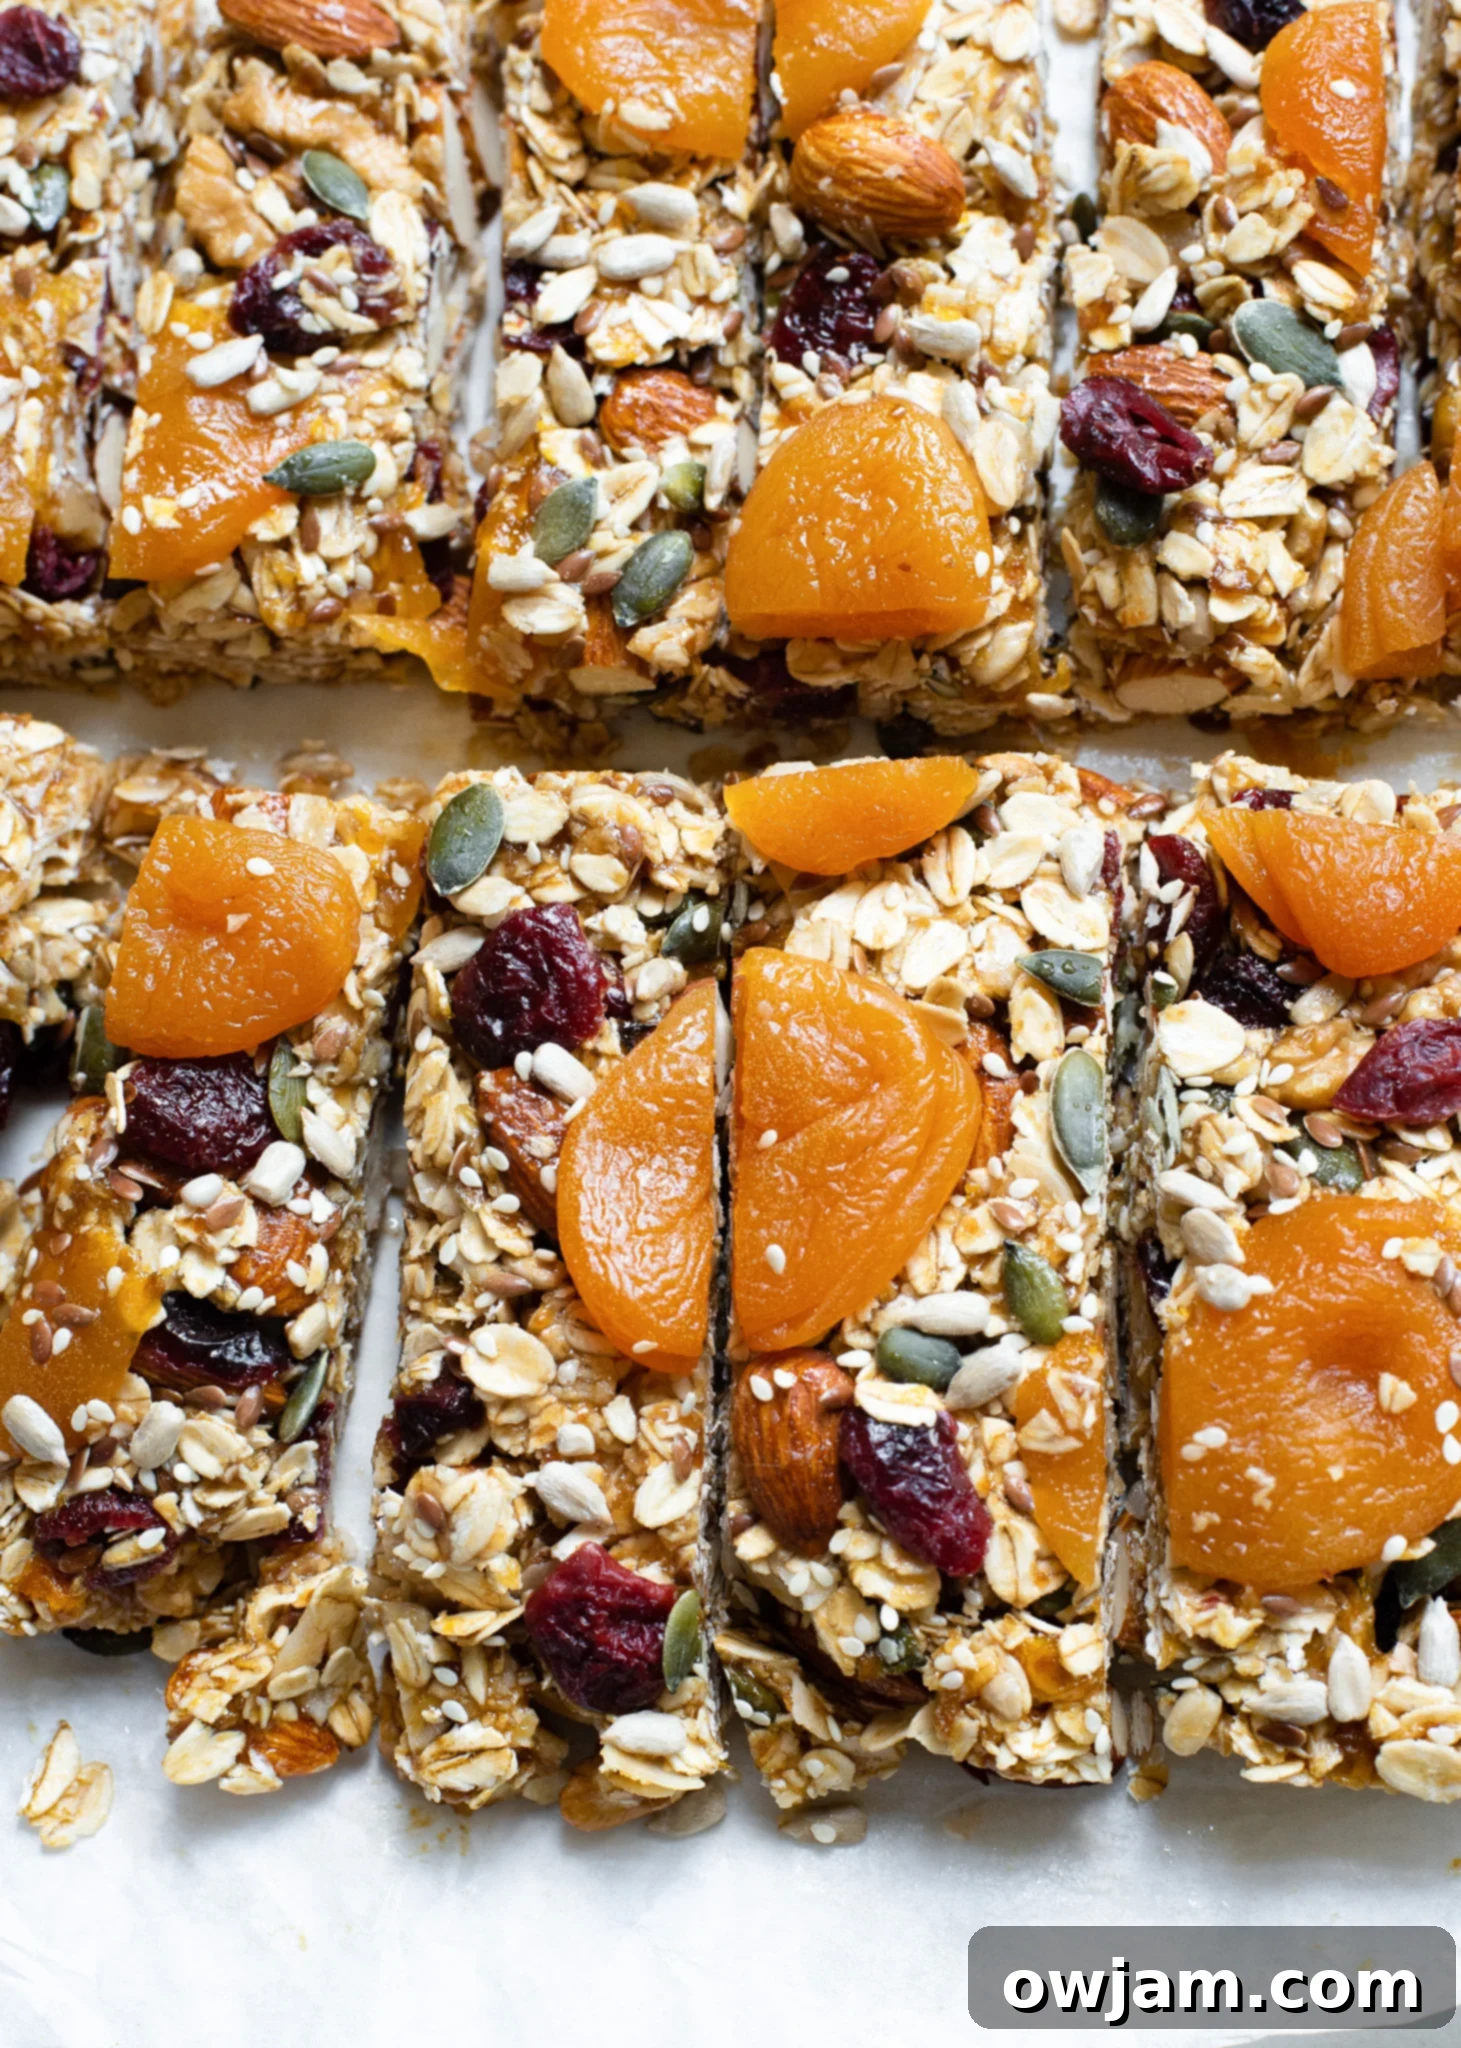
Storage Tips for Maximum Freshness and Convenience
Proper storage is key to enjoying your homemade Easy Date Granola Bars for as long as possible. Here’s how to keep them fresh and ready for snacking:
- Refrigeration: Store these bars in an airtight container in the fridge for up to a week. The cool temperature helps maintain their firm texture and prevents them from becoming too soft.
- Freezing: For longer storage, these granola bars freeze beautifully! Individually wrap each bar in plastic wrap or parchment paper, then place them in a freezer-safe bag or container. They can be frozen for up to two months. This is perfect for batch prepping and ensures you always have a healthy snack on hand.
- Thawing & Serving: When you’re ready to enjoy a frozen bar, simply remove it from the freezer about 30 minutes before you plan to eat it. It will thaw quickly at room temperature and be ready to enjoy. For an even quicker thaw, you can microwave a frozen bar for about 10-15 seconds.
- Individual Wrapping: For ultimate grab-and-go convenience, wrap each bar individually after cutting. This makes them easy to pack in lunchboxes, toss in a gym bag, or take on road trips without them sticking together.
Frequently Asked Questions About Easy Date Granola Bars
The most common reason for granola bars not setting is insufficient chilling time or not pressing them firmly enough into the pan. Make sure to place the bars into the refrigerator for at least 2 hours, but preferably overnight. Do not be tempted to cut them before they are fully firm, or you risk the bars falling apart. To truly ensure they stick, you’ll want to pack the mixture tightly into the lined baking dish or tray. Use a spatula, the back of a measuring cup, or even your hands (lightly greased) to compress the mixture as much as possible. A well-compressed mixture is crucial for firm bars. Also, ensure your sticky ingredients (date paste, honey, coconut oil) were warm enough when mixed and thoroughly combined with the dry ingredients to create a cohesive bond.
The magic behind these no-bake granola bars lies in the synergistic combination of date paste, honey (or maple syrup), and melted coconut oil. Date paste acts as a robust natural adhesive, while honey and coconut oil further enhance this binding power. When these ingredients are warmed and thoroughly mixed with the dry components, they create a sticky matrix that, once chilled in the refrigerator, solidifies to form firm, sliceable bars. If you’re having trouble finding date paste, you can purchase it online or easily make your own here. As a substitution, 1/2 cup of honey can replace approximately 2/3 cup of date paste, but note this may slightly alter the flavor and stickiness, so adjust as needed.
Date paste is a thick, pureed form of dates, essentially dates blended with a small amount of water until smooth. It retains all the fiber and nutrients of the whole fruit, giving it a rich texture and concentrated flavor. Date syrup, on the other hand, is thinner, more liquid, and often more concentrated in sugar, as it’s the extracted liquid from dates without the pulp. While date syrup can add sweetness, it won’t provide the same binding consistency as date paste due to its thinner nature. For these no-bake bars, date paste is preferred for its superior binding properties. If you only have syrup, you might need to increase the amount of dry ingredients or add an extra binding agent like nut butter to achieve the desired firmness.
Date paste is a natural, unrefined sweetener made by simply blending pitted dates with a small amount of water until a thick, smooth paste forms. It’s an excellent healthy substitute for white sugar and other refined sweeteners, offering natural sweetness along with the added benefits of fiber, potassium, and antioxidants found in whole dates. In this recipe, date paste is crucial because it provides both the primary sweetness and acts as a powerful natural binder, holding all the oats, nuts, and fruits together without the need for baking or additional processed ingredients. It contributes to the chewy texture and rich flavor of the granola bars.
Absolutely! To make these Easy Date Granola Bars vegan, simply substitute the honey with an equal amount of maple syrup or agave nectar. Both maple syrup and agave nectar are plant-based sweeteners that will provide the necessary sweetness and binding properties while keeping the recipe entirely free of animal products. The rest of the ingredients are naturally vegan-friendly, ensuring a delicious and wholesome vegan snack.
Yes, these granola bars can easily be made gluten-free! The only ingredient you need to pay close attention to is the oats. While oats are naturally gluten-free, they can sometimes be cross-contaminated during processing with gluten-containing grains. To ensure your granola bars are genuinely gluten-free, always use certified gluten-free rolled oats. All other ingredients in this recipe (dates, dried fruits, nuts, seeds, coconut oil, vanilla, honey/maple syrup, salt) are naturally gluten-free.
More Healthy Snack Recipes You’ll Love
snack
Frozen Yogurt Granola Bites
Vegetarian
Frozen Greek Yogurt Fruit Bites
Vegetarian
Frozen Chocolate Coconut Banana Bites
snack
Cranberry Almond Energy Bites
If you try it, please leave me a star rating and comment below, and follow me on Instagram @acedarspoon for more delicious recipes!
Tried this recipe? Leave a star rating and comment below! Subscribe to my newsletter or follow me on
Facebook,
Instagram, or
Pinterest for the latest.
Date Granola Bars
Julia Jolliff
5 minutes
3 hours
3 hours
5 minutes
12
granola bars
Saved
Pin
Ingredients
-
1/4 cup date paste
-
1/2 cup honey or maple syrup
-
1 tablespoon coconut oil, melted
-
1 teaspoon vanilla extract
-
2 cups oats
-
1/2 cup apricots
-
2 cups mixed nuts, almond, cashews, hazelnuts
-
1/2 cup dried coconut chips
-
½ cup dried cranberries
-
1/4 cup mixed seeds, sunflower seeds, chia seeds, pumpkin seeds, flaxseeds
-
1/4 teaspoon salt
Instructions
-
Line an 8×8 baking pan with parchment paper covering the bottom and around the edges. Spray baking oil on the paper.
-
Add date paste and honey (or maple syrup) to a microwave-safe bowl. Melt on low/medium heat for a few seconds until warm and pliable. Remove and stir in the melted coconut oil and vanilla extract until smooth.
-
In a large mixing bowl, thoroughly combine the oats, apricots, mixed nuts, coconut chips, cranberries, mixed seeds, and salt.
-
Pour the warm date mixture into the bowl with the dry ingredients. Mix vigorously with a spatula, ensuring everything is moistened and well combined. Continue until no dry spots remain.
-
Transfer the mixture into the prepared baking pan. Press it down firmly and evenly into a compact layer using the spatula or the back of a measuring cup.
-
Place the bars in the refrigerator to set. Leave for at least 3 hours or, for best results, overnight.
-
Remove the set mixture from the pan using the parchment paper handles and cut it into 12 even-sized bars with a sharp knife.
-
Store the finished bars in an airtight container in the refrigerator for up to a week, or individually wrap and freeze them for up to 2 months.
Notes
- The combination of date paste, along with the coconut oil and honey (or maple syrup), is crucial for binding these no-bake granola bars together, ensuring they stick and hold their shape once set in the refrigerator. If you can’t find date paste in your stores, you can buy it online or easily make your own here. If you prefer not to use date paste, you can substitute it with approximately 1/2 cup of honey or maple syrup for every 2/3 cup of date paste, though results may vary slightly in texture and sweetness.
- For optimal freshness, store these delicious date granola bars in an airtight container in the fridge for up to a week. For longer preservation, they can be frozen for up to two months. Simply remove them from the freezer about 30 minutes before you are ready to eat them to allow for thawing. For ultimate convenience, wrap each bar individually before freezing or refrigerating to make them perfect grab-and-go snacks.
Nutrition
Carbohydrates: 35g,
Protein: 7g,
Fat: 17g,
Saturated Fat: 4g,
Polyunsaturated Fat: 3g,
Monounsaturated Fat: 8g,
Sodium: 54mg,
Potassium: 251mg,
Fiber: 5g,
Sugar: 18g,
Vitamin A: 128IU,
Vitamin C: 1mg,
Calcium: 28mg,
Iron: 2mg
Nutrition information is automatically calculated, so should only be used as an approximation.
Tried this recipe?
Mention @acedarspoon or tag #acedarspoon!
