Mastering Homemade Beef Bone Broth: An Easy & Nutritious Recipe Guide
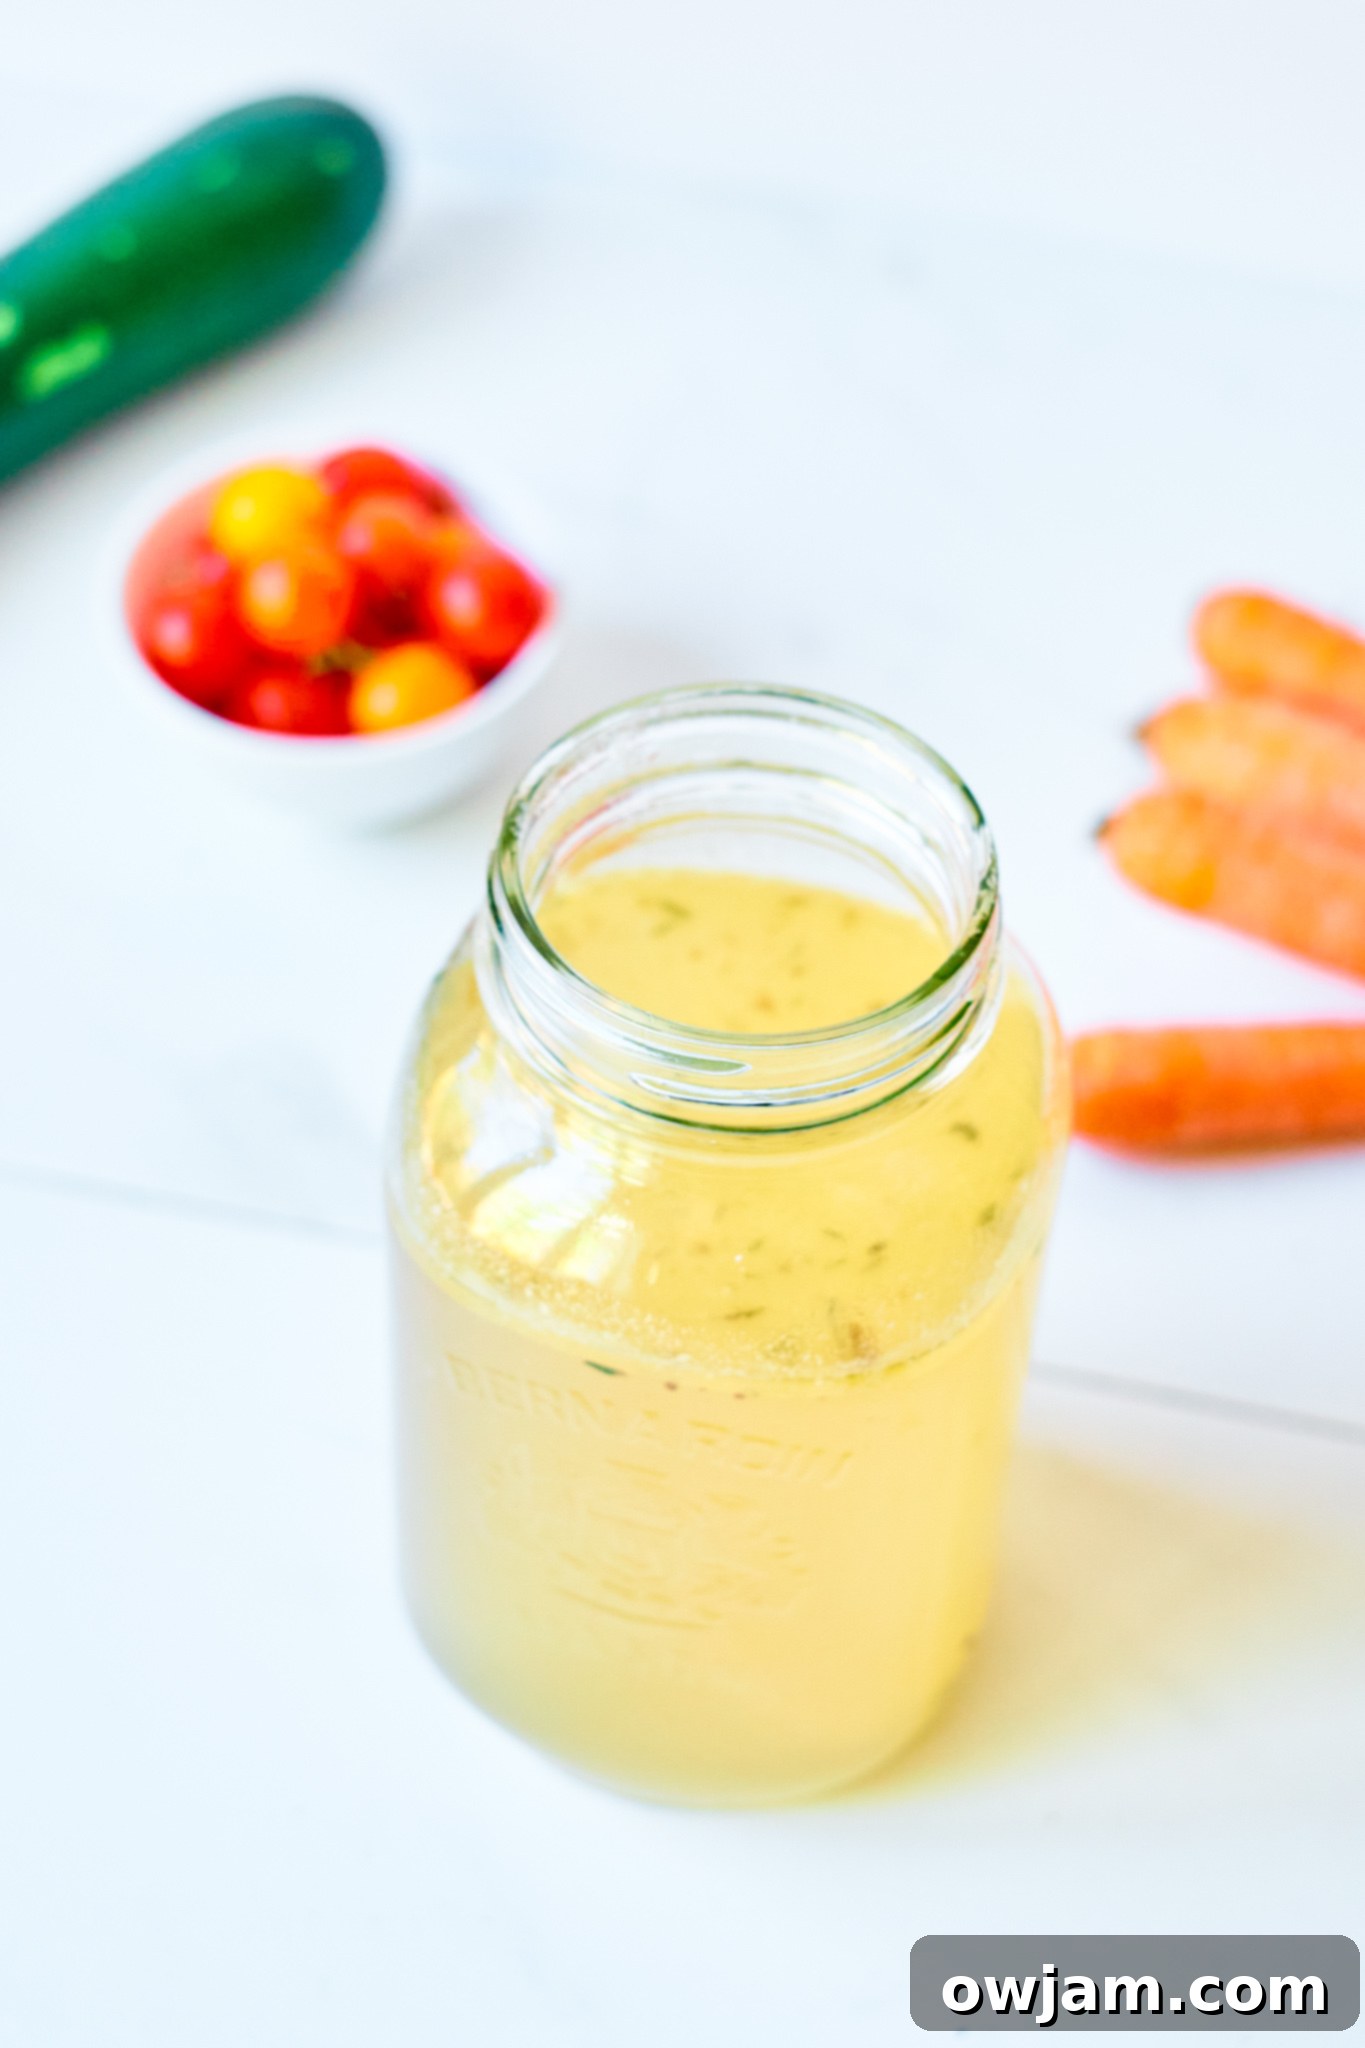
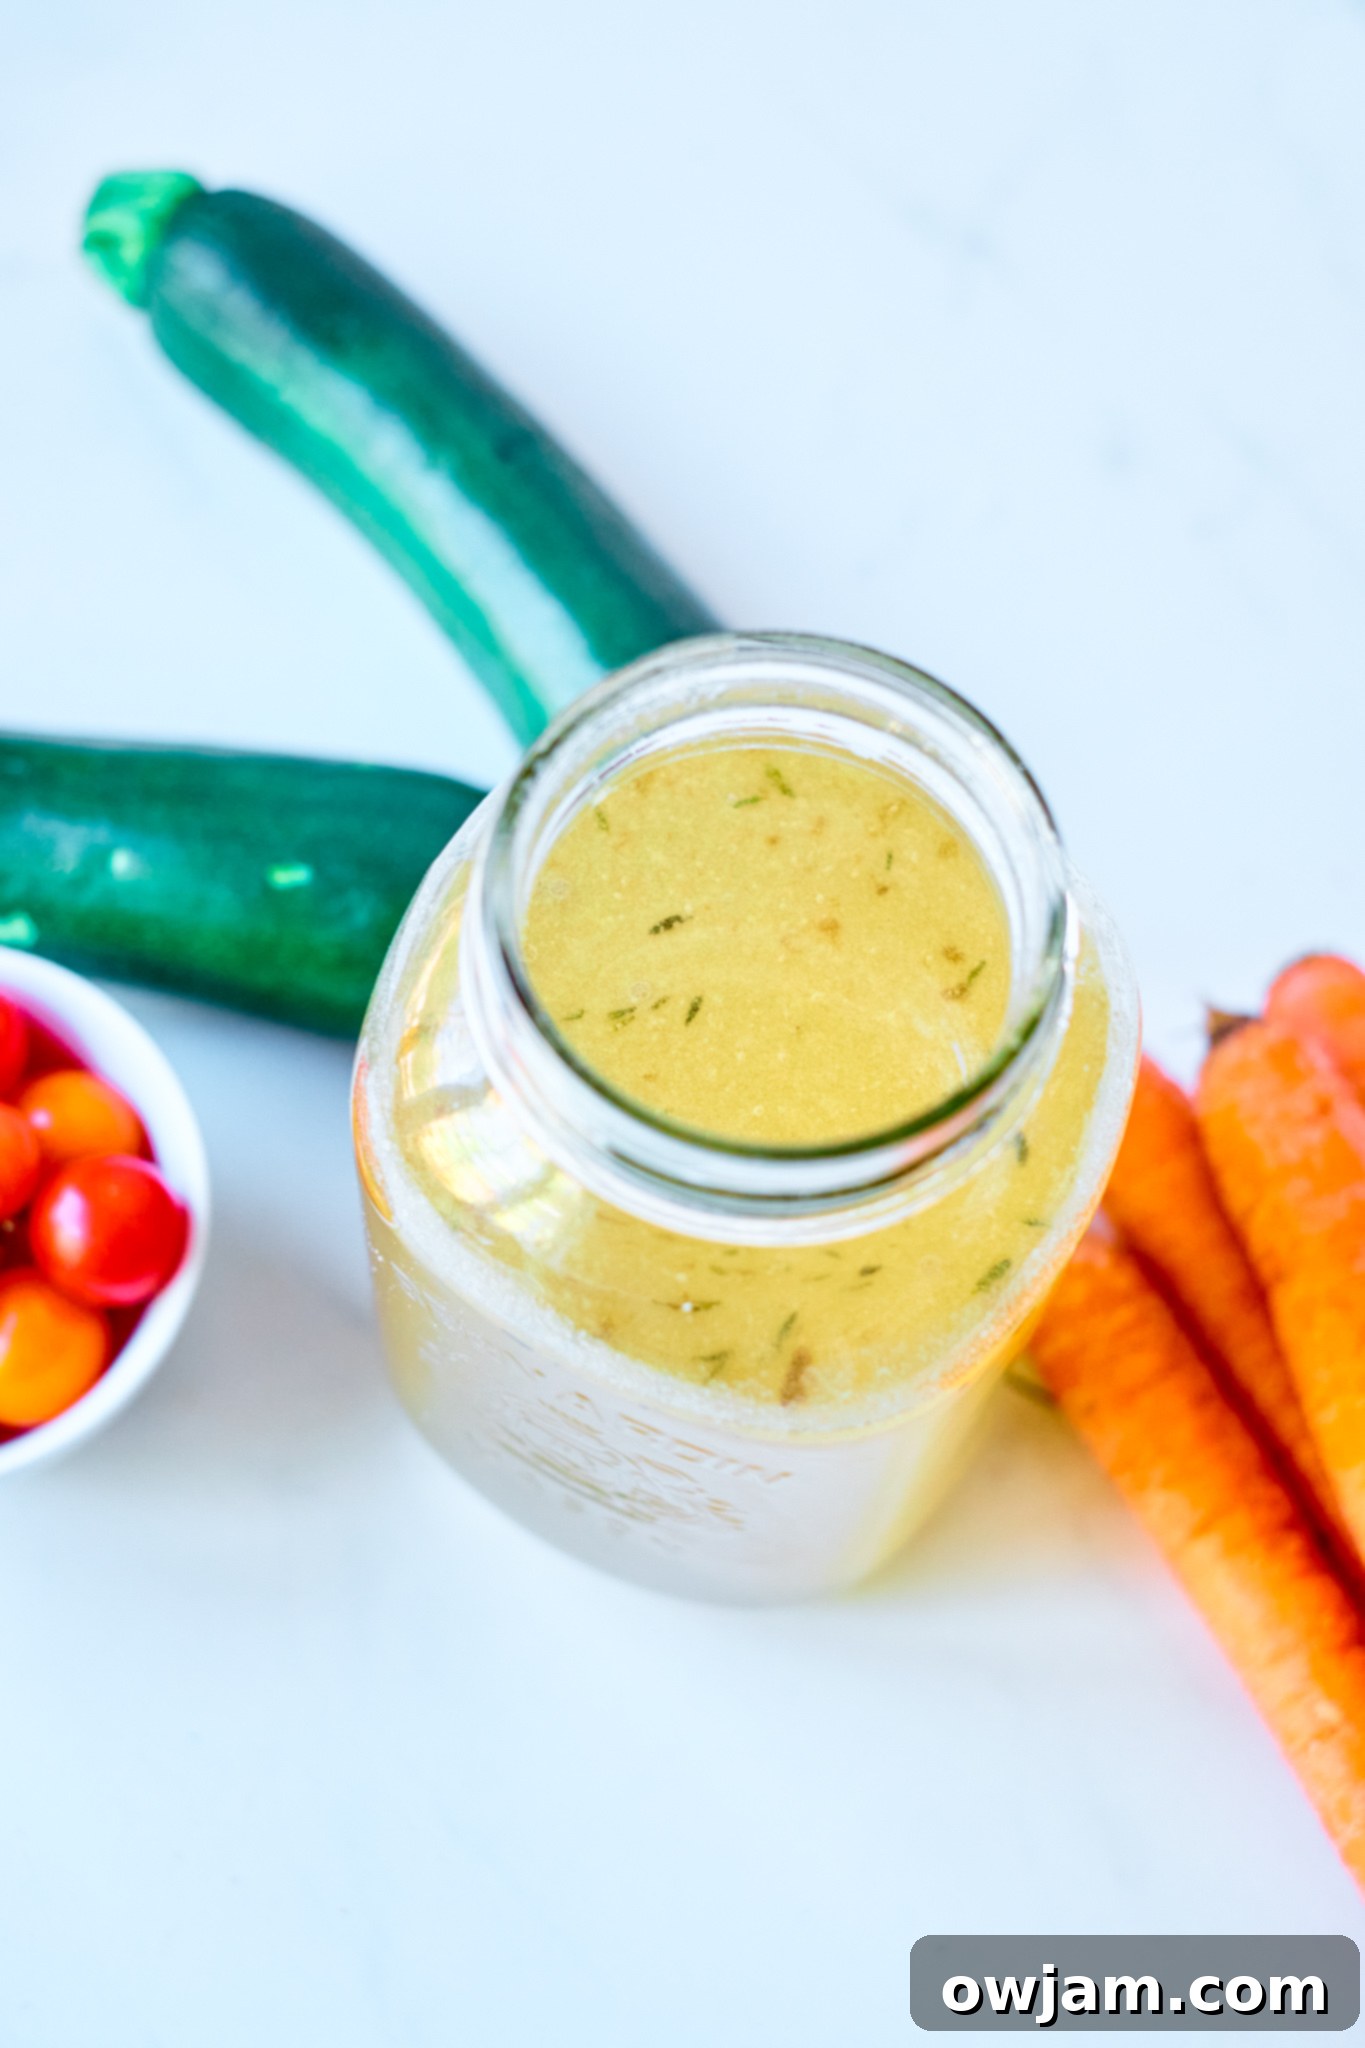
Discover the art of crafting your own rich, flavorful, and incredibly **nutritious Homemade Beef Bone Broth** with this comprehensive guide. Made with simple, wholesome ingredients like quality beef bones, fresh vegetables, aromatic ginger, and garlic, this recipe yields a liquid gold that can transform your cooking and support your well-being. Whether you’re enhancing hearty soups and stews or simply seeking a comforting, warm beverage, homemade bone broth is a powerhouse of essential minerals, collagen, and amino acids. Learn how to transform basic ingredients into a gut-healthy elixir that you can enjoy immediately or easily freeze for future use. This detailed recipe makes it easy to add a healthy staple to your kitchen!

Why Homemade Beef Bone Broth is a Kitchen Essential
If you’re wondering how to make the most of leftover beef bones from a succulent roast, tender short ribs, or a perfectly grilled steak, the answer is simple: turn them into a batch of incredible **homemade beef bone broth**. This isn’t just a way to reduce food waste; it’s an opportunity to create a deeply flavorful and profoundly healthy ingredient that elevates countless dishes. Making bone broth at home provides unparalleled control over ingredients, ensuring no unwanted additives, and a depth of flavor that store-bought options simply can’t match.
Unlocking the Potent Health Benefits of Bone Broth
The popularity of **bone broth** stems largely from its impressive nutritional profile. The slow, extended simmering process is key, as it extracts a wealth of beneficial compounds from the bones, marrow, and connective tissues. This ancient superfood is celebrated for being rich in essential **minerals** such as calcium, magnesium, phosphorus, and potassium—all vital for strong bones, nerve function, and overall bodily health. But the benefits extend even further:
- Collagen and Gelatin: As the bones gently simmer, collagen breaks down into gelatin, which is packed with beneficial amino acids like proline, glycine, and glutamine. Gelatin is renowned for supporting joint health, improving skin elasticity, strengthening hair, and promoting nail growth. This is what gives chilled bone broth its characteristic jiggle!
- Supports Gut Health: The gelatin and amino acids found in bone broth are believed to help strengthen and heal the lining of your gut. This can be particularly beneficial for those experiencing digestive issues, potentially reducing inflammation and aiding nutrient absorption.
- Boosts Immune System: The rich supply of amino acids and minerals can contribute significantly to a more robust immune system, helping your body to better fend off illnesses and recover faster.
- Anti-inflammatory Properties: Specific amino acids, especially glycine, possess powerful anti-inflammatory effects that can help reduce systemic inflammation throughout the body.
One of the best aspects of this **easy beef bone broth recipe** is its adaptability. You can allow it to gently simmer on your stovetop, filling your home with an inviting aroma, or utilize the convenience of a slow cooker or Instant Pot, with specific instructions detailed in the recipe notes below. It’s a truly versatile foundation for wholesome cooking.
Once you’ve mastered this beef bone broth, you’ll find it indispensable. It forms the perfect base for our comforting Slow Cooker Beef Barley Soup, a hearty Crockpot Beef Stew, the aromatic Greek Beef Stew with Orzo, or a flavorful Slow Cooker Taco Soup. If you ever prefer a lighter poultry option, be sure to try our Homemade Chicken Broth.
Essential Ingredients for Perfect Beef Bone Broth

Creating a truly flavorful and nutrient-packed **beef bone broth** begins with selecting the right high-quality ingredients. Here’s a closer look at what you’ll need to create this culinary foundation. For precise measurements and printable instructions, remember to consult the full recipe card below.
- Beef Bones: The cornerstone of our broth! For the richest flavor and maximum nutrient extraction, aim for a diverse selection of bones. This typically includes **marrow bones** (from shank or femur) for their rich, healthy fats, and **knuckle bones, oxtail, or other joint bones** for their high collagen and gelatin content. Bones with some meat still attached, such as **short ribs** or **neck bones**, are fantastic for adding an even deeper, more savory dimension to your broth. Don’t let bones go to waste after meals – save them in your freezer specifically for this purpose. The longer these bones simmer, the more their invaluable nutrients are released into the liquid.
- Vegetables: While the bones build the savory foundation, vegetables infuse the broth with aromatic depth and additional vitamins and minerals. Classic choices include large **carrots**, sturdy **celery stalks**, and robust **onions**. The original inspiration also suggests flexible additions like zucchini and sweet peppers, allowing you to customize the flavor profile. Don’t be afraid to use what you have on hand to enhance your broth’s taste.
- Ginger: Fresh ginger root adds a distinctive, subtly spicy, and warming note that beautifully complements the beef. Beyond its unique flavor, ginger is well-regarded for its anti-inflammatory and digestive benefits, making it a powerful addition to a healthy bone broth.
- Garlic: Whole garlic cloves, ideally halved crosswise to maximize their exposed surface area, impart a rich, savory, and aromatic flavor to the broth. Garlic is also celebrated for its immune-boosting properties.
- Bay Leaves: These dried leaves offer a subtle, earthy, and herbaceous aroma that adds a layer of complexity and sophistication to the overall flavor of your broth. While they are optional, they are highly recommended for a well-rounded and refined taste.
- Water: The essential liquid medium in which all these wonderful ingredients meld together. Starting with cold water is a traditional technique believed to help impurities rise to the surface for easy skimming, resulting in a clearer and cleaner-tasting broth. Ensure you add enough water to completely submerge all your bones and vegetables.
- Salt: A fundamental seasoning. You can adjust the amount to your personal preference during cooking, and always add more at the end to taste.
- Apple Cider Vinegar (Optional but Highly Recommended): Though not always listed as a primary ingredient, adding a tablespoon of apple cider vinegar at the start of the simmering process is a smart move. The mild acidity helps to break down the collagen and pull more vital minerals from the bones into your broth, significantly boosting its nutritional value without affecting the final taste.

How to Make Your Own Nourishing Beef Bone Broth
Creating your own **homemade beef bone broth** is a rewarding culinary endeavor that fills your kitchen with comforting aromas and your body with vital nutrients. Follow these simple, yet detailed, steps to achieve a perfectly rich and nourishing batch every time.
- Step 1: Prepare and Roast the Bones for Flavor. Preheat your oven to a robust 400°F (200°C). Arrange your carefully selected beef bones in a single layer on a sturdy baking sheet or in a large roasting pan. Drizzle them lightly with a touch of olive oil. Roasting the bones is a pivotal step; it caramelizes their surfaces, which contributes significantly to a much richer color and a profoundly deeper, more complex flavor in your finished broth. Roast for an initial 30 minutes, then carefully flip each bone over to ensure even browning, and roast for an additional 30 minutes until they achieve a desirable golden-brown hue.
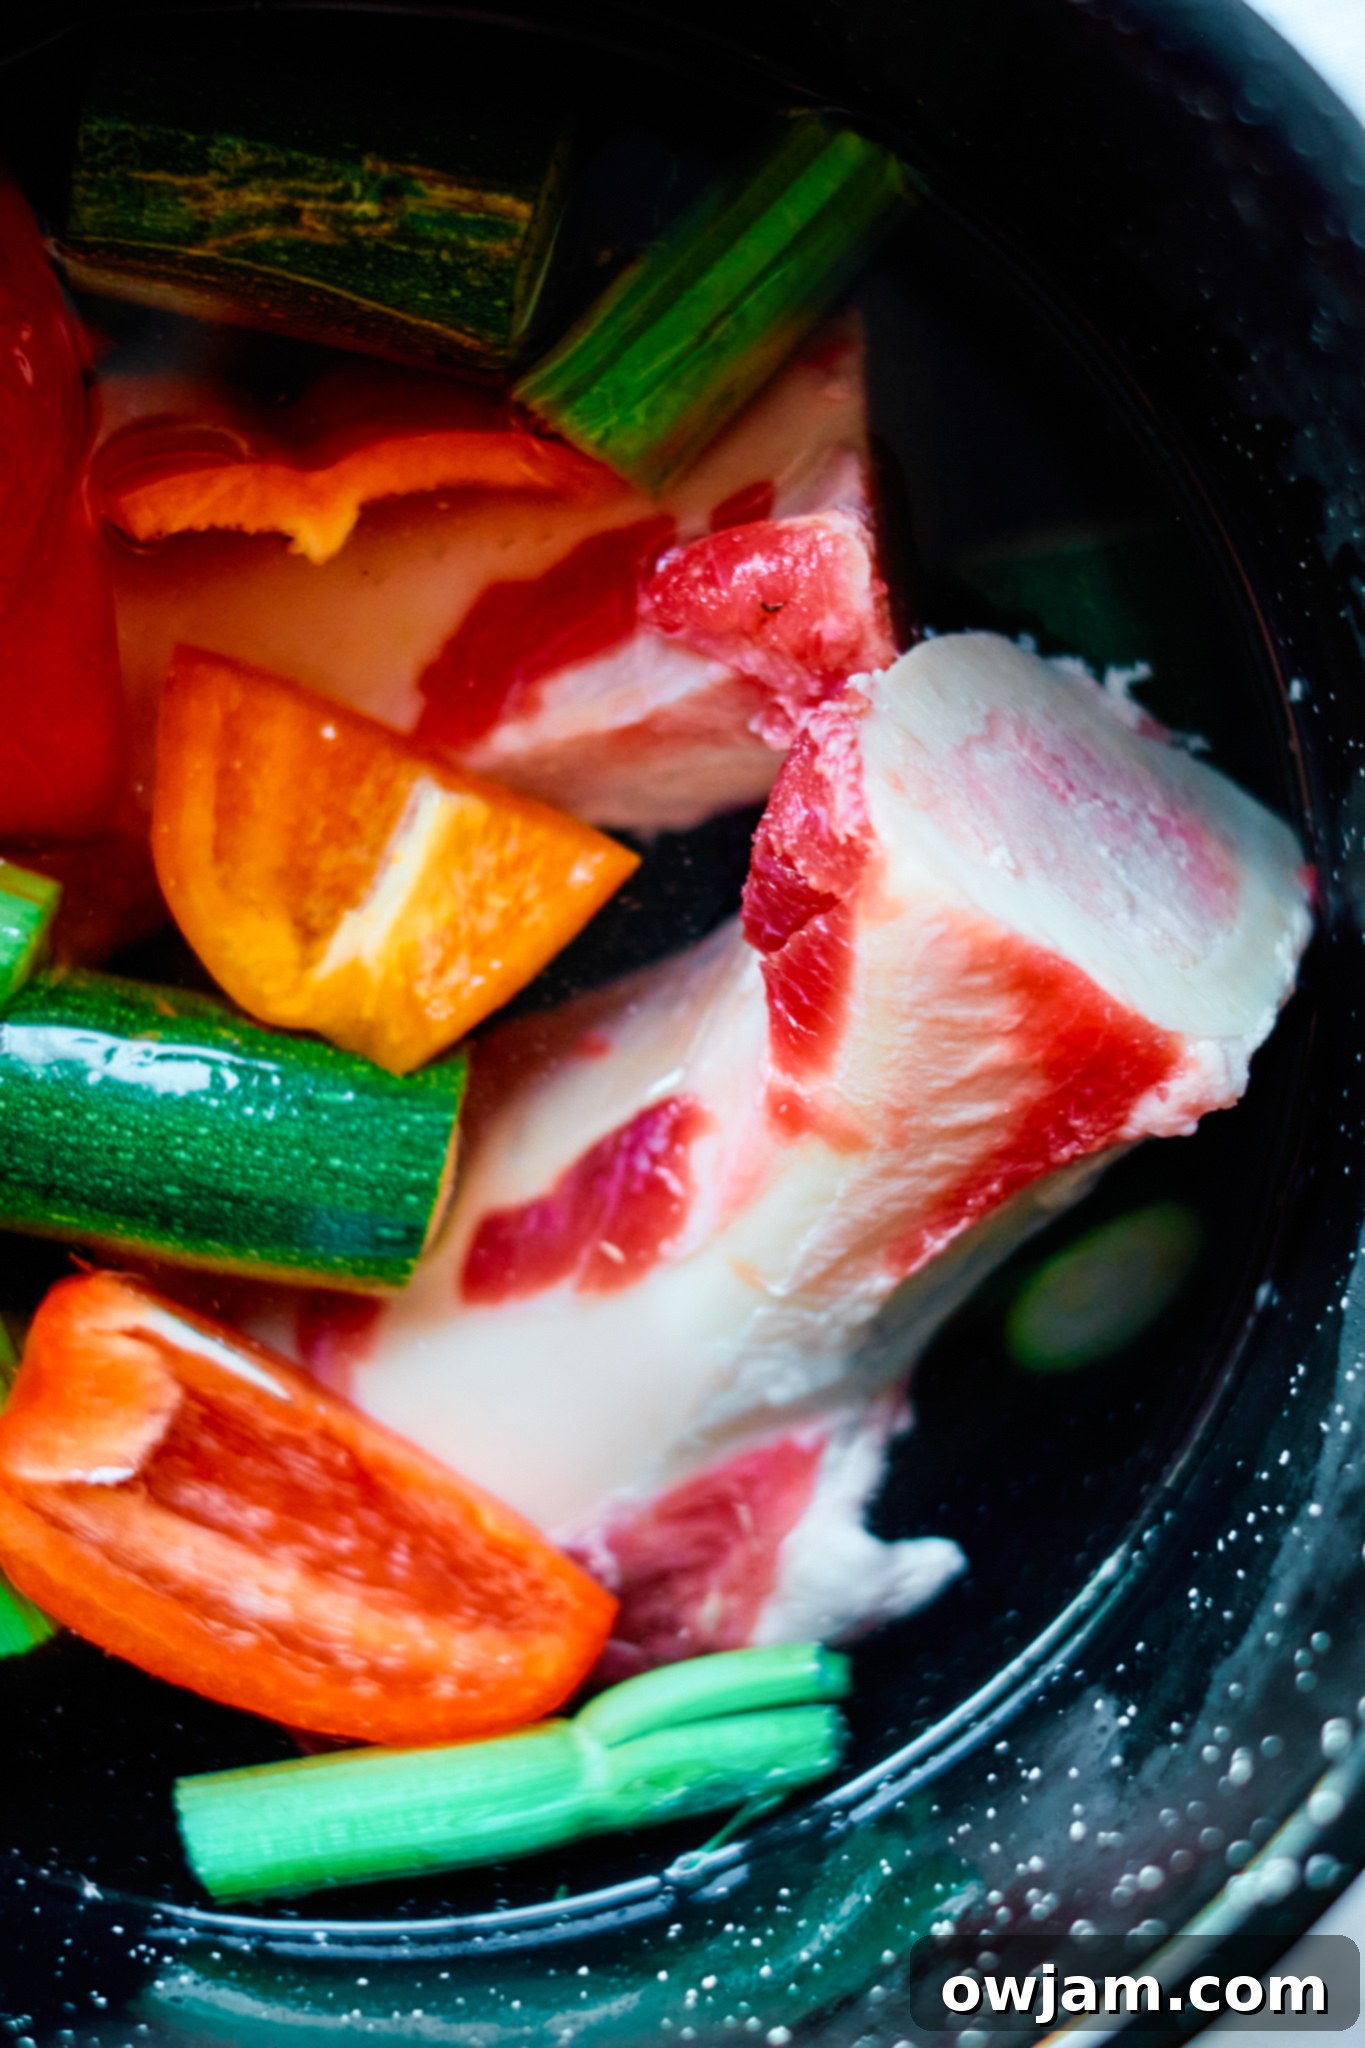
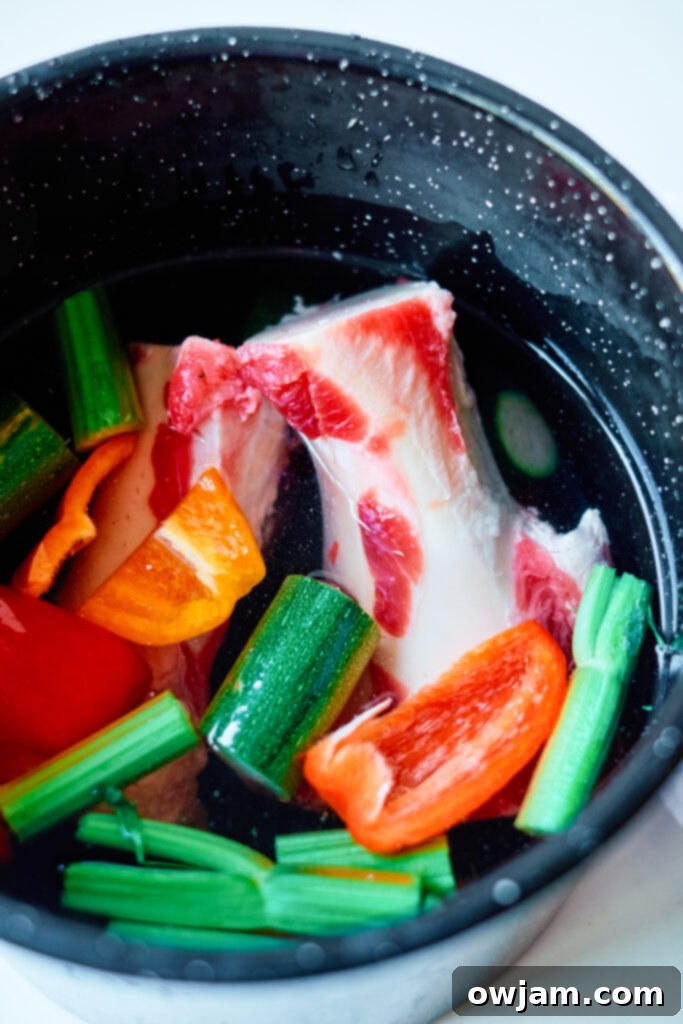
- Step 2: Assemble Ingredients for Simmering. While your bones are roasting to perfection, take this time to prepare your aromatic vegetables. Roughly chop the carrots, onion, and celery (or any other desired vegetables). Place these prepared vegetables, along with the sliced fresh ginger, the halved head of garlic, the bay leaves, and the salt, into a very large stockpot. Once the roasted bones are ready, carefully transfer them from the baking sheet into the stockpot, adding to the bed of vegetables. Pour in 10-12 cups of cold water, ensuring that all the bones and vegetables are fully submerged. If you’re using it, now is the time to add a tablespoon of apple cider vinegar, which aids in mineral extraction.
- Step 3: The Long, Gentle Simmer for Nutrient Extraction. Place the stockpot on your stovetop over high heat and bring the contents to a rolling boil. As soon as a full boil is achieved, immediately reduce the heat to the absolute lowest setting possible, aiming for a very gentle simmer. It’s crucial that the broth barely bubbles. Cover the pot, leaving a slight crack to allow some steam to escape. Allow the broth to simmer for an extended period, ideally between **12 to 24 hours**. A longer simmering time is directly correlated with maximum nutrient and collagen extraction and the development of the deepest flavor. Periodically check the water level throughout this process and add more hot water as needed to keep the bones fully covered. During the first few hours of simmering, you may notice foam or impurities rising to the surface; use a spoon or ladle to skim these off for a clearer broth.
- Step 4: Strain and Cool the Broth. Once your bone broth has completed its lengthy simmer and developed its rich character, carefully remove the large bones and cooked vegetable pieces from the pot using tongs or a large slotted spoon. Next, strain the liquid through a fine-mesh sieve or a colander lined with several layers of cheesecloth into a clean, large, heat-proof container. This step is essential to remove all small particles and sediment, leaving you with a beautifully clear and pure broth. Allow the strained broth to cool down on your kitchen counter for approximately an hour, or until it reaches room temperature. For an even quicker cooling process, you can place the pot of broth into a larger basin filled with ice and a little water, stirring gently.
- Step 5: Store Your Liquid Gold Safely. After the broth has completely cooled to room temperature, transfer it into clean mason jars or other appropriate airtight containers. It can be safely stored in the refrigerator for up to **5 days**. Before you’re ready to use it, you might observe a layer of solidified fat on the surface—this is completely normal! Simply skim off this fat with a spoon (you can discard it or save it for cooking if you wish). Gently reheat the broth before serving or incorporating it into your favorite recipes.

Storage Tips for Your Homemade Beef Bone Broth
Proper storage is paramount to preserving the freshness, safety, and nutritional integrity of your homemade **beef bone broth**. Follow these guidelines to ensure your liquid gold remains at its best for as long as possible:
- Rapid Cooling is Key: After straining, it is absolutely essential to cool the broth as quickly as possible. This rapid cooling prevents the growth of harmful bacteria. Allow it to sit on your kitchen counter for no more than one hour before transferring it to the refrigerator. For an even quicker and safer cool, create an ice bath: place your hot pot of broth into a larger basin filled with ice and a small amount of water, stirring the broth occasionally until it cools significantly.
- Refrigeration: Once your bone broth is completely cooled, pour it into clean, airtight containers, such as glass mason jars. Stored correctly in the refrigerator, your homemade broth will maintain its quality for up to **5 days**. You’ll notice it often solidifies into a gelatinous texture when chilled, which is a sign of high collagen content!
- Freezing for Long-Term Storage: For extended preservation, **beef bone broth** freezes exceptionally well. Transfer the fully cooled broth into freezer-safe containers, leaving approximately an inch of headspace at the top to accommodate expansion as it freezes. For convenient single servings, consider freezing the broth in ice cube trays, then transferring the frozen cubes to a freezer bag. Frozen bone broth can be safely stored for up to **6 months**. To use, simply thaw overnight in the refrigerator or gently heat directly from its frozen state.
Frequently Asked Questions About Beef Bone Broth
For a truly robust and nutritious **beef bone broth**, a variety of bones is highly recommended. **Marrow bones** (often from the shank or femur) are fantastic for contributing rich flavor and healthy fats. **Knuckle bones, oxtail, neck bones, and other joint bones** are superior for extracting maximum collagen and gelatin, which gives bone broth its signature silky texture and renowned gut-healing properties. Bones that still have a little meat attached, such as **short ribs**, will further deepen the savory flavor profile. Don’t hesitate to ask your butcher for “soup bones” or specific “bone broth cuts.”
Adding a tablespoon of **apple cider vinegar** (ACV) to the water at the very beginning of the simmering process is a widely recommended practice. The mild acidity of the vinegar plays a crucial role in helping to draw out vital minerals, collagen, and other precious nutrients from deep within the bones into the liquid. Rest assured, you won’t taste the vinegar in the final product; its function is purely extractive, enhancing the nutritional potency of your broth.
While the terms are often used interchangeably, there are distinct differences. **Broth** is typically made by simmering meat and/or vegetables for a relatively short period (1-2 hours), resulting in a light flavor. **Stock** is generally made with bones (often roasted) and vegetables, simmered for a longer duration than broth (2-6 hours), yielding a richer flavor and more gelatin. **Bone broth**, however, is characterized by its exceptionally long simmering time (typically 12-48 hours). This extended process is specifically designed to extract the maximum amount of collagen, gelatin, and minerals from the bones and connective tissues, making it far more nutrient-dense and often thicker and more gelatinous when chilled.
Roasting the beef bones prior to adding them to the pot for simmering is an optional step, but one that is highly recommended for an superior broth. This crucial process caramelizes the bones, creating rich, browned surfaces. This caramelization develops a much deeper, more complex, and savory flavor in the finished broth, and also contributes to a more appealing golden-brown color. It’s a simple technique that significantly elevates the overall quality and depth of your **homemade beef bone broth**.
Absolutely! This **beef bone broth recipe** is incredibly adaptable to different kitchen appliances:
- Slow Cooker: After you’ve roasted your bones and brought the initial mixture to a boil on the stovetop, transfer all the ingredients into a large slow cooker. Set it to the LOW setting and allow it to cook for the same recommended duration of **12-24 hours**. This “set it and forget it” method is perfect for busy schedules.
- Instant Pot: For a significantly faster cooking time, place all your ingredients directly into your Instant Pot. Set it to Manual (or Pressure Cook) on High Pressure for 3-4 hours. It’s important to allow for natural pressure release once the cooking cycle is complete before attempting to open the lid. While quicker, some culinary enthusiasts argue that stovetop simmering provides a slightly more developed and nuanced flavor.
Once your **bone broth** has completely cooled and been refrigerated, you will typically notice a solid, congealed layer of fat that forms on the surface. This fat can be very easily skimmed off with a spoon. You can choose to discard it, or some people prefer to save this rendered beef fat (tallow) for cooking. Removing the fat usually results in a lighter, less greasy broth, which is often preferred for sipping or for use in specific recipes. However, if you’re primarily drinking the broth for its health benefits, leaving some of the healthy fats in is perfectly acceptable.
Tried this recipe? Leave a star rating and comment below! Subscribe to my newsletter or follow me on
Facebook,
Instagram, or
Pinterest for the latest.
Easy Beef Bone Broth Recipe
Julia Jolliff
15 minutes
12 hours
0 minutes
12 hours
15 minutes
8
cups

Saved
Pin
Ingredients
-
2 medium carrots, roughly chopped -
1 large onion, quartered -
2 stalks of celery, roughly chopped -
2 Inches of fresh ginger, sliced -
1 garlic head, halved crosswise -
2 bay leaves -
3-4 pounds of mixed beef bones, knuckles, neckbones and/or short ribs {it is great if there is some meat left on the bones} -
10-12 Cups of cold water -
1 teaspoon of salt (or to taste) -
1 tablespoon apple cider vinegar (optional, but recommended)
Instructions
-
Preheat your oven to 400°F (200°C).
-
Place the beef bones in a single layer on a baking sheet or roasting pan. Drizzle with olive oil. Roast for 30 minutes, then flip the bones and roast for an additional 30 minutes. This browning step is essential for a deep color and rich flavor.
-
While the bones are roasting, roughly chop the carrots, onion, and celery. Place these vegetables, along with the sliced ginger, halved garlic head, bay leaves, and salt, into a large stockpot.
-
Add the roasted beef bones to the stockpot. Pour in 10-12 cups of cold water, ensuring all ingredients are fully covered. If using, add 1 tablespoon of apple cider vinegar. Bring the pot to a boil, then immediately reduce the heat to the lowest setting for a gentle simmer. Cover the pot, leaving a small gap for steam, and simmer for 12-24 hours. Check water levels periodically and add more hot water to keep bones submerged. Skim off any foam that appears early in the simmering process.
-
Carefully remove the bones and large vegetable pieces from the pot. Strain the broth through a fine-mesh sieve or a colander lined with cheesecloth into a clean, heat-proof container. Discard the solids. Allow the strained broth to cool on the counter for at least an hour or until it reaches room temperature. For quicker cooling, use an ice bath.
-
Pour the completely cooled broth into mason jars or other airtight containers. Refrigerate for up to 5 days, or freeze for up to 6 months. Before using, skim off any solidified fat from the top and gently reheat.
Notes
- To Freeze: Let the broth cool completely in the fridge first. Once cold, transfer to freezer-safe containers (like mason jars with headspace or ice cube trays for individual portions) and freeze for up to 6 months. Label with the date.
- Slow Cooker Method: After roasting the bones and bringing the broth to an initial boil on the stovetop (this helps with clarity), transfer all ingredients to a large slow cooker. Set it to LOW and cook for the same 12-24 hour duration as if simmering on the stove.
- Instant Pot Method: For a faster approach, place all ingredients into your Instant Pot. Set to Manual (or Pressure Cook) on High Pressure for 3-4 hours. Allow for natural pressure release once the cooking cycle is complete before opening the lid.
- Customizing Vegetables: Feel free to experiment with other aromatics and root vegetables like parsnips, leeks, or even a splash of red wine for added depth.
- Seasoning: Always taste your broth after simmering. You may wish to add more salt, a pinch of black pepper, or fresh herbs like parsley or thyme during the last hour of cooking or just before serving to brighten the flavors.
Nutrition
Calories:
16
kcal
,
Carbohydrates:
3
g
,
Protein:
1
g
,
Fat:
0.2
g
,
Saturated Fat:
0.1
g
,
Polyunsaturated Fat:
0.1
g
,
Monounsaturated Fat:
0.01
g
,
Sodium:
318
mg
,
Potassium:
194
mg
,
Fiber:
1
g
,
Sugar:
2
g
,
Vitamin A:
610
IU
,
Vitamin C:
28
mg
,
Calcium:
23
mg
,
Iron:
0.3
mg
Nutrition information is automatically calculated, so should only be used as an approximation.
Tried this recipe?
Mention @acedarspoon or tag #acedarspoon!
