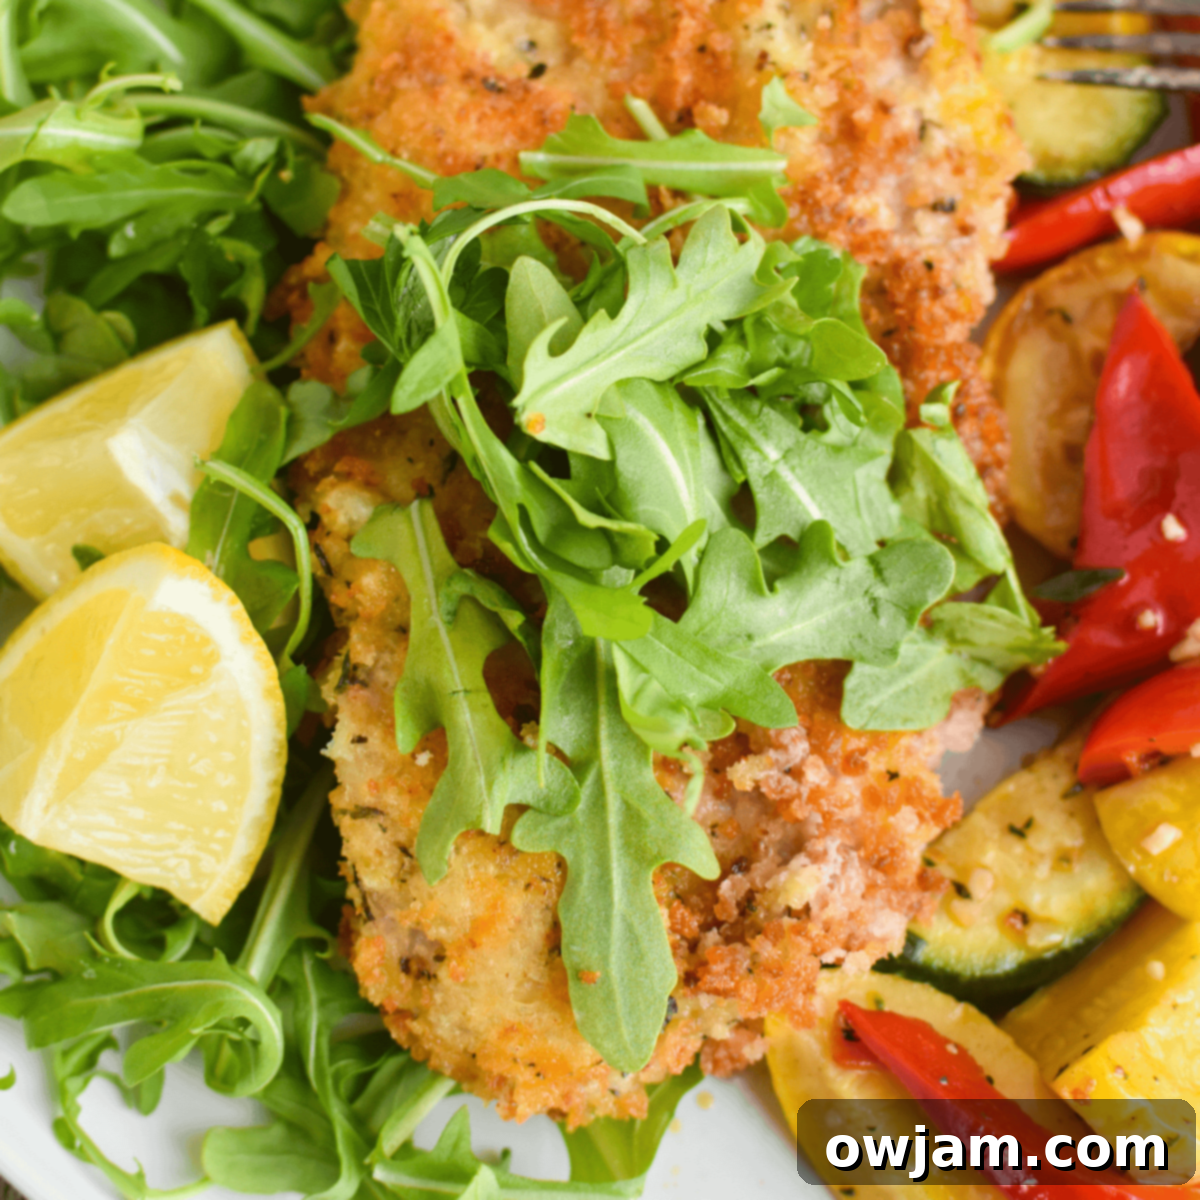
Easy Veal Milanese Recipe: Your Guide to a Crispy Italian Classic at Home
Prepare to delight your taste buds with this incredible Easy Veal Milanese Recipe. Using tender veal scaloppine, this dish is coated in a flavorful mixture of egg, flour, breadcrumbs, aromatic spices, and a hint of Parmesan cheese. Each thin cutlet is then perfectly sautéed until it develops a golden, irresistibly crisp exterior. It’s an effortlessly elegant way to enjoy veal, bringing a gourmet restaurant experience right into your kitchen!
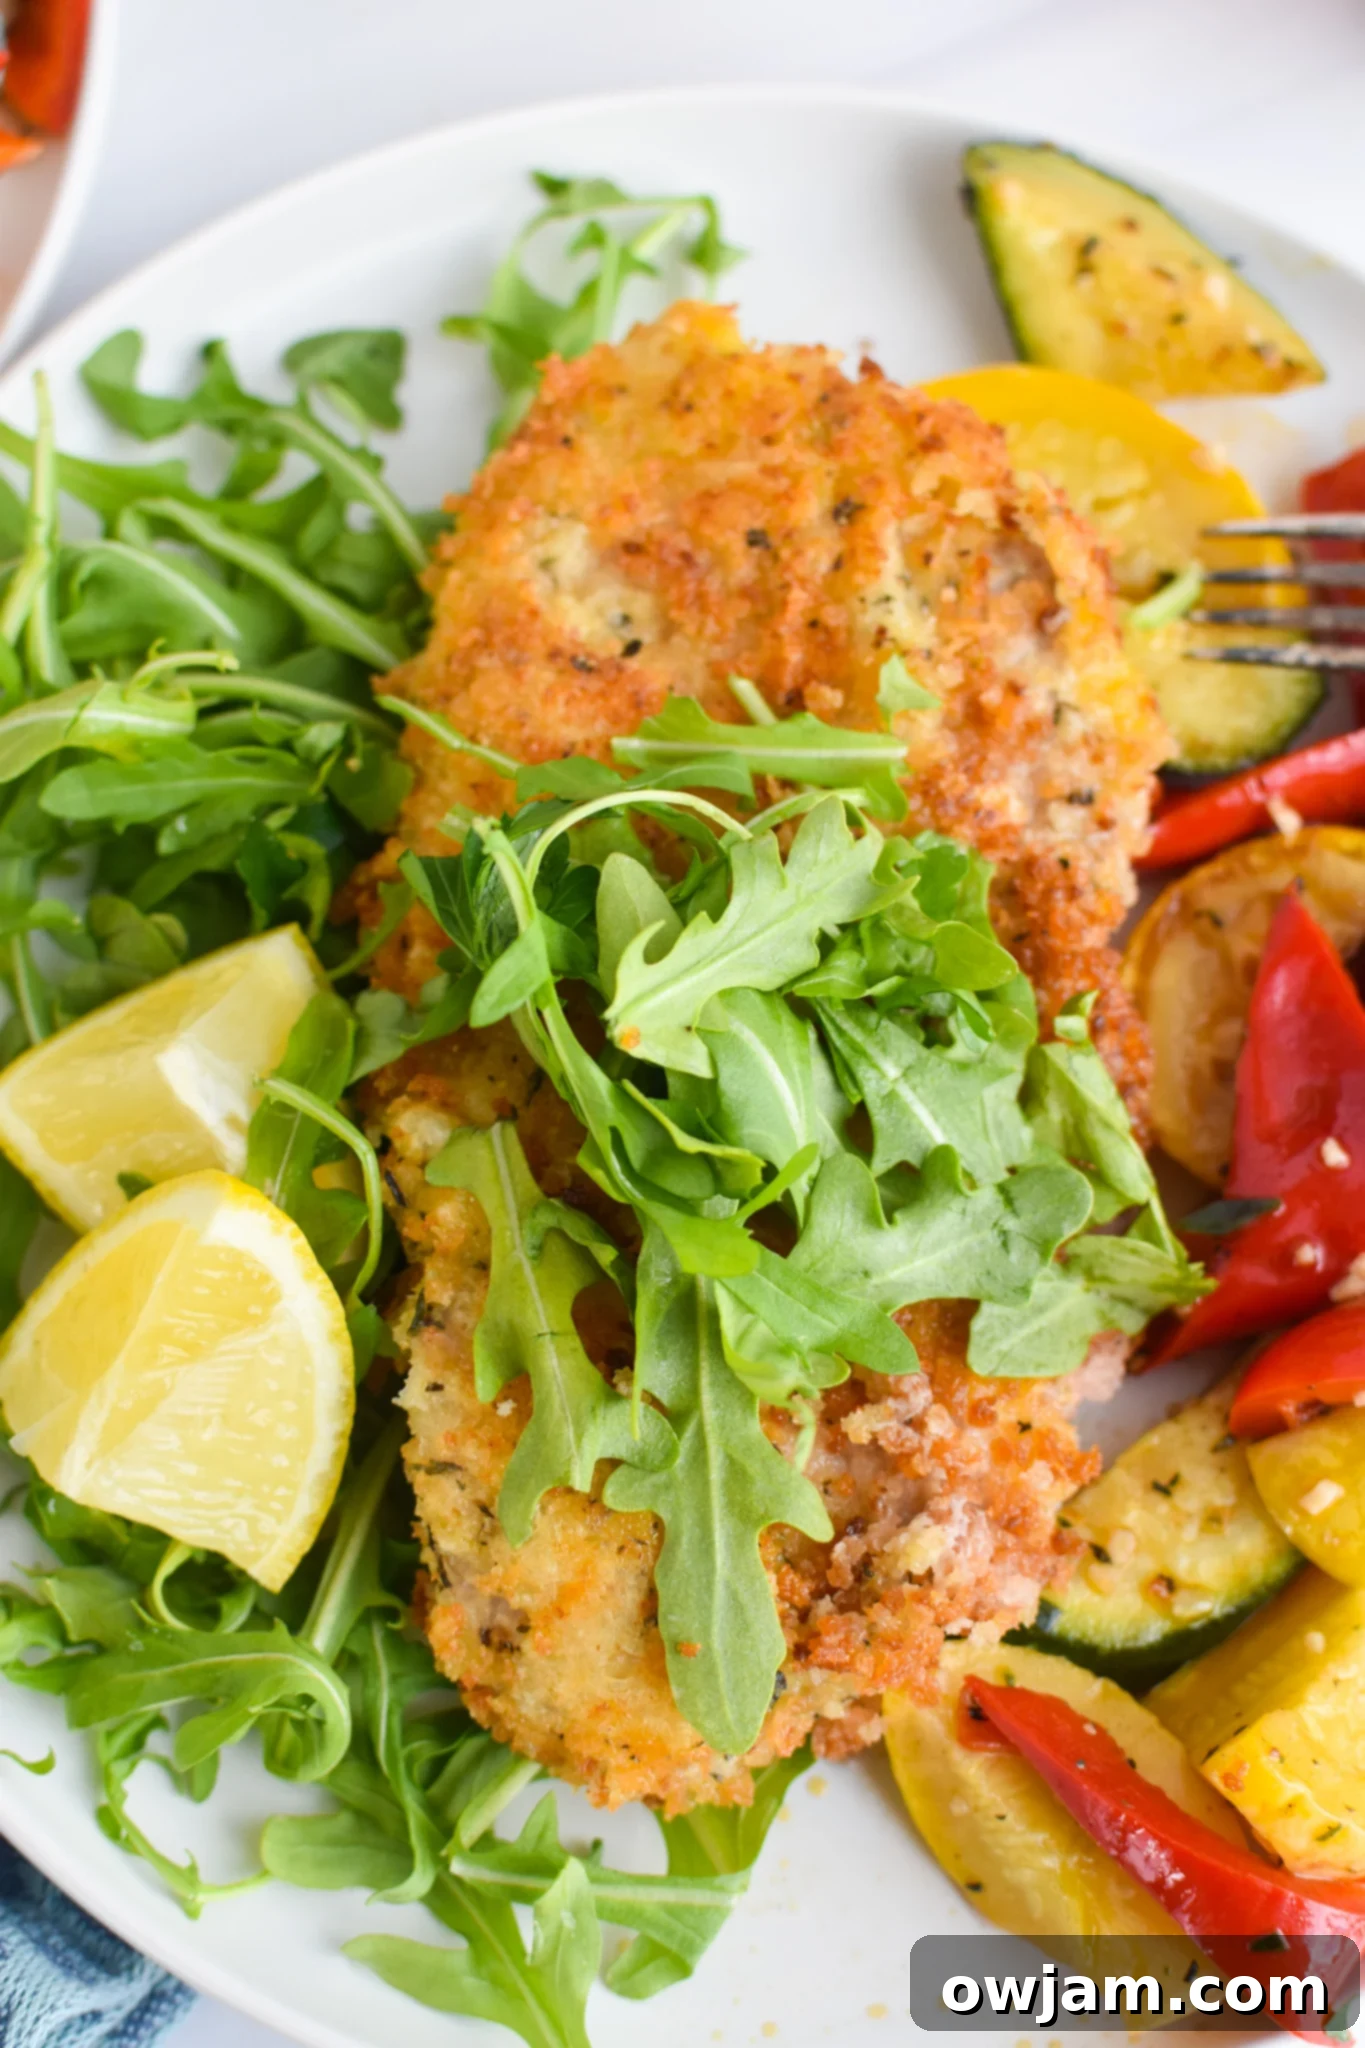
I’m thrilled to share this straightforward yet incredibly satisfying Easy Veal Milanese Recipe using delicate veal scaloppine. If you’ve ever dreamt of recreating that exquisite restaurant experience in your own kitchen, this recipe is your golden ticket. It’s surprisingly simple to prepare, but the results are always impressive, leaving you with tender, flavorful veal coated in a beautifully crisp crust.
What is Veal Milanese? The Italian Classic Explained
You might be wondering, What exactly is Veal Milanese? For those unfamiliar, it’s a timeless Italian dish, known as “Cotoletta alla Milanese” in its homeland, particularly Lombardy. At its heart, “Milanese style” or “Milanese” (or milanesa in some cultures) refers to a cooking method where a thin slice of meat – traditionally veal – is breaded and then pan-fried until golden and crispy. This technique ensures the meat stays juicy while developing a delightful crunchy exterior, making it a beloved staple in Italian cuisine and around the world.
While similar to Austrian Wiener Schnitzel, Veal Milanese typically uses bone-in veal chops for the authentic version, though thinly pounded veal scaloppine (boneless) is very common and equally delicious for a quicker preparation, as we’ll do in this recipe. It’s distinct from dishes like Veal Parmigiana, which often involve tomato sauce and melted cheese baked on top; Milanese focuses purely on the perfect crispy breading and the quality of the veal, usually served simply with lemon.
Many of you have enjoyed my other popular veal recipes, such as Easy Italian Veal Chops, the zesty Veal Piccata, and hearty Slow Cooker Veal Meatballs, all of which have been huge hits! This Milanese recipe promises to be another family favorite, offering a different, equally delightful way to savor veal.
Essential Ingredients for Your Veal Milanese
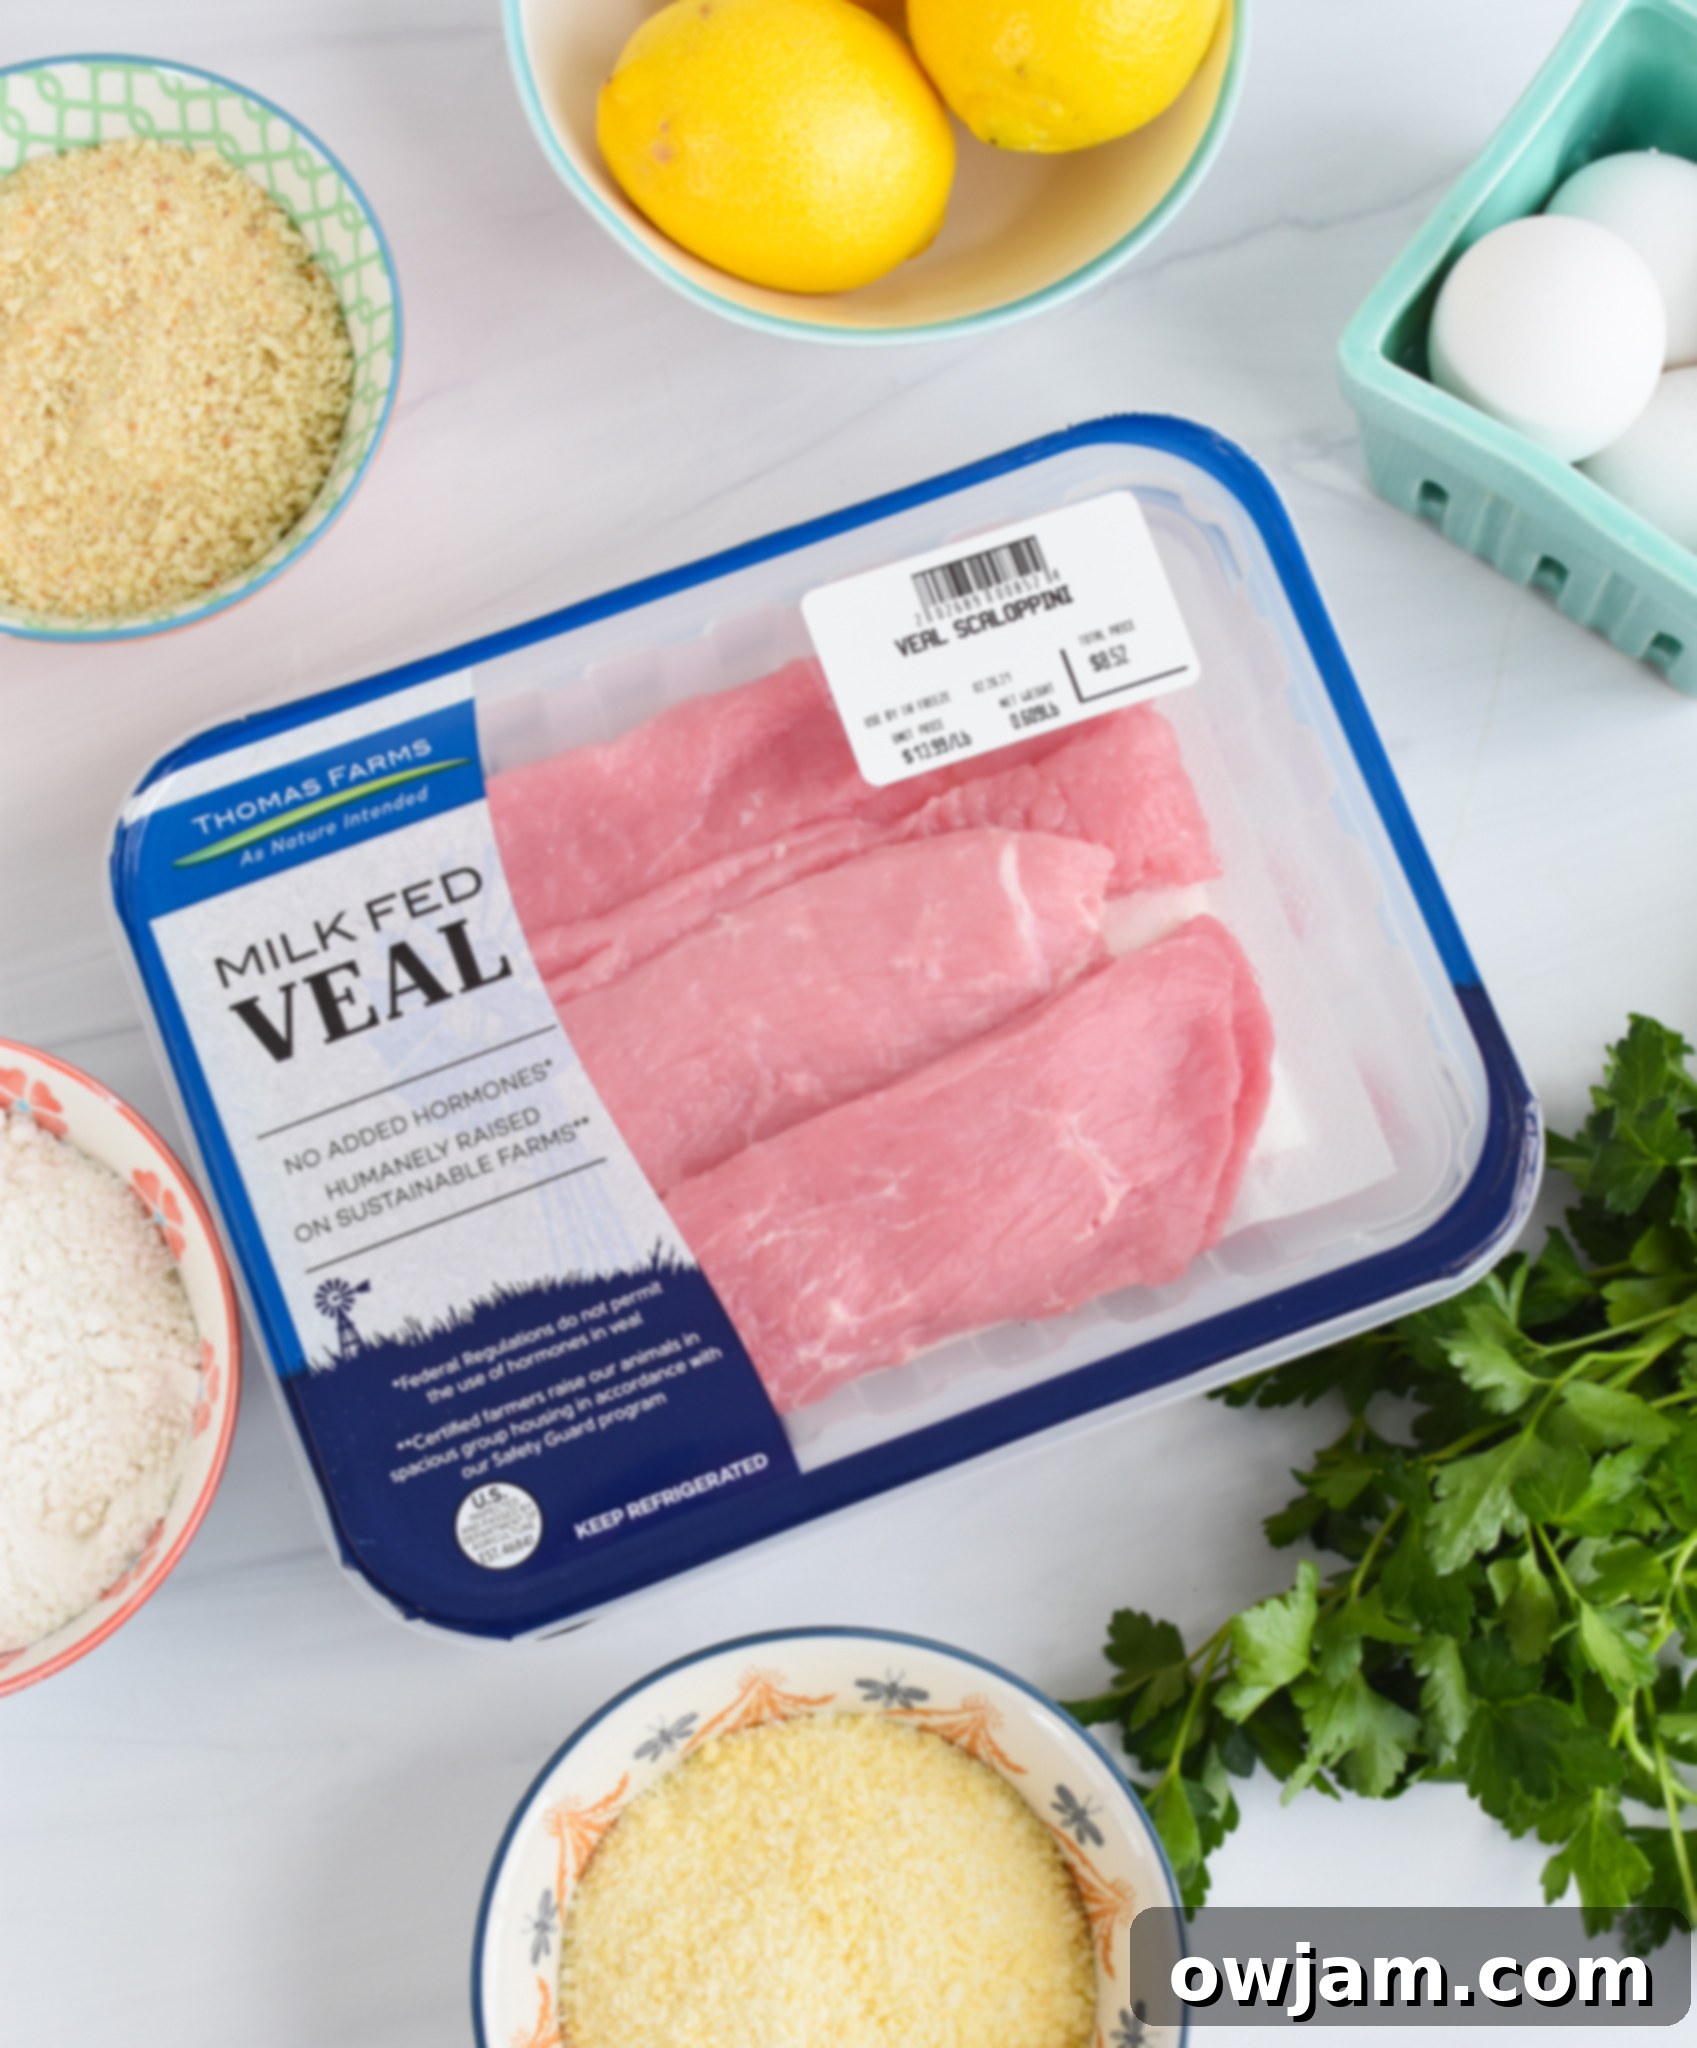
Crafting the perfect Veal Milanese starts with a selection of high-quality ingredients. Here’s a closer look at what you’ll need and some tips for choosing the best:
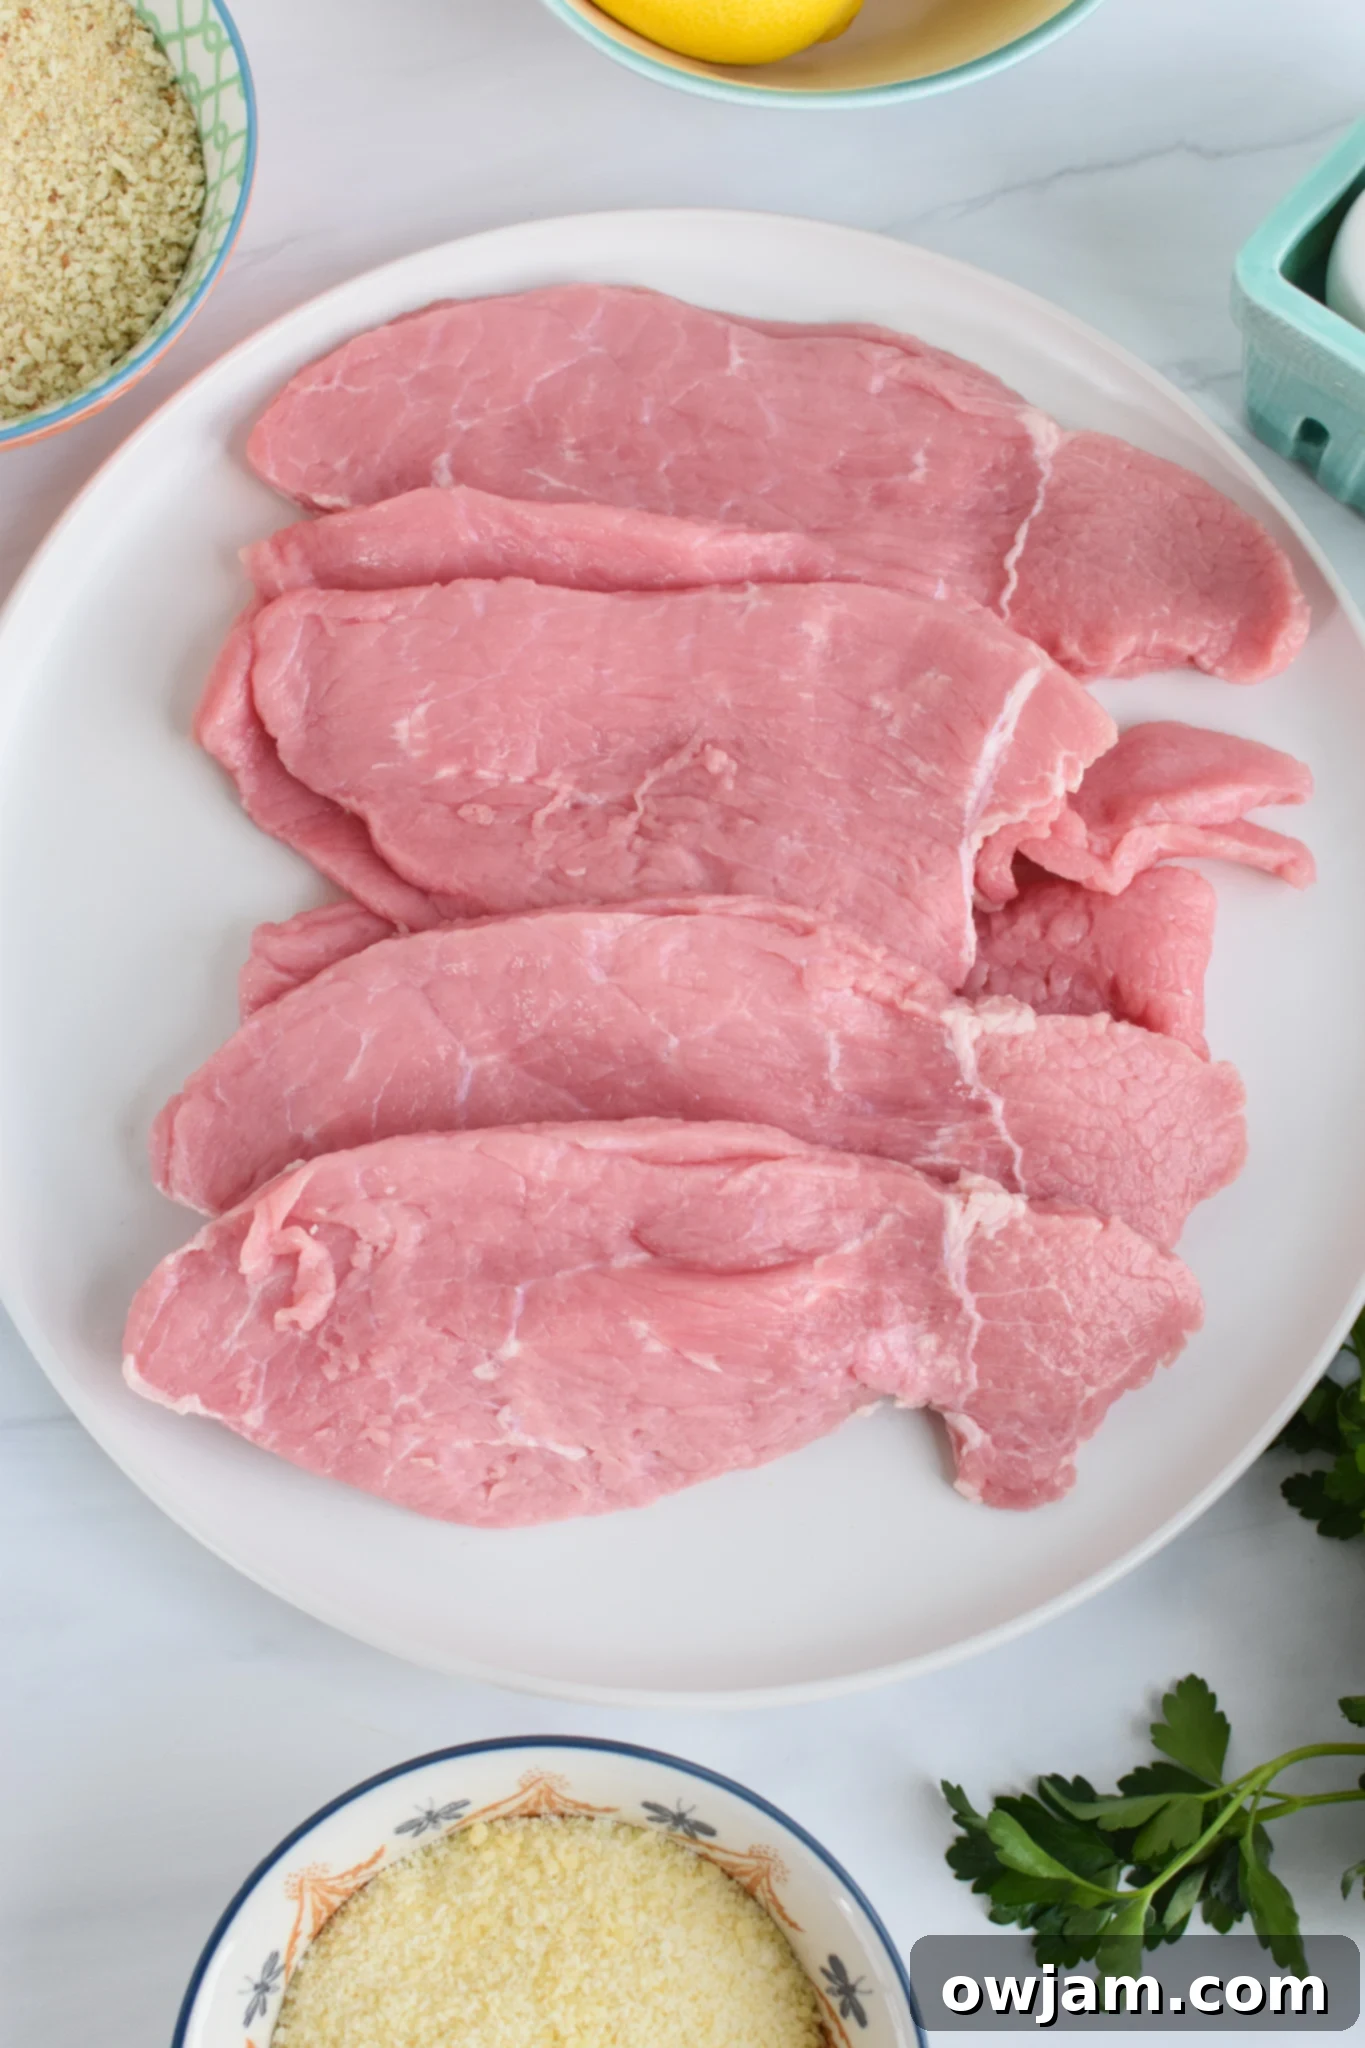
- Veal: The star of this classic Italian dish! This recipe calls for 2 pounds of thinly sliced veal scaloppine. Scaloppine are typically thin cuts, ideal for this recipe as they cook quickly and crisp up beautifully. If scaloppine isn’t available, you can easily substitute with veal cutlets. Just ensure they are pounded very thin – about 1/4 inch thick – to achieve that signature Milanese tenderness and crispness. Pounding them not only tenderizes the meat but also ensures even cooking.
- Eggs: Essential for creating the perfect crispy coating. The 4 large eggs in this recipe act as a binder, helping the flour and breadcrumbs adhere firmly to the veal, forming the foundation of that delicious, golden crust. Beat them well to ensure a consistent coating.
- Flour: I recommend using all-purpose flour for its reliability and texture. It provides the initial dry layer that helps the egg wash stick. For a slightly different nutritional profile, you could certainly use whole wheat flour, or even a blend of half all-purpose and half whole wheat. For gluten-free options, a good quality gluten-free all-purpose flour blend works wonderfully.
- Bread Crumbs: Regular plain dry breadcrumbs are excellent for achieving that traditional Milanese texture. However, feel free to experiment! Panko breadcrumbs will give an even crunchier, lighter crust. You can also opt for pre-seasoned breadcrumbs if you prefer, which can simplify the spice addition step. If using plain breadcrumbs, ensure they are finely ground for optimal adherence.
- Parmesan Cheese: My secret to an extra layer of savory flavor! I love adding about 1/2 cup of shredded Parmesan cheese to the breadcrumb mixture. It melts into the crust as it fries, adding a rich, nutty depth. While this is an optional step, and some traditional Milanese recipes omit it, I highly recommend it for that extra deliciousness.
- Spices: A blend of classic Italian herbs elevates the flavor of the veal. I typically use 1 teaspoon each of dried basil, oregano, and thyme. These herbs complement veal beautifully. Don’t hesitate to customize! Other fantastic additions include a pinch of red pepper flakes for a subtle kick, garlic powder, onion powder, or a pre-made Italian seasoning blend, which often contains rosemary and marjoram, offering a complex aromatic profile.
- Lemon Zest: A bright and aromatic addition that truly enhances the flavor profile of the Veal Milanese. Two teaspoons of fresh lemon zest added to the breadcrumb mixture infuse the crust with a lovely citrusy note, providing a refreshing contrast to the richness of the fried veal. It’s optional, but highly recommended for an authentic touch.
- Oil for Frying: You’ll need about 2 cups of vegetable oil for frying. Vegetable oil, canola oil, or even a light olive oil work well as they have a high smoke point, ensuring your veal fries to a perfect golden brown without burning. The right amount of oil is key for that even, crispy crust.
- Salt and Pepper: Fundamental seasonings. You’ll use them to season the veal directly and a touch in the egg mixture to enhance the overall flavor of the coating.
For precise ingredient measurements and step-by-step instructions, please refer to the detailed recipe card below.
Step-by-Step Guide: How to Make Easy Veal Milanese
Creating this delicious Veal Milanese is a straightforward process that yields fantastic results. Follow these steps for perfectly crispy and tender veal every time:
- Prepare Your Dredging Stations: Set out three shallow dishes. In the first dish, whisk together the large eggs with a pinch of salt and pepper to create your egg wash. In the second dish, place the all-purpose flour. In the third dish, combine the plain dry bread crumbs, shredded Parmesan cheese (if using), lemon zest, dried basil, oregano, and thyme. Mix these dry ingredients thoroughly to ensure an even distribution of flavor.
- Prepare the Veal: Gently pat the veal scaloppine dry with paper towels. This crucial step helps the breading adhere better. Season both sides of each veal piece generously with salt and black pepper. If your veal cutlets are not already thin (around 1/4 inch thick), place them between two sheets of plastic wrap and pound them gently with a meat mallet or the bottom of a heavy pan until they reach the desired thinness.
- Set Up Your Assembly Line: Arrange the three shallow bowls in an assembly line fashion: flour first, then the beaten eggs, and finally the seasoned breadcrumbs. Place a large plate at the end of the line to hold the breaded veal cutlets.
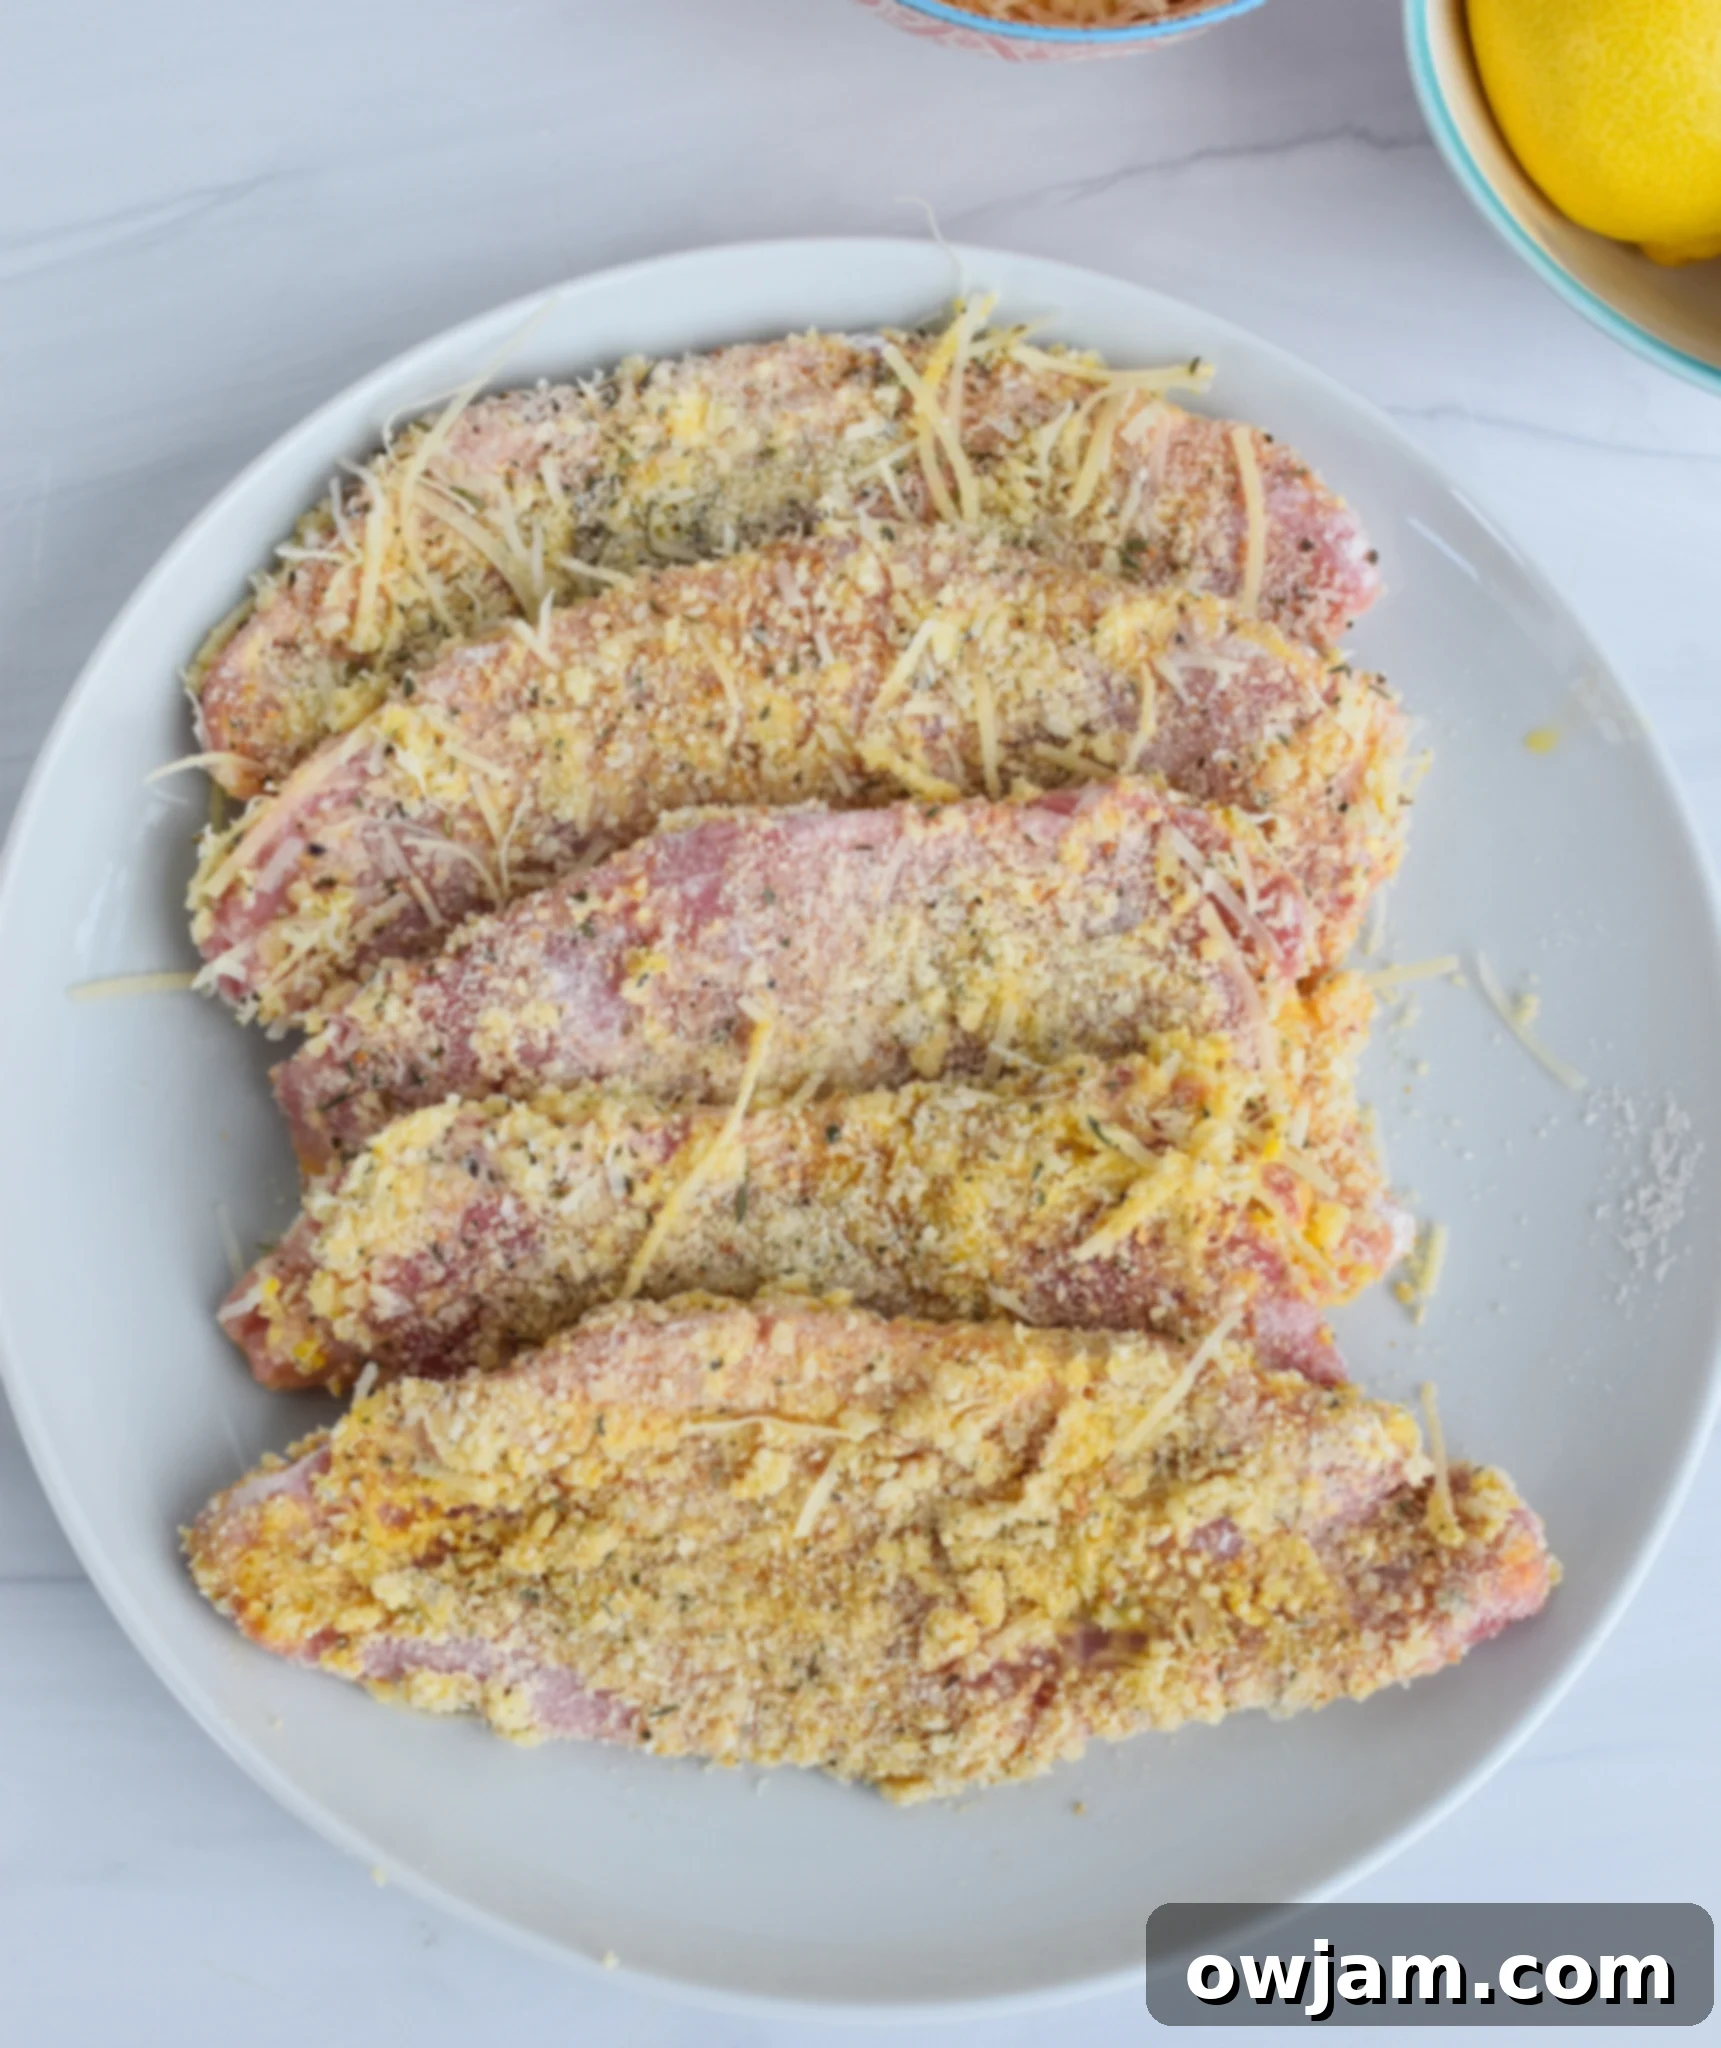
- Bread the Veal: Take one piece of veal at a time. First, dip it into the flour, ensuring both sides are fully coated. Shake off any excess flour – a light dusting is all you need. Next, transfer the floured veal to the egg mixture, turning it to coat completely. Let any excess egg drip off. Finally, place the veal into the bread crumb mixture. Press the crumbs firmly onto both sides of the veal to ensure a thick, even coating.
- Repeat and Rest: Set the fully breaded piece of veal aside on the large plate. Continue this breading process with the remaining veal scaloppine. Once all pieces are breaded, allow them to rest for 5-10 minutes. This resting period helps the breading adhere even more securely, preventing it from falling off during frying.
- Heat the Oil: Add the vegetable oil (or olive oil) to a large frying pan or skillet over medium-high heat. Heat the oil until it shimmers, indicating it’s hot enough for frying. To test, you can drop a tiny pinch of breadcrumbs into the oil; if they sizzle immediately, it’s ready.
- Fry the Veal: Carefully place one or two pieces of breaded veal into the hot oil, ensuring you don’t overcrowd the pan. Overcrowding will lower the oil temperature and prevent the veal from crisping. Cook for about 1-2 minutes on the first side, or until beautifully golden brown. Use tongs to gently flip the veal and cook for another 1-2 minutes on the second side, until golden brown and cooked through.
- Monitor Temperature: The internal temperature of the veal should reach 145 degrees F for optimal flavor and safety. Since the cutlets are thin, this happens quickly.
- Cook in Batches: Add more oil as needed between batches. It’s better to add a little fresh oil than to let the existing oil cool down too much. Work in batches until all the veal is cooked.
- Drain and Season: As each piece of veal finishes cooking, remove it from the skillet and place it on a paper towel-lined plate or a wire rack set over a baking sheet to drain any excess oil. Immediately sprinkle a little extra salt over the hot, fried breaded veal cutlets.
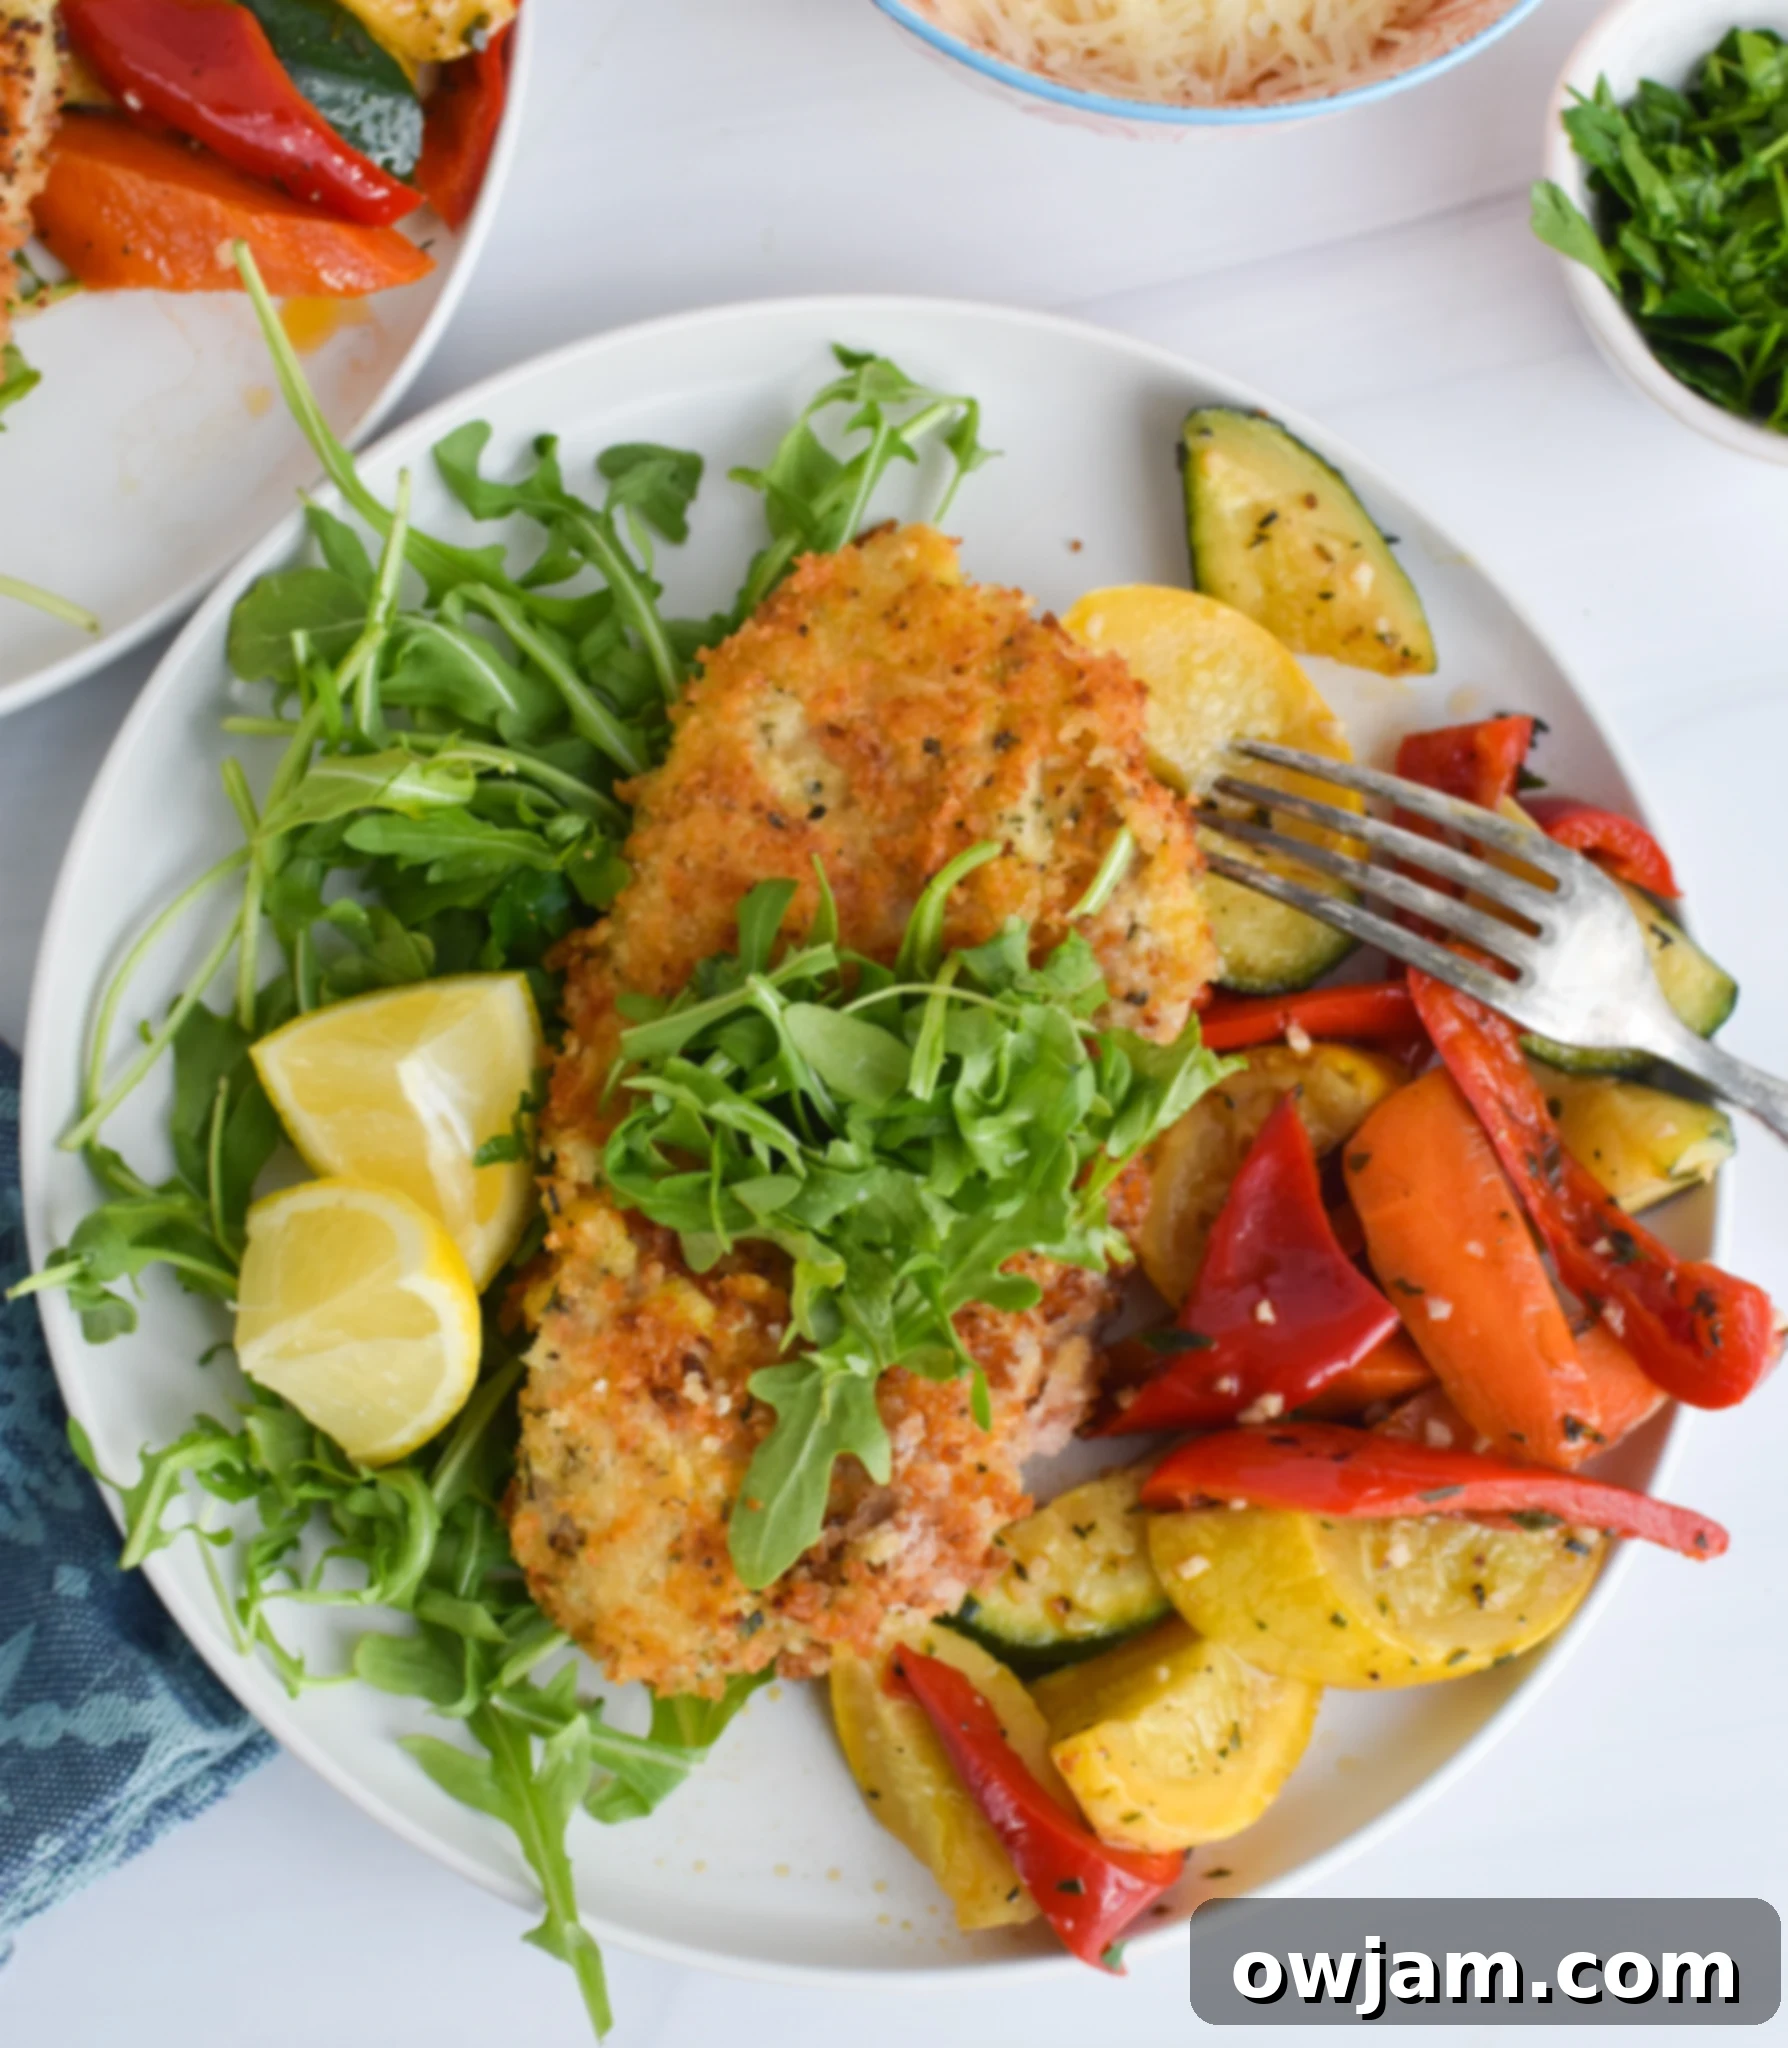
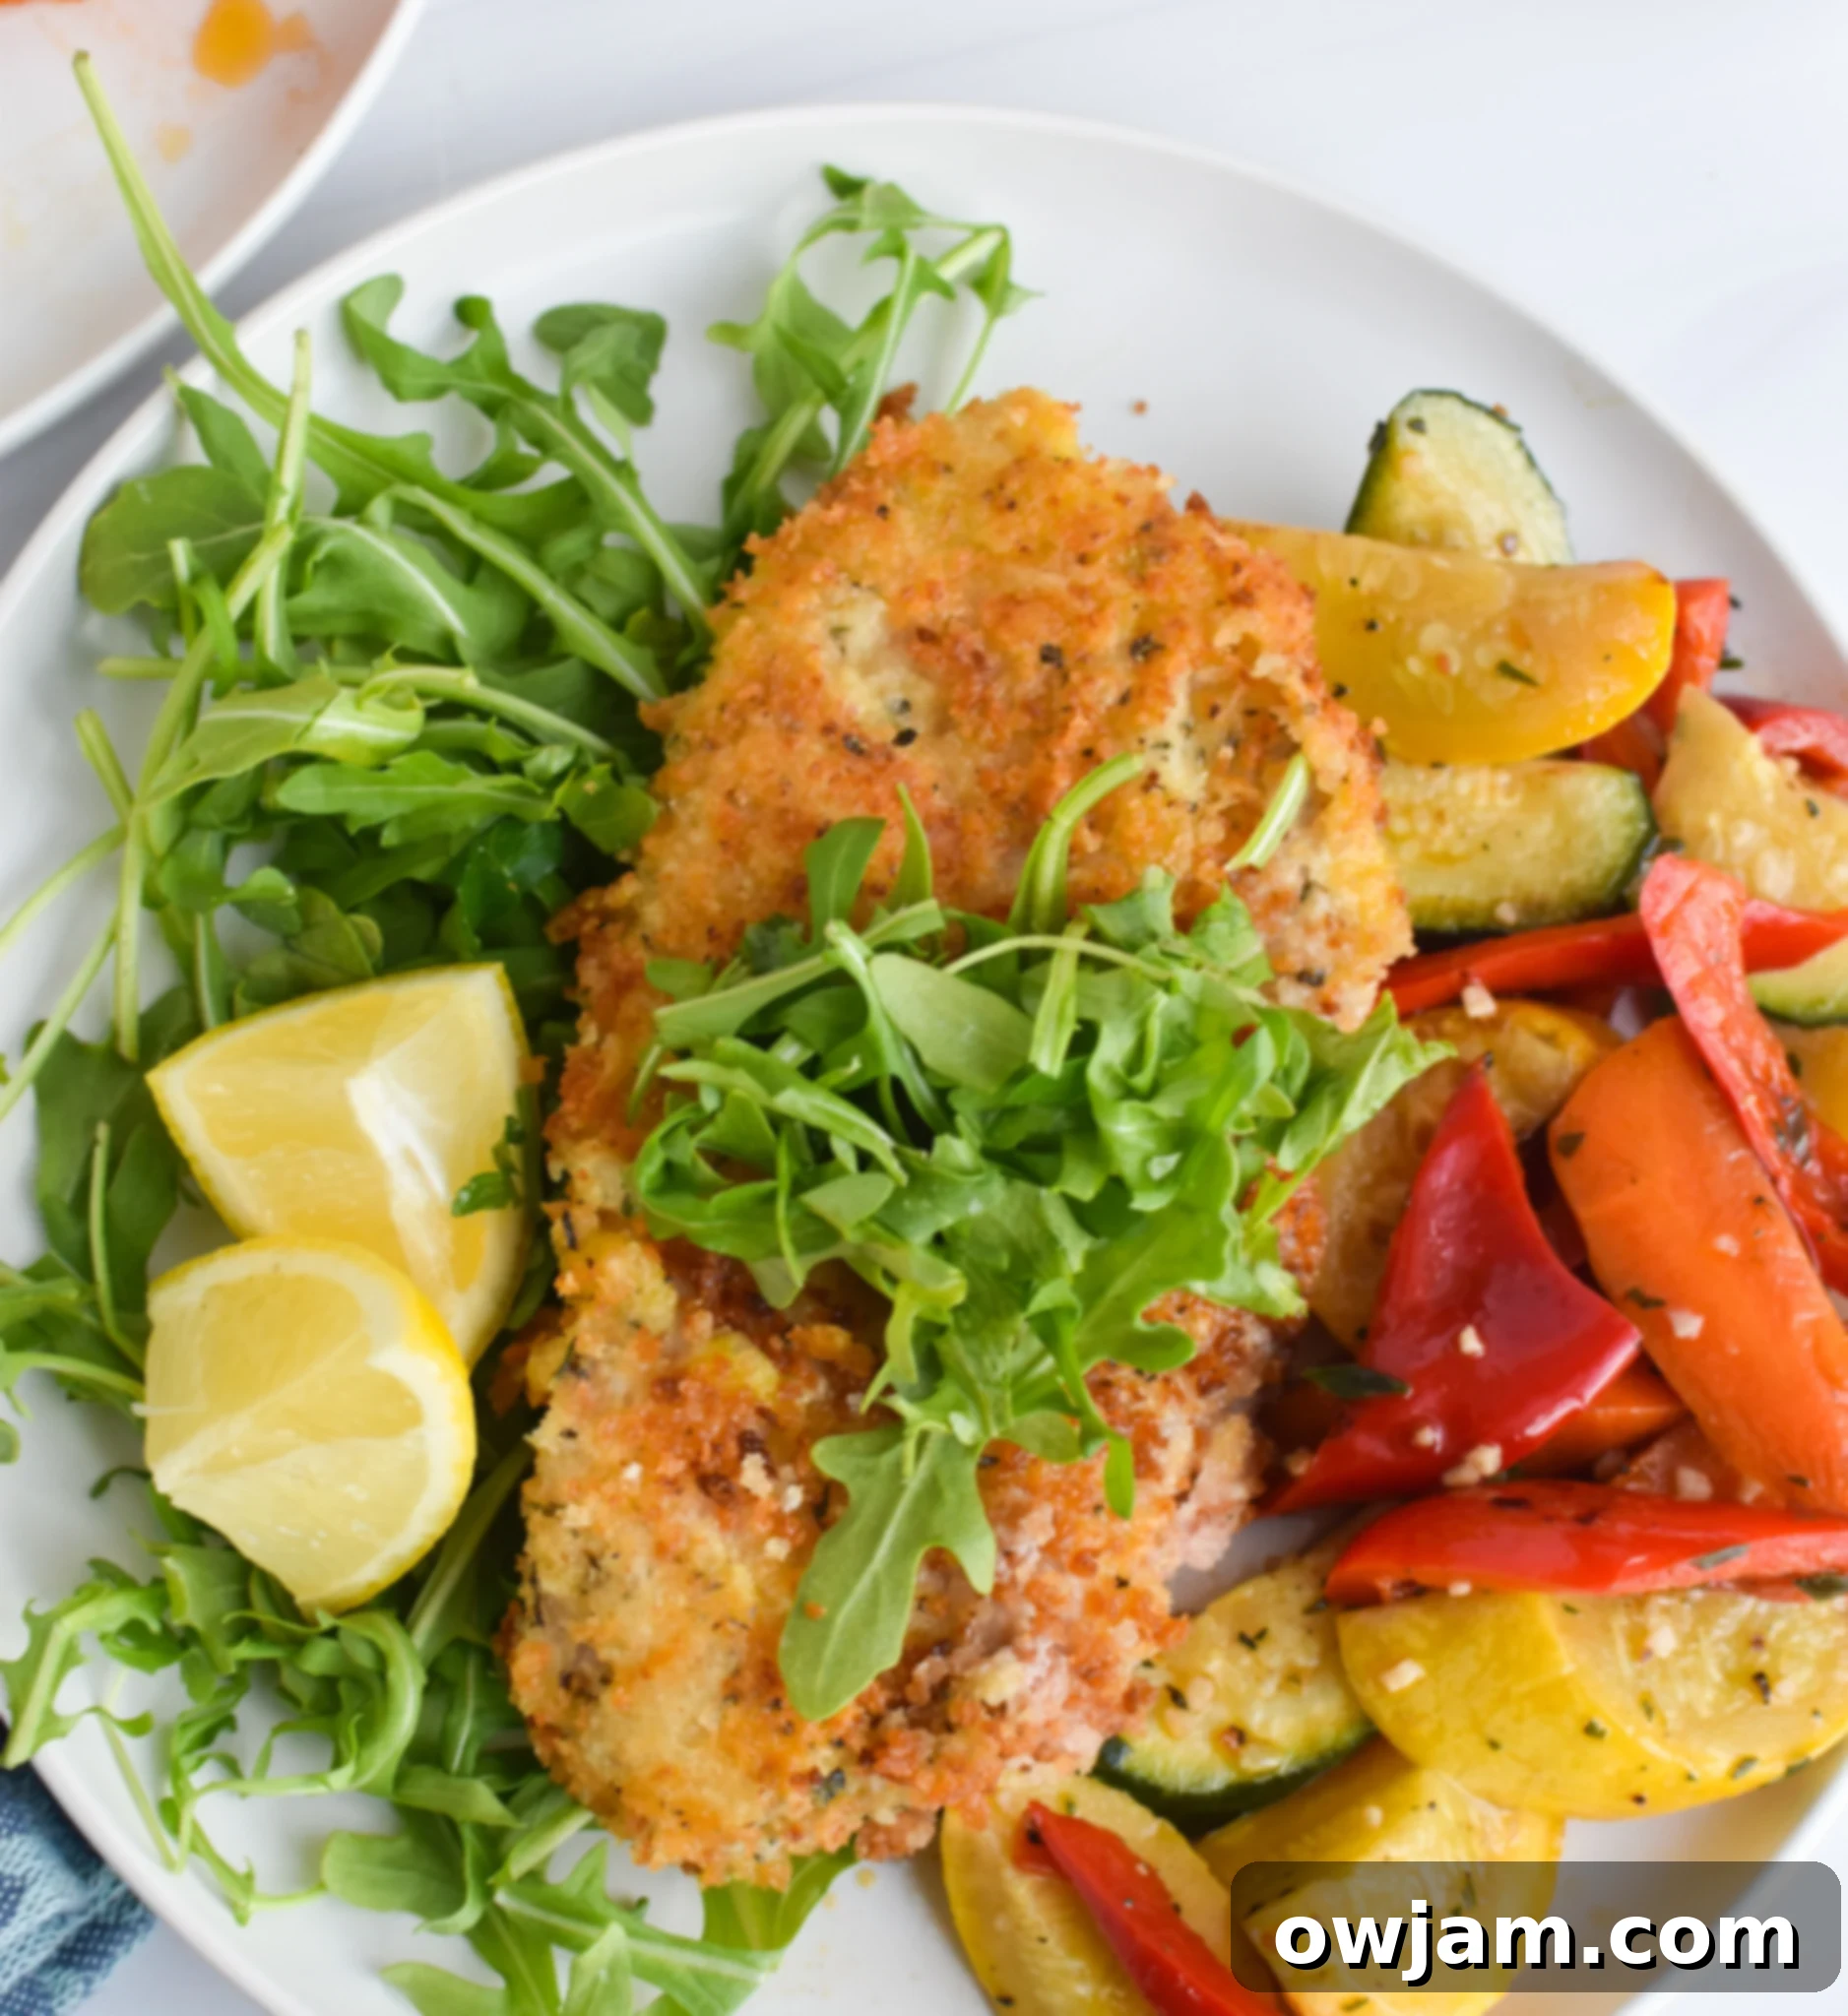
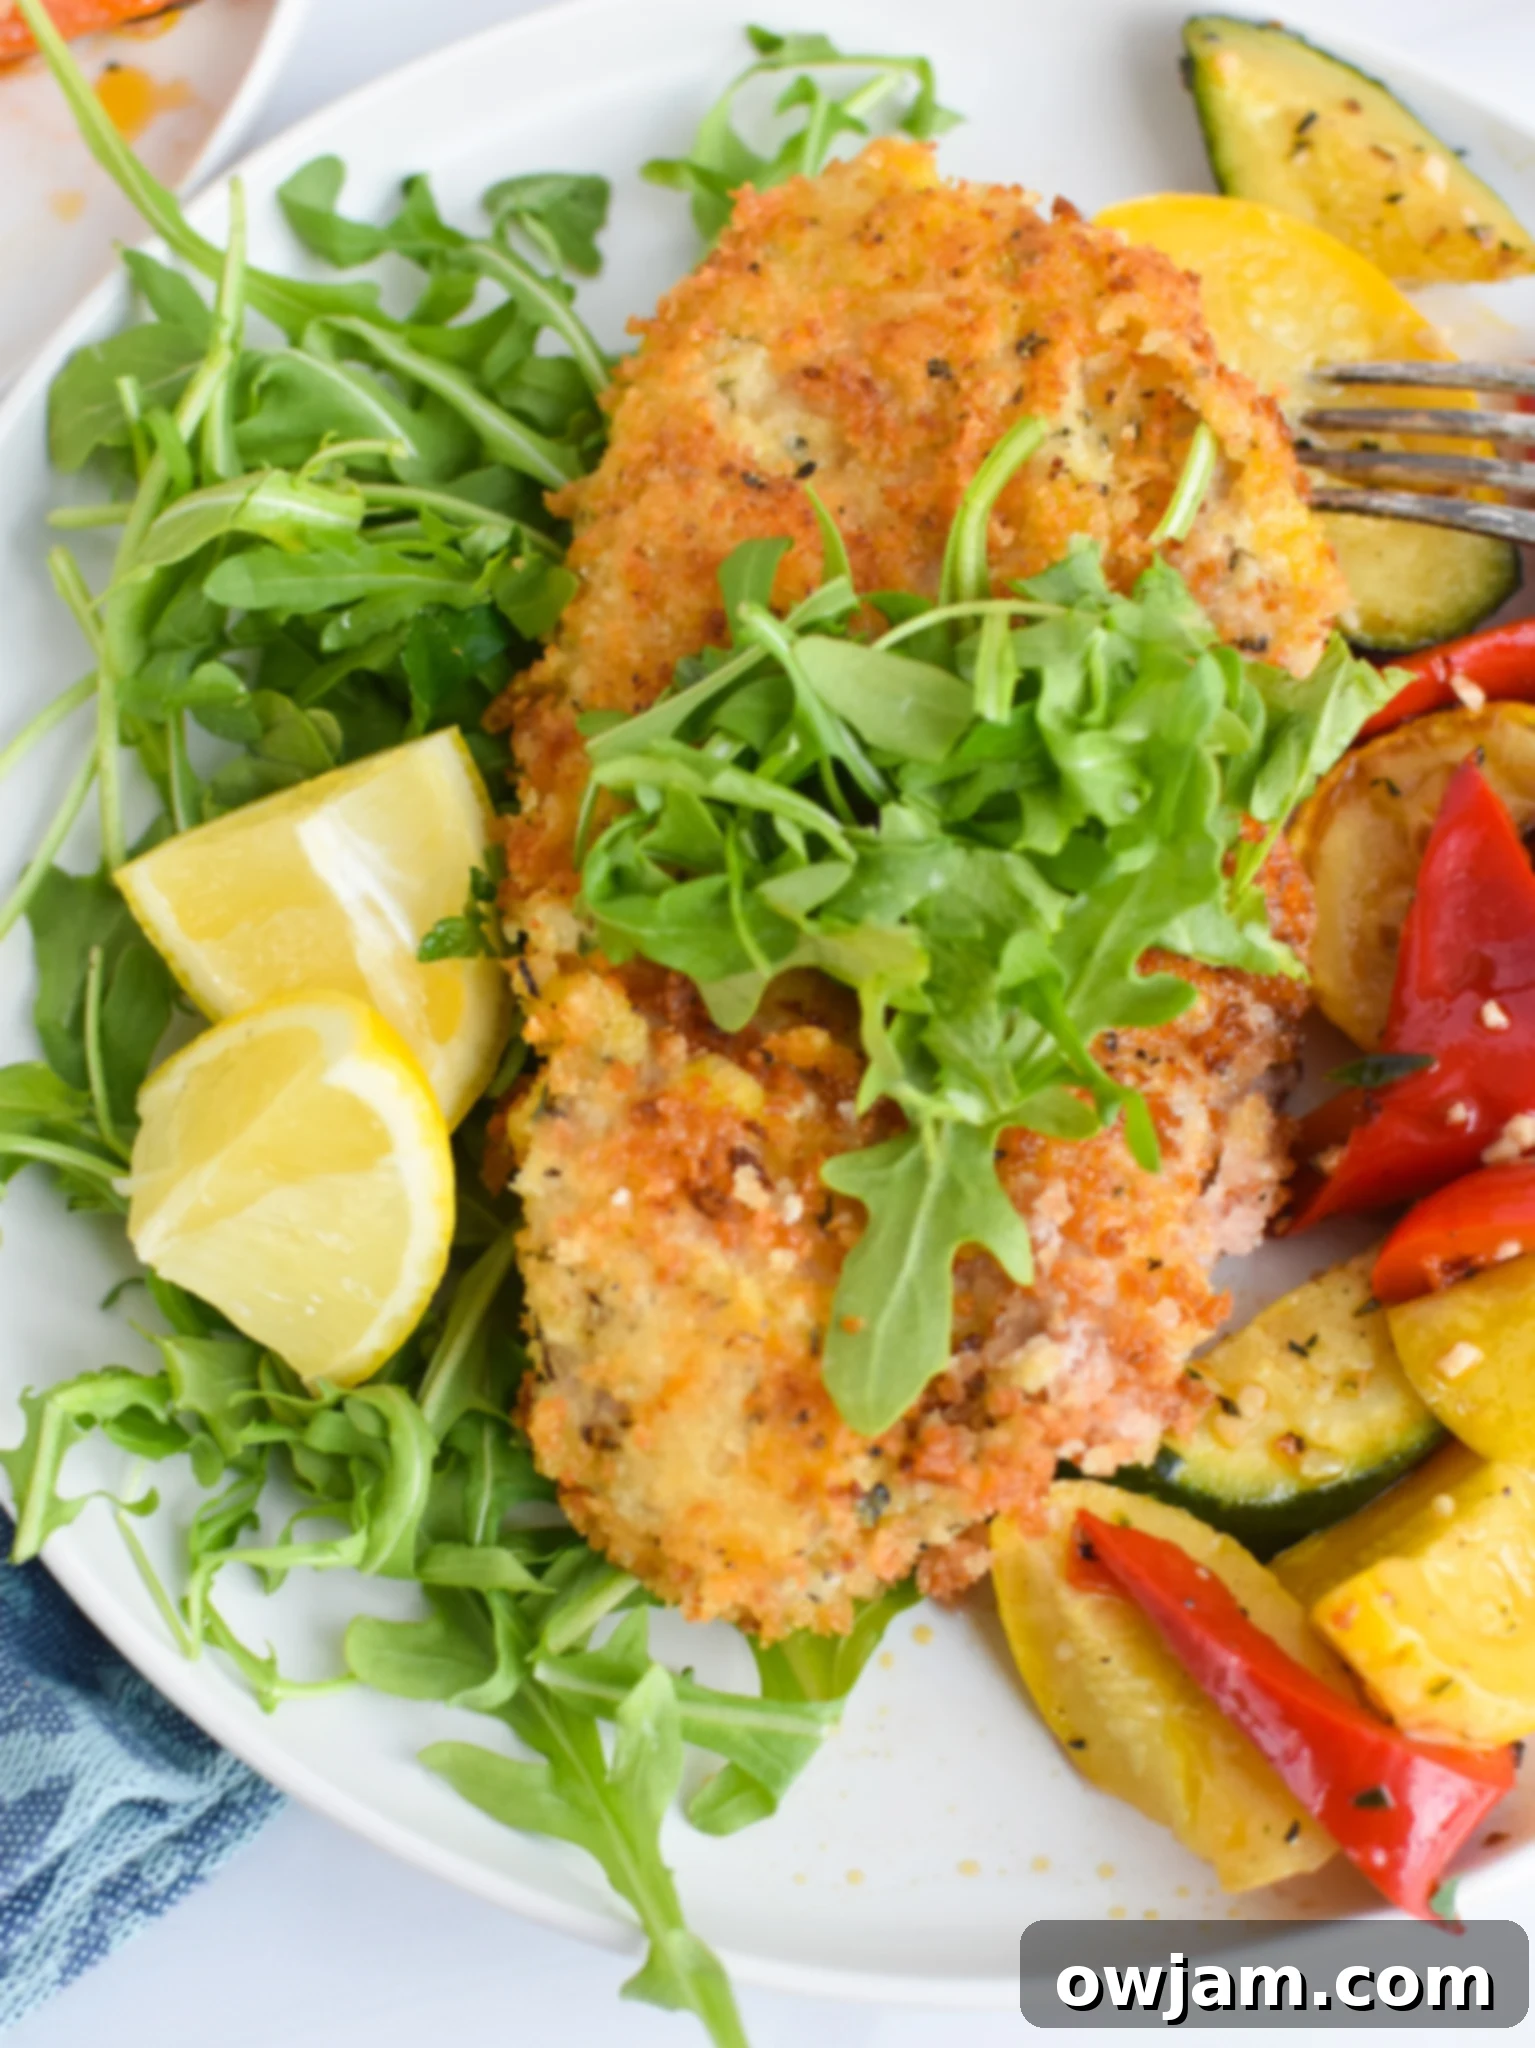
- Serve and Garnish: Plate your crispy Veal Milanese with a fresh arugula salad. For an extra burst of flavor, I love to drizzle the arugula with lemon juice and a touch of olive oil. Serve with fresh lemon wedges on the side for squeezing over the veal, and offer extra Parmesan cheese for garnish. The bright acidity of the lemon perfectly cuts through the richness of the fried veal.
Expert Tips for Perfect Veal Milanese Every Time
Achieving restaurant-quality Veal Milanese at home is easier than you think, especially with these helpful tips:
- Optimal Cooking Temperature: For the most flavorful, juicy, and tender veal, always cook it to an internal temperature of 160°F. Avoid overcooking, as veal can dry out quickly due to its leanness. The most accurate way to check doneness is by using a reliable meat thermometer.
- Enhance Flavor with Marinades or Dry Rubs: While Veal Milanese is often simply seasoned, you can elevate the flavor. Veal chops, roasts, and even cutlets can be marinated in the refrigerator for up to five days. Mixtures of oils, fresh herbs, and acidic ingredients like lemon juice, vinegar, or wine can add incredible depth. For a dry rub, combine garlic powder, onion powder, smoked paprika, and a touch of cayenne.
- Customize Your Seasoning: Beyond basil, oregano, and thyme, consider other delicious additions to your breading or directly on the veal. Freshly grated lemon peel offers a bright zest that complements the veal perfectly. Black pepper, a touch of red pepper flakes, or a robust Italian seasoning blend can all amplify the taste.
- Pound Evenly for Uniform Cooking: Ensure your veal scaloppine or cutlets are pounded to an even 1/4-inch thickness. This guarantees that each piece cooks uniformly and crisps up perfectly. Uneven pieces will result in some parts being overcooked and dry, while others are still undercooked.
- Don’t Overcrowd the Pan: When frying, work in batches. Overcrowding the skillet lowers the oil’s temperature, leading to steamed (rather than crispy) veal and a greasy result. Give each piece enough space to fry properly.
- Maintain Oil Temperature: Keep your frying oil at a consistent medium-high heat. If the oil isn’t hot enough, the breading will absorb too much oil and become soggy. If it’s too hot, the breading will burn before the veal cooks through. Adjust the heat as needed throughout the cooking process.
- Drain on a Wire Rack: After frying, transfer the cooked veal to a wire rack set over a baking sheet instead of directly onto paper towels. This allows air to circulate around the cutlets, preventing the bottom from becoming soggy and maintaining maximum crispiness.
- Trim Fat After Cooking for Juiciness: If using cuts with a thin layer of fat, it’s often best to leave it on during cooking. This helps to preserve juiciness and keeps the meat tender. Trim any unwanted fat after the veal is cooked.
- Pro Tip: Pat Dry! Always pat your veal cutlets completely dry with a paper towel before coating them. This simple step is critical for promoting excellent browning and ensuring the breading adheres beautifully without becoming gummy.
Tips for Selecting the Best Veal
Choosing the right veal is key to the success of your Easy Veal Milanese. Here’s what to look for when you’re at the butcher or grocery store:
- Color and Texture are Key: When purchasing veal, look for meat that has a creamy pink color. The texture should be fine-grained and appear firm. If there’s a thin layer of fat present, it should be milky white, indicating freshness and quality. Avoid any veal that looks grayish or has discolored fat.
- Inspect the Packaging: Before making your purchase, carefully examine the packaging. Ensure it’s cold to the touch, tightly wrapped, and free from any punctures or tears. Punctures can expose the meat to air and contaminants, affecting its freshness. Also, avoid packages that have excessive juice pooled at the bottom, as this can indicate improper handling or older meat.
- Proper Storage at Home: Once you bring your veal home, refrigerate it immediately in the coldest part of your refrigerator, usually the bottom shelf. If you don’t plan on cooking the veal within 1-2 days, it’s best to freeze it to maintain its quality and enjoy it later. When freezing, wrap it tightly in plastic wrap and then in aluminum foil or place it in a freezer-safe bag to prevent freezer burn. Don’t forget to label and date the package so you know when it was stored!
Delicious Serving Suggestions for Veal Milanese
Veal Milanese is wonderful on its own, but it pairs beautifully with a variety of sides to create a complete and satisfying meal. Here are some of my favorite ways to serve this crispy Italian delight:
- Fresh Arugula Salad: As mentioned in the recipe, a simple arugula salad dressed with lemon juice, olive oil, and a pinch of salt and pepper is a classic pairing. Its peppery notes and bright acidity perfectly cut through the richness of the fried veal. You can also add shaved Parmesan for extra flavor.
- Pasta with Light Sauce: Serve alongside a light pasta dish. A simple spaghetti aglio e olio (garlic and oil) or pasta with a fresh lemon butter sauce would complement the veal without overpowering it.
- Roasted Vegetables: Green vegetables like roasted asparagus, broccoli, or green beans are excellent choices. Their earthy flavors and slight crispness offer a lovely contrast to the veal.
- Risotto or Mashed Potatoes: For a more substantial meal, consider a creamy risotto (such as a lemon risotto) or a side of fluffy mashed potatoes. The softness of these sides provides a comforting counterpoint to the crispy veal.
- Caprese Salad: A fresh Caprese salad with ripe tomatoes, fresh mozzarella, basil, and a balsamic glaze adds vibrant colors and flavors to the plate.
- Lemon Wedges: Always serve extra lemon wedges! Squeezing fresh lemon juice over the hot veal right before eating is traditional and essential for that authentic, zesty finish.
- Wine Pairing: A crisp, dry white wine like a Pinot Grigio or a light-bodied red like a Sangiovese (Chianti) would beautifully complement the flavors of Veal Milanese.
Frequently Asked Questions (FAQ) About Veal Milanese
- What’s the difference between Veal Milanese and Veal Piccata?
Veal Milanese is a breaded and pan-fried veal cutlet, typically served plain with lemon. Veal Piccata involves pan-fried veal cutlets served in a tangy lemon-butter sauce with capers, and it is usually not breaded. - Can I bake Veal Milanese instead of frying?
While traditional Veal Milanese is pan-fried for maximum crispiness, you can bake it for a lighter option. Preheat your oven to 400°F (200°C), lightly spray the breaded cutlets with cooking spray or olive oil, and bake for about 15-20 minutes, flipping halfway, until golden and cooked through. The texture won’t be as crispy as fried, but it will still be delicious. - How do I store leftover Veal Milanese?
Store any leftover Veal Milanese in an airtight container in the refrigerator for up to 2-3 days. - What’s the best way to reheat Veal Milanese to keep it crispy?
To regain crispiness, reheat leftovers in an oven or air fryer at 350°F (175°C) for about 10-15 minutes, or until heated through and crispy. Avoid the microwave, which will make it soggy. - Can I prepare the breaded veal ahead of time?
You can bread the veal a few hours in advance. Place the breaded cutlets on a baking sheet lined with parchment paper, ensuring they don’t touch, and refrigerate uncovered. This allows the breading to dry out slightly, which can actually help with crispiness when frying. If storing longer, it’s best to freeze them individually. - Can I use other types of meat for this recipe?
Absolutely! This “Milanese style” breading and frying technique works wonderfully with other thin cuts of meat. Chicken breast (often called Chicken Milanese), pork tenderloin, or even turkey cutlets can be prepared using the exact same method for equally delicious results.
Discover More Delicious Recipes
If you love preparing flavorful meat dishes, explore these other fantastic recipes from our collection:
Beef
Lebanese Beef and Green Beans
Beef
Slow Cooker Italian Beef Sandwiches
Beef
Slow Cooker Mediterranean Beef Meatballs
Beef
Slow Cooker Mexican Beef Brisket
Tried this recipe? Leave a star rating and comment below! Subscribe to my newsletter or follow me on
Facebook,
Instagram, or
Pinterest for the latest.
Easy Veal Milanese Recipe

Pin
Ingredients
- 2 pounds thinly sliced veal scaloppine (or veal cutlets, pounded thin)
- 4 large eggs, beaten
- 1 1/2 cups all-purpose flour
- 2 cups plain dry bread crumbs (Panko for extra crispiness)
- 1/2 cup shredded Parmesan cheese {optional, but recommended}
- 2 teaspoons lemon zest {optional, for added brightness}
- 1 teaspoon dried basil
- 1 teaspoon dried oregano
- 1 teaspoon dried thyme
- 1/2 teaspoon salt, plus more for seasoning veal
- 1/8 teaspoon black pepper, plus more for seasoning veal
- 2 cups vegetable oil (or other high smoke point oil)
- Fresh arugula, for serving
- Lemon wedges, for garnish
Instructions
-
Set out three shallow dishes for your breading station.
-
In the first shallow dish, beat the eggs and season with 1/2 teaspoon salt and 1/8 teaspoon black pepper. Add the 1 1/2 cups of all-purpose flour into a second shallow dish.
-
In a third shallow dish, thoroughly mix together the 2 cups of plain dry bread crumbs, 1/2 cup of Parmesan cheese (if using), 2 teaspoons lemon zest (if using), 1 teaspoon dried basil, 1 teaspoon dried oregano, and 1 teaspoon dried thyme.
-
Pat the veal scaloppine completely dry with a paper towel. Season both sides of each piece of veal generously with additional salt and pepper.
-
Arrange the three dishes in the following order for breading: flour, then eggs, and finally the breadcrumbs. Place a large plate or a wire rack at the end of the line to hold the breaded veal.
-
Take one piece of veal and dip it first into the flour, ensuring it’s fully coated. Shake off any excess flour.
-
Next, place the floured veal into the beaten eggs, turning to coat both sides completely. Let any excess egg drip off.
-
Finally, transfer the veal to the bread crumb mixture. Press the crumbs firmly onto both sides of the veal to create a thick, even coating. Set the breaded veal aside on the plate/rack and repeat with the remaining pieces. Allow the breaded veal to rest for 5-10 minutes.
-
Add the 2 cups of vegetable oil to a large skillet or frying pan over medium-high heat. Heat the oil until it is shimmering and a tiny breadcrumb sizzles upon contact.
-
Carefully place one or two pieces of breaded veal into the hot oil, ensuring not to overcrowd the pan. Cook for about 1-2 minutes on the first side until golden brown and crispy. Use tongs to carefully turn the veal over and cook for another 1-2 minutes on the second side, until it’s also golden brown and the veal is cooked through to an internal temperature of 145°F.
-
Add more oil as needed between batches and continue cooking the remaining veal. Remove the cooked veal when it reaches the desired temperature and place it on a paper towel-lined plate or wire rack to drain. Immediately sprinkle a little extra salt over the finished fried breaded veal cutlets. Serve hot, topped with fresh arugula, and garnish with lemon wedges and extra Parmesan cheese if desired.
Notes
- You can leave out the Parmesan cheese if you like. The more traditional way to make this dish is without Parmesan cheese but I like the addition of it for extra flavor.
- You could also make this dish with veal cutlets if they are already thin, or you can pound the veal to achieve a thin, even thickness.
- For an extra crispy crust, consider using Panko breadcrumbs. They tend to absorb less oil and deliver a lighter, crunchier texture.
- Don’t be afraid to experiment with the spices! A pinch of garlic powder or onion powder can also be a delicious addition to the breadcrumb mixture.
Nutrition
Nutrition information is automatically calculated, so should only be used as an approximation.
Final Thoughts on This Easy Veal Milanese Recipe
This Easy Veal Milanese recipe proves that creating a sophisticated and utterly delicious Italian classic doesn’t have to be complicated. With tender, thinly pounded veal, a flavorful breadcrumb coating, and a quick pan-fry, you can achieve a wonderfully crispy exterior and juicy interior that will impress everyone at your table. It’s the perfect weeknight meal that feels like a special occasion.
Whether you’re new to cooking veal or a seasoned pro, this straightforward recipe is designed for success. So gather your ingredients, follow these simple steps, and get ready to enjoy a fantastic homemade Veal Milanese. Don’t forget to serve it with a squeeze of fresh lemon to truly unlock its vibrant flavors!
