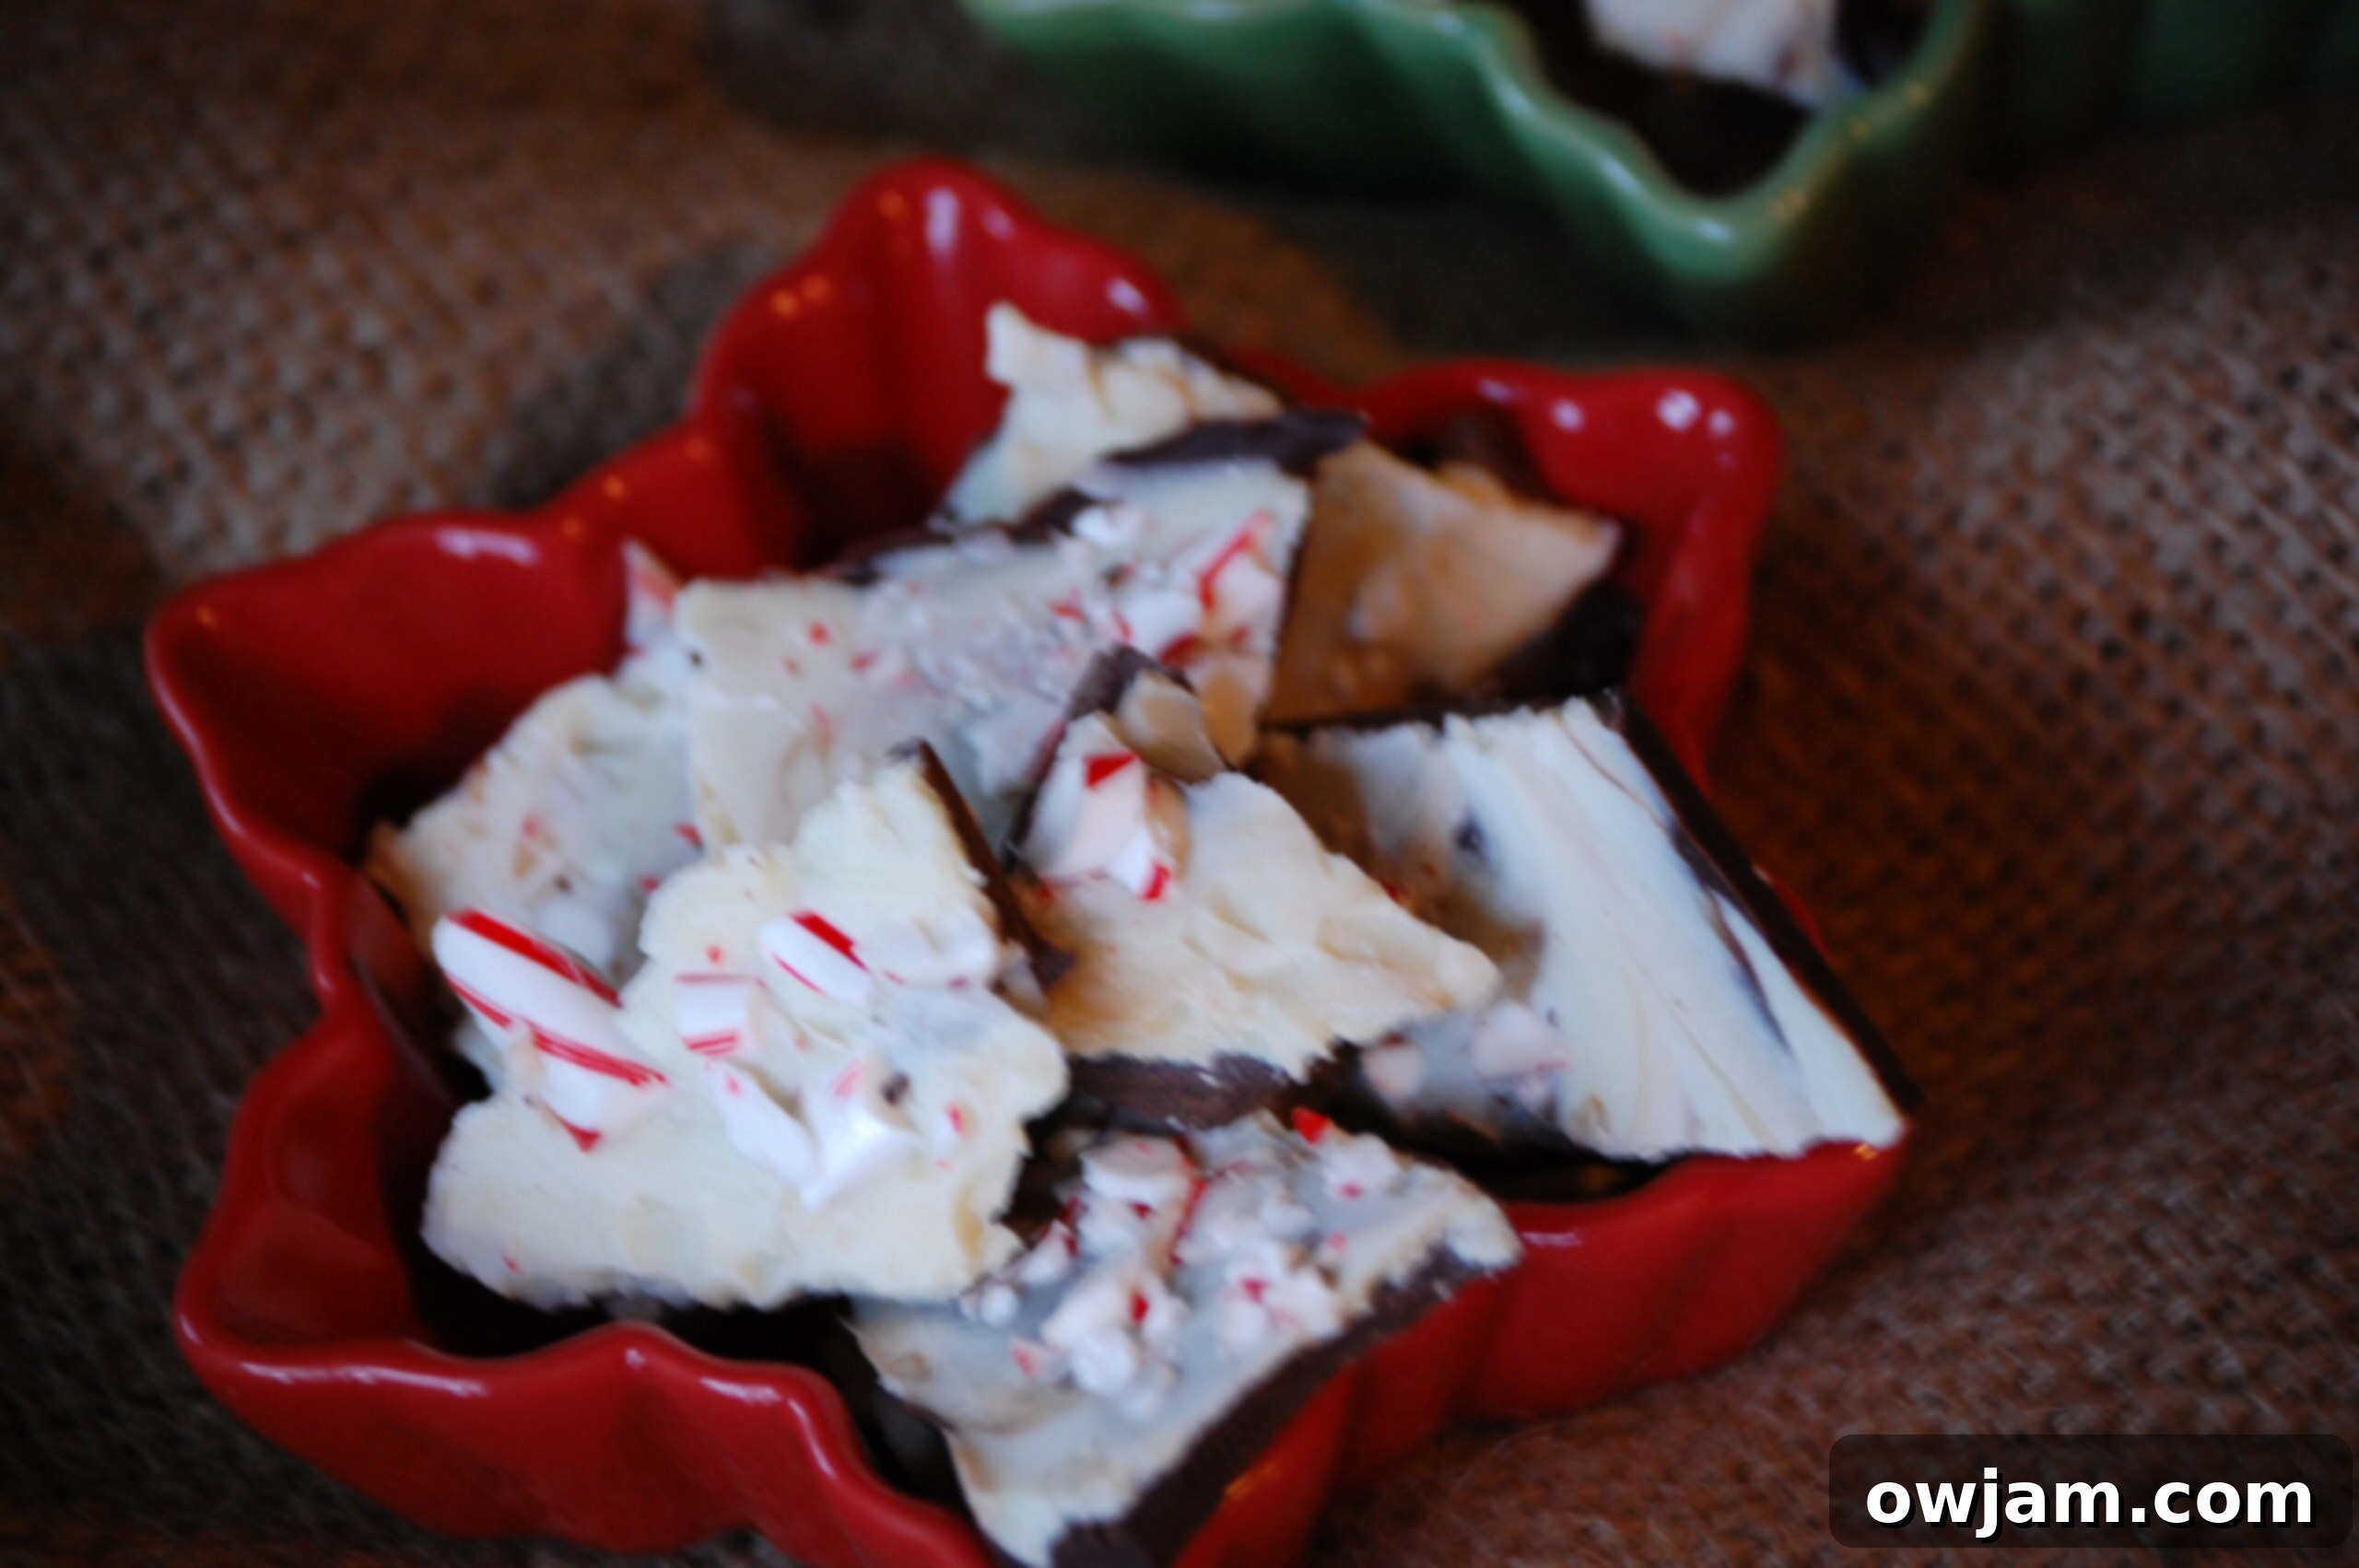
Easy Peppermint Bark Recipe: The Ultimate Holiday Treat for Gifting & Snacking
For many years, the holiday season has brought with it a delightful tradition: receiving a thoughtful gift of Peppermint Bark. The moment I see those beautiful layers of dark and white chocolate, adorned with vibrant crushed peppermint, my first and last thought is always a resounding YUM. It’s a treat that captures the essence of winter festivities, offering a refreshing minty coolness perfectly balanced by rich, smooth chocolate. It’s truly a sensory experience, from the satisfying crunch to the lingering fresh taste, making it an irresistible indulgence that always leaves me licking my fingers!
This classic holiday confection has a special place in my heart, evoking warm memories and the spirit of giving. While I’ve always cherished receiving it, a few seasons ago, I stumbled upon a fabulous blog called The Faux Martha (which I highly recommend checking out!). Melissa’s site is not only beautifully designed but her food photography is absolutely stunning, showcasing her recipes in the most appetizing way. Her gorgeous imagery and clear instructions for peppermint bark inspired me to finally try my hand at making this beloved treat myself. And what a discovery it was!
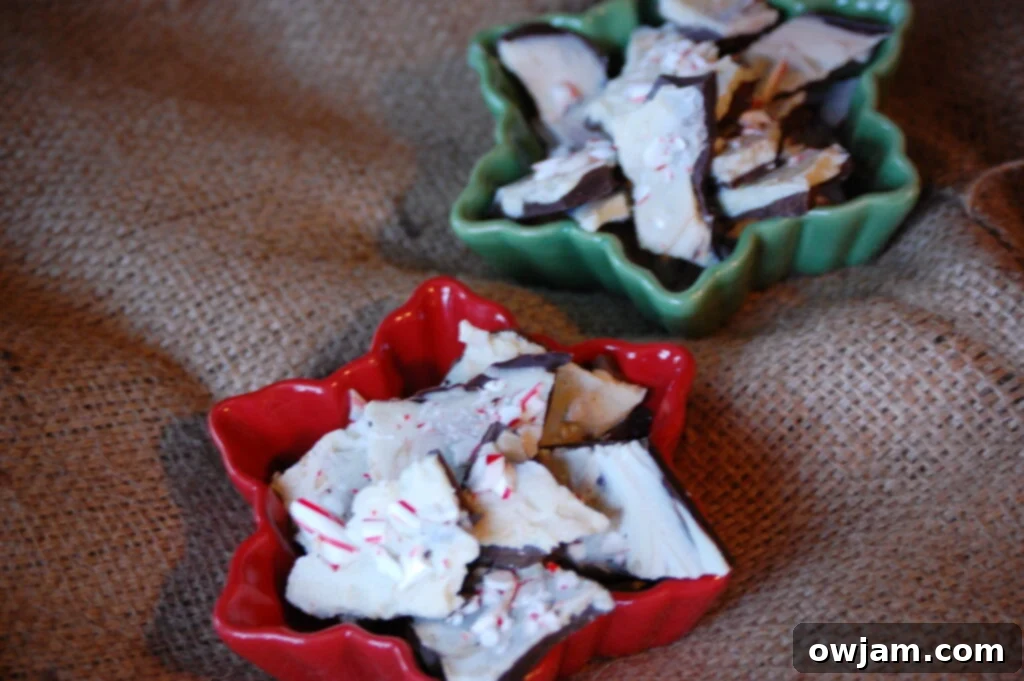
Why Make Your Own Homemade Peppermint Bark?
To my absolute delight, this Peppermint Bark recipe turned out to be one of the easiest and most rewarding sweet treats I’ve made in a very long time. It’s a deceptively simple process that doesn’t require any advanced baking skills or special equipment, making it perfect for even novice confectioners. You can easily whip up a batch in between baking cookies or preparing other holiday dishes. While the active preparation time is minimal, you’ll need to set aside about an hour to an hour and a half, primarily because of the necessary refrigeration time for each chocolate layer to set properly.
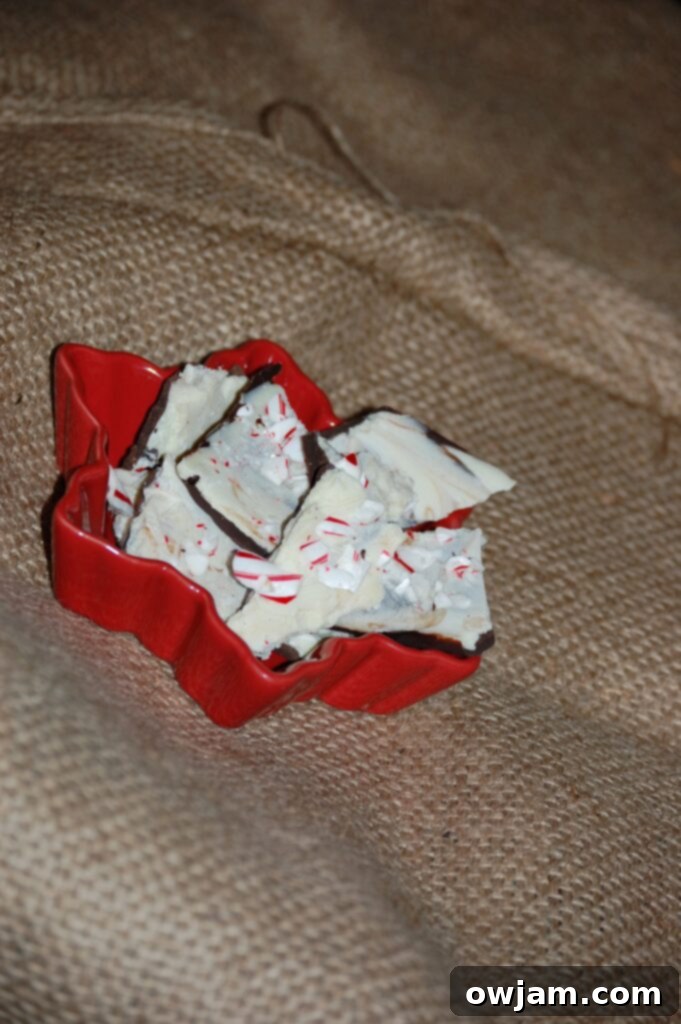
If you’re searching for an incredibly easy yet elegant gift that almost anyone on your list would adore, I wholeheartedly believe this Peppermint Bark is your perfect answer. It’s budget-friendly, customizable, and always impressive. In fact, I’m already planning to make a second batch in the coming weeks, especially since the first batch of gifts I intended to give… well, let’s just say they mysteriously disappeared and were thoroughly enjoyed! This homemade treat truly shines when presented in a lovely tin or festive bag, making it a thoughtful and delicious present for friends, family, teachers, or colleagues. It’s also fantastic for holiday parties, cookie exchanges, or simply keeping around for those unexpected sweet cravings.
Gather Your Ingredients for the Perfect Peppermint Bark
The beauty of peppermint bark lies in its simplicity. You only need a few high-quality ingredients to achieve outstanding results:
- Dark Chocolate: Approximately 12-16 ounces (340-450g). Choose a good quality dark chocolate bar or wafers with a cocoa content you enjoy, typically around 60-70%. Avoid chocolate chips for the best melting and setting results, as they contain stabilizers that can make them harder to work with for bark.
- White Chocolate: Approximately 12-16 ounces (340-450g). Again, opt for high-quality white chocolate bars or wafers. Real white chocolate contains cocoa butter, which melts smoothly and sets beautifully. “White confectionery coating” or “candy melts” can be used in a pinch, but they often lack the rich flavor and smooth texture of true white chocolate.
- Peppermint Candies/Candy Canes: About 8-10 regular-sized candy canes or an equivalent amount of other hard peppermint candies (e.g., starlight mints).
- Optional (but Recommended) Ingredient: Peppermint Extract: A small amount (1/4 to 1/2 teaspoon) can be added to the white chocolate layer to boost the peppermint flavor, especially if your candy canes aren’t intensely flavored. Be careful not to add too much, as it can thin the chocolate.
Essential Equipment You’ll Need
Beyond your ingredients, you’ll need a few basic kitchen tools:
- Baking Sheet: A standard large baking sheet (approximately 13×18 inches or similar) will work perfectly.
- Aluminum Foil or Parchment Paper: To line your baking sheet, ensuring easy removal and cleanup.
- Microwave-Safe Bowls: Two separate bowls for melting the dark and white chocolate. Alternatively, a double boiler setup can be used.
- Rubber Spatula or Spreader: For spreading the chocolate evenly.
- Meat Mallet, Rolling Pin, or Heavy Pan: For crushing the peppermint candies.
- Ziplock Bag: A sturdy freezer bag for crushing candy canes.
Step-by-Step Guide to Crafting Your Delicious Peppermint Bark
Step 1: Prepare Your Workspace
Begin by lining a large baking sheet with aluminum foil or parchment paper. Ensure the foil covers the entire surface and extends slightly over the edges, creating a non-stick base that will make removing the hardened bark much easier. Set this prepared baking sheet aside.
Step 2: Melt the Dark Chocolate Layer


Coarsely chop your dark chocolate into small, uniform pieces. This helps it melt more evenly. Place the chopped dark chocolate in a microwave-safe dish. Microwave on medium (50%) power for 3 minutes. Remove and stir thoroughly. The chocolate may not look fully melted yet, but the residual heat will continue to melt the pieces. Return to the microwave for another 1 minute on medium power. Remove and stir again until all the chocolate is completely smooth and melted. Be careful not to overheat, as chocolate can seize and become grainy.
Step 3: Create the Dark Chocolate Base
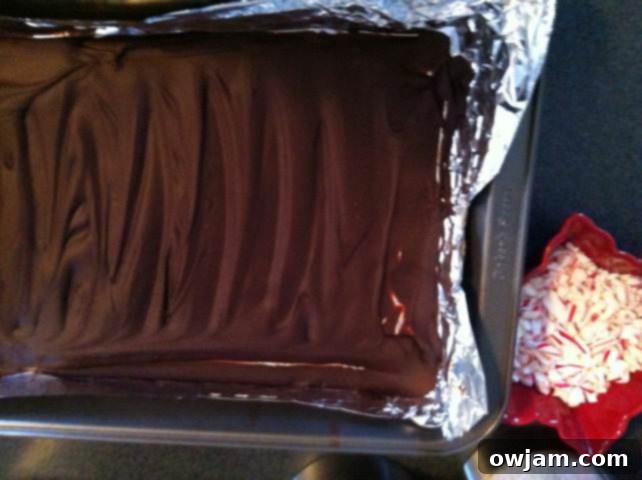
Once the dark chocolate is perfectly melted and smooth, pour it onto the prepared foiled baking sheet. Using a rubber spatula or an offset spatula, spread the chocolate quickly and evenly across the entire surface of the foil, ensuring it forms a thin, consistent layer that extends to the sides of the baking sheet. A thin layer is key for a good bark texture. Place the baking sheet in the refrigerator for approximately 45 minutes, or until the dark chocolate is completely hardened and firm to the touch.
Step 4: Crush the Peppermint Candies

While the dark chocolate is chilling in the refrigerator, prepare your peppermint topping. Unwrap the candy canes and place them in a sturdy ziplock bag. Seal the bag, pressing out as much air as possible. Using a meat mallet, rolling pin, or even the bottom of a heavy pan, carefully but firmly crush the candy canes into small, irregular pieces. You want a mix of fine dust and small crunchy bits for texture. Be careful not to create a fine powder entirely; some larger pieces add a delightful crunch. Set the crushed peppermint aside.
Step 5: Melt the White Chocolate Layer


Just like with the dark chocolate, coarsely chop the white chocolate and place it in a separate microwave-safe dish. Microwave on medium (50%) power for 3 minutes. Stir well, then microwave for another 1 minute. Remove and continue stirring until the white chocolate is completely smooth and free of any lumps. White chocolate can be more delicate than dark chocolate, so be extra careful not to overheat it. If using, stir in 1/4 to 1/2 teaspoon of peppermint extract now for an extra flavor kick.
Step 6: Assemble Your Peppermint Bark
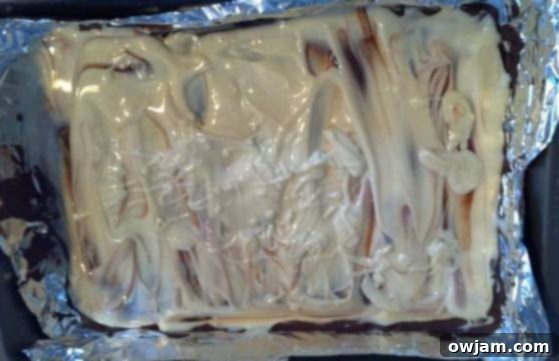
Retrieve the baking sheet with the hardened dark chocolate from the refrigerator. Carefully pour the melted white chocolate over the dark chocolate layer. Using your rubber spatula, quickly and gently spread the white chocolate evenly across the entire dark chocolate surface, ensuring it creates a smooth, continuous second layer. Work swiftly, as the cold dark chocolate will cause the white chocolate to start setting quickly.
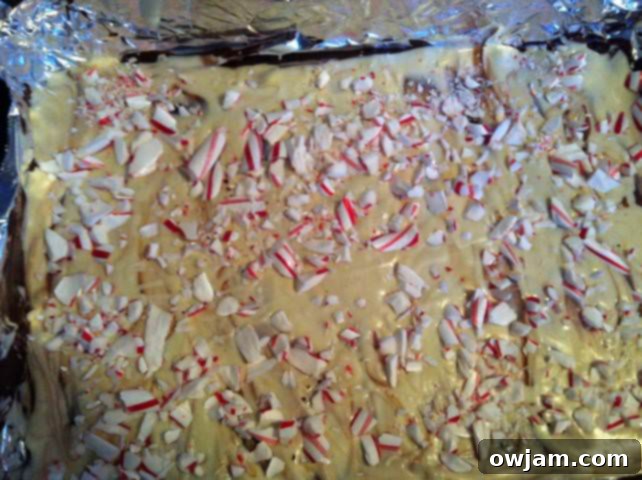
Immediately and generously sprinkle the crushed peppermint candy over the wet white chocolate layer. Gently press the peppermint pieces into the chocolate with your fingers or the back of a spatula to ensure they adhere well. This step needs to be done quickly before the white chocolate starts to set.
Step 7: Chill and Break Your Bark

Return the baking sheet to the refrigerator and chill for another 20-30 minutes, or until both chocolate layers are completely firm. Once fully hardened, carefully lift the entire sheet of bark off the baking sheet using the foil. Peel away the foil, then break the bark into irregular, bite-sized pieces using your hands. The beauty of bark is its rustic, natural shape!
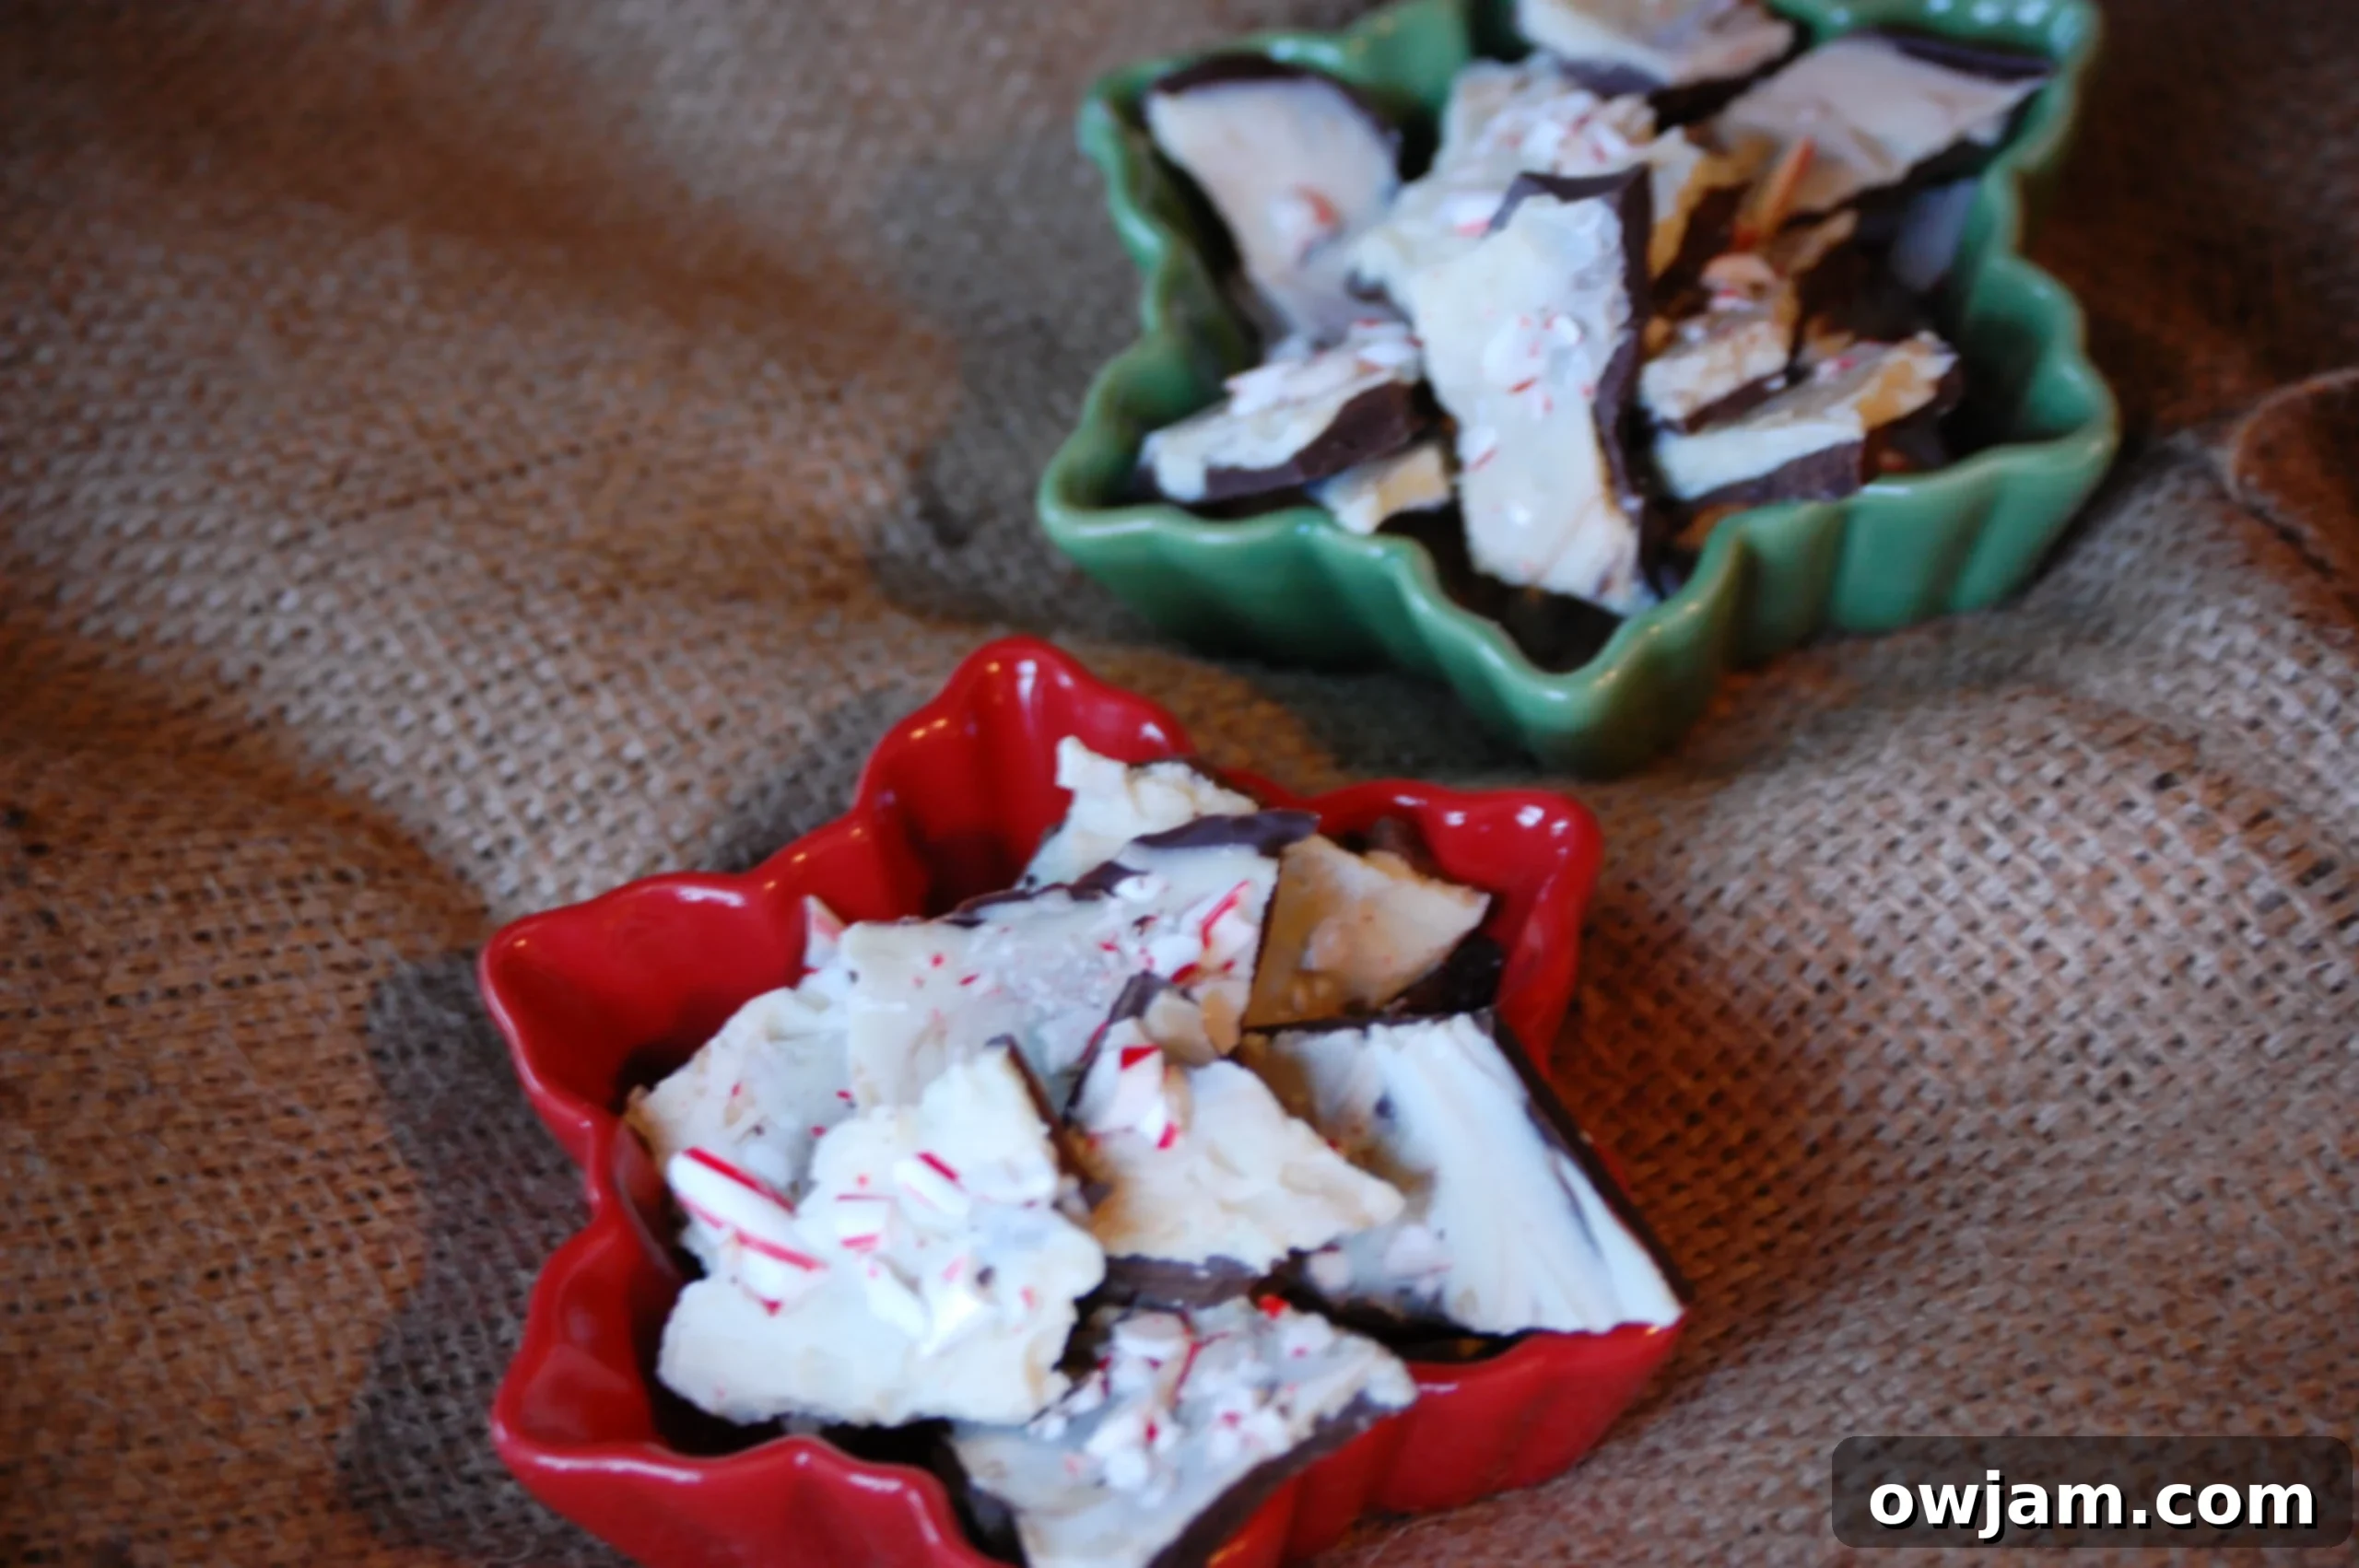
Store the broken pieces of Peppermint Bark in an airtight container in the refrigerator until you are ready to serve or gift them. This helps maintain their crisp texture and prevents the chocolate from becoming too soft.
Tips for Perfect Peppermint Bark Every Time
- Choose Quality Chocolate: The taste of your bark largely depends on the quality of chocolate you use. Invest in good chocolate bars or couverture for the best flavor and texture.
- Avoid Overheating: Chocolate can easily burn or seize if microwaved for too long or at too high a power. Use medium power and stir frequently. If using a double boiler, ensure the bowl doesn’t touch the simmering water and no steam gets into the chocolate.
- Work Quickly with White Chocolate: White chocolate tends to set faster than dark chocolate, especially when poured over a cold surface. Have your crushed peppermint ready to go before you pour the white chocolate.
- Even Layers are Key: Spread both chocolate layers as evenly as possible to ensure each piece has a balanced ratio of dark and white chocolate.
- Storage: Always store peppermint bark in an airtight container in the refrigerator. This keeps it firm and prevents the peppermint from getting sticky. It can last for several weeks!
- Experiment with Toppings: While classic crushed candy canes are traditional, consider adding a sprinkle of sea salt, a drizzle of contrasting chocolate, or even other crushed hard candies for a unique twist.
Variations to Keep Things Exciting
Once you’ve mastered the classic recipe, feel free to get creative!
- Different Chocolates: Try milk chocolate for the base, or use a combination of dark, milk, and white for a triple chocolate effect.
- Flavor Extracts: A touch of almond or vanilla extract can be a lovely addition to the white chocolate layer.
- Added Crunch: Mix in some chopped nuts (like almonds or pistachios) or pretzel pieces into the dark chocolate layer before it sets for extra texture.
- Holiday Sprinkles: Instead of or in addition to peppermint, sprinkle festive holiday sprinkles for a colorful touch, especially if making it for children.
Frequently Asked Questions (FAQs) About Peppermint Bark
- How long does homemade peppermint bark last?
- When stored properly in an airtight container in the refrigerator, homemade peppermint bark can last for 2-3 weeks, or even longer. The cool temperature helps maintain its texture and prevents the chocolate from blooming.
- Can I use chocolate chips instead of bars/wafers?
- While chocolate chips can technically melt, they contain stabilizers that prevent them from melting as smoothly or setting as firmly as quality chocolate bars or wafers. For the best bark texture and taste, it’s highly recommended to use baking chocolate bars or couverture chocolate.
- Why did my chocolate seize?
- Chocolate seizes when even a tiny amount of water or steam comes into contact with it during melting. This causes the chocolate to clump up and become grainy. To avoid this, ensure your bowls and utensils are completely dry, and if using a double boiler, make sure no steam escapes into the chocolate.
- Can I make this dairy-free or vegan?
- Yes! There are many excellent dairy-free dark and white chocolate options available. Just be sure to check the ingredients to confirm they are suitable for your dietary needs.
Slightly Adapted From The Faux Martha
If this incredibly easy and delightful Peppermint Bark recipe doesn’t get you in the mood to cook, bake, and celebrate the holidays, I honestly don’t know what will! It’s a joyful treat to make and an even more joyful one to share. So go ahead, treat yourself and your loved ones to this festive classic.
_________________________________________________________
What is your favorite holiday sweet to make? Share your go-to festive recipe or treat below in the comments!
Julia
