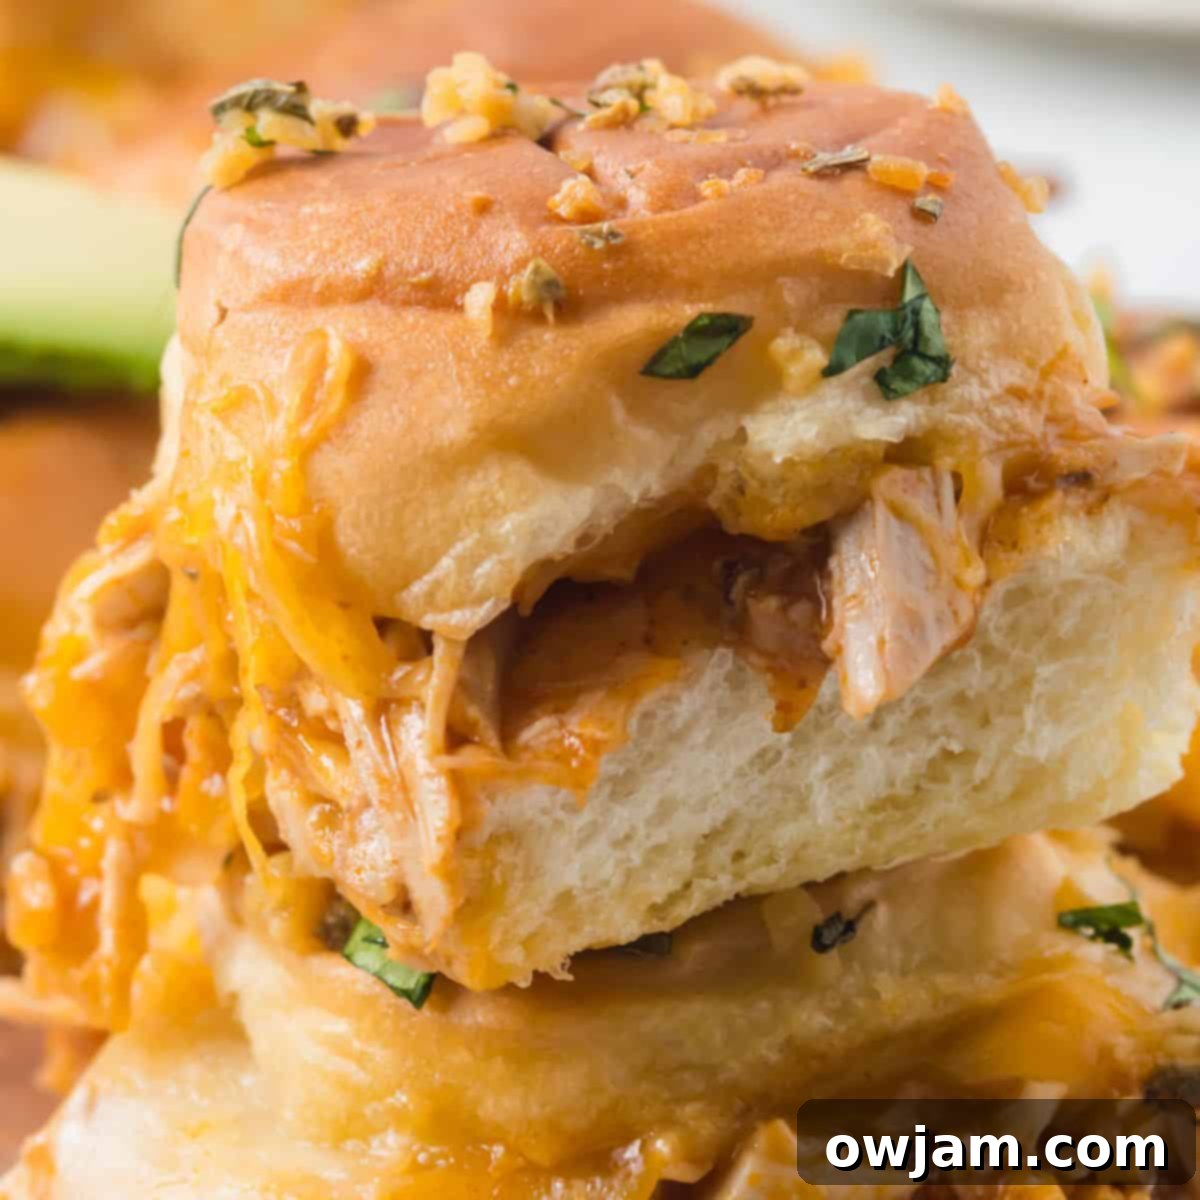
Easy & Delicious Chicken Enchilada Sliders: The Ultimate Party Appetizer & Weeknight Meal
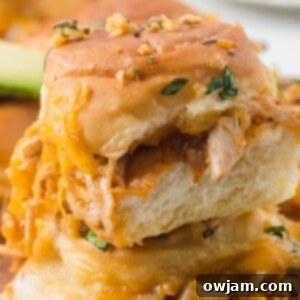
Prepare for a flavor fiesta with these incredible Chicken Enchilada Sliders! These mini sandwiches are a fantastic way to transform leftover roast chicken into something truly special. Imagine tender shredded chicken, generously coated in zesty enchilada sauce, mingled with sautéed onions, fresh garlic, and gooey melted cheese, all nestled between soft slider rolls. Baked to golden perfection, these warm, savory sliders deliver a Mexican-inspired twist that your family and guests will absolutely adore. They’re quick, easy, and undeniably delicious, making them ideal for everything from busy weeknight dinners to festive game-day gatherings.
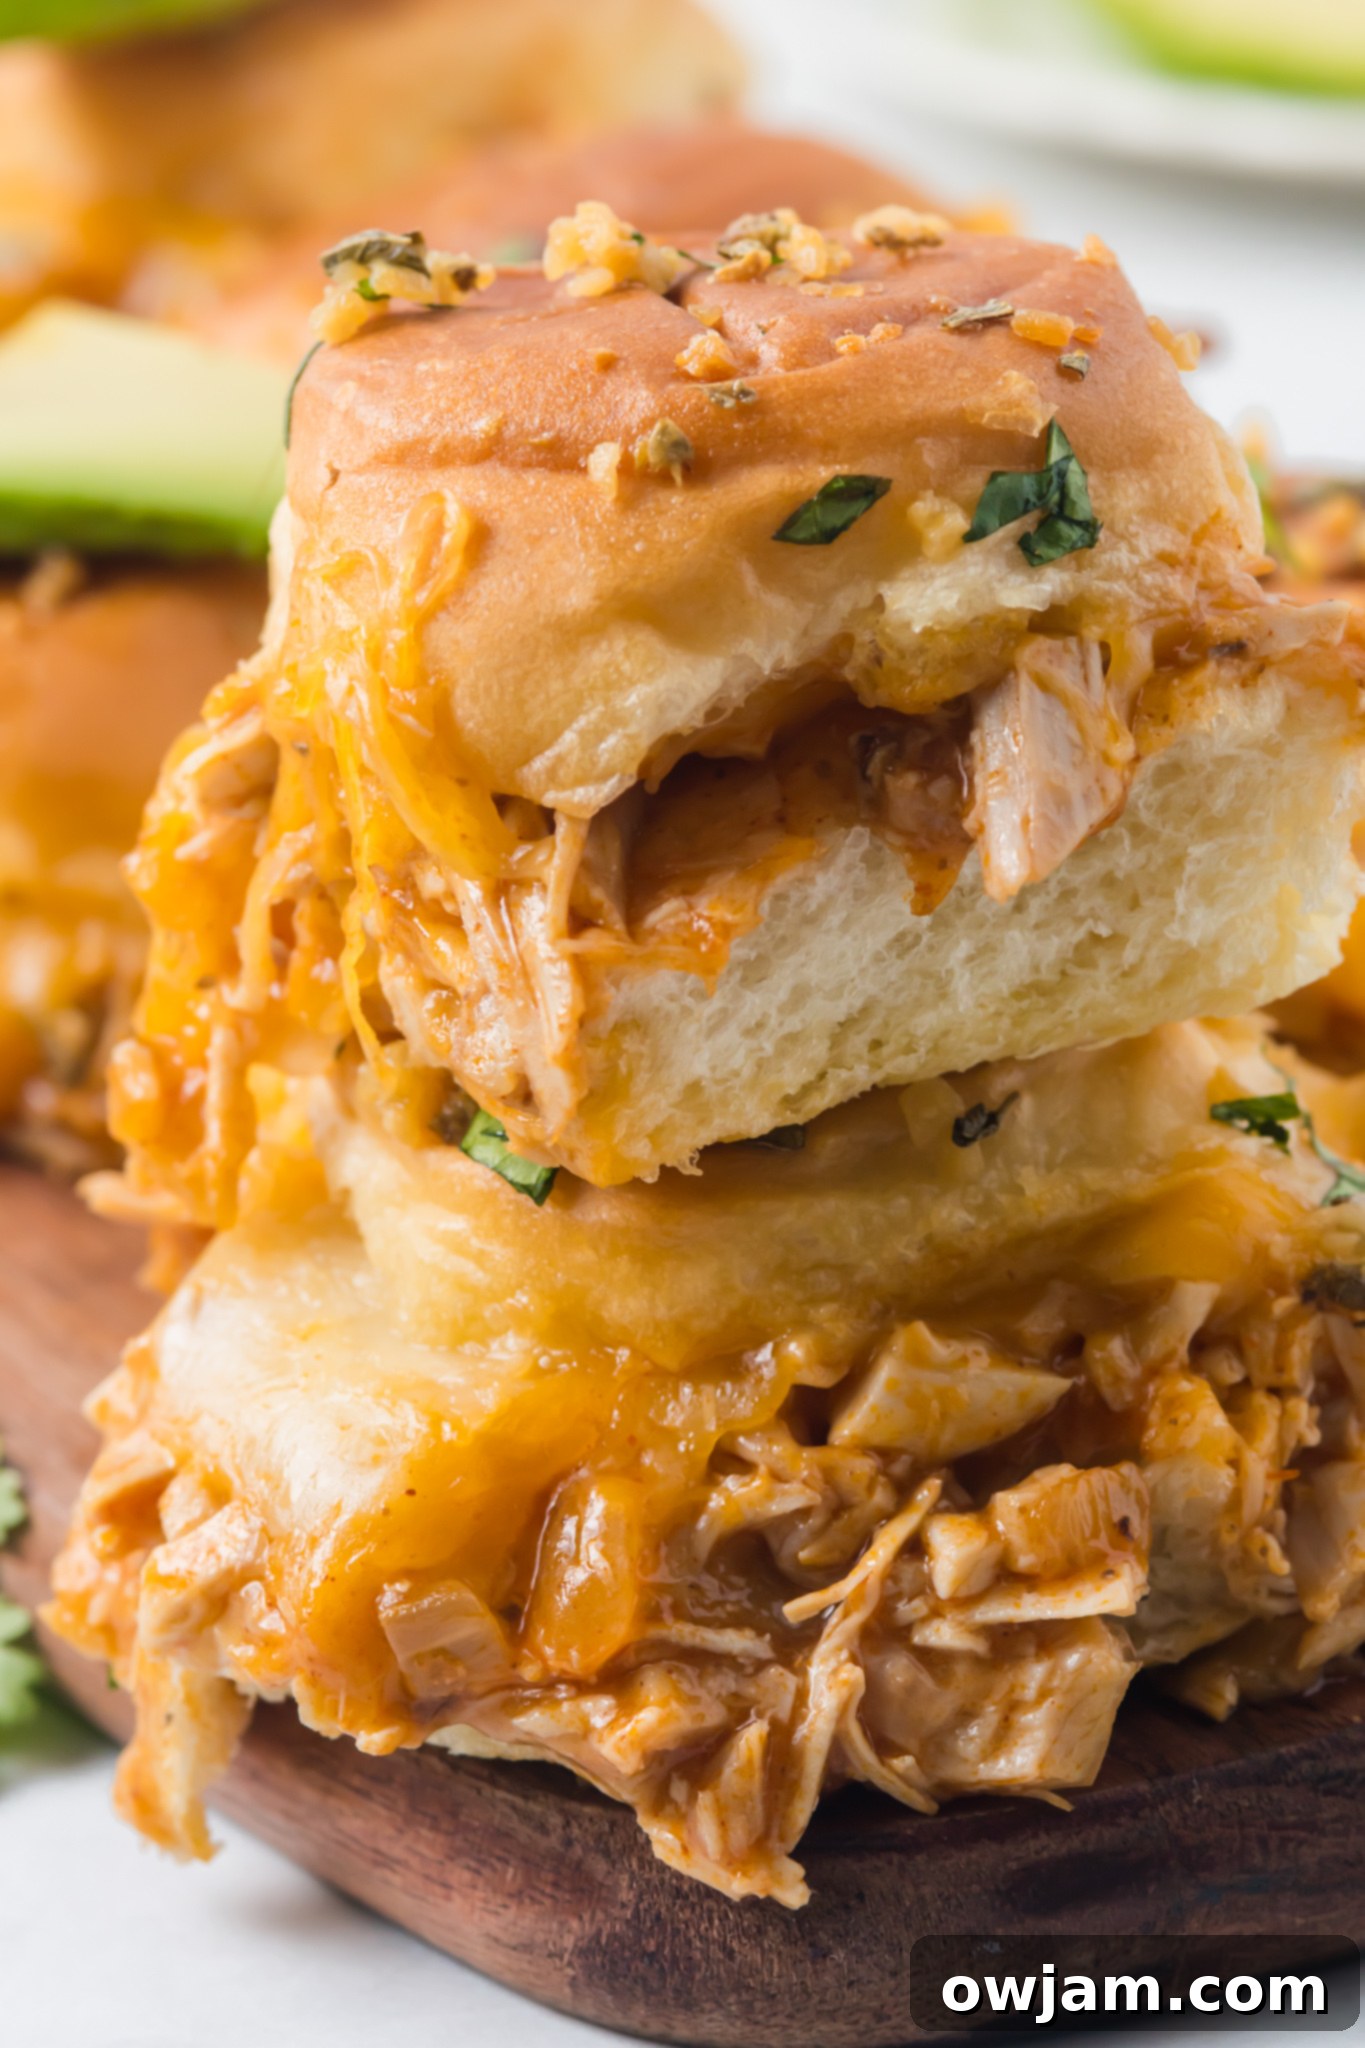
Why These Chicken Enchilada Sliders Are a Must-Try!
These Chicken Enchilada Sliders aren’t just another recipe; they’re a game-changer! With only 20 minutes of prep time and another 20 minutes in the oven, they are the definition of a perfect, quick weeknight meal. But their appeal doesn’t stop there. They are exceptionally versatile, making them a fantastic choice for:
- Effortless Entertaining: Feeding a crowd has never been easier. These sliders are consistently a huge hit at parties, tailgates, and game-day spreads. I often prepare a tray of these alongside my Easy Chicken Sliders when hosting a large gathering – they disappear fast!
- Smart Use of Leftovers: Have leftover rotisserie chicken? Or perhaps some delicious herb roasted turkey from Thanksgiving? These sliders are an ingenious and flavorful way to give those leftovers a second life. You can also easily prepare shredded chicken specifically for this recipe using Instant Pot Shredded Chicken or Slow Cooker Shredded Chicken.
- Irresistible Flavor Combination: The rich, savory chicken filling infused with authentic enchilada sauce, paired with melted cheese and a buttery, herbed topping, creates an explosion of Mexican-inspired flavors that will have everyone reaching for more.
If you’re a fan of delicious sliders with a creative twist, you might also enjoy exploring my other popular slider recipes like Roasted Beef Sliders, Taco Beef Sliders, or Easy Chicken Parmesan Sliders.
Essential Ingredients for Your Enchilada Sliders
Crafting these delectable sliders requires a handful of simple, readily available ingredients. Here’s a detailed overview of what you’ll need to create the perfect balance of flavors and textures. For precise measurements and printable instructions, please refer to the recipe card below.
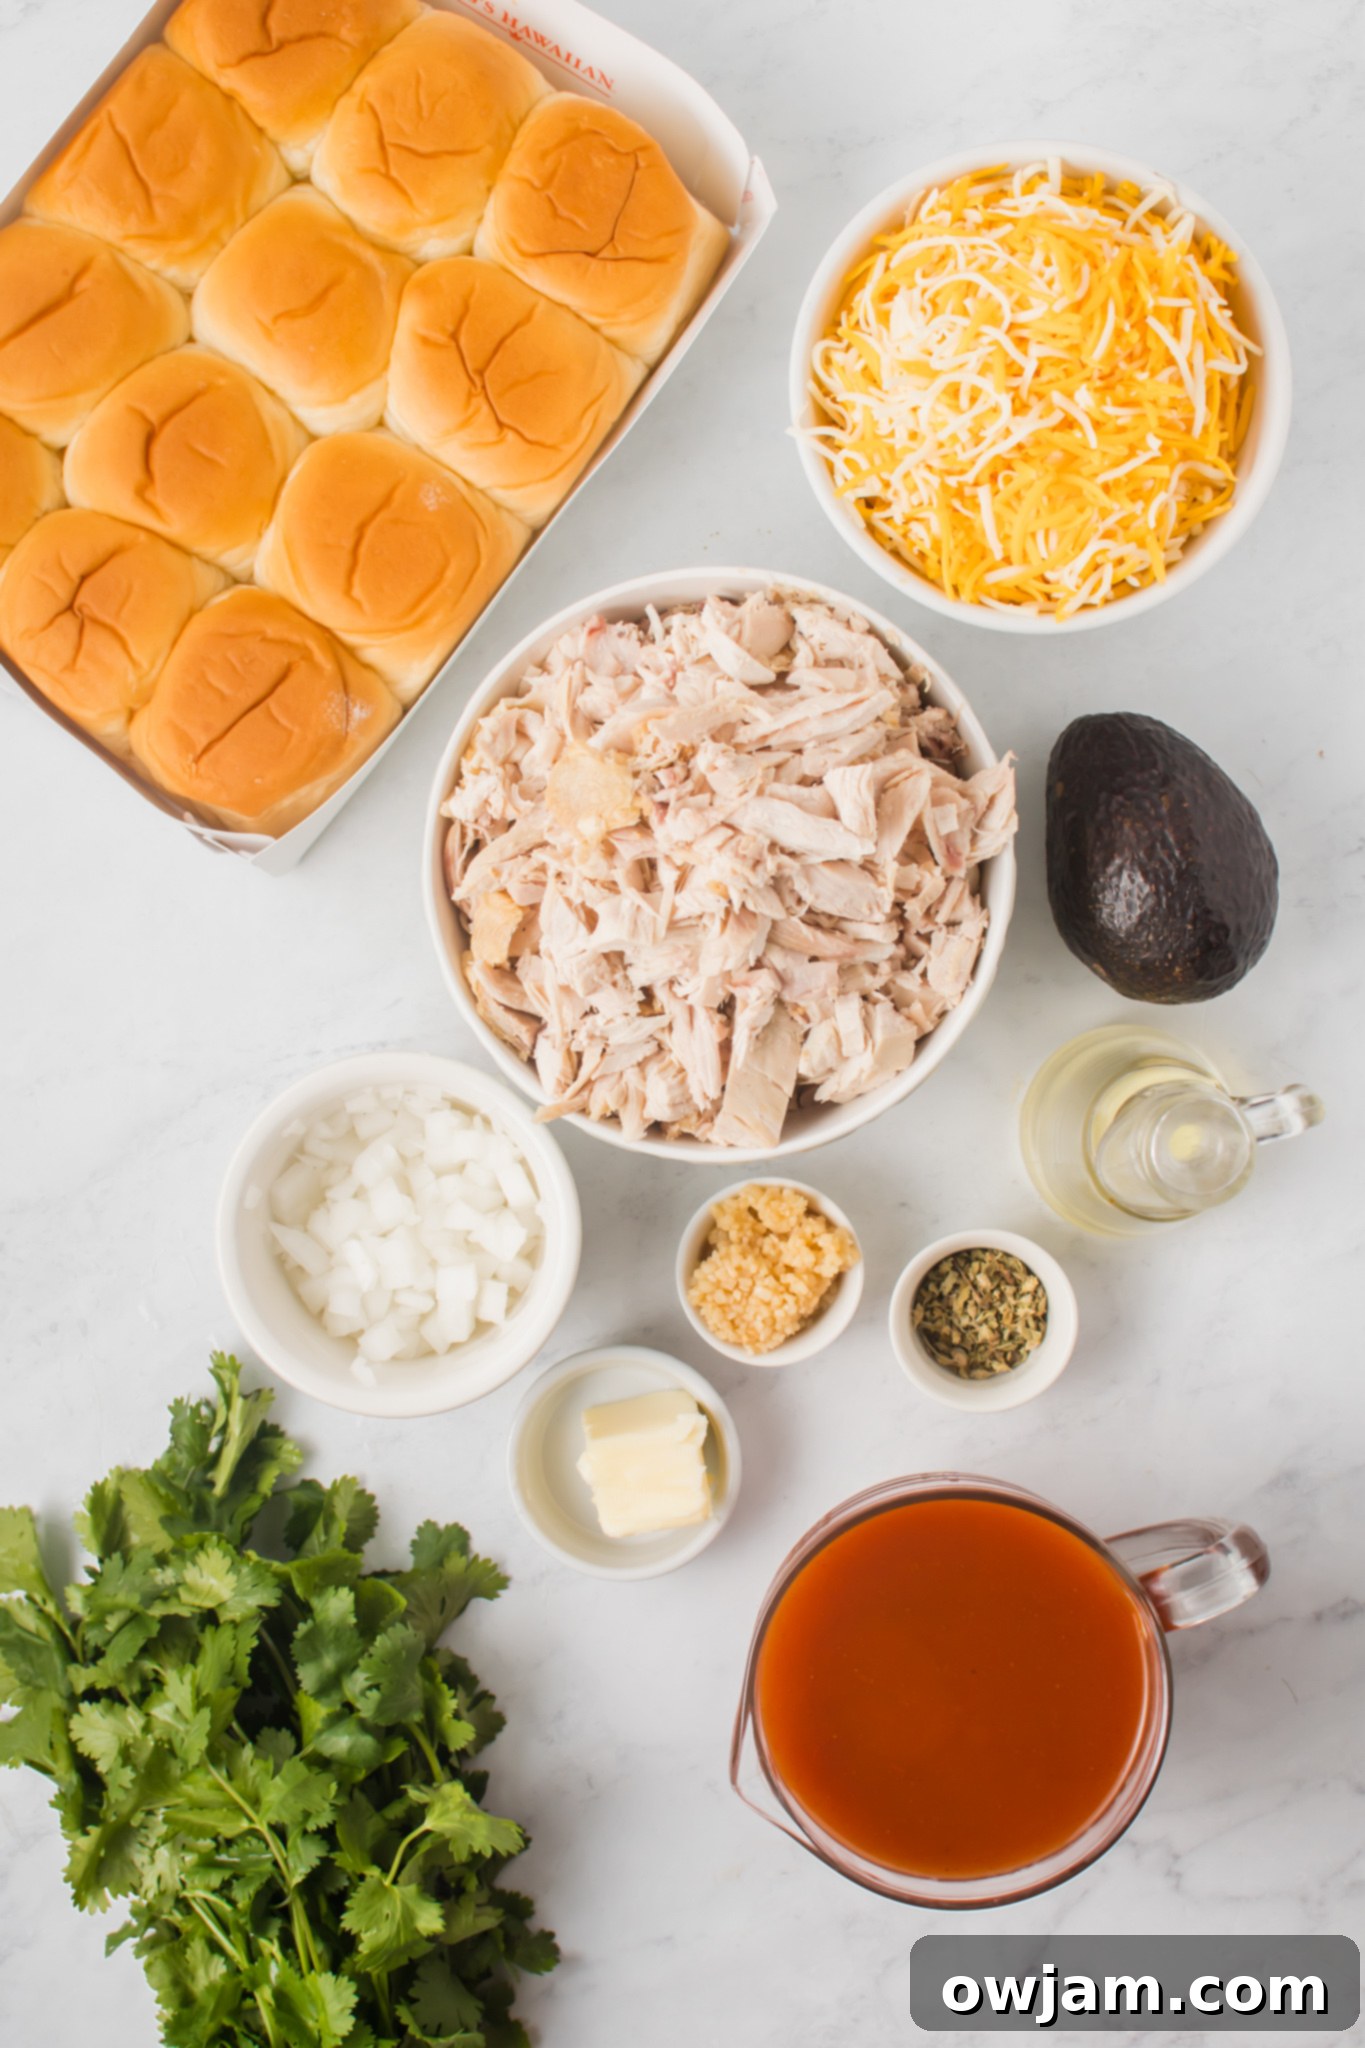
- Onion: For a robust and savory foundation, I highly recommend using a white or yellow onion. Their assertive flavor holds up beautifully against the enchilada sauce. However, if you prefer a slightly milder touch, a red onion can also be used, though its color might bleed slightly into the filling.
- Garlic: Freshly minced garlic is always best for maximum aromatic flavor. It adds an irreplaceable depth to the chicken filling. If fresh isn’t an option, garlic paste is a convenient alternative that still delivers good flavor.
- Chicken: The star of the show! Cooked and shredded chicken is what you’ll need. Rotisserie chicken is a personal favorite for its convenience and rich flavor, but any pre-cooked chicken will work perfectly. This recipe is also fantastic for repurposing leftover turkey from holiday feasts, giving it a vibrant Mexican makeover.
- Enchilada Sauce: This is where the “enchilada” magic happens! Feel free to use your favorite brand of store-bought enchilada sauce for ultimate ease. If you’re feeling ambitious and want to customize the flavor, a homemade version will also yield delicious results.
- Cheese: A generous layer of shredded cheese is crucial for that irresistible, melty goodness. A Mexican blend cheese is ideal, offering a mix of flavors that complement the enchilada profile. Other excellent choices include mozzarella for a creamy melt, pepper jack for a slight spicy kick, or sharp cheddar for a more pronounced cheesy taste.
- Slider Rolls: The perfect vessel for our flavorful filling! Look for soft, sweet Hawaiian-style slider rolls or similar dinner rolls that come connected, making them easy to slice and assemble.
- Butter: Used to create a luscious, savory topping for the rolls. Both salted and unsalted butter work, just adjust any added salt if using salted butter.
- Dried Herbs: Mexican oregano is my top pick for the topping, providing an authentic earthy, peppery flavor that pairs wonderfully with the enchilada filling. While optional, it truly elevates the sliders. Alternatively, you can sprinkle a pinch of crushed red pepper flakes for heat or Italian seasoning for a different aromatic touch.
- Olive Oil: Used for sautéing the vegetables, providing a healthy base and helping to develop their flavors.
- Fresh Cilantro & Avocado (Garnish): Freshly chopped cilantro adds a bright, herbaceous finish, while sliced avocado offers a creamy contrast and a touch of healthy fat. These garnishes are highly recommended for the best flavor and presentation.
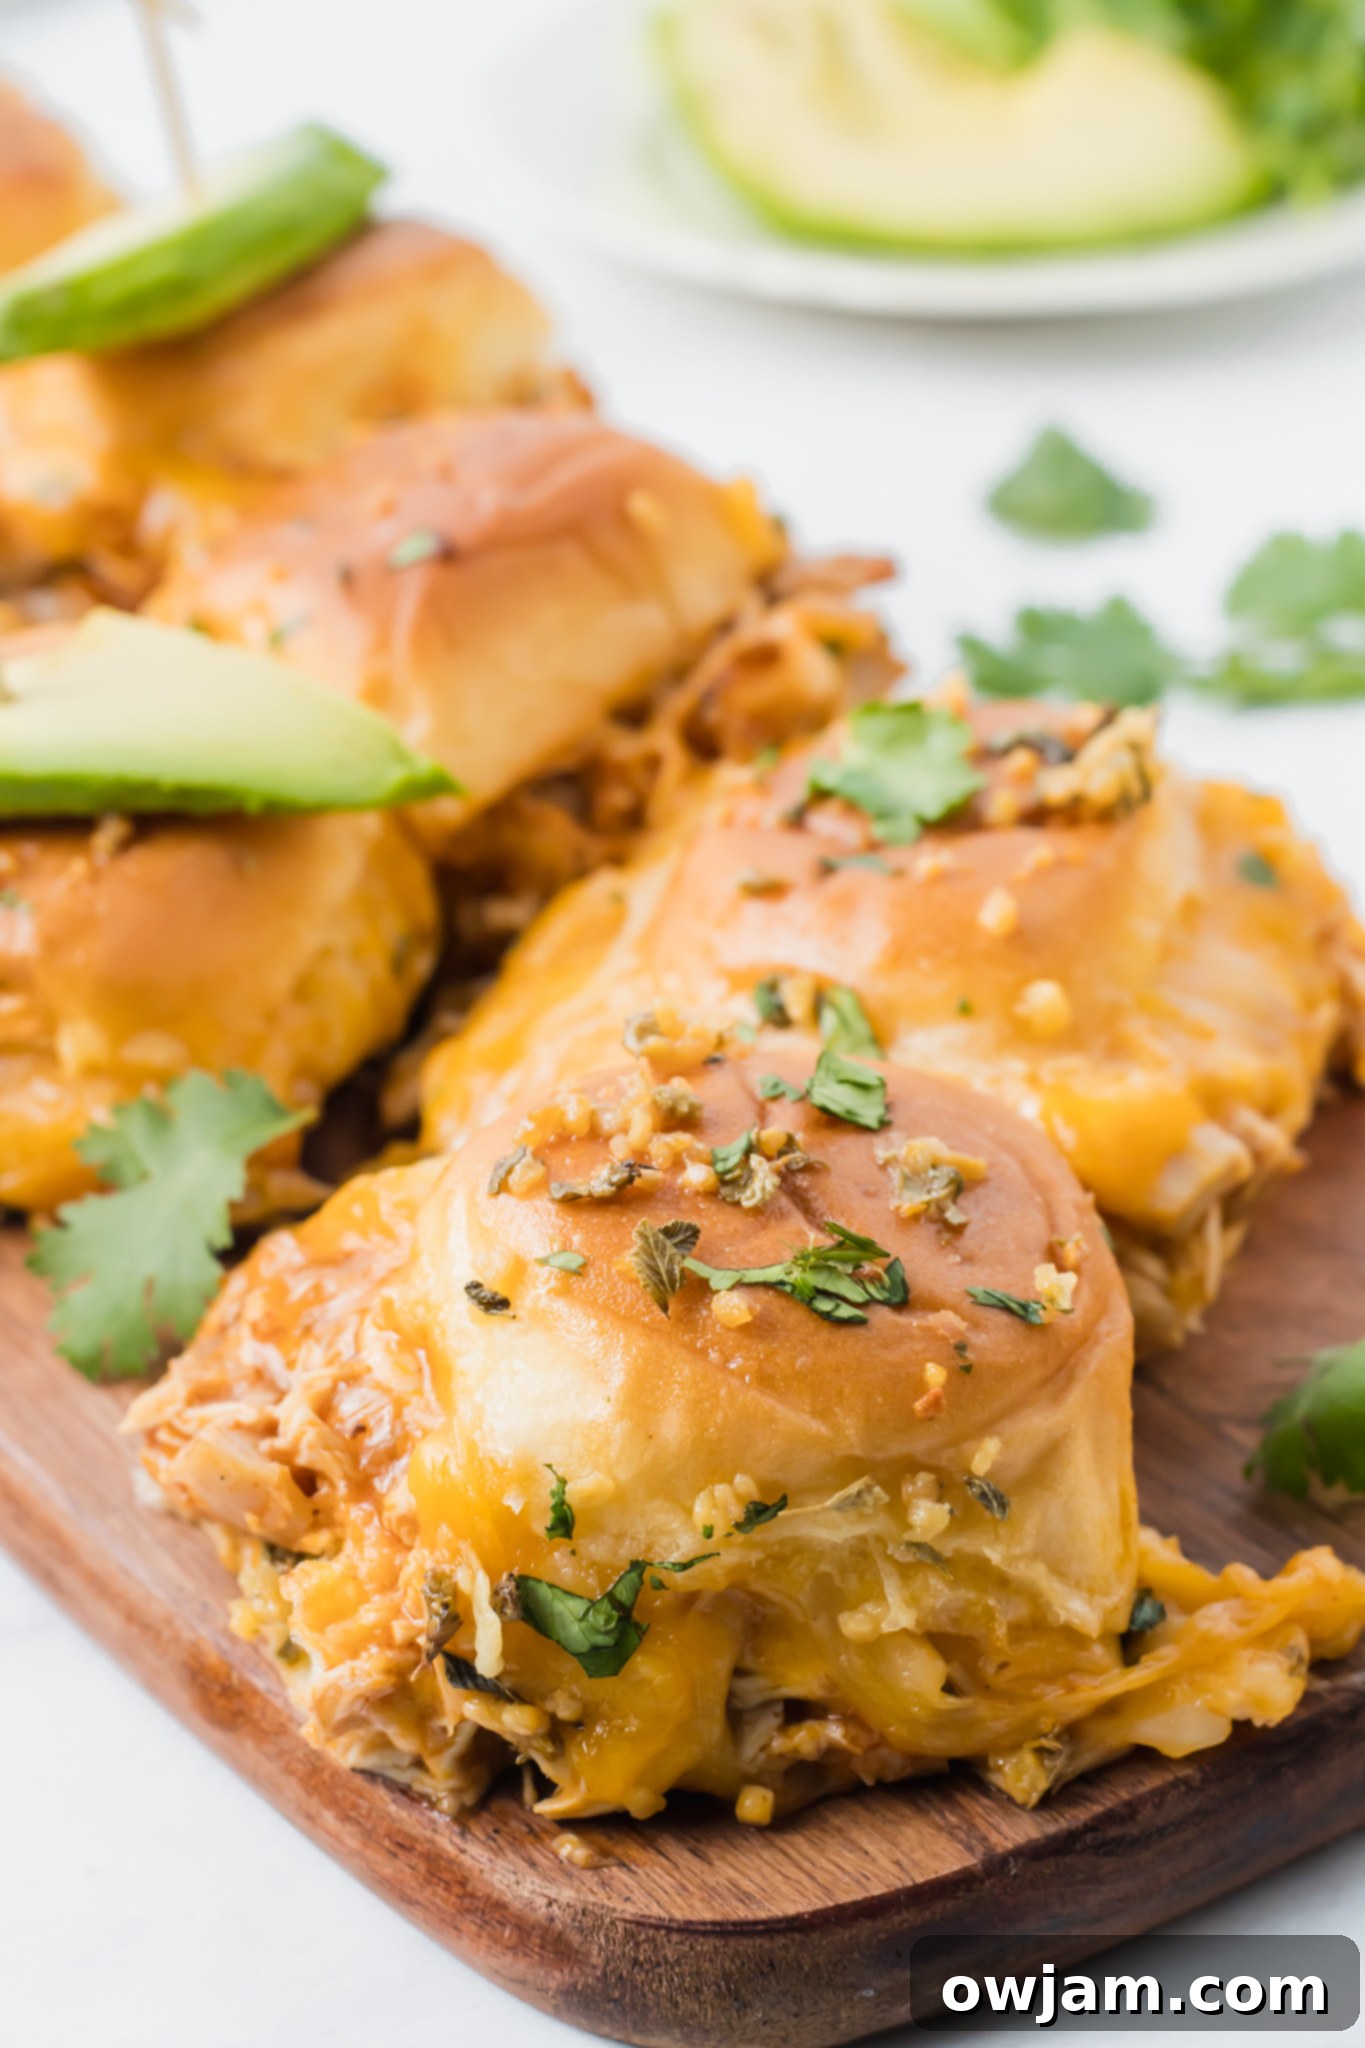
Step-by-Step Guide: How to Make Chicken Enchilada Sliders
Follow these simple steps to create delicious and easy Chicken Enchilada Sliders that everyone will rave about. The assembly is straightforward, making this recipe perfect for cooks of all skill levels!
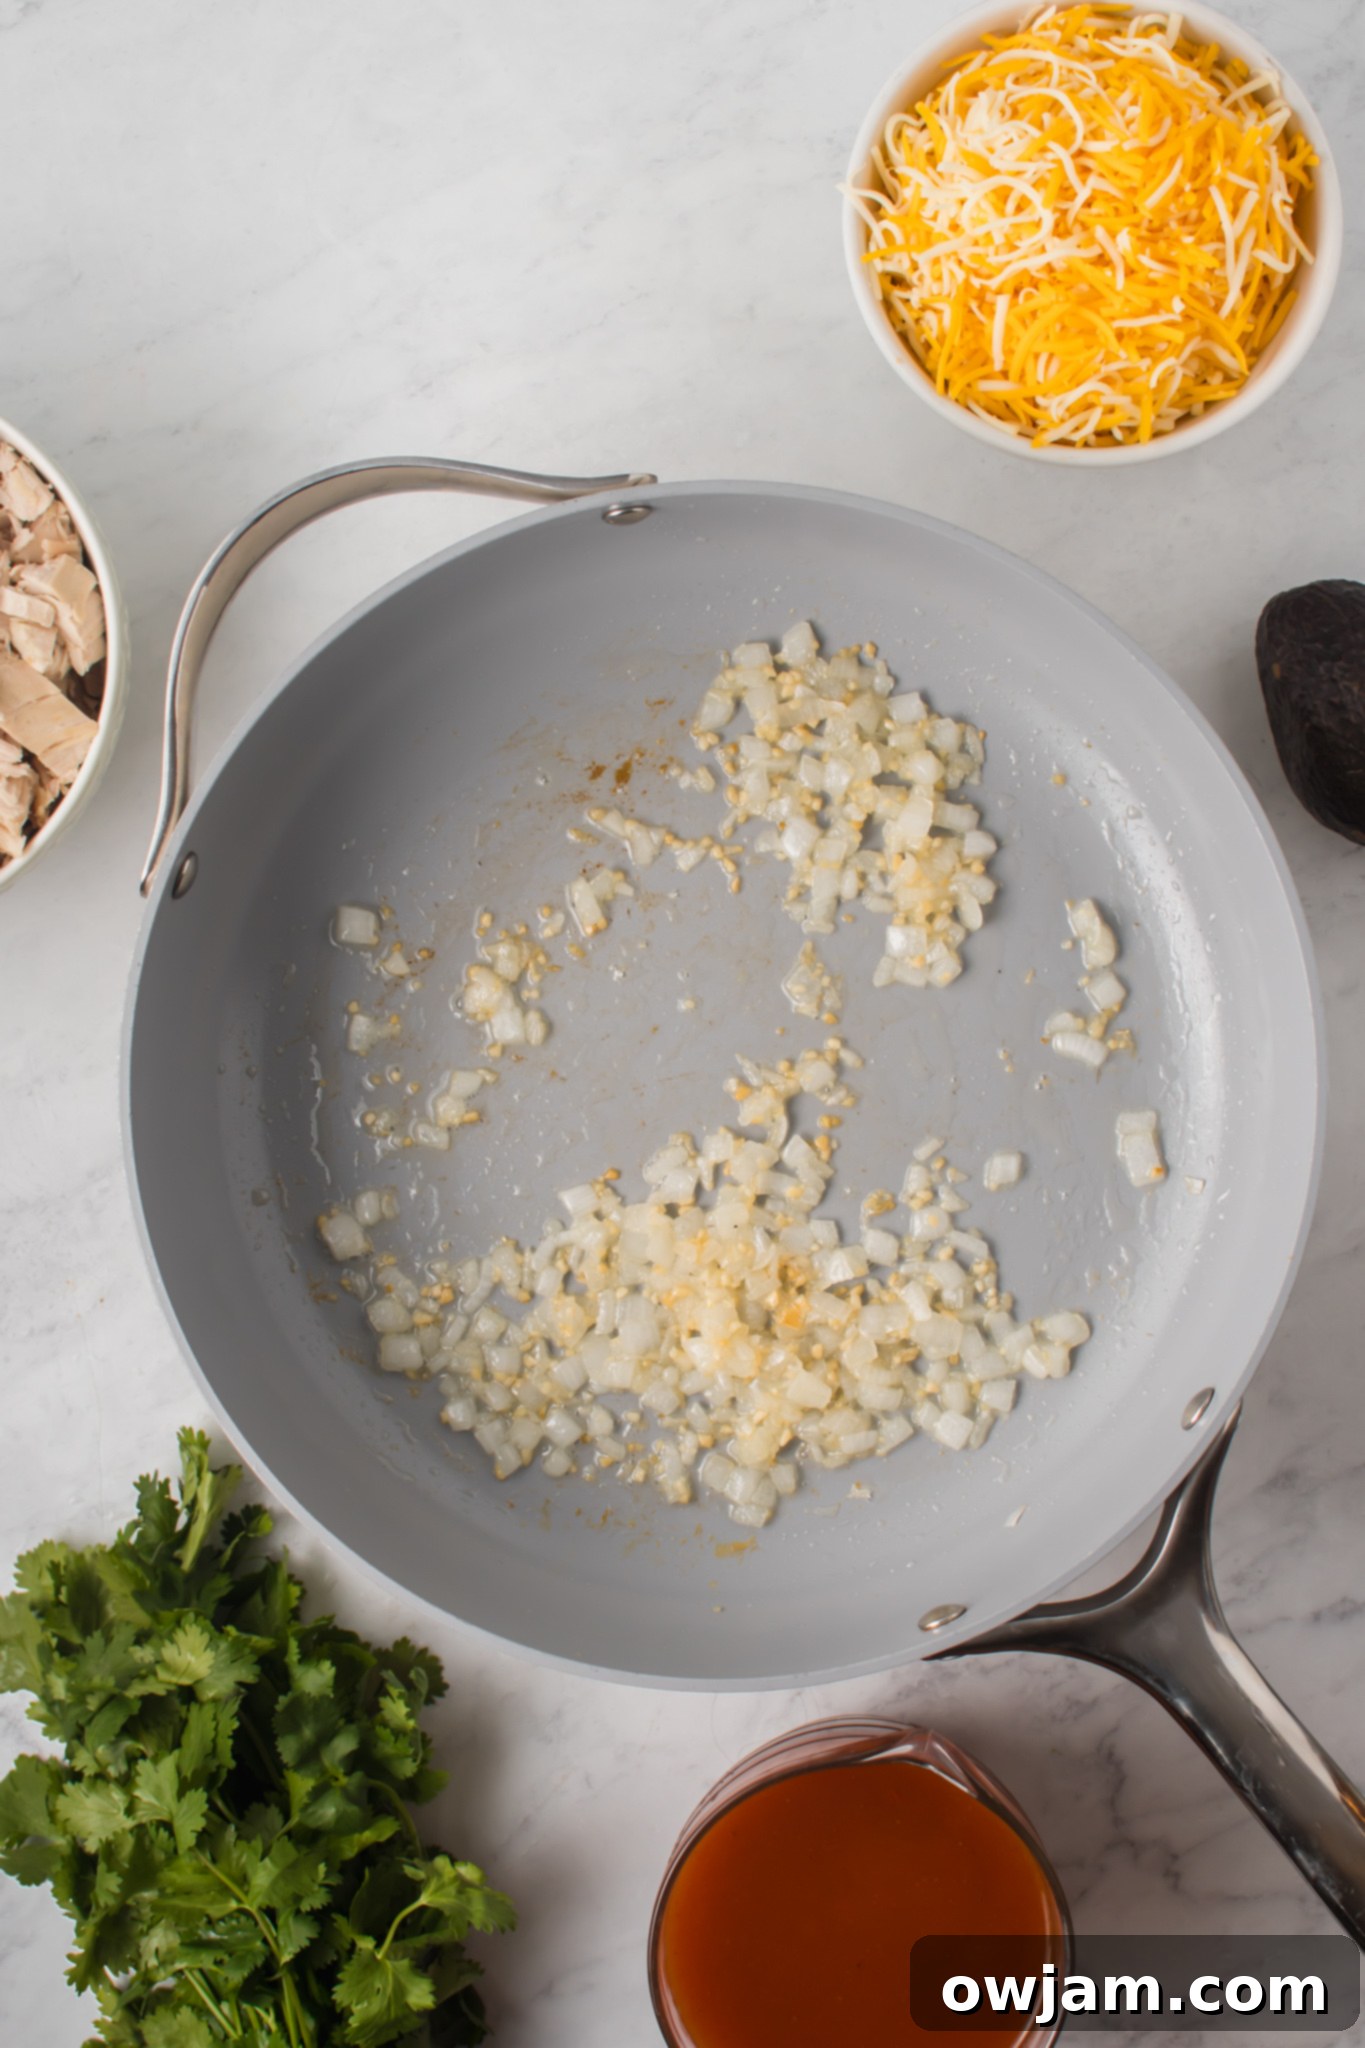
Step 1: Sauté the Aromatics: Begin by preheating your oven to 350°F (175°C) and lightly coating a 9×13 inch baking pan with cooking spray. In a large sauté pan, heat one tablespoon of olive oil over medium-low heat. Add the diced onions and 2 teaspoons of minced garlic. Cook gently, stirring occasionally, until the onions become translucent and fragrant, about 5-7 minutes. If you prefer a deeper flavor, you can let them caramelize slightly for a few extra minutes.
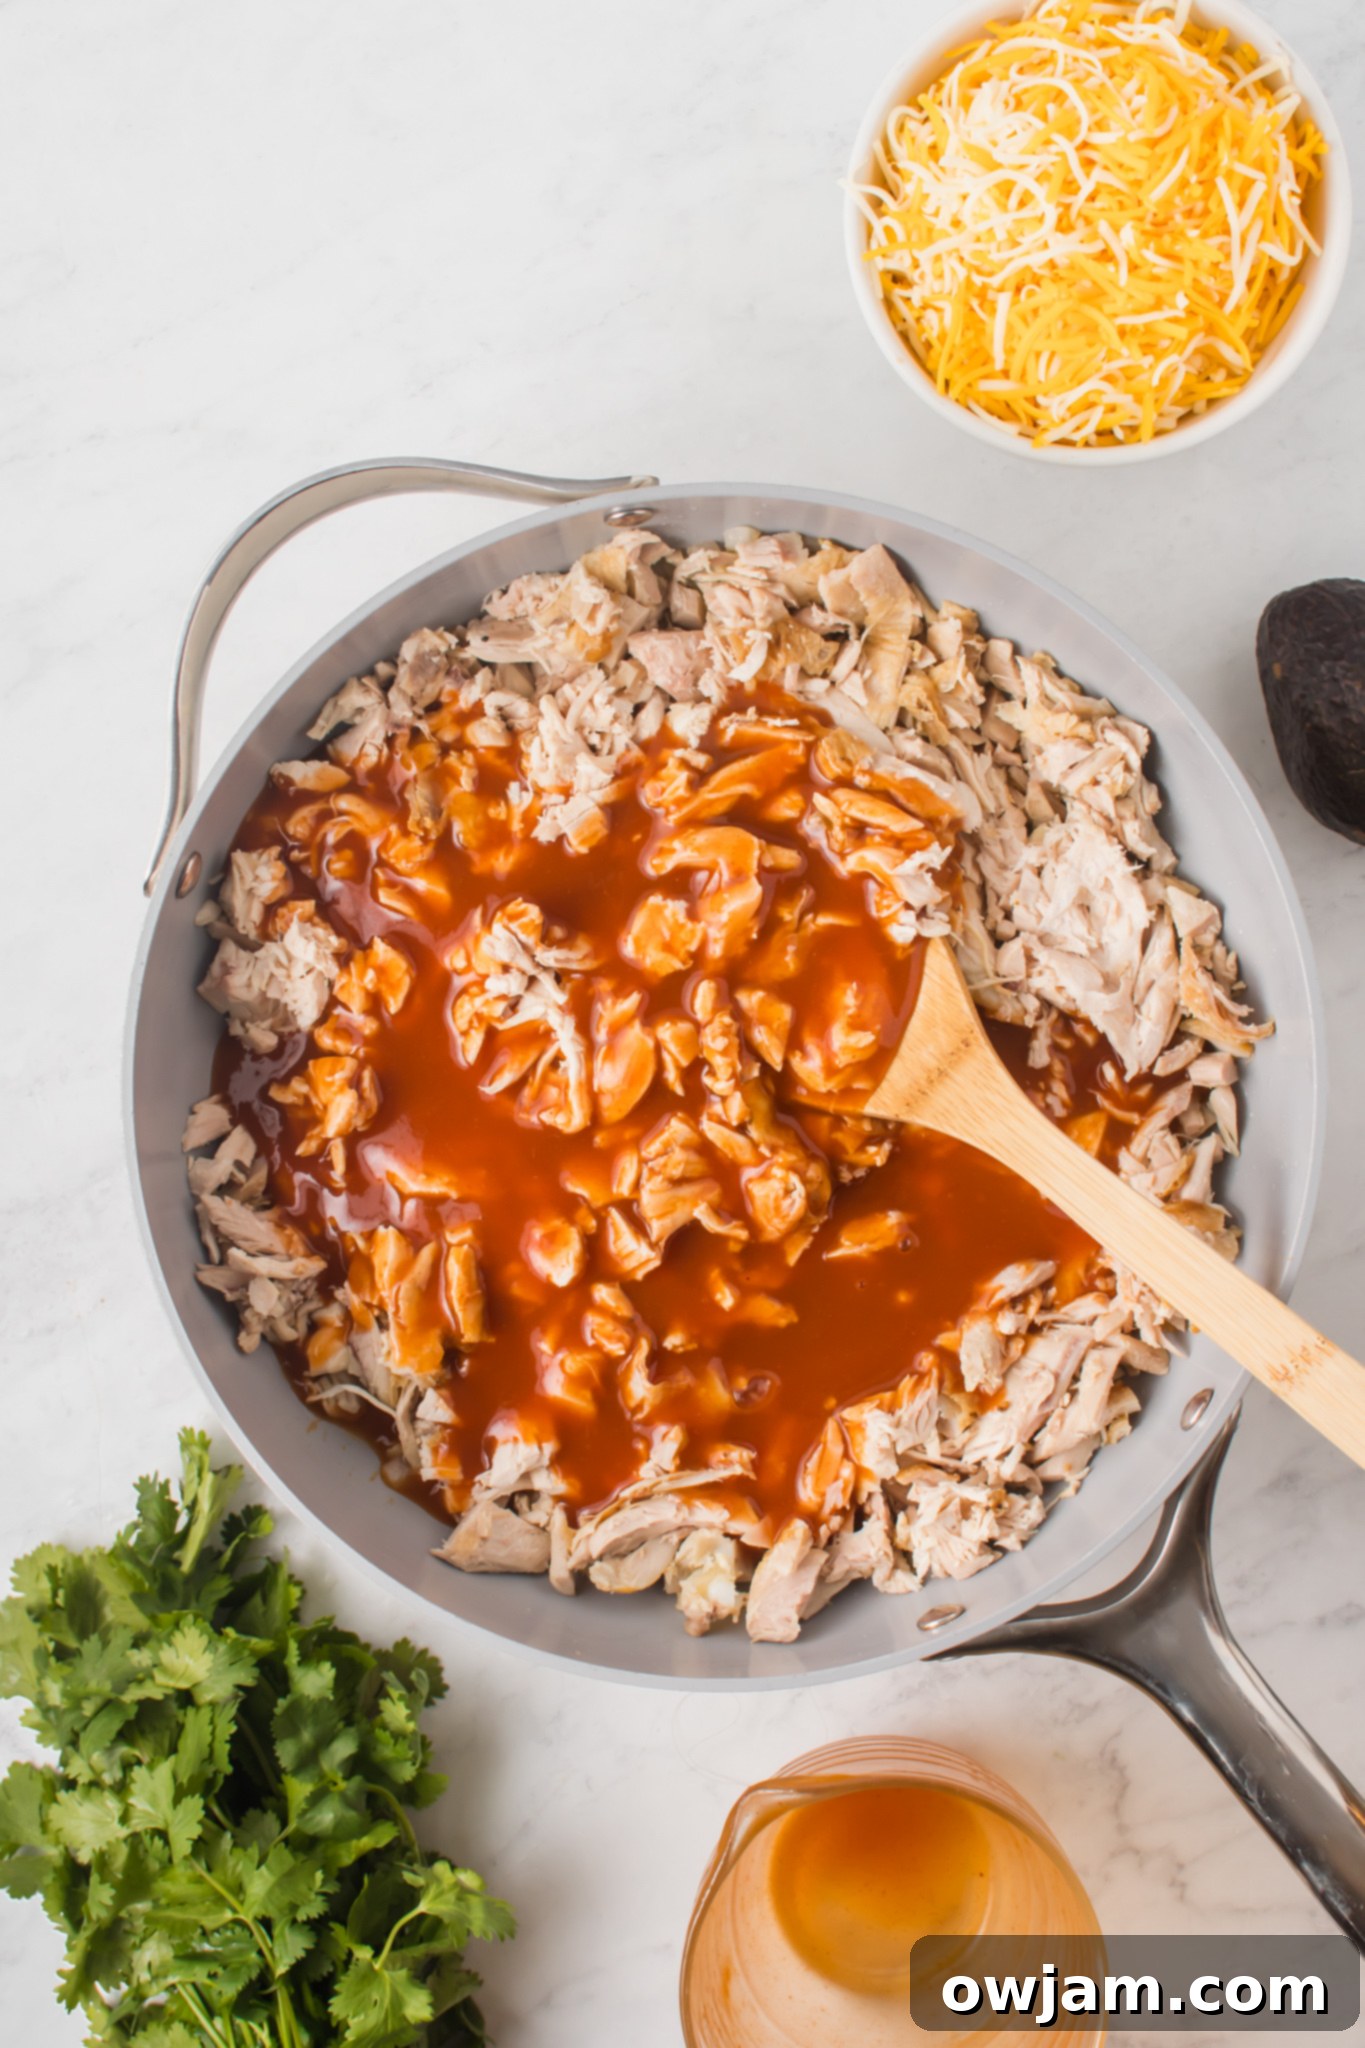
Step 2: Combine Chicken and Sauce: To the sautéed onions and garlic, add the shredded, cooked chicken. Pour in the enchilada sauce and stir everything together until the chicken is thoroughly coated. Allow the mixture to simmer gently for about 2 minutes. This brief simmer helps the flavors meld beautifully and warms the chicken through, ensuring a hot and juicy filling for your sliders.
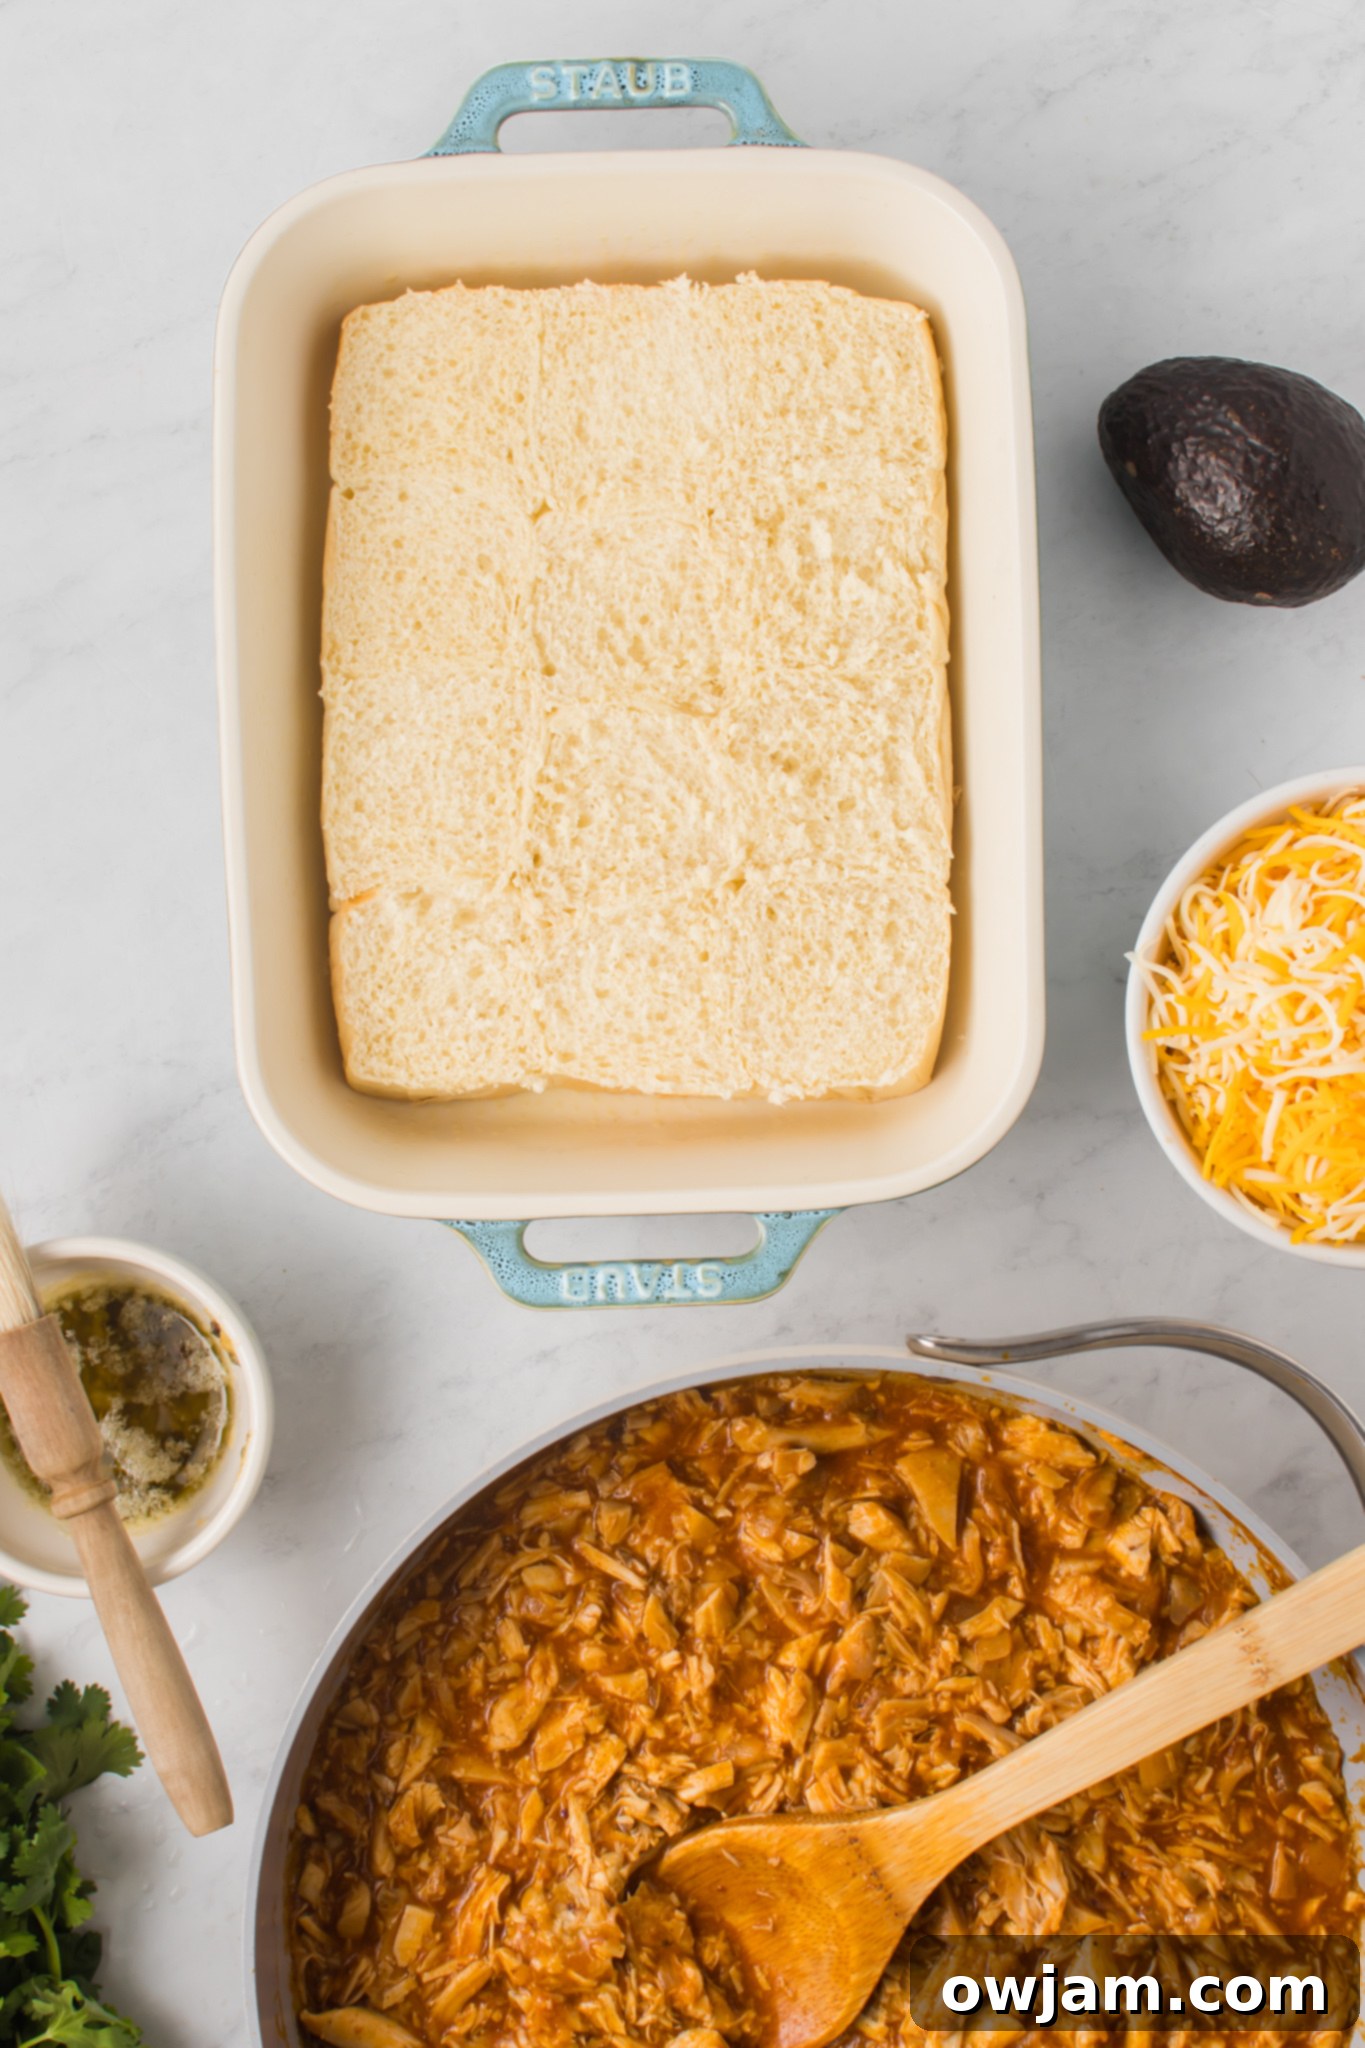
Step 3: Arrange the Rolls: Carefully slice the entire block of slider rolls in half horizontally, keeping them connected if possible. Place the bottom halves of the rolls into the prepared 9×13 inch baking pan, fitting them snugly to form a single base layer. This method makes assembly quick and ensures all sliders bake evenly.
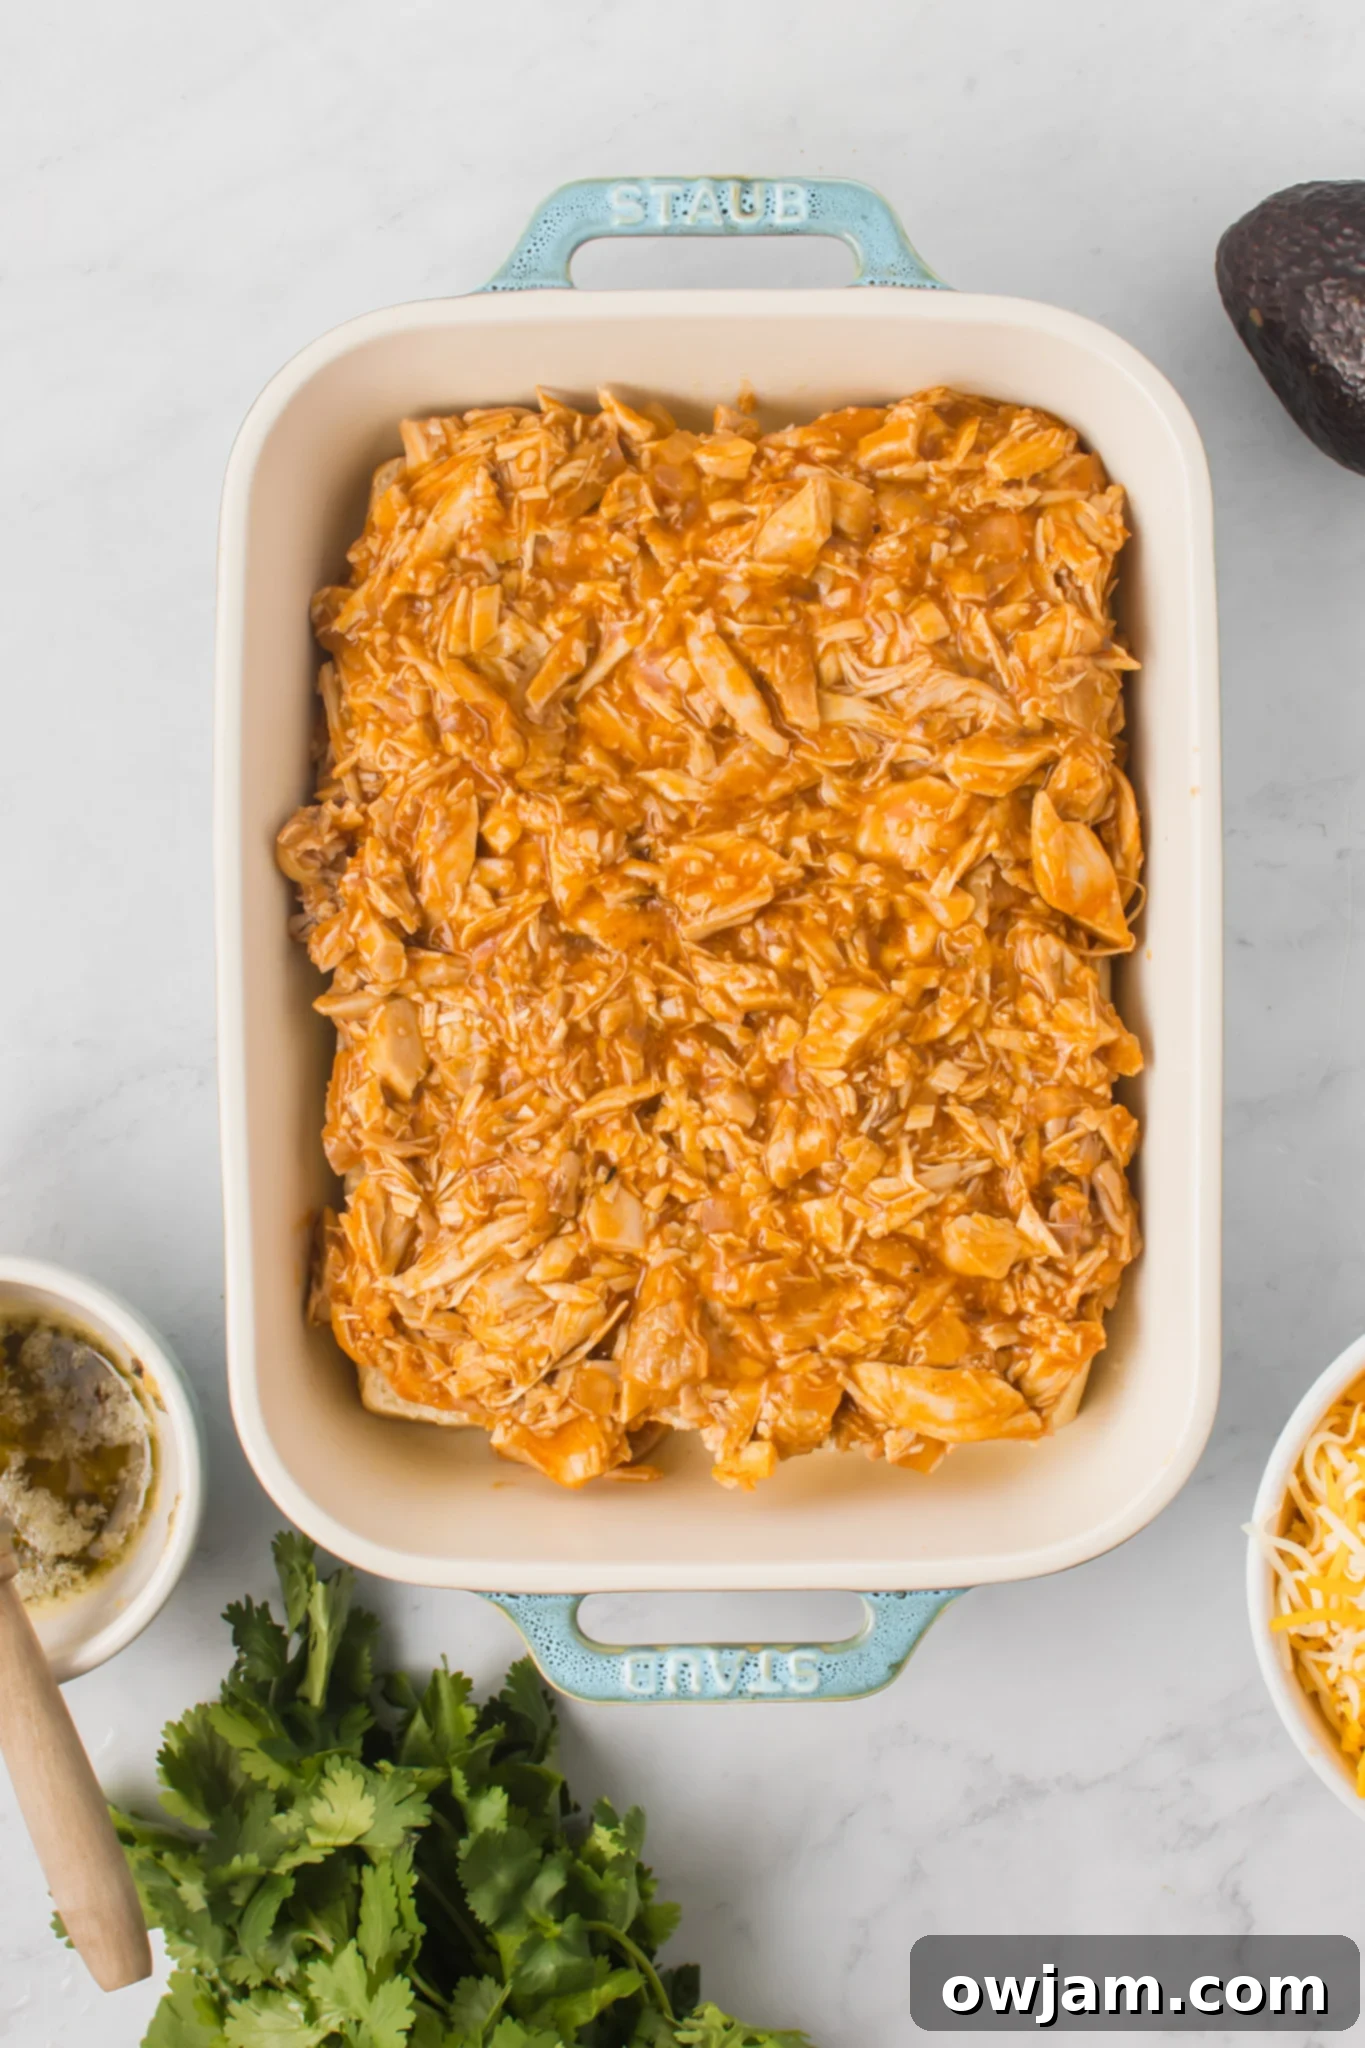
Step 4: Layer the Chicken Mixture: Evenly spread the warm chicken enchilada mixture over the bottom halves of the rolls. Make sure to get a good amount of filling on each roll for a satisfying bite. Don’t be shy – the more flavorful filling, the better!
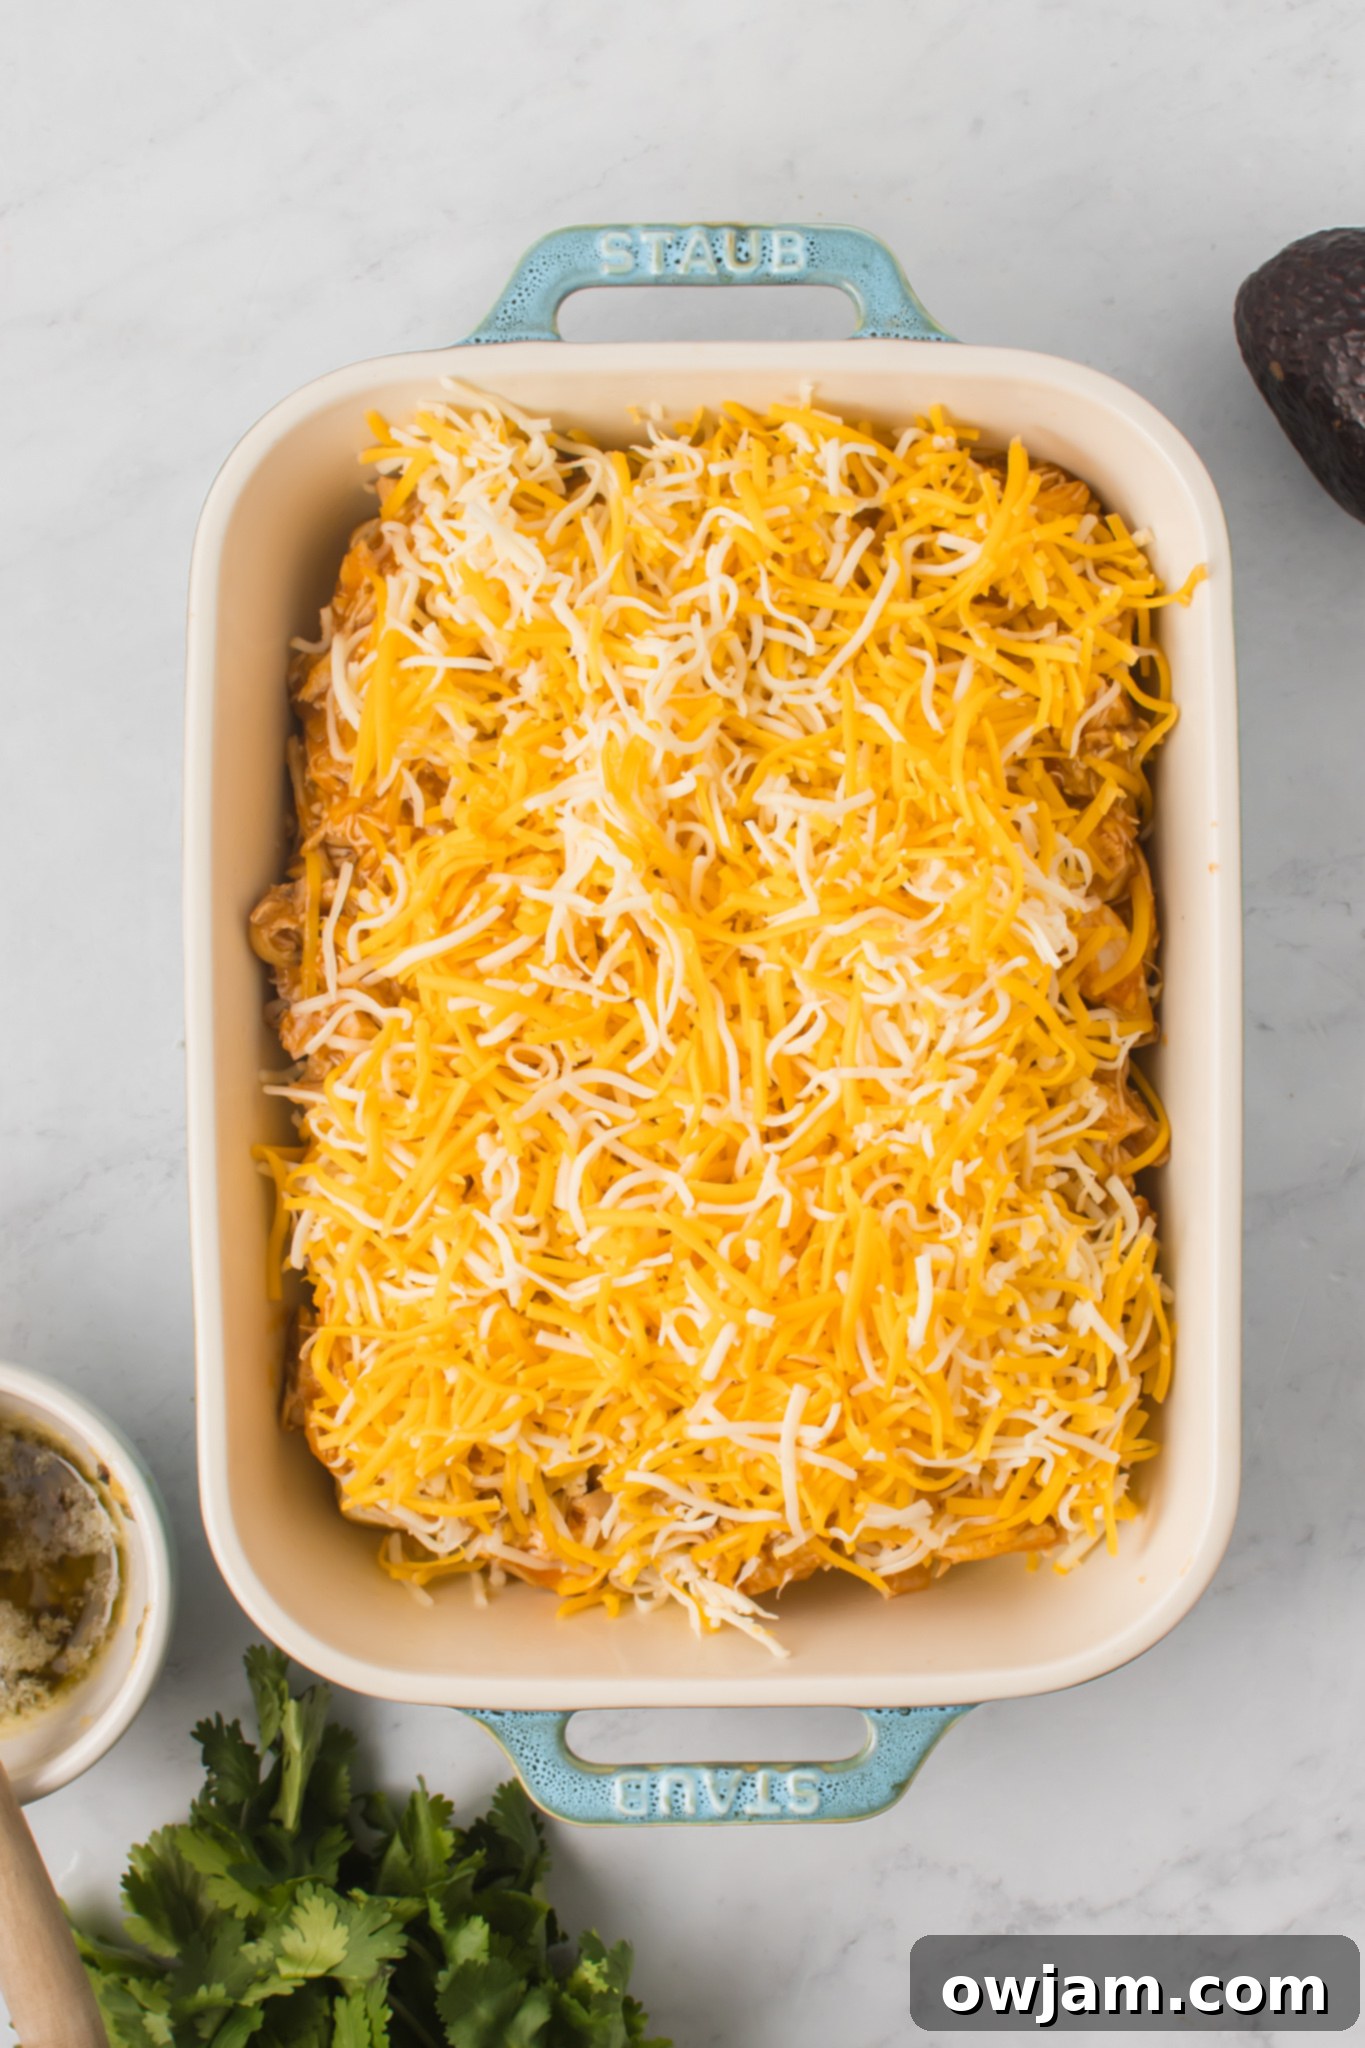
Step 5: Add a Cheesy Layer: Sprinkle the shredded Mexican blend cheese generously over the chicken filling. This cheese layer will melt beautifully in the oven, creating a gooey, irresistible binding for the sliders. Don’t be shy here either – more cheese means more happiness!
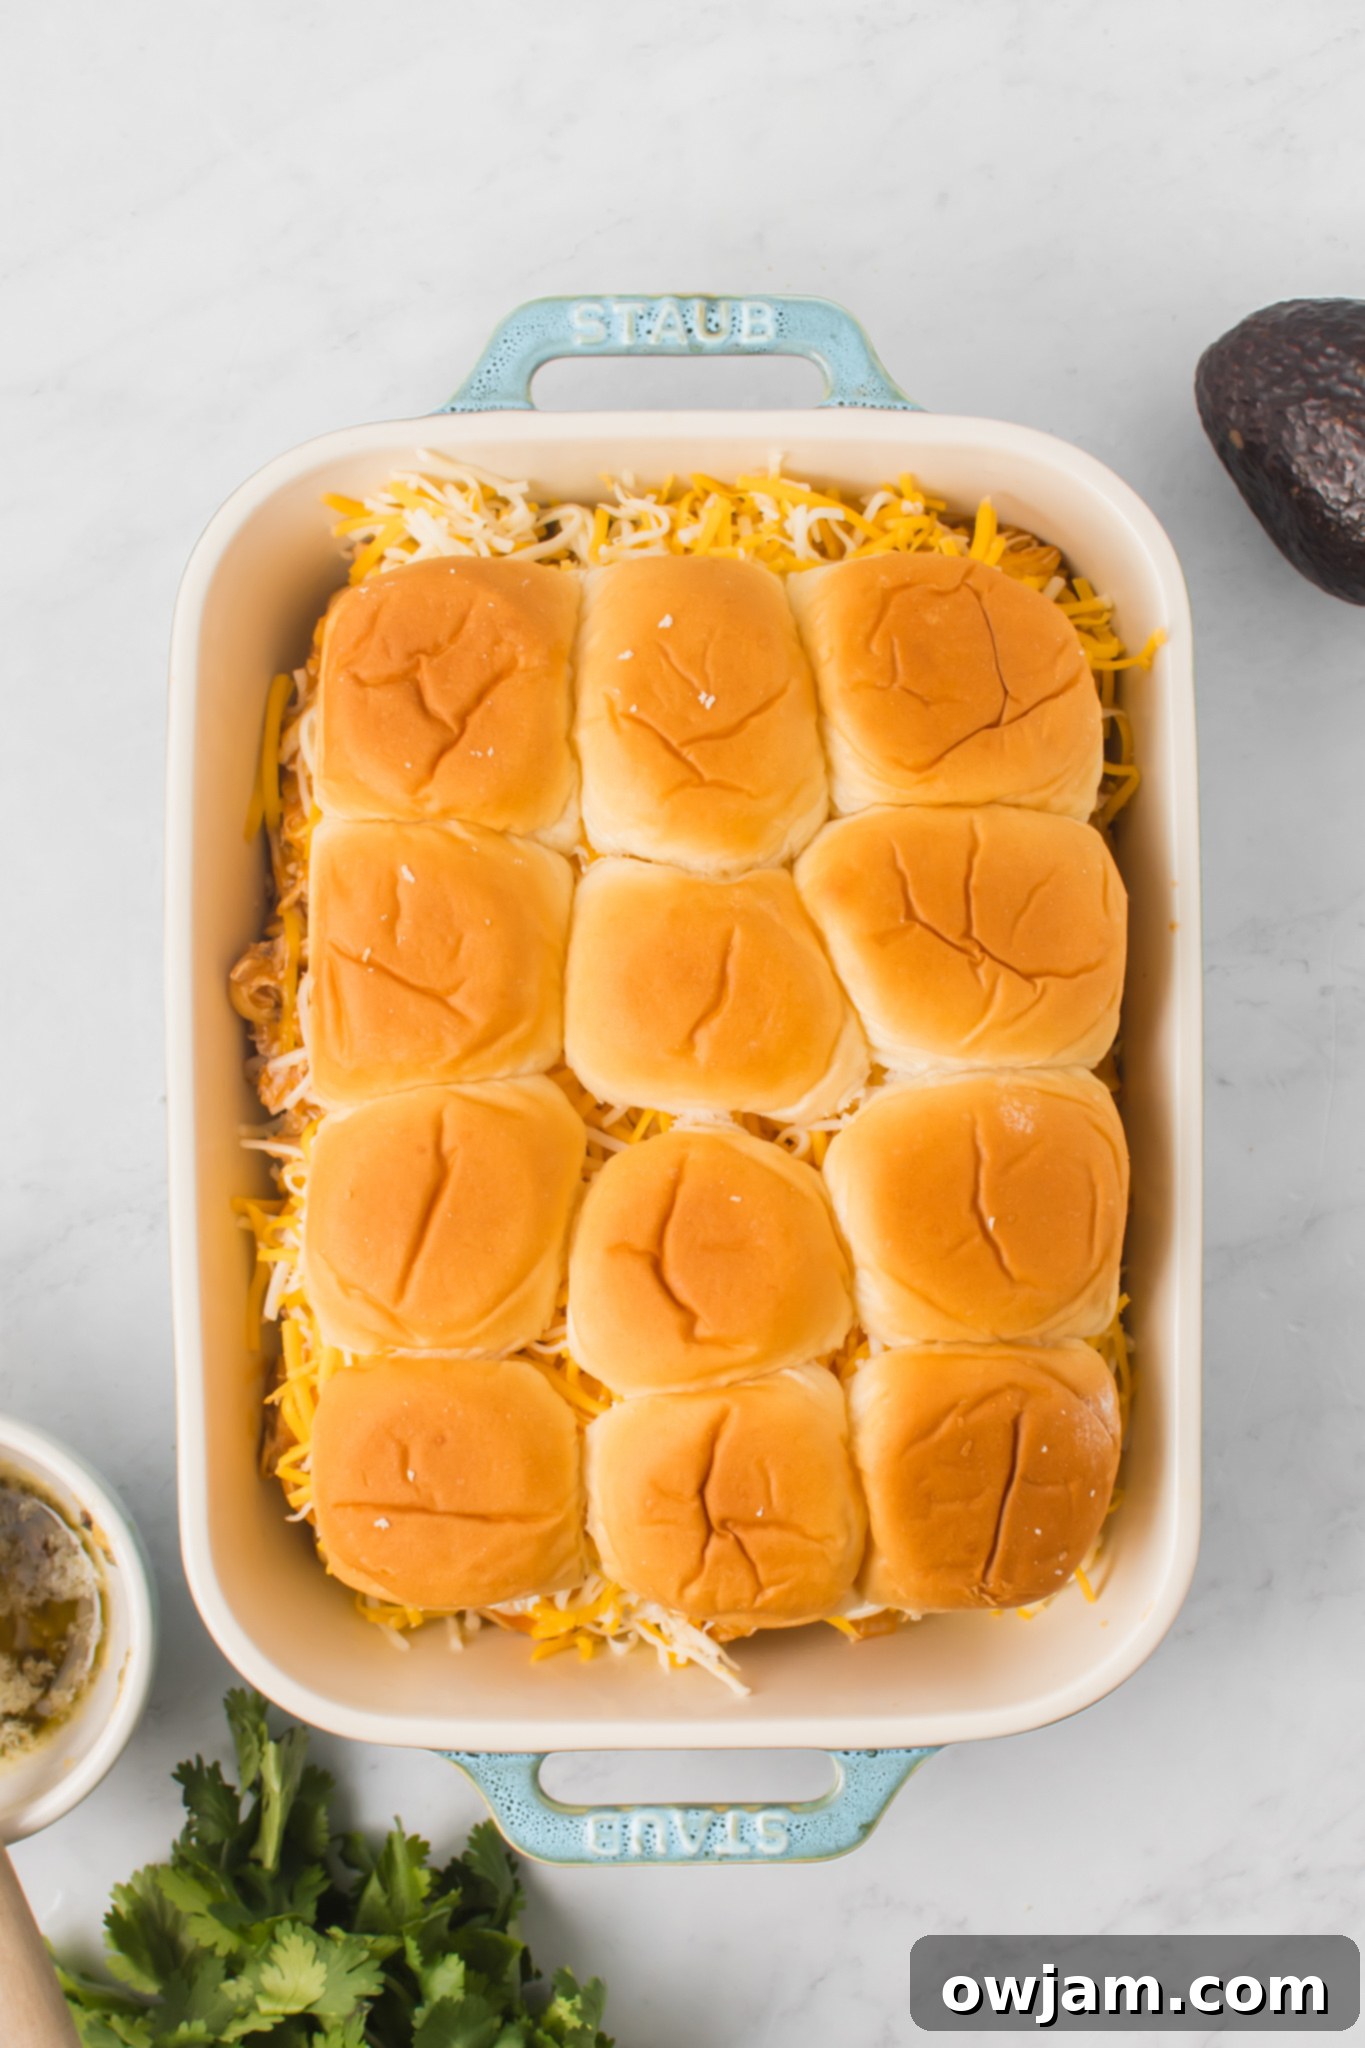
Step 6: Complete the Sandwiches: Gently place the top halves of the slider rolls back over the cheesy chicken mixture, completing your slider sandwiches. Press down lightly to ensure everything is nestled together. At this point, your baking pan should hold a beautiful block of pre-assembled sliders.
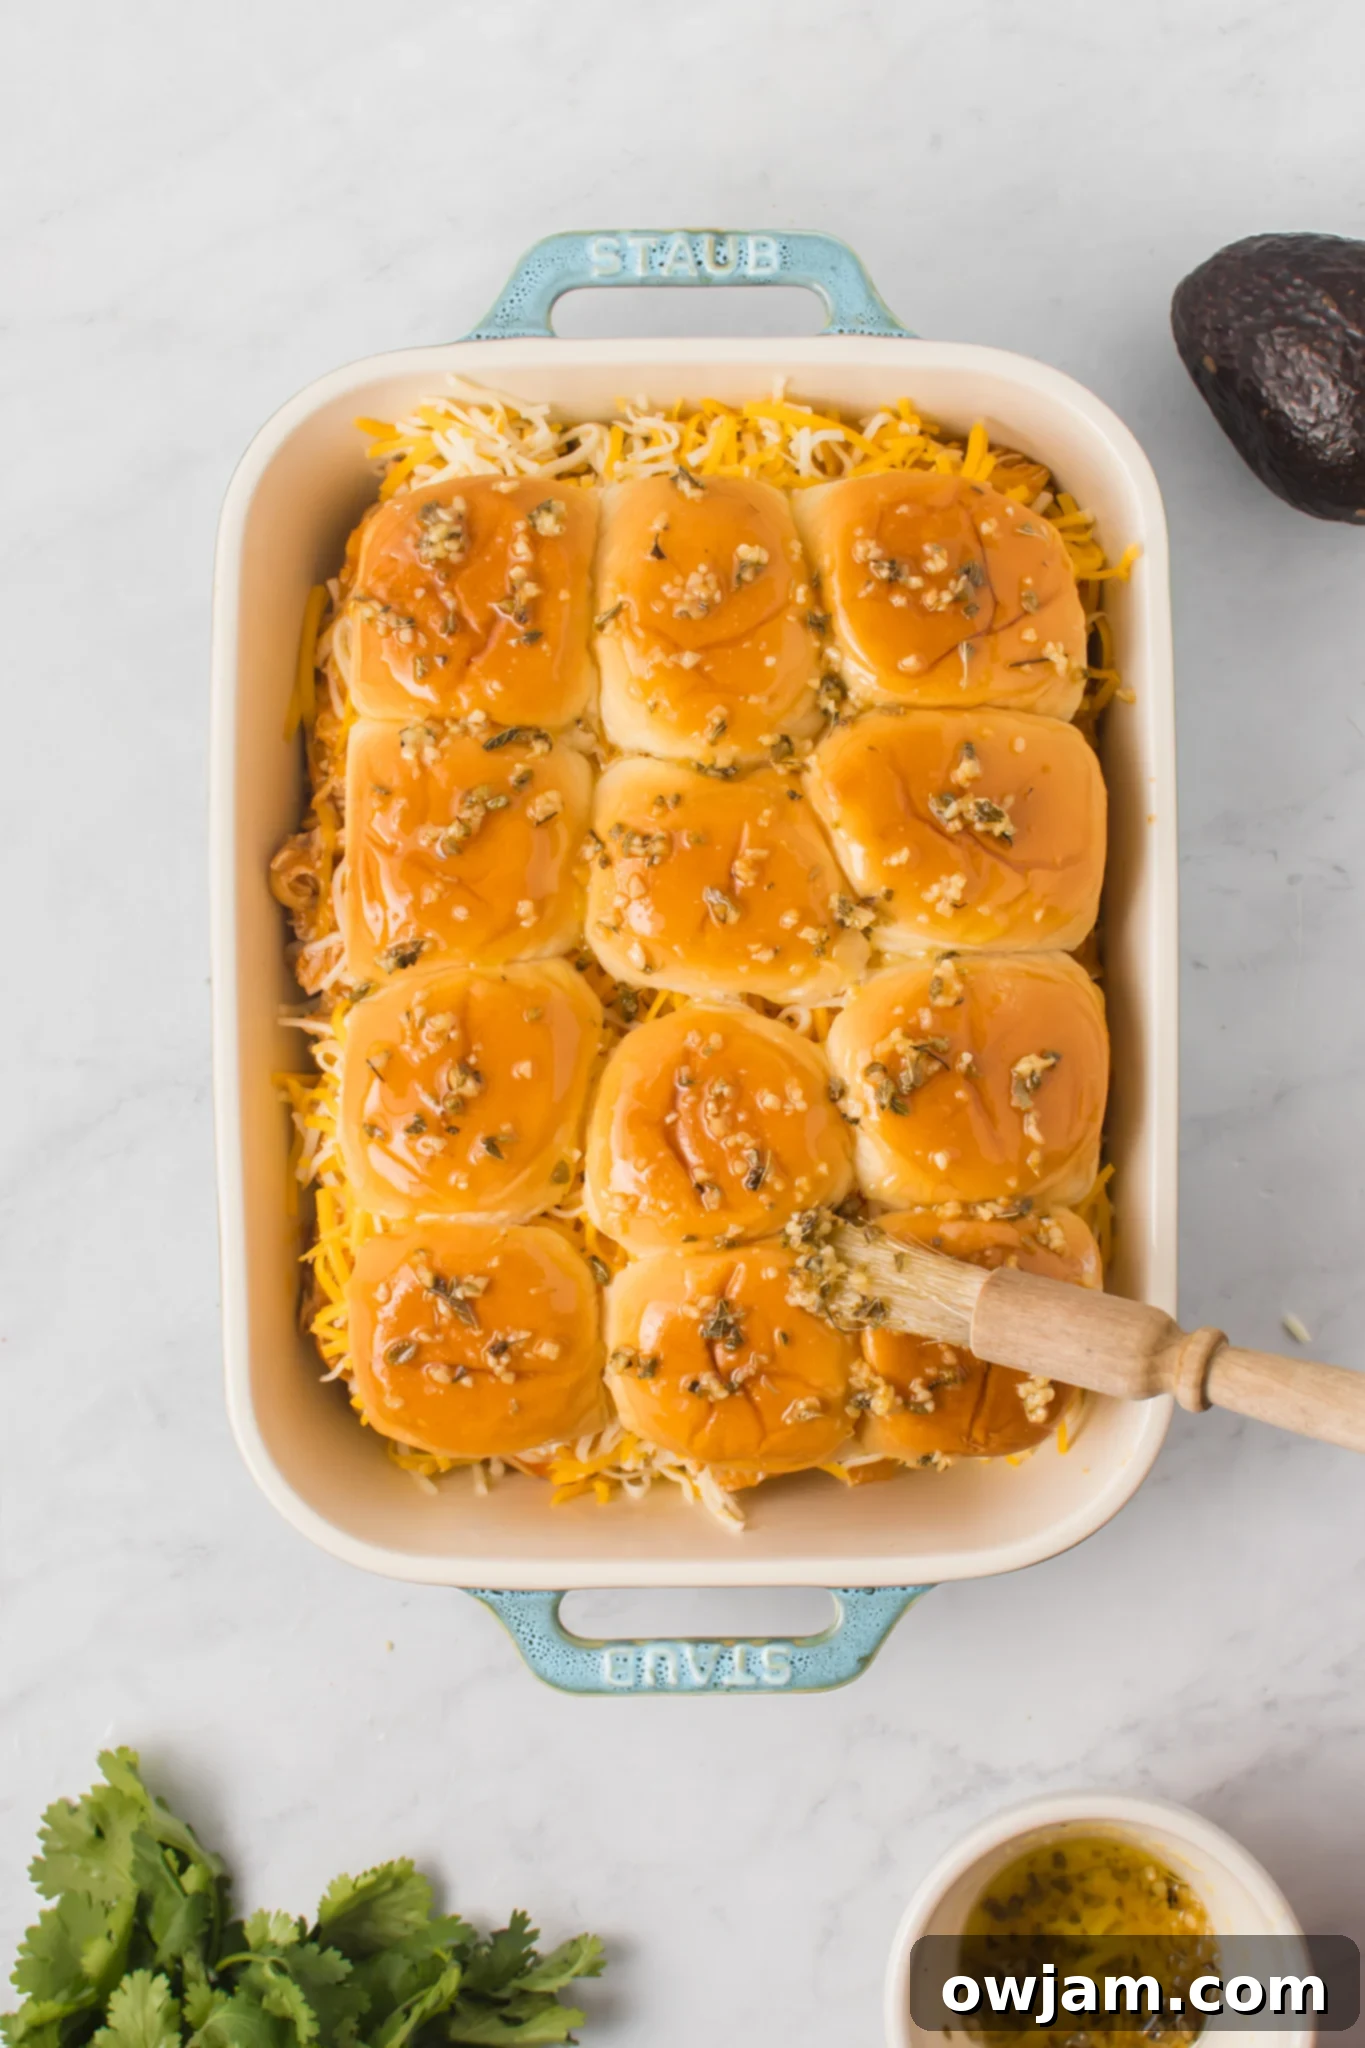
Step 7: Prepare and Apply the Herb Butter Topping: In a small saucepan, melt the butter over low heat. Add the remaining 1 teaspoon of fresh minced garlic and the Mexican oregano. Cook for just 1 minute until fragrant, being careful not to burn the garlic. Remove the pan from the heat. Using a pastry brush, generously brush this aromatic herb butter mixture over the tops of all the slider rolls. This step is key for that golden, savory crust and extra flavor!
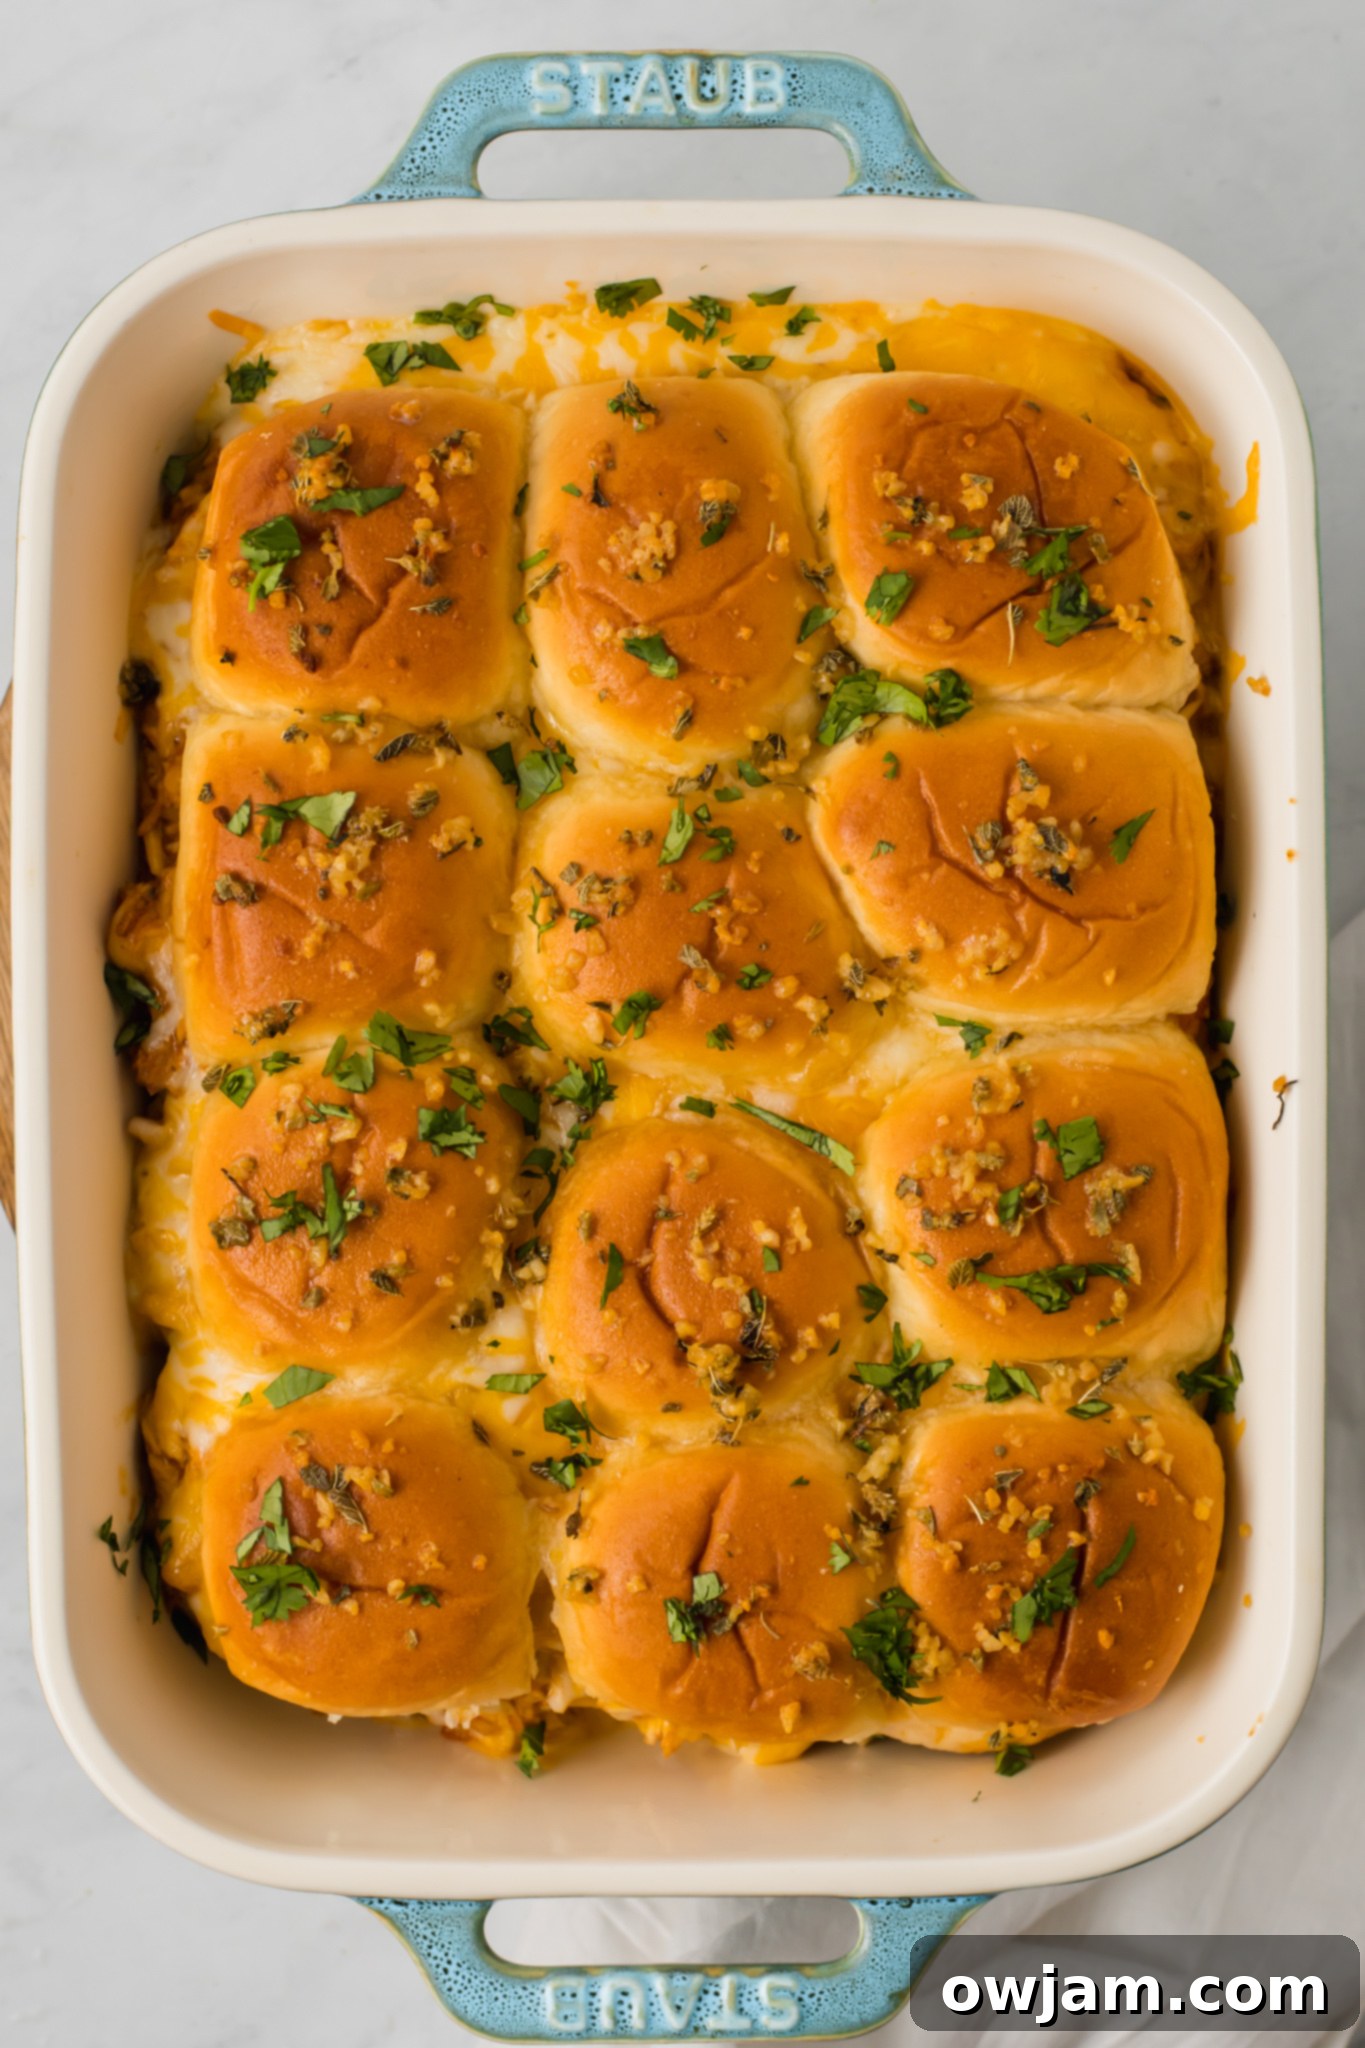
Step 8: Bake to Perfection: Tent a piece of aluminum foil loosely over the baking pan, ensuring it doesn’t touch the herb-buttered tops of the rolls. Place the pan in your preheated oven and bake for 15 minutes. This initial covered baking period allows the internal cheese to melt and the filling to heat through without the tops burning. After 15 minutes, carefully remove the tinfoil and continue baking for another 3 to 5 minutes, or until the tops of the rolls are lightly browned and the cheese is bubbly and fully melted.
Step 9: Garnish and Serve Immediately: Once baked, carefully remove the pan from the oven. For easy serving, slice the connected sliders into individual portions along their natural divisions. Sprinkle generously with freshly chopped cilantro for a burst of fresh flavor and color. For an extra touch of creaminess and healthy goodness, top each slider with a slice of ripe avocado. Serve these delicious Chicken Enchilada Sliders immediately while they are warm and the cheese is delightfully gooey!
Creative Ways to Customize Your Chicken Enchilada Sliders
This recipe is incredibly flexible, allowing for various modifications to suit your taste or what you have on hand. Don’t hesitate to get creative!
- Boost Your Veggies: Easily add more nutrition and texture by incorporating extra sautéed vegetables into the chicken mixture. Bell peppers (any color), finely diced zucchini, or sliced mushrooms would be delicious. For a tangy crunch, consider adding some quick pickled red onions before serving.
- Turn up the Heat: If you love a spicy kick, add some fresh diced chilies, finely chopped jalapeños (remove seeds for less heat), or a generous sprinkle of red pepper flakes to the chicken filling. You could also use a spicier enchilada sauce.
- Add Freshness and Creaminess: After baking, top your sliders with a fresh slice of tomato, a dollop of creamy guacamole, or a drizzle of sour cream or Mexican crema. A sprinkle of cotija cheese or a squeeze of lime juice can also add vibrant flavor.
- Cheese Variations: Experiment with different types of shredded cheese! Monterey Jack, Colby, or a mix of cheddar and Monterey Jack would all be excellent choices for a varied flavor profile.
- Sauce Swaps: While enchilada sauce is traditional, a mild salsa verde could offer a different but equally delicious flavor profile for a tangier slider.
Storage and Reheating Tips for Leftover Sliders
These Chicken Enchilada Sliders are best enjoyed fresh out of the oven, but they also make fantastic leftovers!
Store any remaining sliders in an airtight container in the refrigerator for up to 5 days. To reheat, arrange the sliders in a single layer in an oven-safe dish. Cover them loosely with aluminum foil to prevent the tops from drying out or burning. Bake in a preheated oven at 300°F (150°C) for 10-15 minutes, or until warmed through and the cheese is melted and bubbly again. You can also quickly reheat them in a microwave, though the buns might lose some of their crispness.
Frequently Asked Questions About Chicken Enchilada Sliders
Absolutely, yes! It is crucial to cover the baking pan with aluminum foil during the initial 15 minutes of baking. This ensures that the sliders heat through evenly and the cheese melts perfectly without the tops of the rolls burning. Removing the foil for the last few minutes allows the tops to get that beautiful, light golden-brown finish.
These versatile sliders can be served in many ways! They are perfect on their own as a delicious appetizer, a quick snack, or a fun party finger food. For a more substantial meal, pair them with classic sides like crispy potato or sweet potato fries, a refreshing coleslaw, a vibrant pasta salad, a hearty black bean salad, or fresh tomato salsa and creamy guacamole. Grilled corn on the cob or a simple green salad would also make excellent companions.
Yes, absolutely! While store-bought works wonderfully for convenience, you can easily make a flavorful Homemade Blender Enchilada Sauce. This homemade sauce is not only perfect for these sliders but also excellent for other Mexican-inspired dishes like this Easy Vegetarian Enchiladas Recipe, classic Chicken Enchiladas, and savory Three Cheese Beef Enchiladas.
Yes, these sliders are great for make-ahead prep! You can assemble the sliders completely (up to Step 7, before brushing with butter and baking) and store them covered in the refrigerator for up to 24 hours. When ready to bake, add the herb butter topping, cover with foil, and bake as directed, adding a few extra minutes to the initial covered baking time to ensure they heat through from cold.
Discover More Delicious Chicken Recipes
Chicken
Greek Lemon Chicken
Chicken
Chicken Shawarma Recipe
Chicken
Air Fryer Chicken Tenders
Chicken
Easy Baked Chicken Tenders (Extra Crispy!)
If you try this incredible recipe, please leave me a star rating and comment below, and follow me on Instagram @acedarspoon for more delicious recipes and cooking inspiration!
Tried this recipe? Leave a star rating and comment below! Subscribe to my newsletter or follow me on
Facebook,
Instagram, or
Pinterest for the latest.
Chicken Enchilada Sliders
Pin
Ingredients
- 1 tablespoon olive oil
- 1/2 cup diced onion
- 1 tablespoon minced garlic,, divided
- 4 cups chicken,, cooked and shredded
- 2 cups enchilada sauce
- 12 slider buns
- 2 cups Mexican blend cheese,, shredded
- 2 tablespoons unsalted butter
- 1 teaspoon Mexican oregano
- 1 teaspoon chopped Cilantro
- 1 avocado,, sliced
Instructions
-
Preheat oven to 350°F (175°C) and spray a 9×13 inch pan with cooking spray. Heat the olive oil in a saute pan. Add the diced onions and 2 teaspoons of minced garlic. Cook over medium-low heat until the onions are translucent, about 5-7 minutes.
-
Add the cooked, shredded chicken to the onions and garlic, then stir in the enchilada sauce until well combined. Simmer for 2 minutes to allow flavors to meld and chicken to warm through.
-
Cut the entire block of slider rolls in half lengthwise and place the bottom halves into the prepared baking pan.
-
Spread the warm enchilada chicken mixture evenly over the bottom rolls and top generously with the shredded Mexican blend cheese.
-
Place the top halves of the slider rolls back over the cheese and chicken filling.
-
In a small pan, melt the unsalted butter. Add the remaining 1 teaspoon of minced garlic and the Mexican oregano. Cook for 1 minute until fragrant. Brush this herb butter mixture over the tops of the slider rolls.
-
Tent a piece of aluminum foil over the rolls and place the pan in the preheated oven. Bake for 15 minutes. Remove the tinfoil and bake for an additional 3 to 5 minutes, or until the tops are lightly browned and the cheese is bubbly.
-
Remove from the oven, slice into individual sliders, and sprinkle with freshly chopped cilantro. Top with avocado slices and serve immediately. Enjoy!
Notes
- Storage: Store leftover sliders in an airtight container in the refrigerator for up to 5 days. Reheat covered with foil in the oven at 300°F (150°C) until warmed through.
- Customization: Feel free to jazz up your sliders! Add diced jalapeños for heat, a slice of fresh tomato, or a dollop of guacamole or sour cream before serving.
- Baking Tip: Covering the sliders with tinfoil during the first part of baking is essential to prevent the tops of the rolls from burning before the filling is thoroughly heated and the cheese is melted.
Nutrition
Nutrition information is automatically calculated, so should only be used as an approximation.
