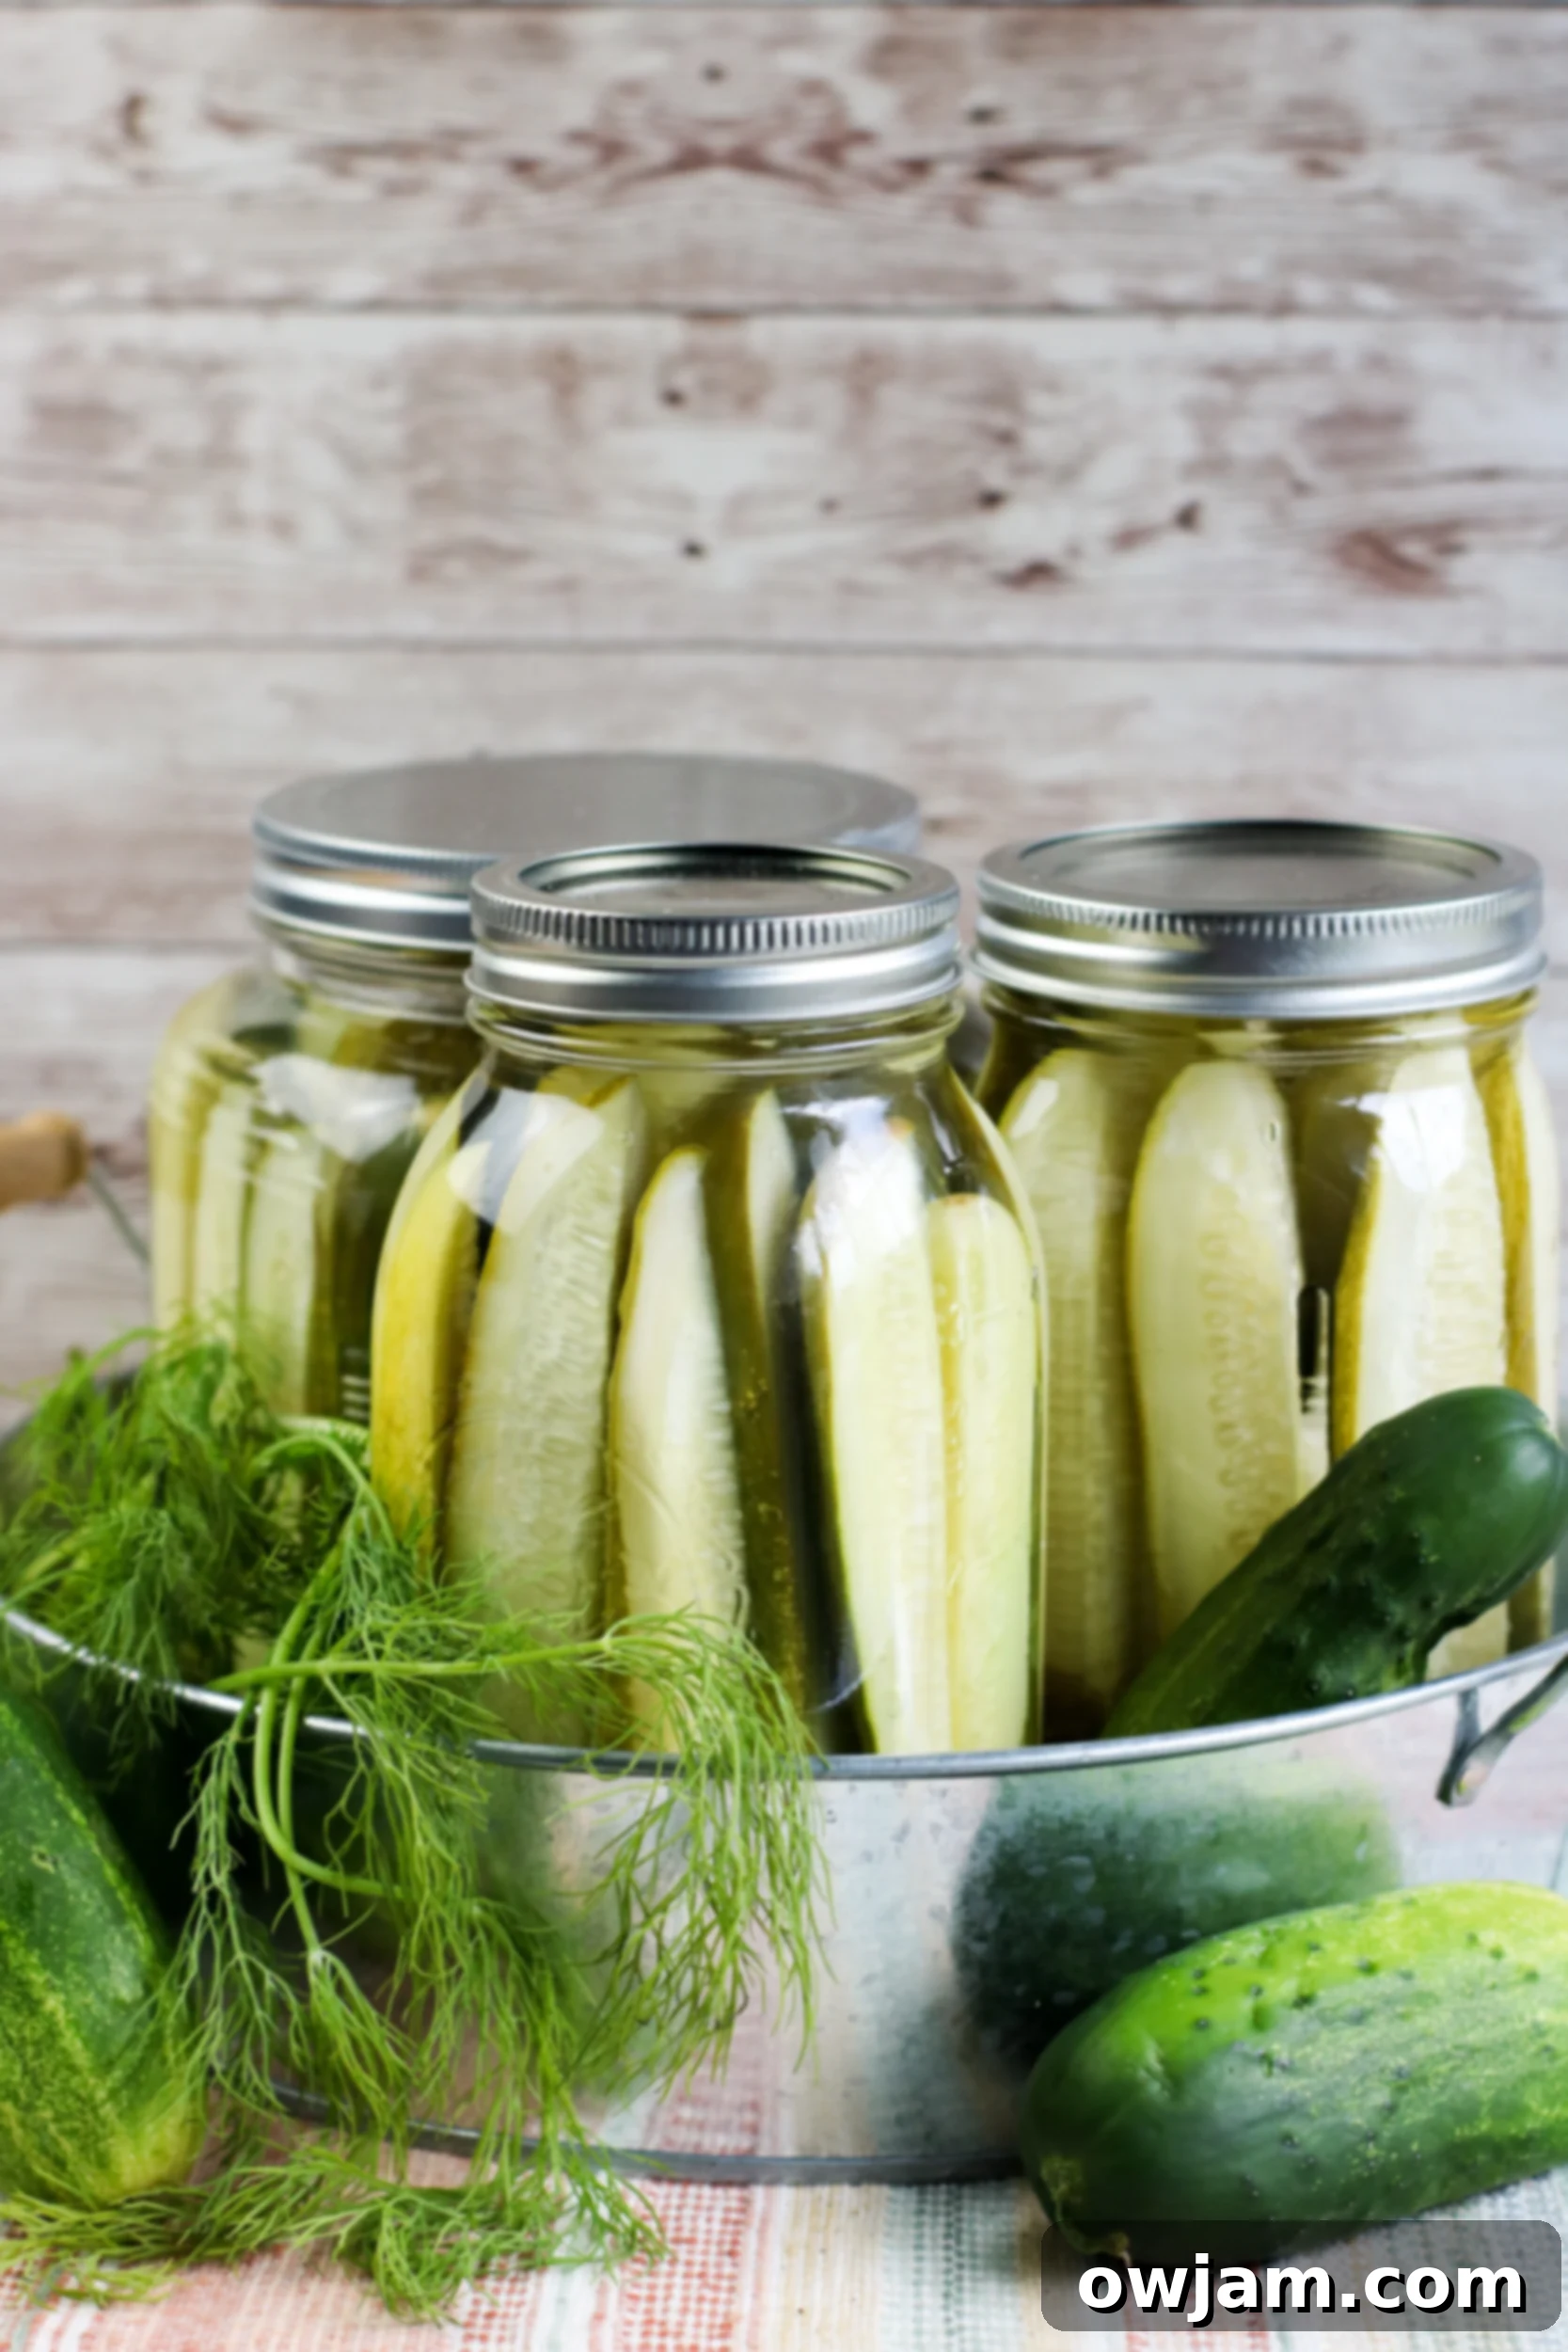
Easy Homemade Refrigerator Dill Pickles: Quick, Crispy & Delicious
Transform your abundance of garden cucumbers or fresh finds from the farmers market into incredibly crisp and flavorful refrigerator dill pickles. This simple, no-fuss recipe allows you to create perfectly brined pickles, cut into chips or spears, infused with a delightful mixture of vinegar, sugar, aromatic garlic, and fresh dill. The best part? They’re ready to enjoy in as little as three days, offering an instant burst of tangy freshness. These homemade delights are not just a wonderful way to preserve your harvest; they are also an essential condiment for sandwiches, burgers, or a satisfyingly crunchy snack all on their own.
Homemade Refrigerator Dill Pickles: A Summer Essential
As the vibrant days of late summer unfold, many home gardeners find themselves with an abundant harvest of cucumbers. Similarly, local farmers markets overflow with these crisp, green vegetables, practically begging to be transformed into something delicious. If you, like me, have an undeniable love for the tangy crunch of pickles, then this refrigerator dill pickle recipe is an absolute must-try. It’s the perfect solution for utilizing that surplus of cucumbers and creating a versatile, mouth-watering condiment.
What makes this recipe stand out is its incredible ease and speed. Unlike traditional canning methods that require sterilization and a longer waiting period for fermentation, these homemade pickles are prepared directly in the fridge and are ready to eat in just three to four days. This quick pickling process means you can enjoy fresh, crisp pickles with minimal effort, making them an ideal project for busy summer days.
This recipe provides a solid foundation for classic dill pickles, but don’t hesitate to let your culinary creativity shine! You can easily adjust the base ingredients to suit your personal taste preferences. Craving a stronger garlic flavor? Add a few extra cloves. Prefer a more intense dill presence? Increase the amount of fresh dill. For those who enjoy a bit of a kick, consider spicing things up with a few slices of jalapeños, habaneros, or even a pinch of red pepper flakes for a fiery twist.
I find these homemade dill pickles to be indispensable. I always keep a jar (or two!) on hand, as they elevate countless meals. They’re fantastic alongside hearty sandwiches, provide a refreshing counterpoint in wraps, are a classic topping for juicy burgers, and make for a wonderfully satisfying and low-calorie snack. Their bright, zesty flavor is truly addictive!
What Exactly is a Pickle?
At its heart, a pickle is simply a cucumber that has undergone a remarkable transformation through the process of pickling. This involves submerging cucumbers in an acidic solution, typically a brine made with vinegar, along with various other ingredients like garlic, dill, and spices. This method works by creating an environment that inhibits the growth of spoilage bacteria while encouraging beneficial bacteria (in traditional fermentation) or simply infusing the cucumbers with flavor and preserving them (in quick pickling).
The acidic mixture significantly increases the shelf life of the cucumber, turning a fresh vegetable into a tangy, flavorful pickle. While many people are familiar with traditionally canned pickles, which are often stored at room temperature through a more involved water bath canning process, this specific recipe focuses on refrigerator dill pickles. These are designed for quick preparation and storage in the refrigerator, offering a simpler and faster alternative to conventional canning.
I personally gravitate towards refrigerator dill pickles because of their sheer convenience and speed. The process is much less labor-intensive compared to making shelf-stable pickles, which require precise sterilization and a longer curing time. With refrigerator pickles, you get to enjoy that homemade crunch and vibrant flavor without the extensive commitment, making them perfect for anyone looking to try pickling for the first time or simply wanting a quick pickle fix.
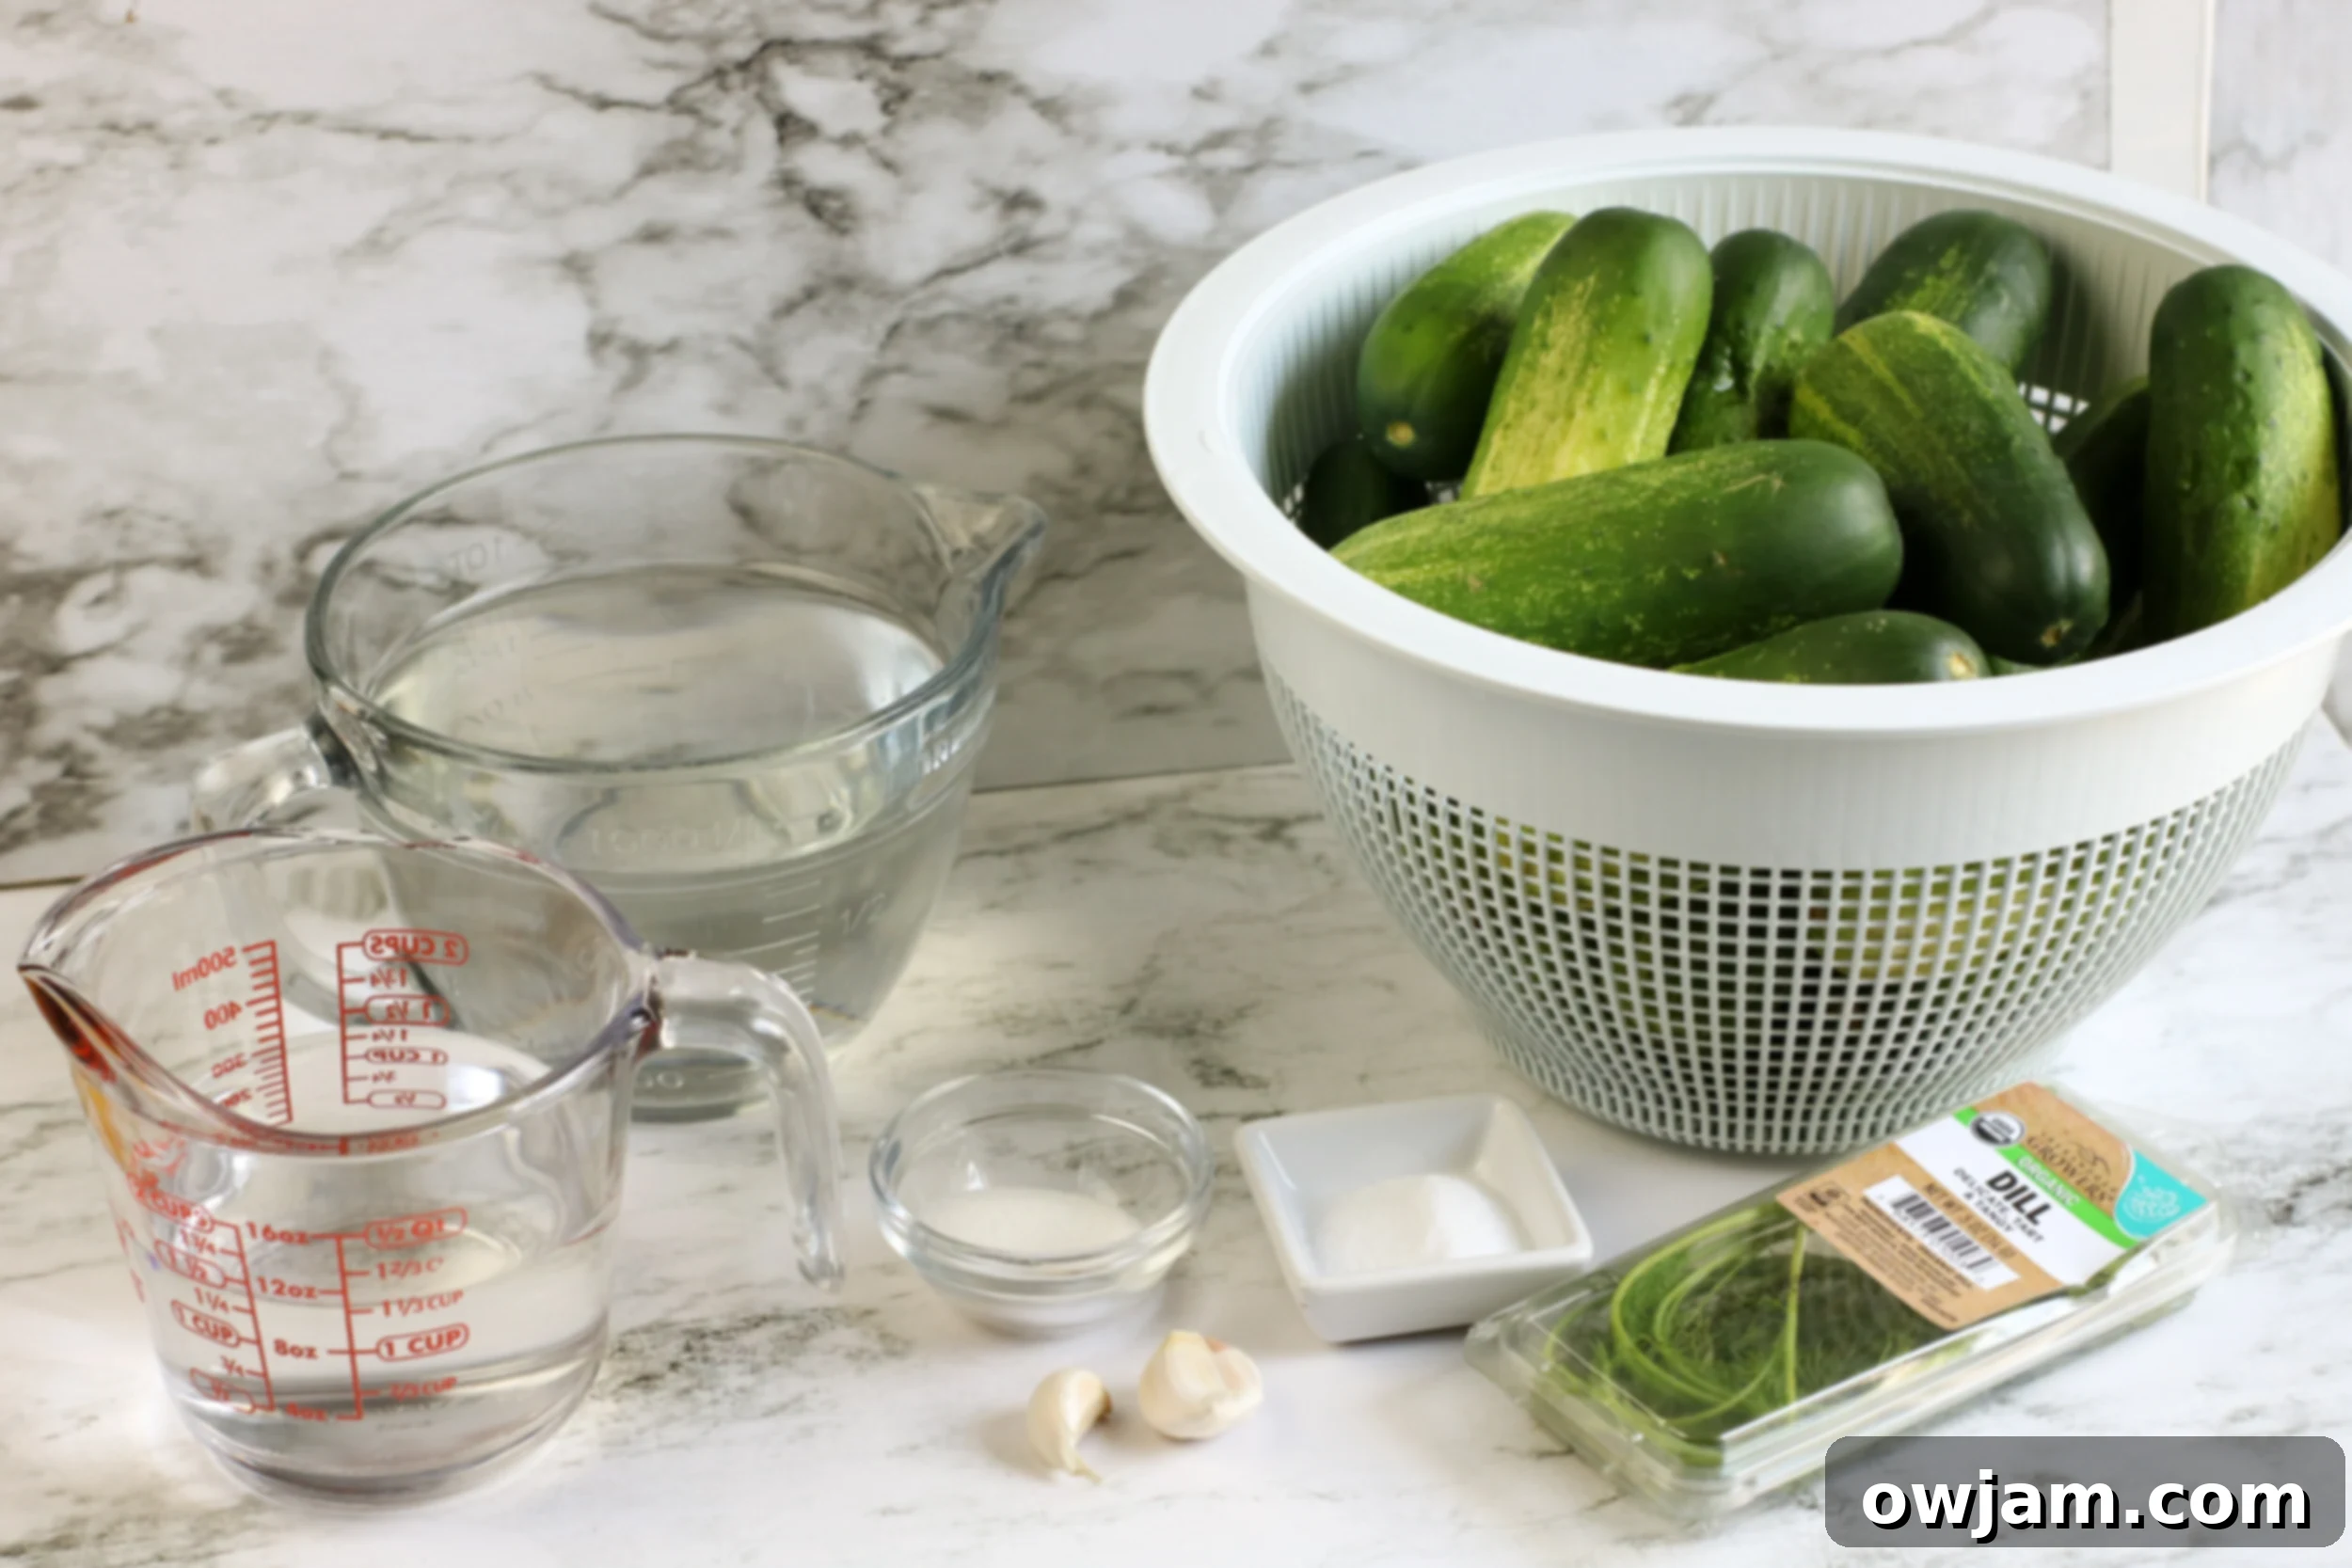
Key Ingredients for Flavorful Refrigerator Dill Pickles
Creating vibrant and tangy refrigerator dill pickles requires a handful of essential ingredients, each playing a crucial role in developing that classic flavor and satisfying crunch. Here’s a breakdown of what you’ll need:
-
Cucumbers: The star of the show! Opt for fresh, firm, and thin-skinned varieties like Persian, English, or pickling cucumbers for the best texture and flavor absorption.
-
Water: Forms the base of your pickling brine. Use filtered water if your tap water has a strong flavor.
-
White Vinegar: The essential acidic component that gives pickles their signature tang and acts as a preservative. Distilled white vinegar is recommended for a clear brine and clean flavor.
-
Sugar: A touch of sugar balances the acidity of the vinegar, rounding out the flavors and preventing the pickles from tasting too harsh.
-
Canning & Pickling Salt: Crucial for flavor and crispness. Avoid iodized table salt, which can make your brine cloudy and potentially alter the pickle’s texture and color. Pickling salt is pure salt.
-
Garlic: Fresh garlic cloves infuse the pickles with a pungent, savory aroma that is characteristic of dill pickles. Crushing them slightly helps release their flavor.
-
Fresh Dill: The namesake ingredient! Fresh dill sprigs provide that quintessential aromatic, slightly grassy, and herbaceous flavor that defines dill pickles. Use fresh for the best results.
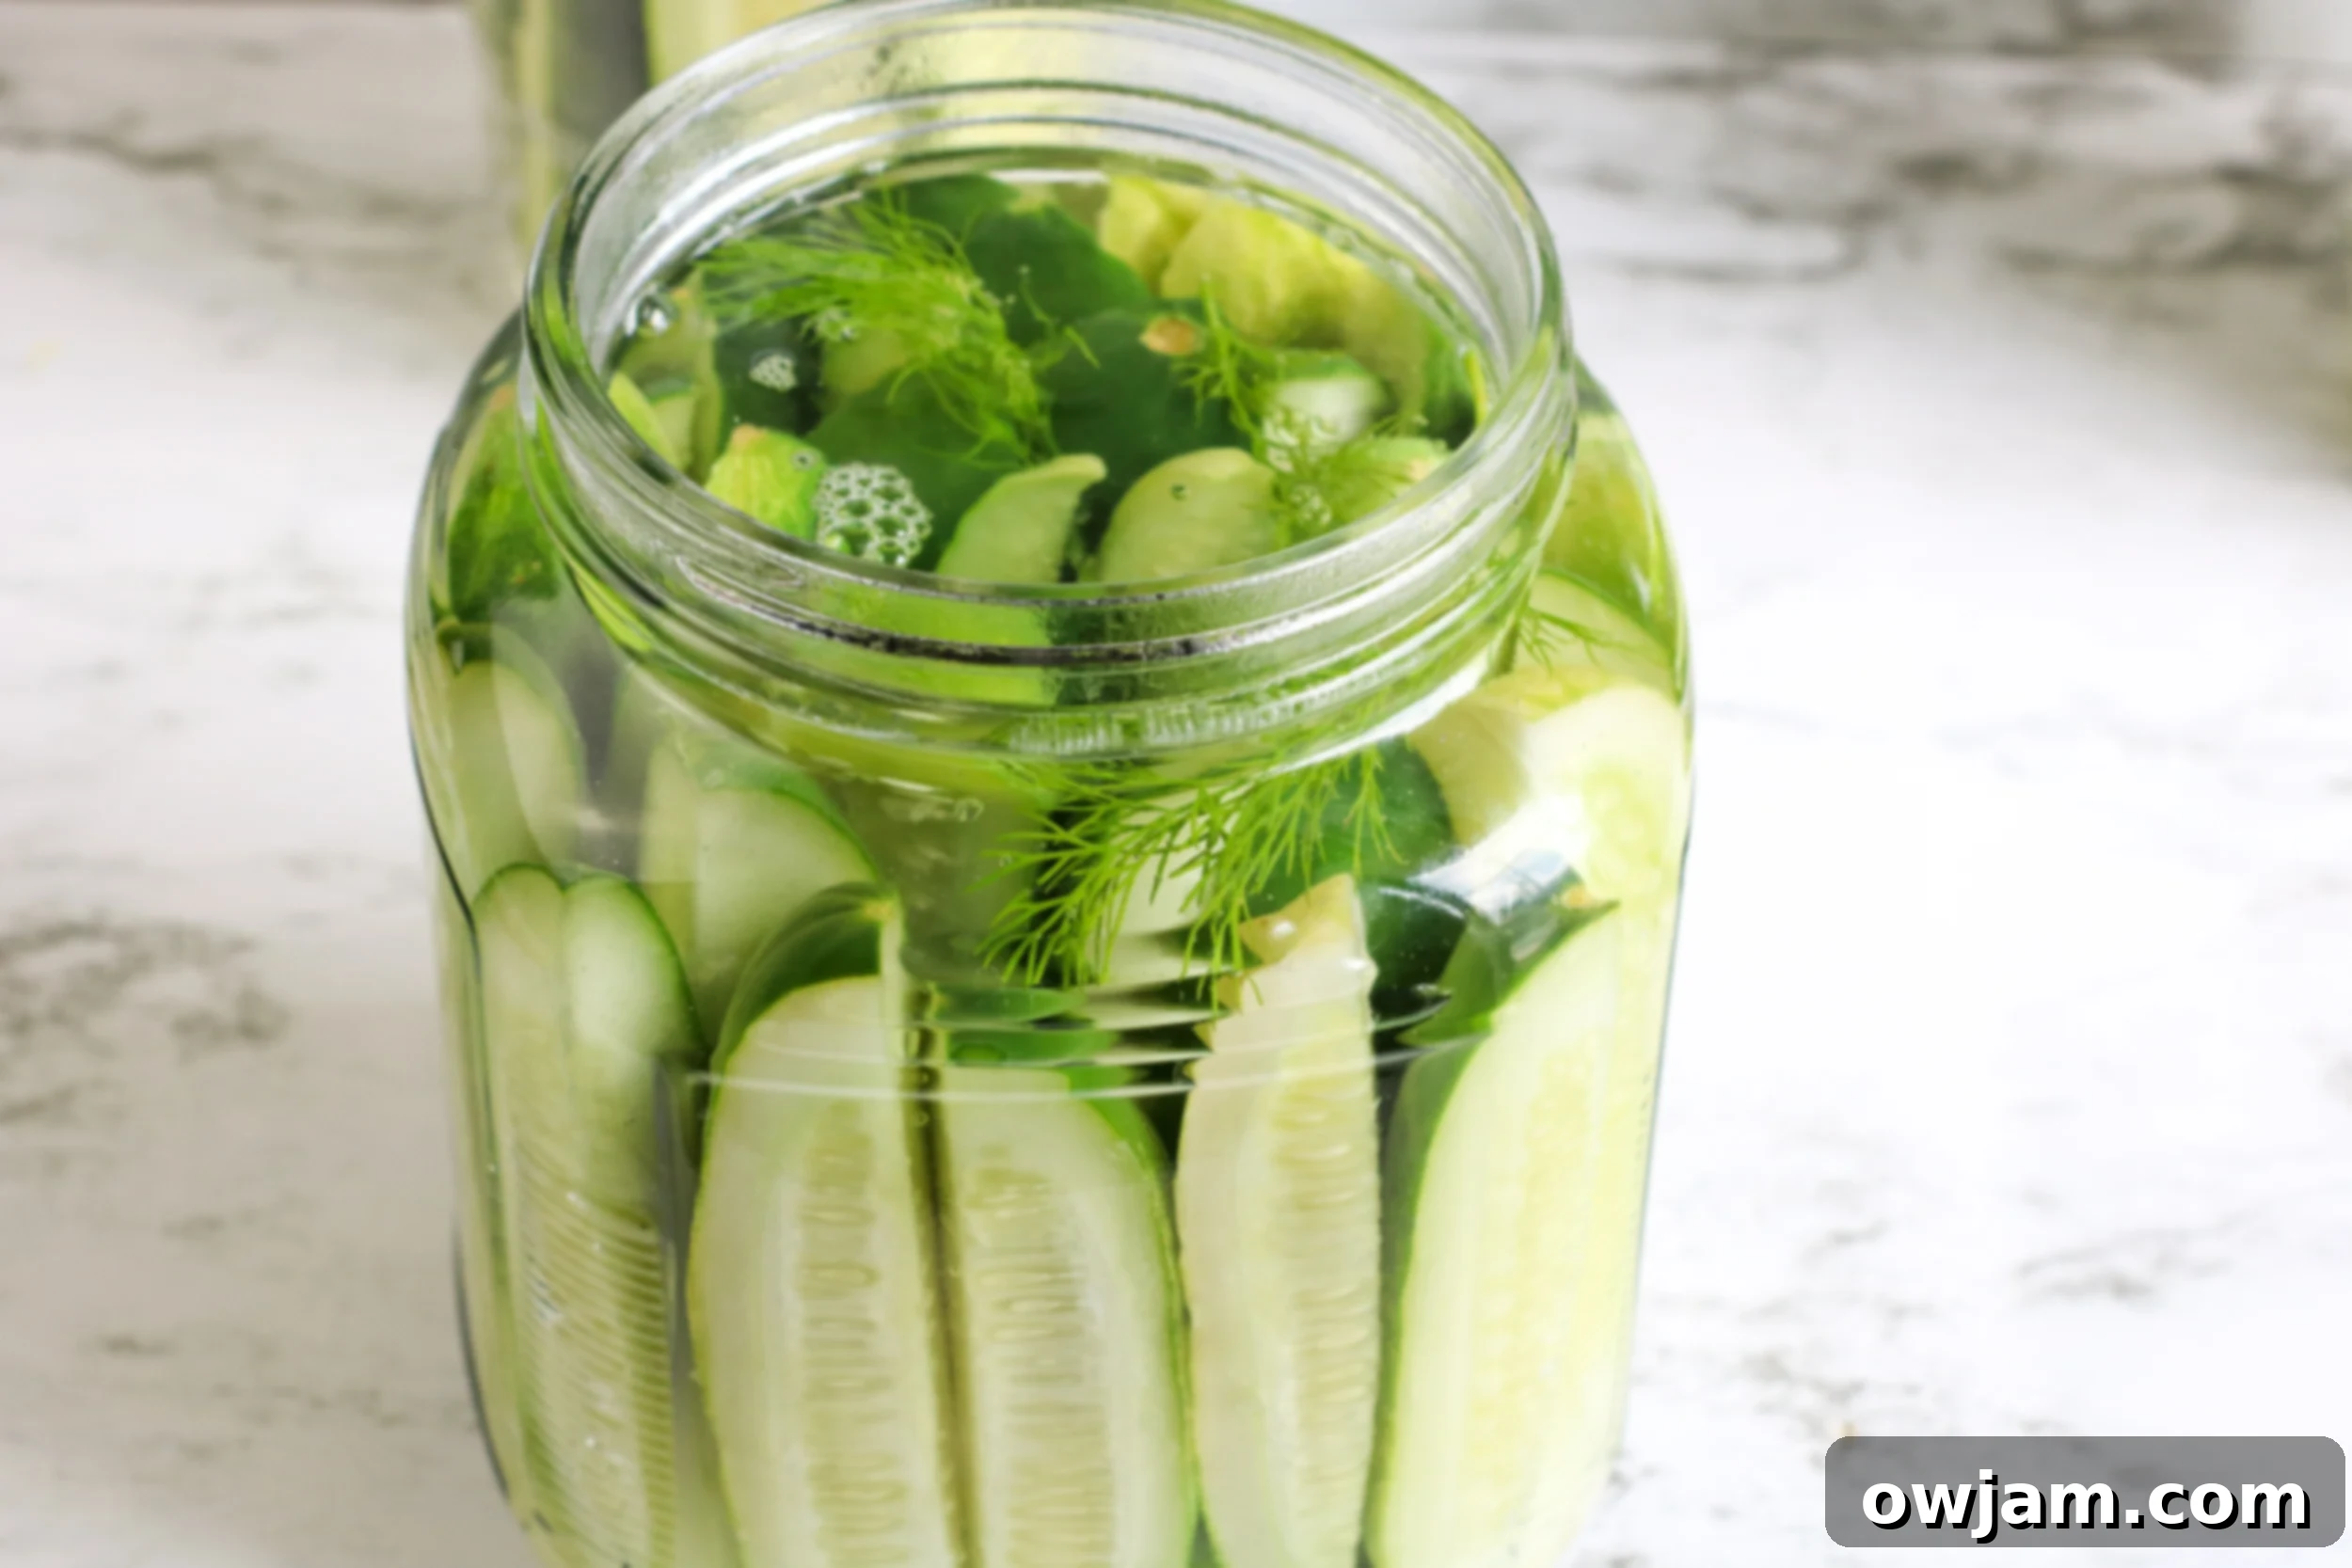
Simple Steps to Make Your Own Refrigerator Dill Pickles
Making your own refrigerator dill pickles is a surprisingly straightforward process that yields incredibly rewarding results. Follow these simple steps to create a batch of crisp, flavorful pickles that you’ll be proud to share (or keep all to yourself!):
Step 1: Prepare the Brine
In a medium-sized saucepan, combine the water, white vinegar, sugar, and pickling salt. Place the saucepan over high heat and bring the mixture to a rolling boil. Stir occasionally to ensure that the sugar and salt completely dissolve. This brine is the heart of your pickles, imparting flavor and preserving the cucumbers.
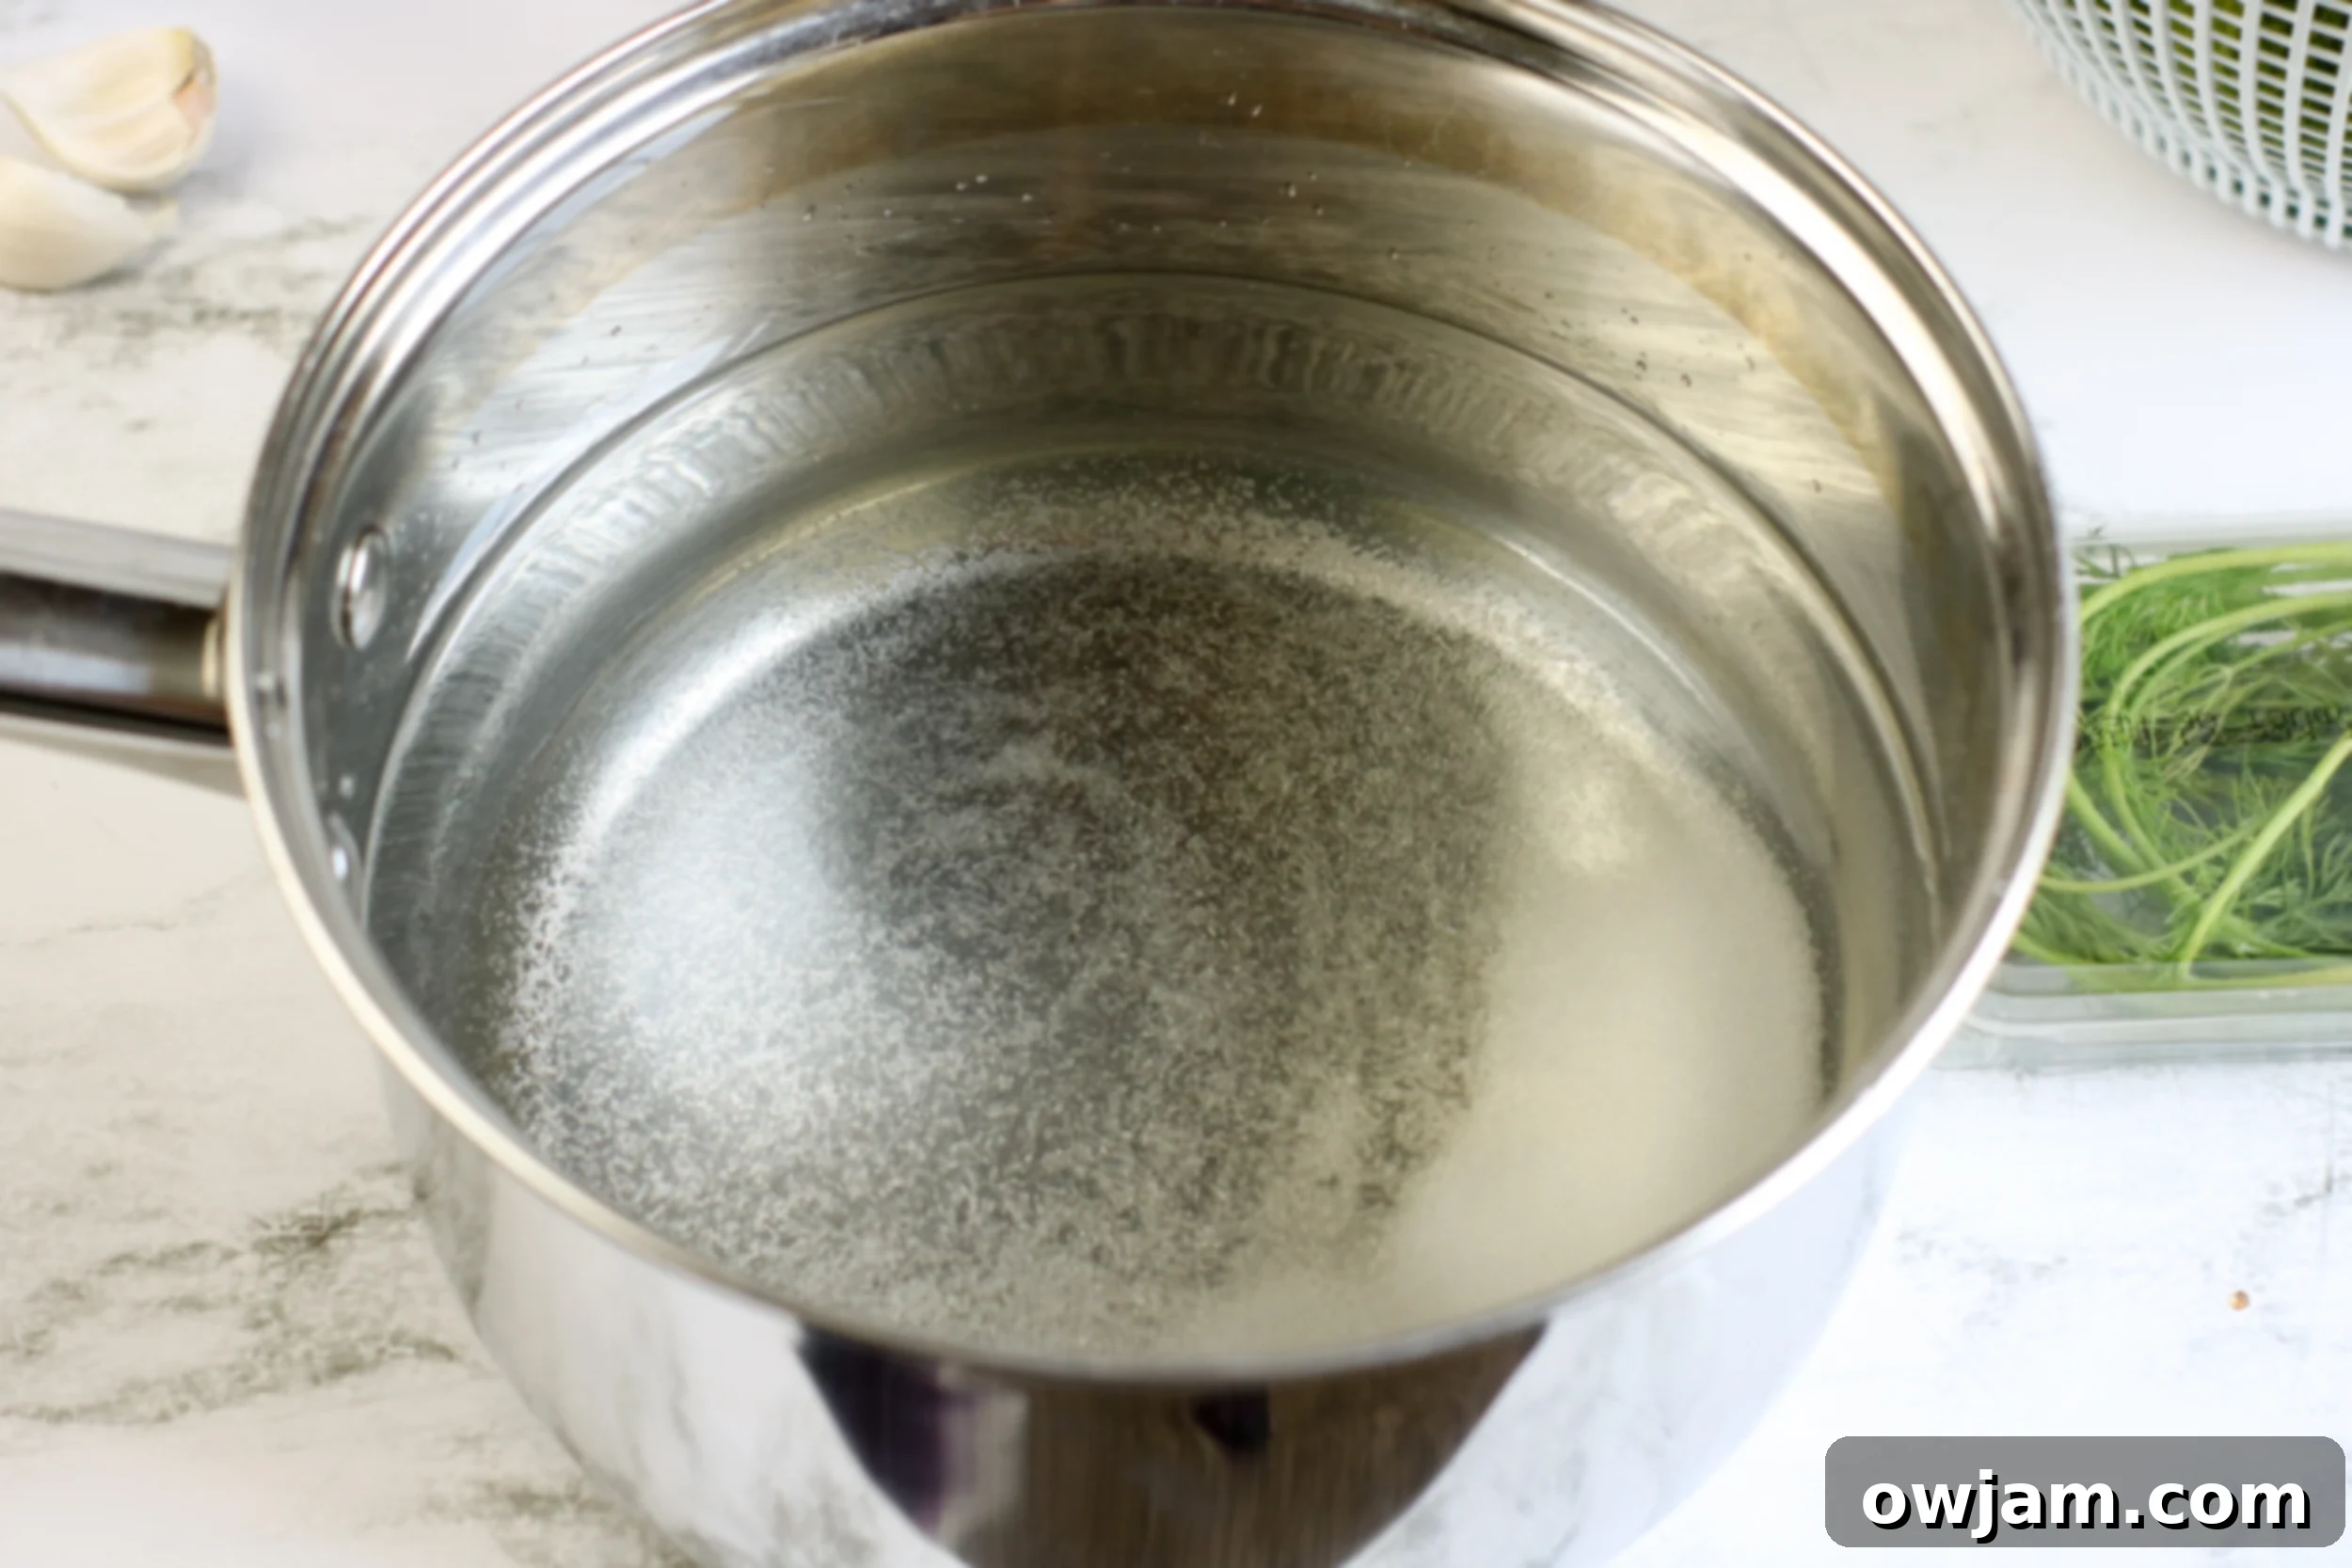
Step 2: Cool the Brine Slightly
Once the brine has come to a boil and the solids are dissolved, remove the pan from the heat. Allow it to cool down for a few minutes. You want the brine to be hot but not scalding when you pour it over the cucumbers, as this helps prevent the cucumbers from becoming too soft.
Step 3: Prepare the Jars and Cucumbers
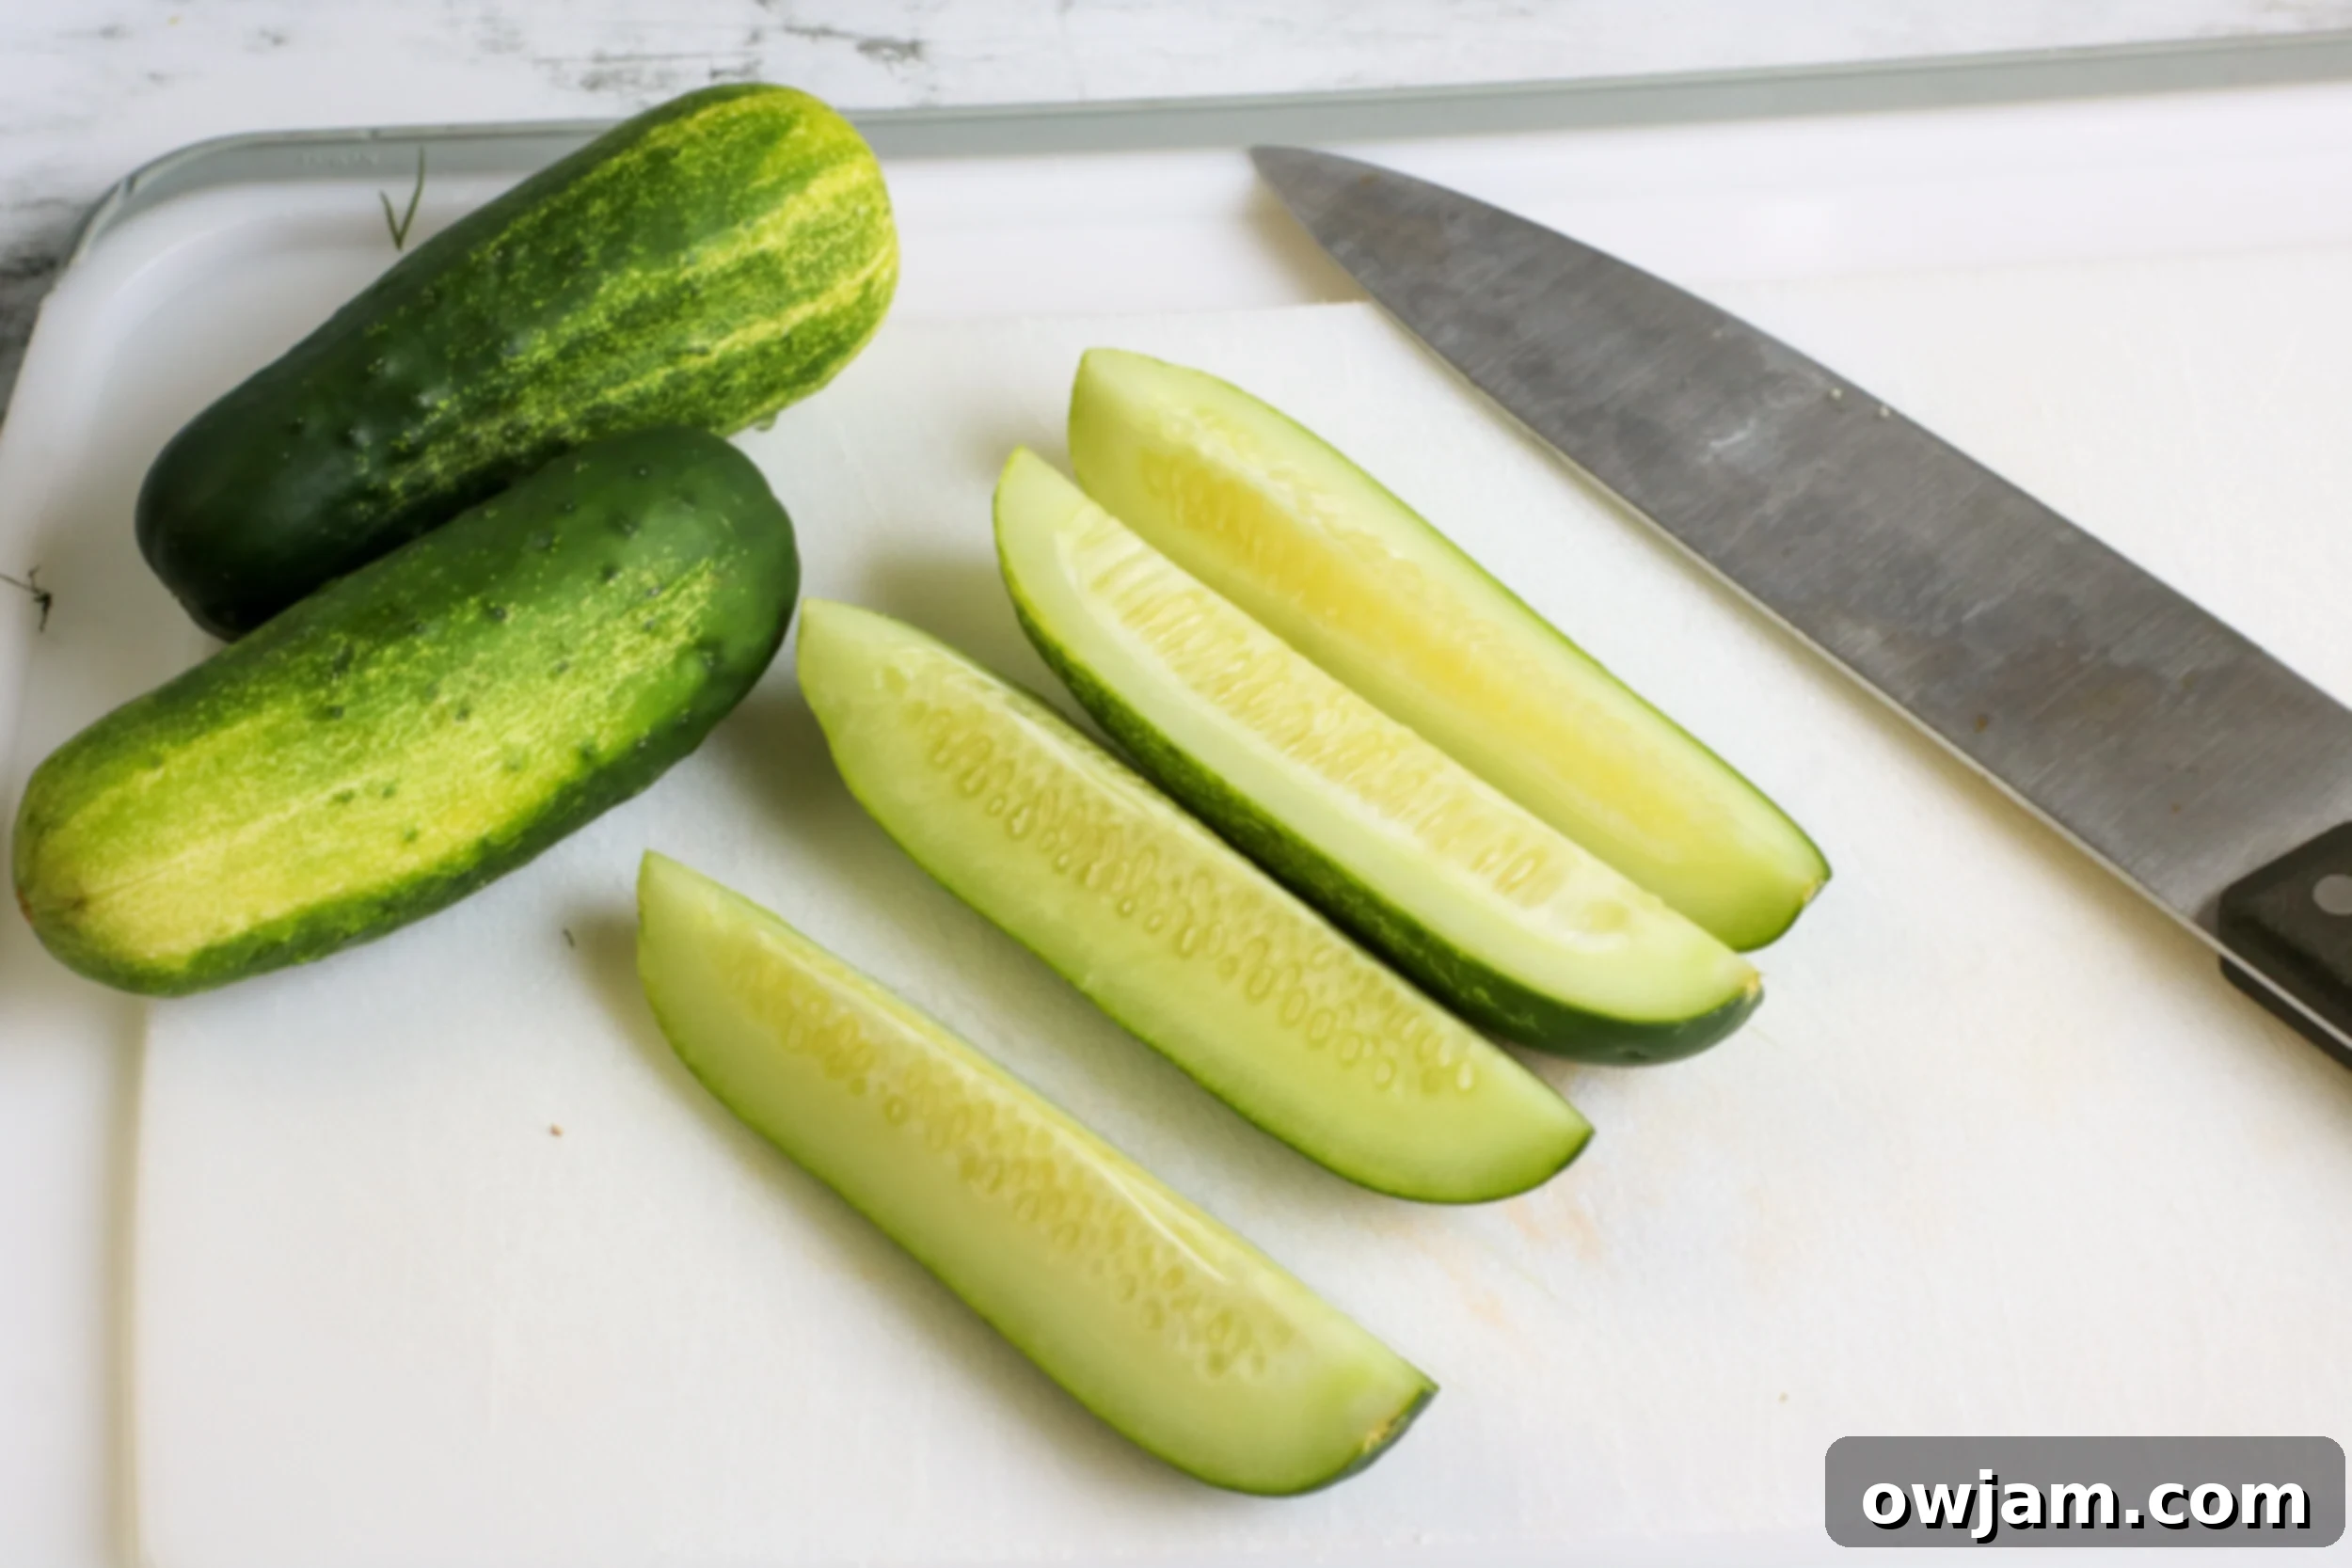
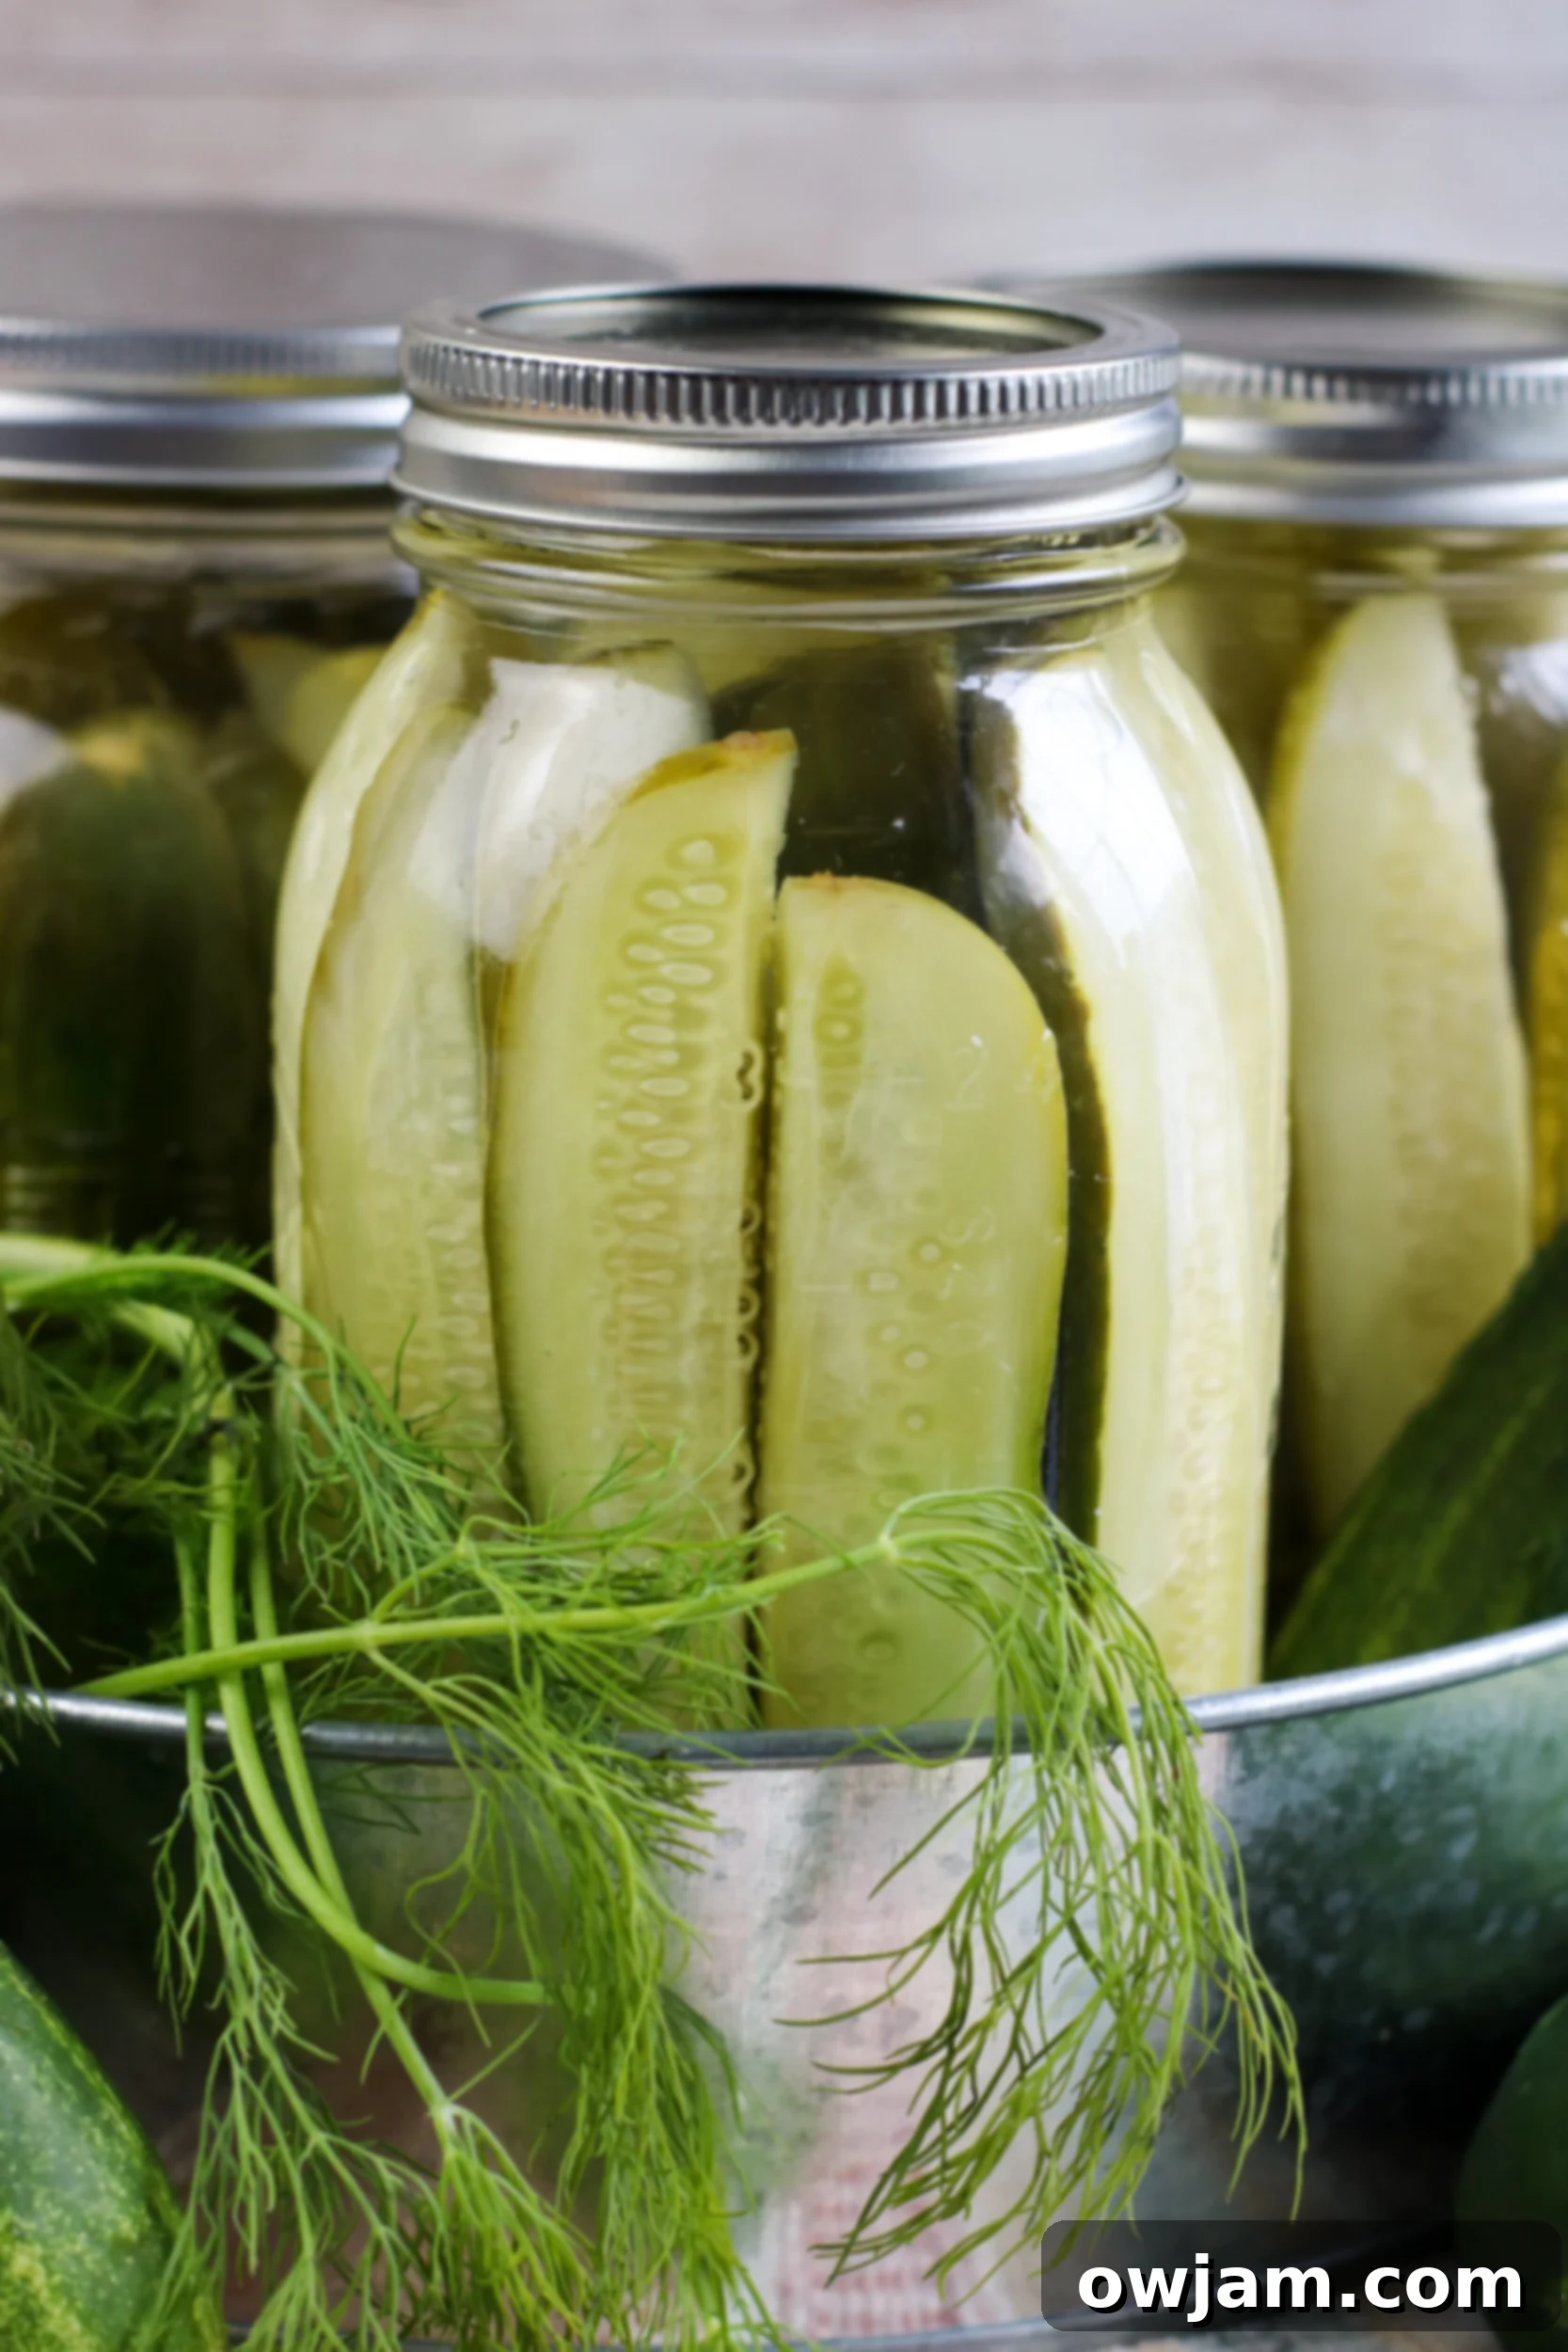
Sterilize your jars and lids before starting, just to be safe. Into each clean, empty jar (16-ounce mason jars work perfectly), drop 2 cloves of peeled and lightly crushed garlic and 2 fresh sprigs of dill. Then, tightly pack your prepared cucumber spears (or slices, depending on your preference) into the jars. Ensure they are snugly fit but not overly compressed.
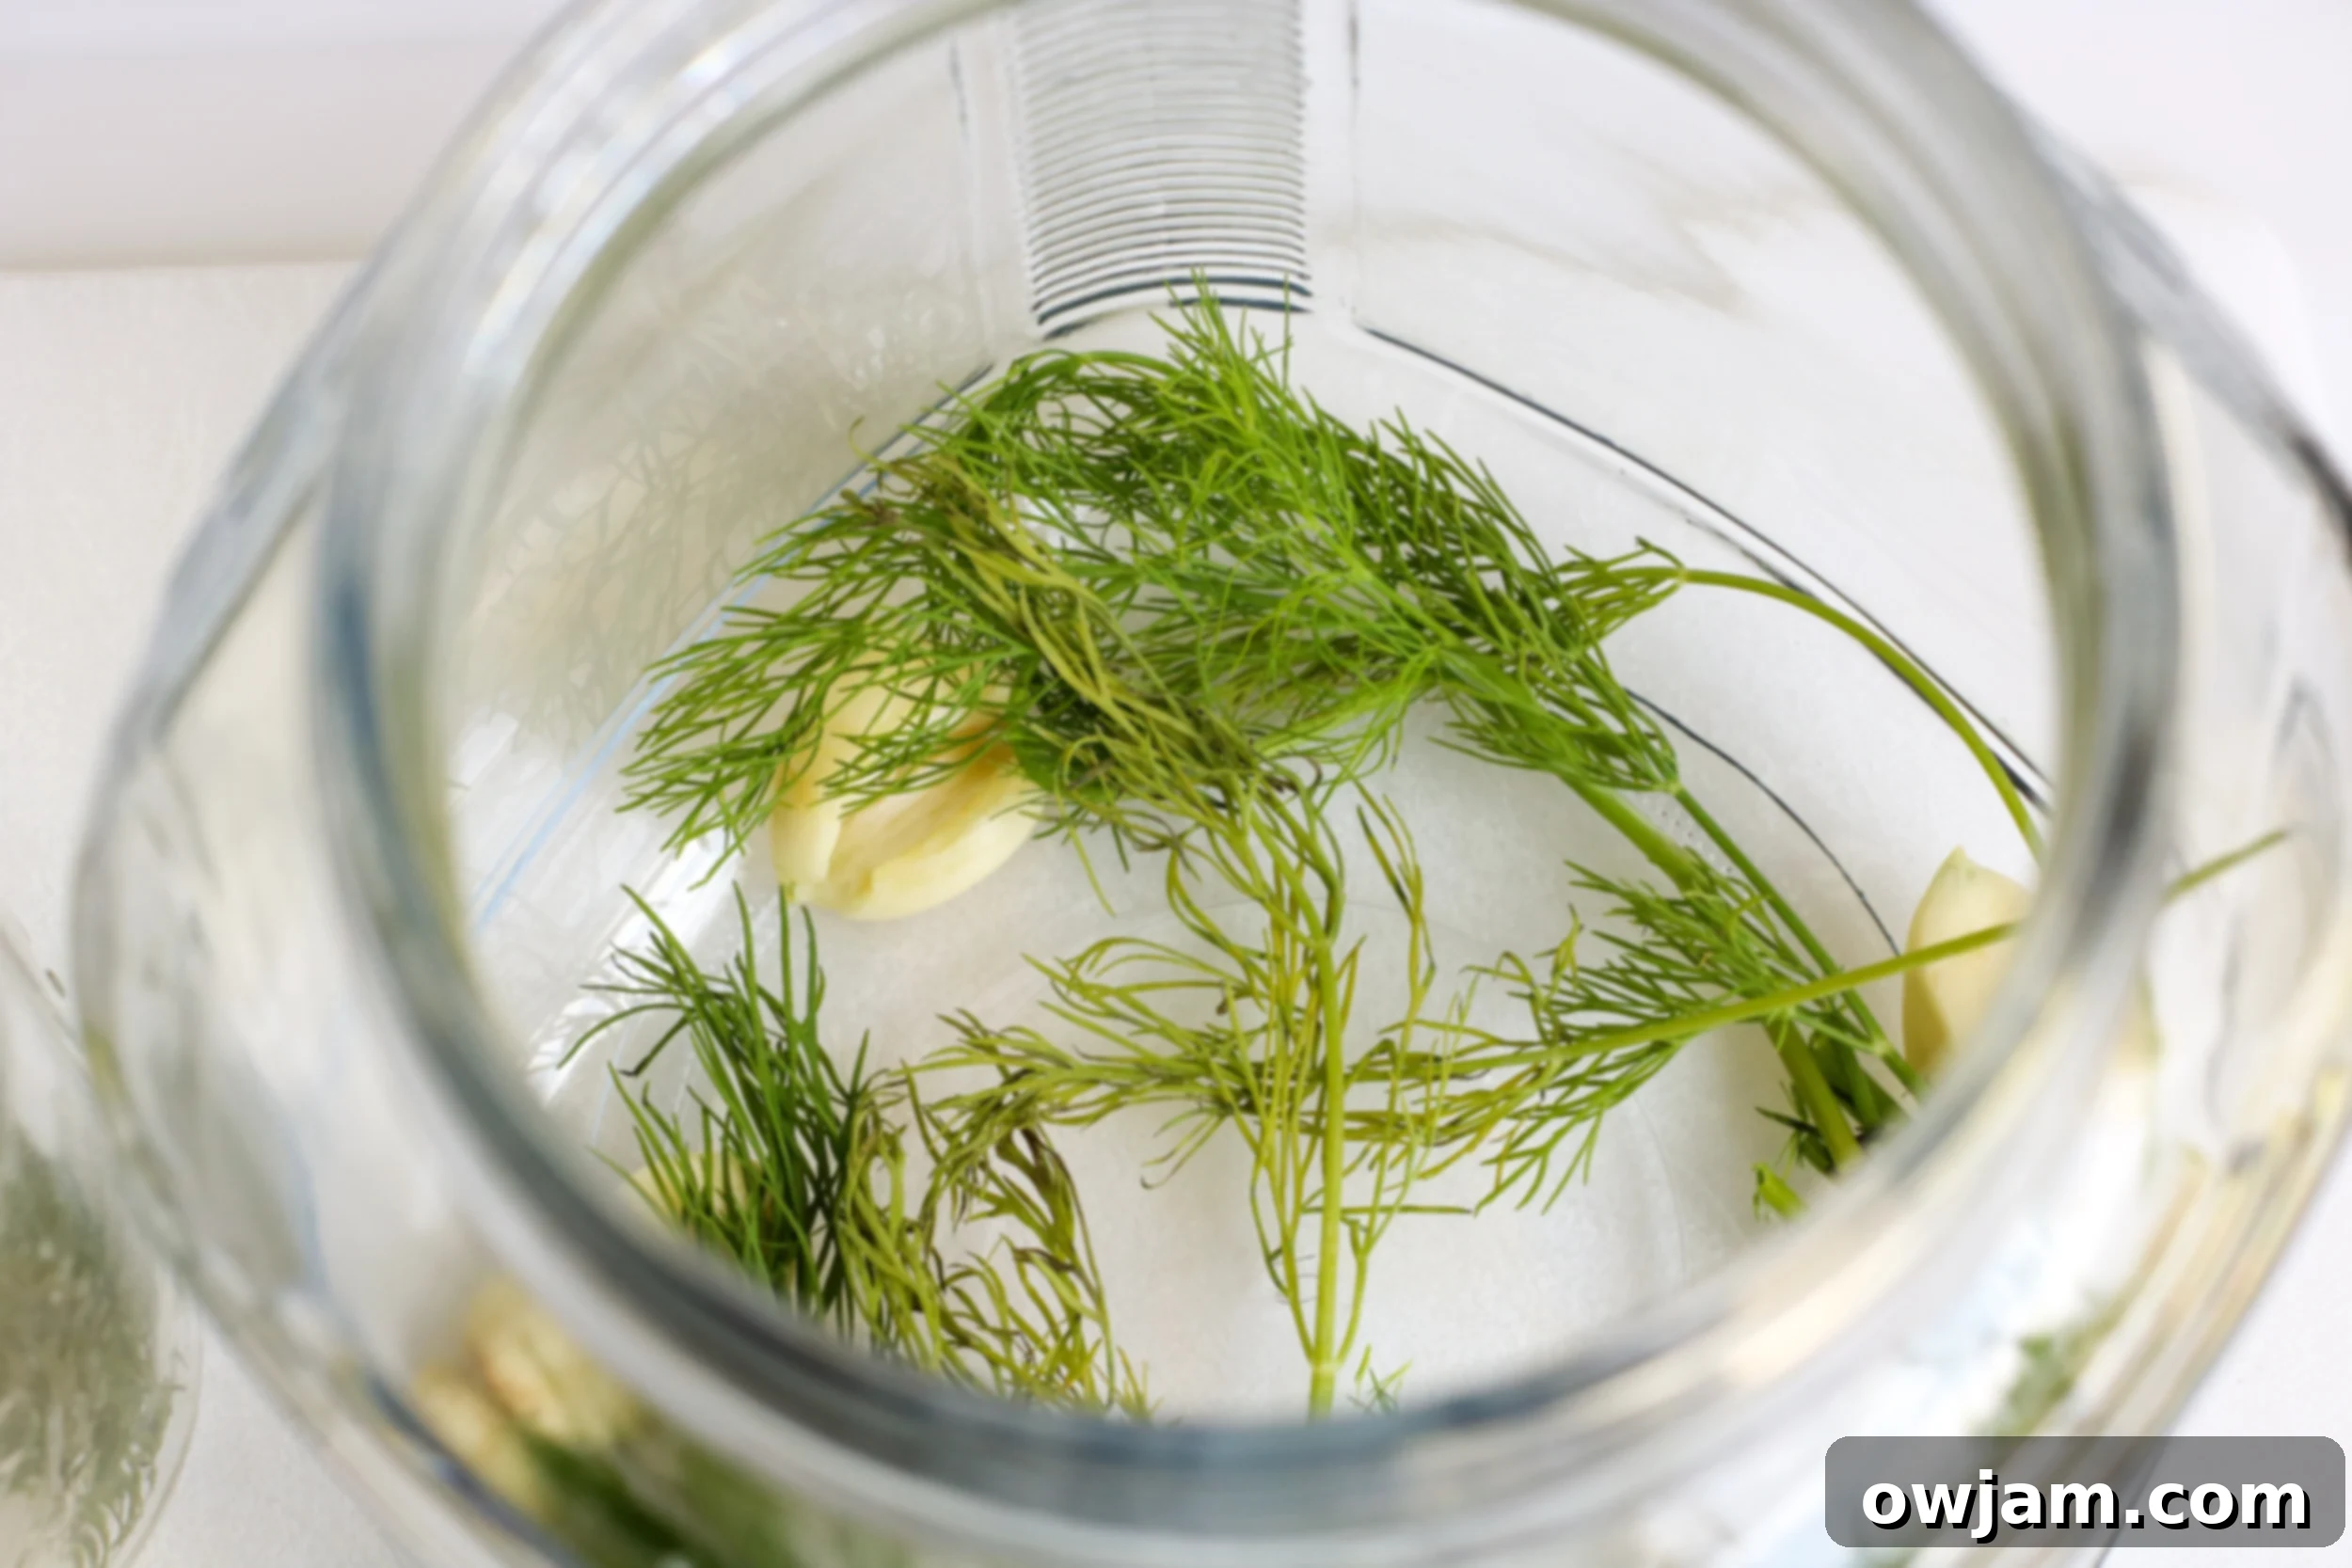
Step 4: Pour the Brine
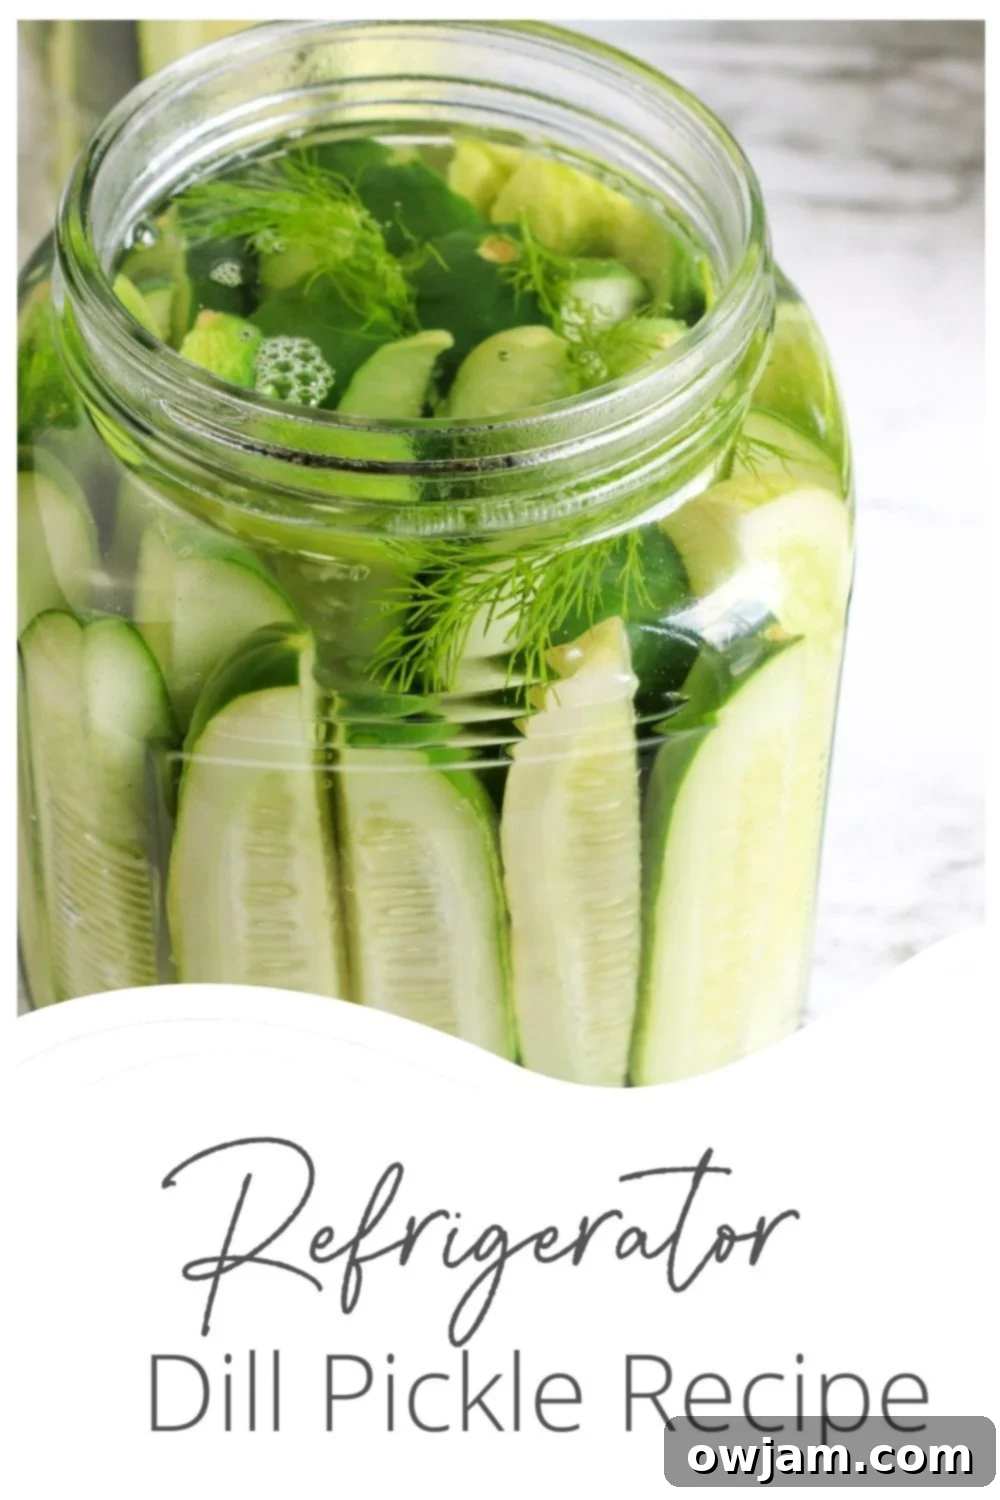
Carefully pour the slightly cooled vinegar mixture into the jars, completely covering the cucumbers. Make sure there are no air bubbles trapped between the cucumber pieces. You may need to gently tap the jars on the counter to release any trapped air. Fill the jars almost to the top, leaving a small headspace.
Step 5: Seal and Refrigerate
Seal the jars tightly with their lids. Once sealed, place the jars in the refrigerator. The most crucial step is to be patient! Allow the pickles to sit and marinate in the fridge for at least 3 to 4 days. This resting period is essential for the cucumbers to absorb all the wonderful flavors of the brine, transforming them into perfectly tangy and crisp refrigerator dill pickles. The longer they sit, the more intense the flavor will become.
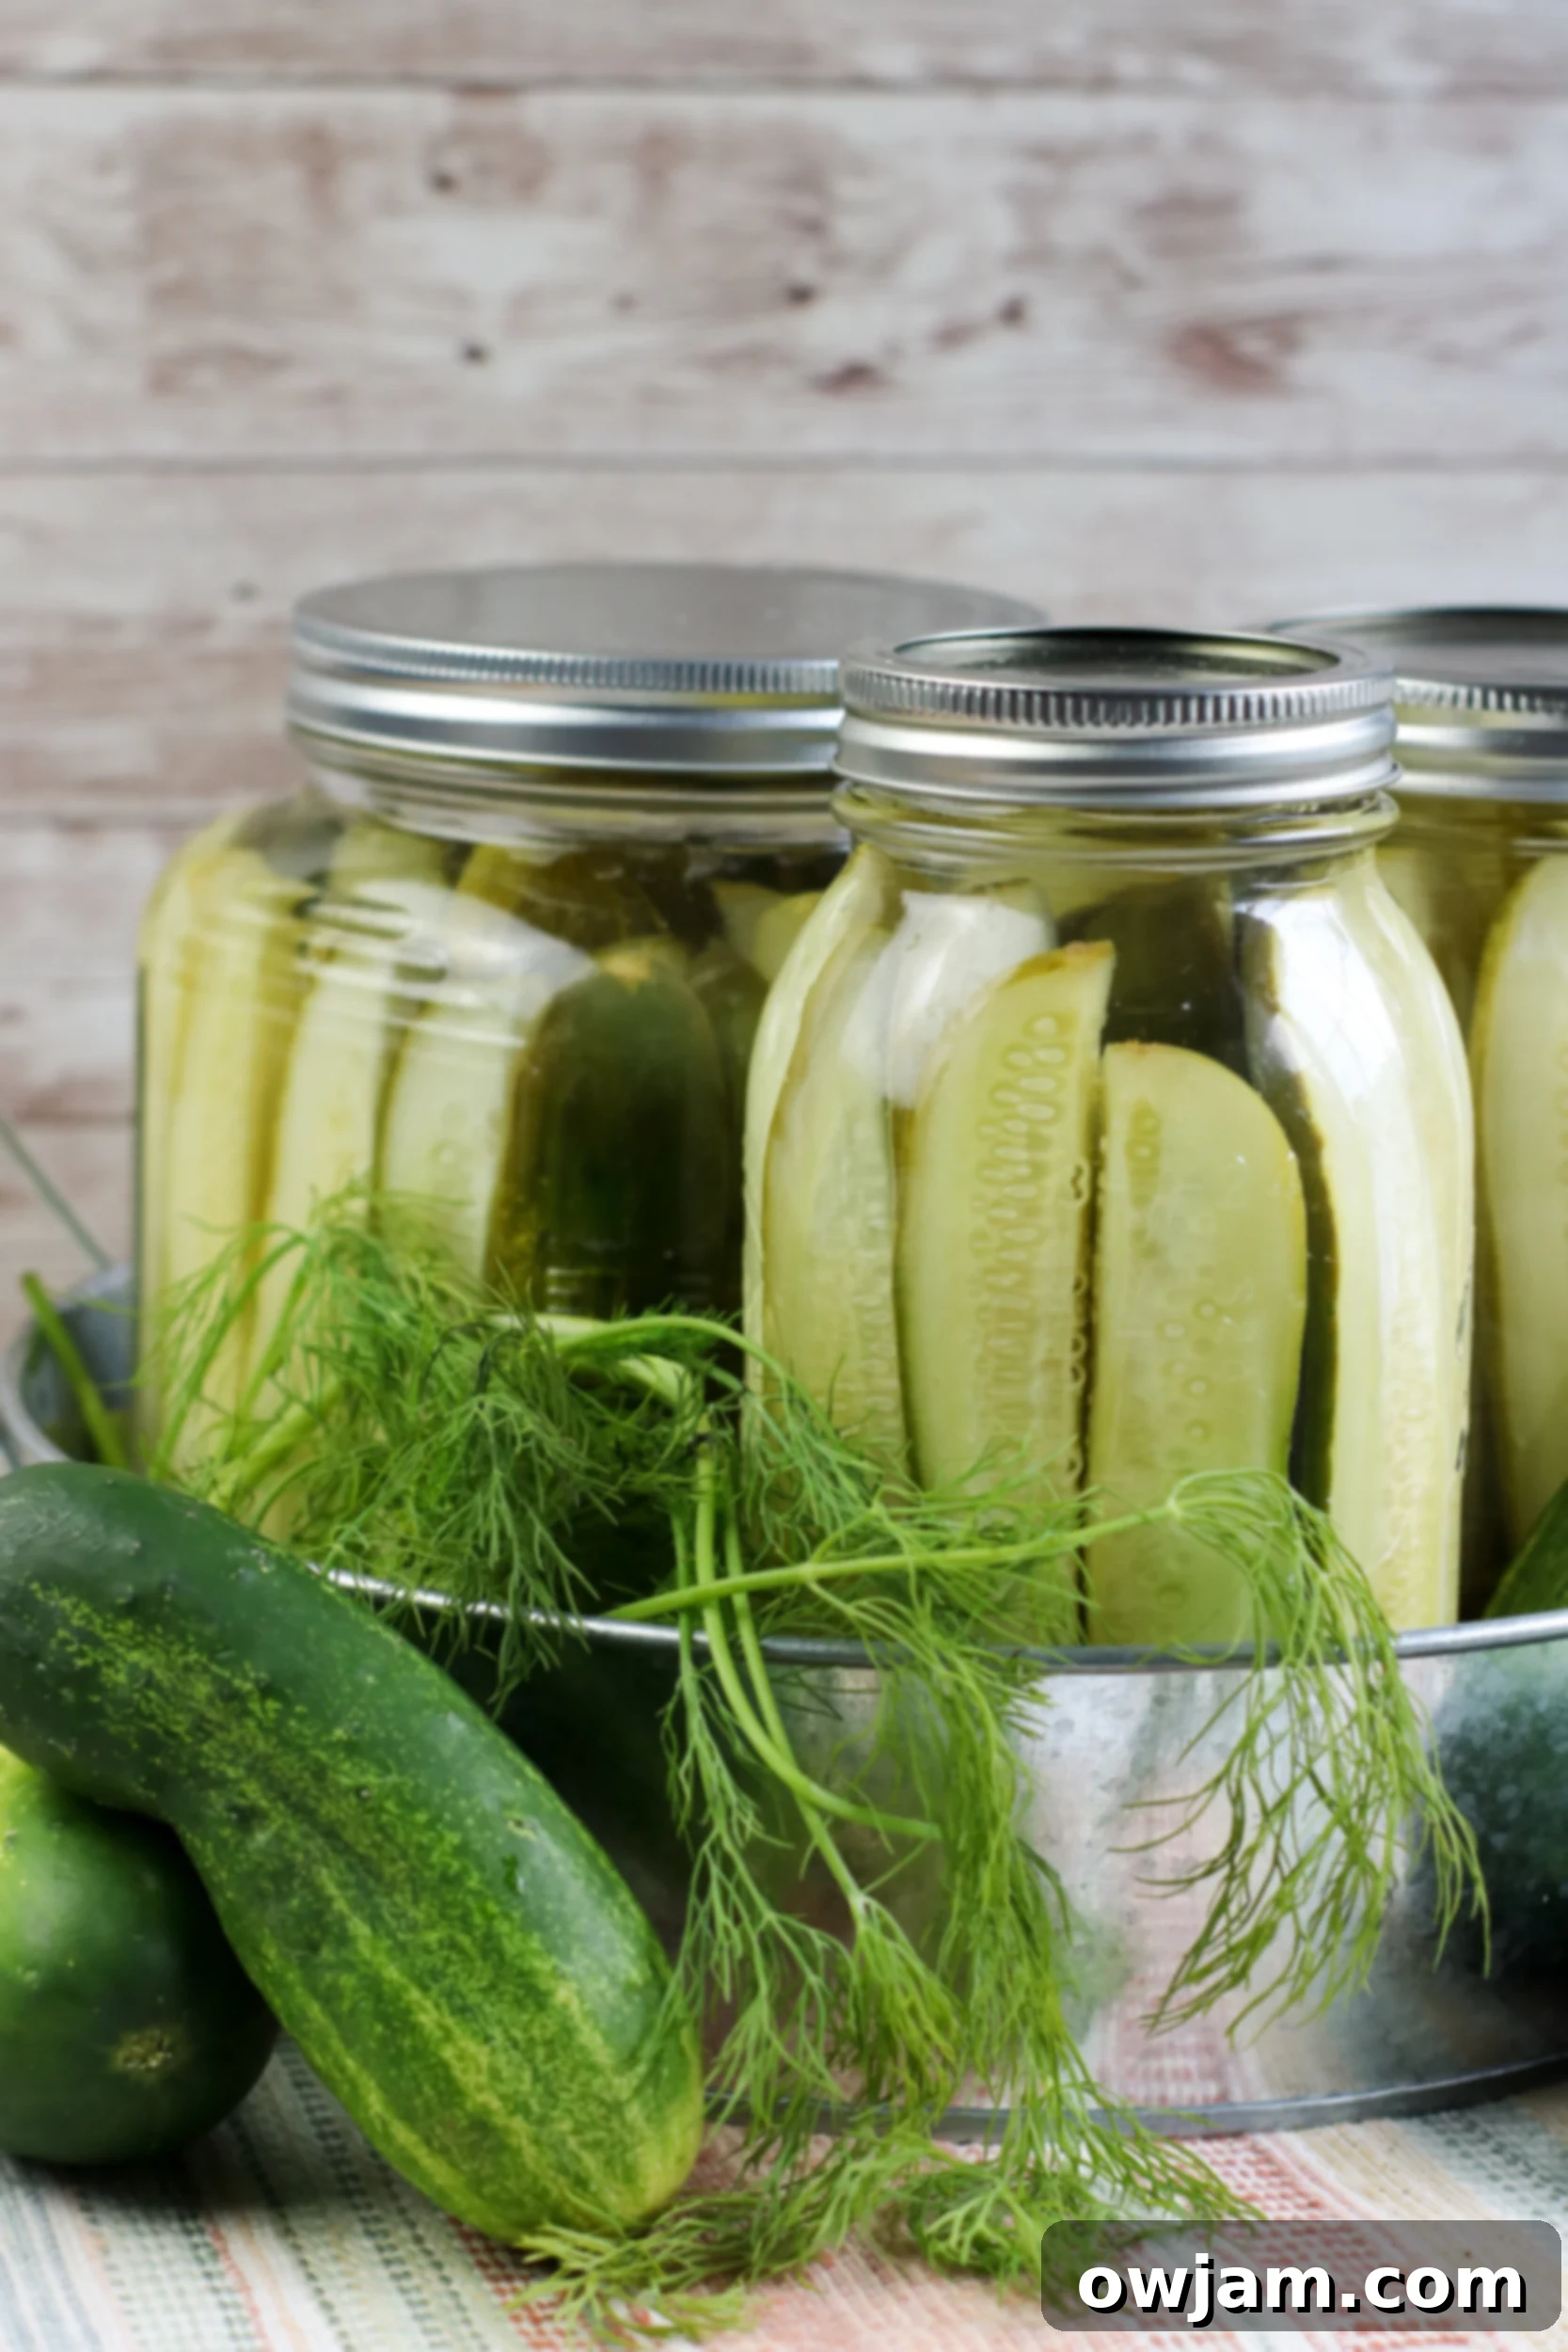
Expert Tips for the Best Refrigerator Dill Pickles
Achieving perfectly crisp and flavorful refrigerator dill pickles is easy with a few helpful tips:
-
Customizing Your Cucumber Cut: The way you cut your cucumbers can greatly influence their use. You can slice them into classic spears for snacking, cut them into rounds for burgers, or even use a mandoline to create crinkle-cut slices, which are fantastic for adding visual appeal and a satisfying texture to sandwiches. Ensure all pieces are relatively uniform in size for even pickling.
-
Choosing the Right Jars: While 16-ounce mason jars are a popular and ideal choice for pickling due to their size and airtight seal, feel free to use any clean, heat-safe, and airtight glass jars you have on hand. The key is to select jars that allow you to pack the cucumbers tightly, minimizing air pockets and maximizing brine contact.
-
Proper Storage for Longevity: Remember, these are refrigerator pickles, meaning they must be kept in the fridge in a tightly sealed container at all times. They are not shelf-stable. When stored correctly, your homemade dill pickles will maintain their excellent flavor and crunch for up to two months. Always use a clean utensil when removing pickles to prevent contamination.
-
Patience for Peak Flavor: While they are technically edible after 24 hours, the flavors truly meld and develop after sitting in the refrigerator for at least 3-4 days. For the most robust and authentic dill pickle taste, waiting a full week can make a significant difference.
-
Adjusting Garlic and Dill: The amounts of garlic and fresh dill in this recipe are a suggestion. If you’re a garlic enthusiast, don’t shy away from adding more crushed cloves. Similarly, if you love a strong dill presence, feel free to add extra sprigs or even a teaspoon of dill seeds for a more intense flavor.
-
Embracing the Spice: For those who appreciate a fiery kick, incorporating chili peppers is an excellent way to customize your pickles. Try adding a few thin slices of Thai red peppers, jalapeños, or even habaneros to the jars along with the cucumbers. The longer they sit, the spicier they’ll become!
-
Selecting the Best Cucumbers: The best cucumbers for refrigerator pickles are those with thin skins and a firm texture. Varieties like Persian cucumbers, English cucumbers (seedless), or pickling cucumbers (such as Kirby) are excellent choices because their thin skins absorb the brine easily and they stay wonderfully crisp. Avoid larger, waxy garden cucumbers as they tend to become softer.
-
Ensuring Crispness: For an extra-crisp pickle, some people like to soak their cucumber slices in an ice bath for 30 minutes to an hour before pickling. You can also add a grape leaf or a pinch of pickling crisping agent (like Pickle Crisp granules) to each jar; the tannins in grape leaves can help maintain firmness.
Versatile Ways to Enjoy Your Refrigerator Dill Pickles
Once your homemade refrigerator dill pickles are perfectly brined and ready, you’ll find countless delicious ways to incorporate their tangy crunch into your meals. They are far more versatile than just a side dish!
Pickles are truly a chameleon in the kitchen, elevating simple dishes with their bright, acidic flavor.
Here are some of my favorite ways to enjoy them, from classic pairings to creative culinary additions:
- On Burgers and Sandwiches: This is a classic for a reason! Lay slices or spears of dill pickles onto your favorite burgers, hot dogs, or deli sandwiches for an essential tangy counterpoint to rich flavors. They cut through the fattiness and add a much-needed textural pop.
- Wraps and Paninis: Add thinly sliced pickles to chicken, turkey, or veggie wraps for an instant flavor boost. They also hold up wonderfully in pressed paninis, offering a warm, tangy bite.
- As a Snack: Sometimes, the simplest way is the best way. Grab a spear straight from the jar for a refreshing, low-calorie, and satisfyingly crunchy snack. They’re perfect for warding off those midday cravings.
- In Salads: Dice your pickles and toss them into potato salad, tuna salad, chicken salad, or even a green salad for an unexpected zing. They add moisture and a briny depth of flavor.
- On Charcuterie Boards: Elevate your cheese and meat platters with a bowl of homemade dill pickles. Their acidity pairs beautifully with rich cheeses and cured meats.
- Garnishes: Finely chop pickles (or pickle relish!) to garnish dishes like deviled eggs, tacos, or even a bowl of chili.
- Fried Pickles: For a decadent treat, try breading and frying your dill pickle slices. They make an amazing appetizer!
And speaking of burgers and sandwiches, here are some recipes where these pickles truly shine:
SWEET AND SPICY TURKEY BURGER WITH GUACAMOLE
SPICY CHICKEN SANDWICH
PORK BURGERS
PULLED PORK SANDWICHES
EASY BLUE CHEESE BURGER
Tried this recipe? Leave a star rating and comment below! Subscribe to my newsletter or follow me on
Facebook,
Instagram, or
Pinterest for the latest.
Refrigerator Dill Pickles
Saved
Pin
Ingredients
- 2 pounds cucumbers, quartered lengthwise
- 3 1/2 cups water
- 1 1/4 cups white vinegar
- 1 Tablespoon sugar
- 2 Tablespoons pickling salt
- 4 cloves garlic, peeled and crushed
- 4 dill
Instructions
-
In a medium saucepan over high heat, bring water, vinegar, sugar, and salt to a boil.
-
Remove the pan from the heat and cool slightly.
-
Drop 2 cloves of garlic and 2 sprigs of dill into each 16 ounce mason jar or jar of your choice. Add the cucumber spears, packing tightly.
-
Pour the vinegar mixture into the jars over the cucumbers.
-
Seal the jars tightly and refrigerate for at least 3 days before serving.
Nutrition
Nutrition information is automatically calculated, so should only be used as an approximation.
